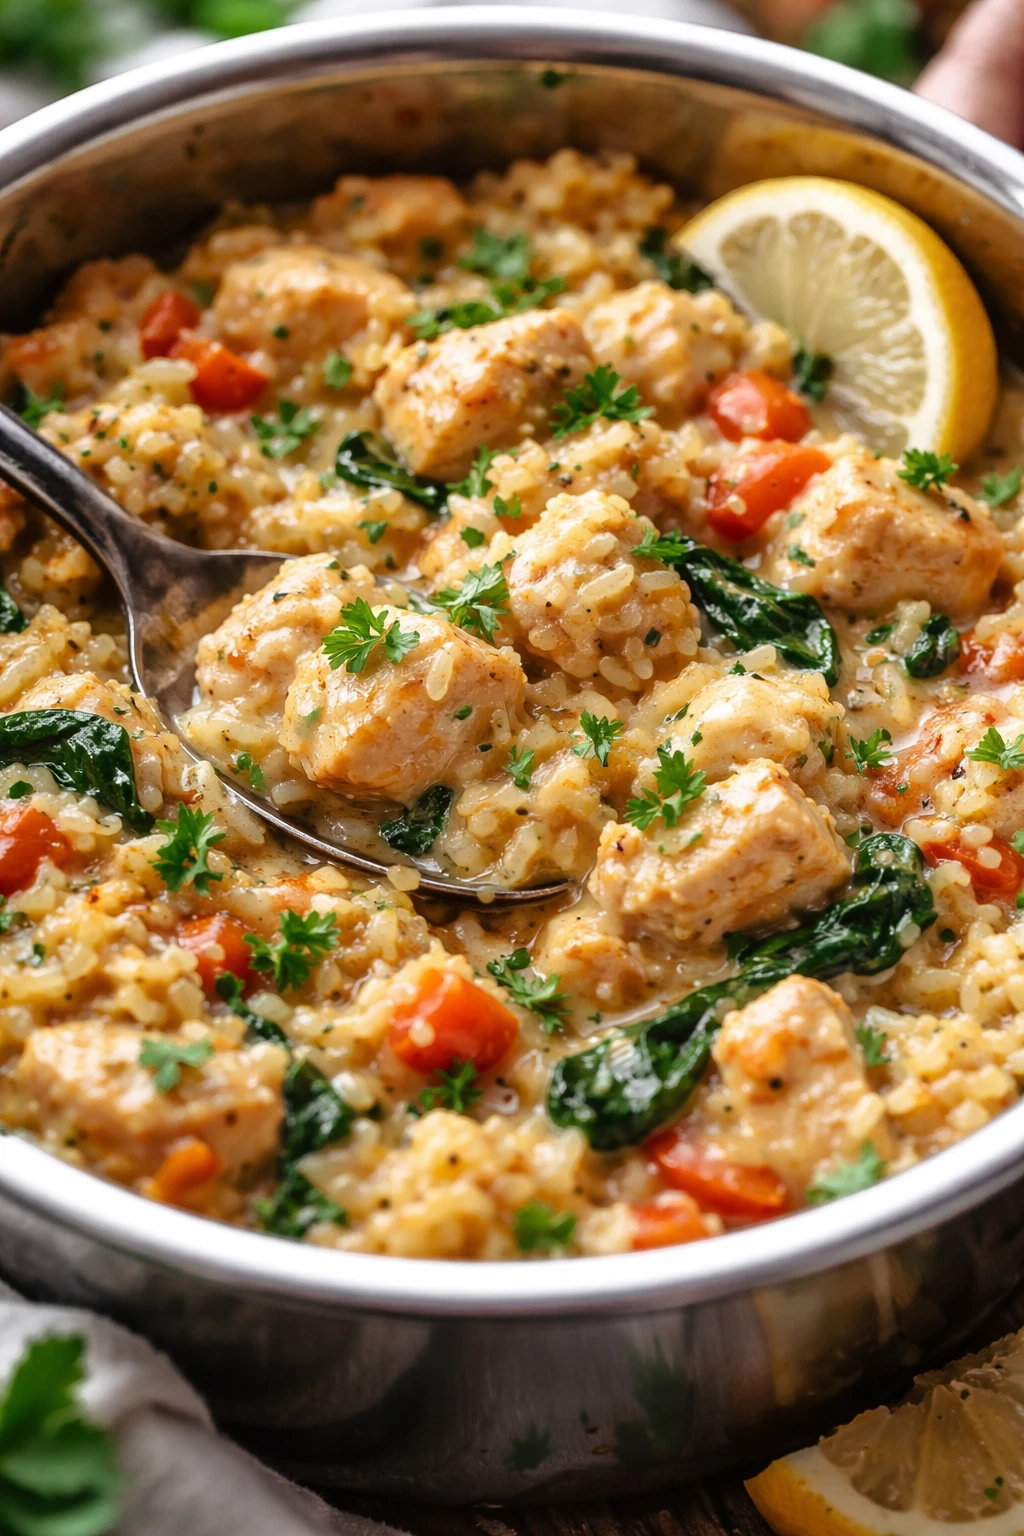
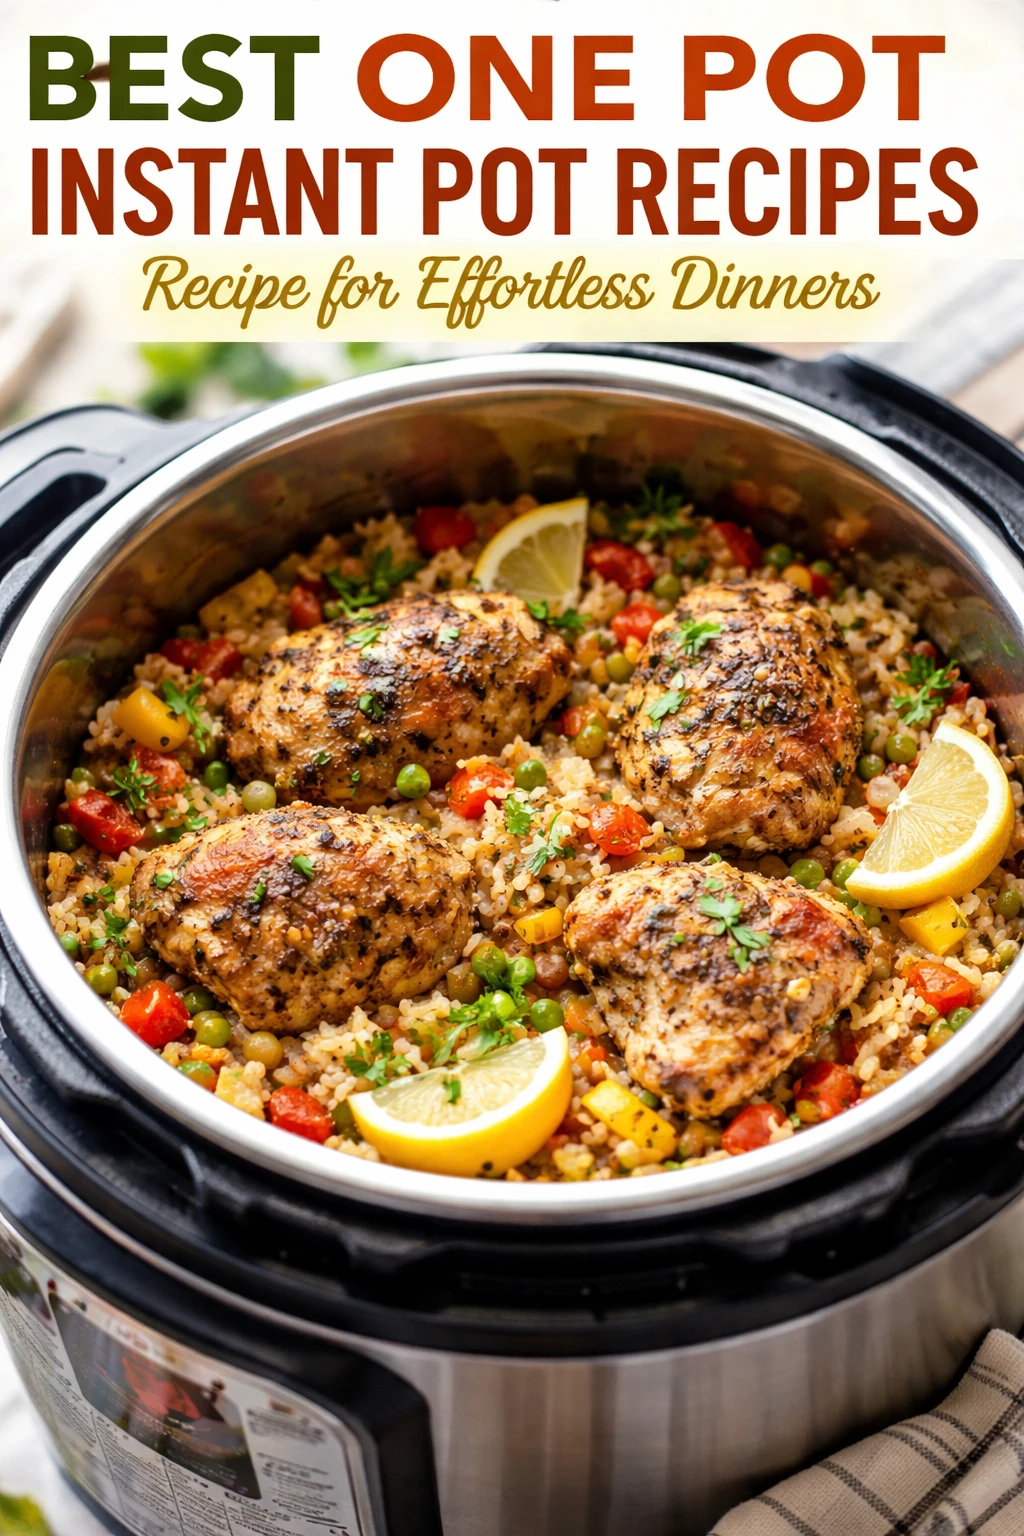
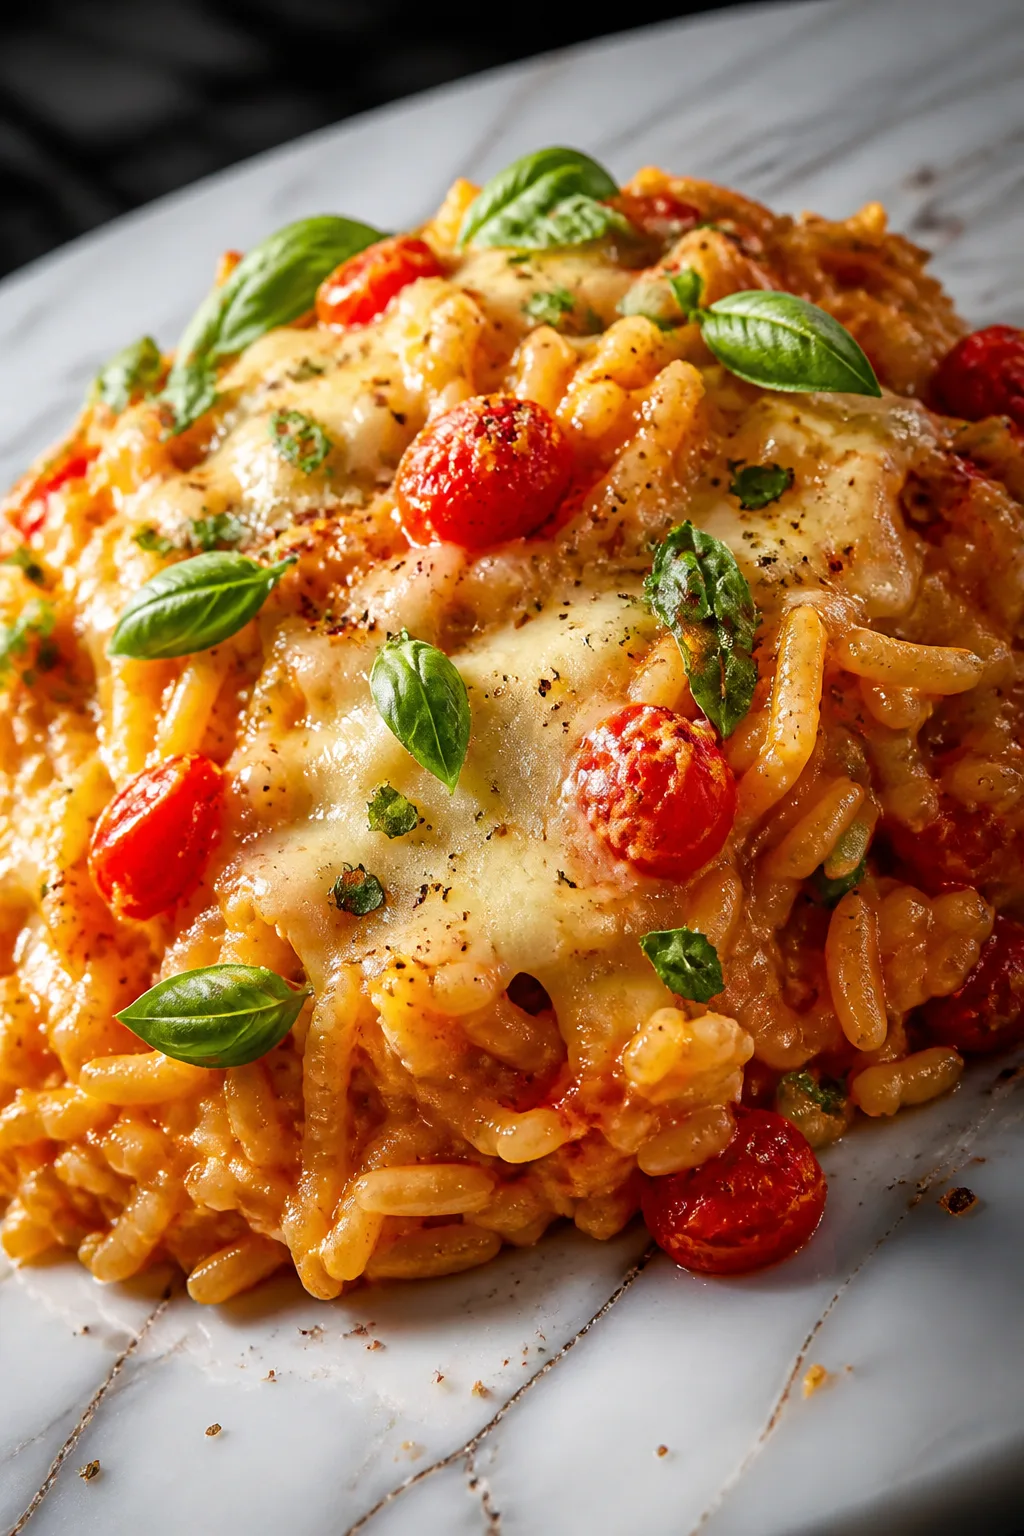
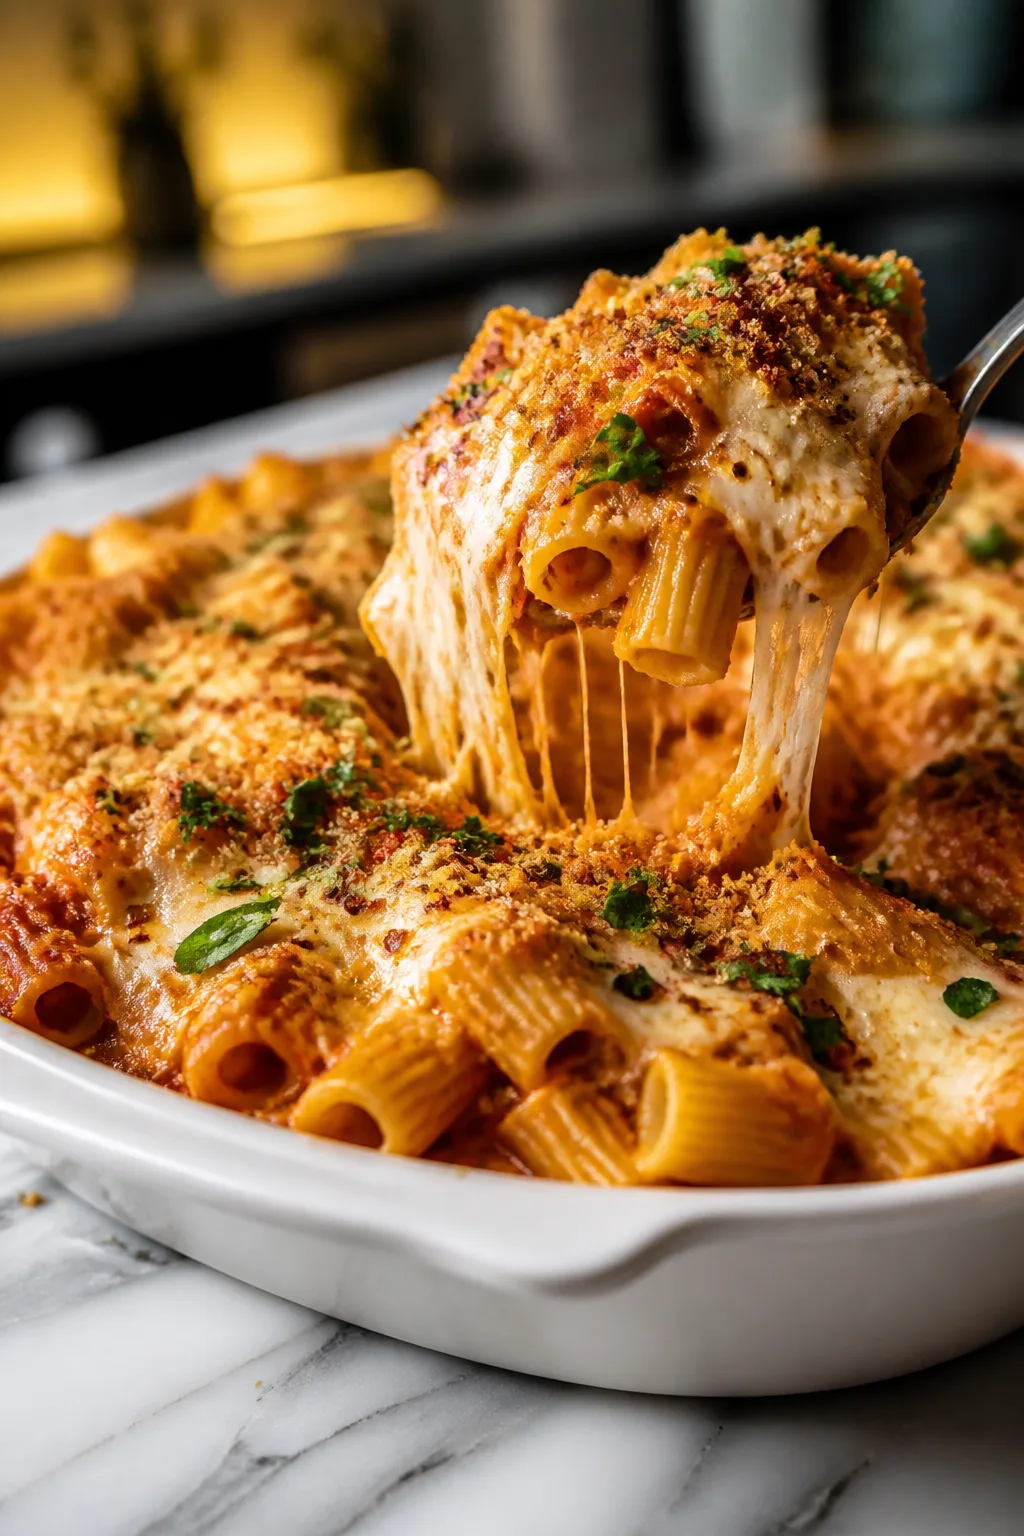
This one-pot Instant Pot chicken and rice dish is a lifesaver on hectic evenings. The secret? Letting the chicken simmer right in the rice with herbs for a comforting, flavorful meal in under an hour. Perfect for family dinners!
Introduction
I first tried making chicken and rice in my Instant Pot a few years ago when I was desperate for a hands-off dinner after a long day. The idea of cooking everything together sounded too good to be true, but it totally worked! What I love about this version is that the chicken thighs stay juicy and tender while the rice absorbs all those savory flavors from the broth and spices. I learned that browning the chicken first adds a deeper flavor, which makes all the difference. Plus, rinsing the rice before cooking keeps it from turning mushy — a small step that really pays off. The finished dish is comforting and homey, with just the right balance of herbs and seasoning. It’s exactly what I want on a cozy weeknight, and my family always asks for seconds. If you’re looking for a simple, satisfying meal that doesn’t require a ton of pots and pans, this one-pot Instant Pot chicken and rice is a winner.
How To Do It
Step 1
Heat the olive oil in the Instant Pot on the sauté setting until shimmering. Add the chicken thighs and brown them well on both sides, about 3-4 minutes per side. Browning creates those rich, caramelized flavors through the Maillard reaction, which really boosts the depth of the final dish. Don’t rush this step; if the chicken isn’t browned enough, the dish can lack complexity. Remove the chicken and set aside once browned.
⏱ Time: 8 minutes
✓ Doneness: Chicken should be golden brown with a slightly crisp surface.
Step 2
Add the chopped onion to the pot and sauté until softened and translucent, about 3-4 minutes. Stir in the minced garlic and cook for another 30 seconds until fragrant. This step builds a flavor base; cooking the onions and garlic releases their natural sugars and mellows their sharpness, which is key for a balanced dish.
⏱ Time: 5 minutes
✓ Doneness: Onions become soft and translucent with a sweet aroma.
Step 3
Rinse the rice under cold water until the water runs clear to remove excess starch. This prevents the rice from becoming gummy during cooking. Add the rinsed rice to the pot and stir it with the onions and garlic for about a minute to toast it slightly, which adds a nutty flavor and improves texture.
⏱ Time: 3 minutes
✓ Doneness: Rice grains look slightly translucent and smell toasted.
Step 4
Pour in the chicken broth, scraping the bottom of the pot with a wooden spoon to lift any browned bits — this is flavor gold! Stir in the dried thyme, paprika, salt, and pepper. The broth and spices will infuse the rice and chicken with moisture and aroma as they cook.
⏱ Time: 2 minutes
✓ Doneness: Broth evenly distributed with no dry spots or clumps.
Step 5
Nestle the browned chicken thighs back into the pot, pressing them gently into the rice mixture. Make sure the chicken is partially submerged in the liquid for even cooking. The sealed environment of the Instant Pot will steam the chicken and rice simultaneously, locking in moisture.
⏱ Time: 2 minutes
✓ Doneness: Chicken pieces evenly nestled and partially covered by broth.
Step 6
Seal the Instant Pot lid and set to high pressure for 10 minutes. This timing is crucial — too long and the chicken can dry out, too short and the rice won’t be tender. The pressure cooking cooks the chicken and rice quickly while melding all the flavors together.
⏱ Time: 10 minutes
✓ Doneness: Instant Pot reaches pressure and timer runs smoothly.
Step 7
When the cooking cycle ends, allow a natural pressure release for 10 minutes before carefully quick-releasing any remaining pressure. This step lets the rice finish absorbing moisture and prevents it from sticking to the bottom or becoming mushy.
⏱ Time: 10 minutes
✓ Doneness: Pressure naturally drops and no hissing sound remains.
Step 8
Open the lid and gently fluff the rice with a fork, being careful not to tear the chicken. Check seasoning and adjust salt and pepper as needed. Fluffing aerates the rice and keeps it light and separate rather than dense and sticky.
⏱ Time: 3 minutes
✓ Doneness: Rice grains separate easily and chicken looks tender.
Step 9
Serve hot, garnished with freshly chopped parsley if desired. The fresh herb adds a bright, fresh contrast that lifts the dish. This meal is perfect on its own or paired with a simple green salad for a balanced dinner.
⏱ Time: 2 minutes
✓ Doneness: Dish looks vibrant with fresh herb garnish and steaming hot.
Variations
Spicy Cajun Chicken and Rice
Add 1 teaspoon Cajun seasoning and a pinch of cayenne pepper to the broth for a spicy kick. Use smoked paprika instead of regular for a smoky depth. This variation brings a lively Southern twist without extra effort.
Note: Ensure spices are well mixed in the broth before cooking; pressure cooking intensifies heat, so adjust cayenne to taste.
Creamy Mushroom Chicken and Rice
Sauté 1 cup sliced mushrooms with onions and garlic before adding rice. Stir in 1/4 cup cream cheese or sour cream after cooking for a creamy texture. This version adds earthiness and richness that’s perfect for cooler nights.
Note: Add cream cheese after pressure cooking to prevent curdling and maintain creaminess.
Lemon Herb Chicken and Rice
Add zest and juice of one lemon along with fresh chopped rosemary and thyme. The bright citrus notes pair beautifully with tender chicken and fluffy rice for a fresh, springtime meal.
Note: Add lemon juice after cooking to preserve brightness; zest can be added before cooking.
Vegetable Packed Chicken and Rice
Stir in diced carrots, peas, and bell peppers with the rice before cooking. This boosts nutrition and adds color and texture variety, making the dish more vibrant and balanced.
Note: Cut vegetables small to ensure even cooking within the pressure time.
Brown Rice and Chicken One-Pot
Use brown rice instead of white; increase broth to 2 cups and pressure cook for 22 minutes. This variation adds nuttiness and fiber but requires a longer cooking time and more liquid.
Note: Check rice texture after cooking; brown rice can vary so adjust time/liquid for your brand.
Pro Tips
Always brown the chicken before pressure cooking.
Browning triggers the Maillard reaction, creating rich, deep flavors and an appealing color that pressure cooking alone can’t replicate. Skipping this step leads to a blander dish.
Rinse your rice thoroughly before cooking.
Rinsing removes surface starch that causes rice to clump and become gummy. Clean rice grains cook up fluffy and separate, improving texture dramatically.
Use natural pressure release for at least 10 minutes.
This gentle release lets the rice finish cooking evenly and prevents it from sticking or overcooking. Quick release too soon can make rice underdone or dry.
Don’t stir the pot after adding rice and broth.
Stirring can cause rice grains to stick to the bottom and burn during pressure cooking. Instead, gently nestle chicken on top without disturbing the rice layer.
Adjust seasoning after cooking, not before.
Salt and spices concentrate during pressure cooking. Adding too much upfront can lead to an overly salty or intense flavor. Tasting after cooking ensures perfect balance.
Use chicken thighs instead of breasts for juiciness.
Thighs have more fat and connective tissue that stay moist and tender under pressure. Breasts can dry out quickly unless cooking time is precisely adjusted.
Add fresh herbs as garnish rather than cooking them in.
Fresh herbs lose their brightness when cooked under pressure. Adding them at the end preserves their fresh aroma and vibrant color.
Common Mistakes to Avoid
Skipping the browning step
Why it happens Many cooks want to save time and jump straight to pressure cooking, assuming it’s faster and simpler.
Fix Take the extra 8 minutes to brown the chicken in the sauté mode first. It adds essential flavor and color that can’t be achieved otherwise, making the dish more appetizing and satisfying.
Not rinsing the rice
Why it happens It’s easy to overlook rinsing rice or think it’s unnecessary.
Fix Rinse the rice under cold running water until it runs clear. This simple step removes surface starches that cause clumping and gummy texture, resulting in fluffier rice.
Using quick release immediately
Why it happens Impatience or misunderstanding pressure release methods.
Fix Allow natural pressure release for at least 10 minutes after cooking. This gentle cooldown lets the rice finish absorbing liquid and prevents sticking or drying out.
Stirring rice before cooking
Why it happens Thinking stirring will mix flavors evenly.
Fix Avoid stirring after adding rice and broth. Just spread rice evenly and place chicken on top. Stirring can cause rice to stick to the pot and burn.
Using chicken breasts without adjusting time
Why it happens Assuming thighs and breasts cook the same under pressure.
Fix If substituting breasts, reduce cooking time by a few minutes to prevent drying out. Monitor texture closely and adjust future cooking accordingly.
Nutrition
Per Serving:
Nutritional values are estimates and may vary based on specific ingredients used.
Storage & Tips
Room Temperature
You can keep the cooked chicken and rice at room temperature for up to 2 hours covered loosely. Beyond that, bacterial growth risk increases, so refrigerate promptly.
Refrigerator
Store leftovers in an airtight container for up to 4 days. Flavor may deepen but rice can firm up; reheat gently with a splash of broth or water to restore moisture and fluffiness.
Freezer
Freeze portions in airtight containers or heavy-duty freezer bags for up to 3 months. To prevent freezer burn, remove as much air as possible. Thaw overnight in the fridge before reheating.
Reheating
Reheat on stovetop over low heat with a splash of broth or water, stirring occasionally until warmed through. Microwave works too; cover and heat in short bursts to avoid drying out.
Make Ahead
You can brown the chicken and sauté onions a day ahead, storing them separately in the fridge. Assemble rice and broth just before cooking in the Instant Pot for fresher texture and flavor.
FAQ
Can I use chicken breasts instead of thighs?
Yes, but breasts cook faster and can dry out if overcooked. Reduce pressure cooking time by 3-4 minutes and monitor texture closely. Using thighs is recommended for juiciness and flavor.
What if I don’t have an Instant Pot?
You can make this on the stovetop in a heavy pot with a tight-fitting lid. Brown chicken, then add rice, broth, and spices. Simmer gently covered for about 25 minutes until rice is tender and chicken cooked through, stirring occasionally.
How do I prevent the rice from sticking to the bottom?
Avoid stirring after adding rice and broth. Rinse rice well to remove excess starch, and make sure to deglaze the pot by scraping up browned bits before adding rice. Natural pressure release also helps prevent sticking.
Can I add vegetables to this recipe?
Absolutely! Add diced carrots, peas, or bell peppers before cooking. Cut vegetables small so they cook evenly during the pressure cycle. This adds nutrition and color without extra steps.
Is it necessary to brown the chicken first?
While not mandatory, browning adds a lot of flavor and a nice color to the dish. Skipping it saves a few minutes but results in a blander meal.
How do I store leftovers properly?
Cool leftovers quickly, then store in airtight containers in the fridge for up to 4 days or freeze for up to 3 months. Reheat gently with added liquid to keep rice fluffy.
Can I use vegetable broth instead of chicken broth?
Yes, vegetable broth works fine but will change the flavor profile slightly. Use a good quality broth to maintain richness.
What if my rice is undercooked after pressure cooking?
If rice is still firm, you can reseal the pot and cook under pressure for a few more minutes or transfer to stovetop and simmer with a little extra broth until tender.
Final Thoughts
I hope you give this Instant Pot chicken and rice a try — it’s such a comforting, easy meal that never disappoints. Let me know how it turns out for you!