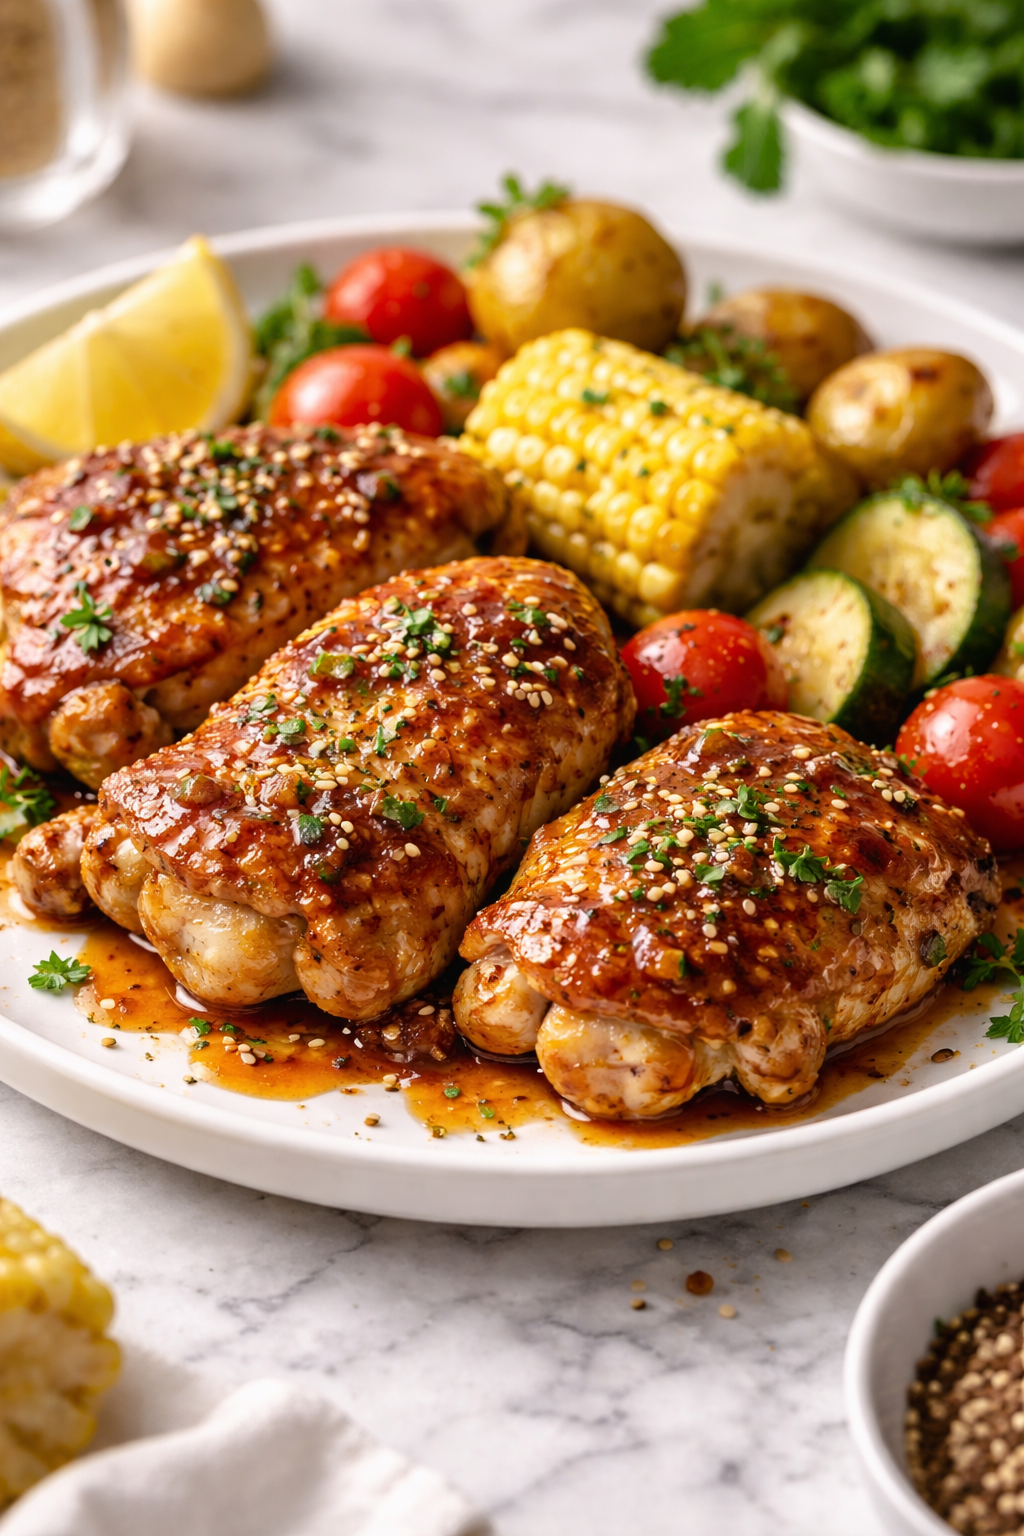
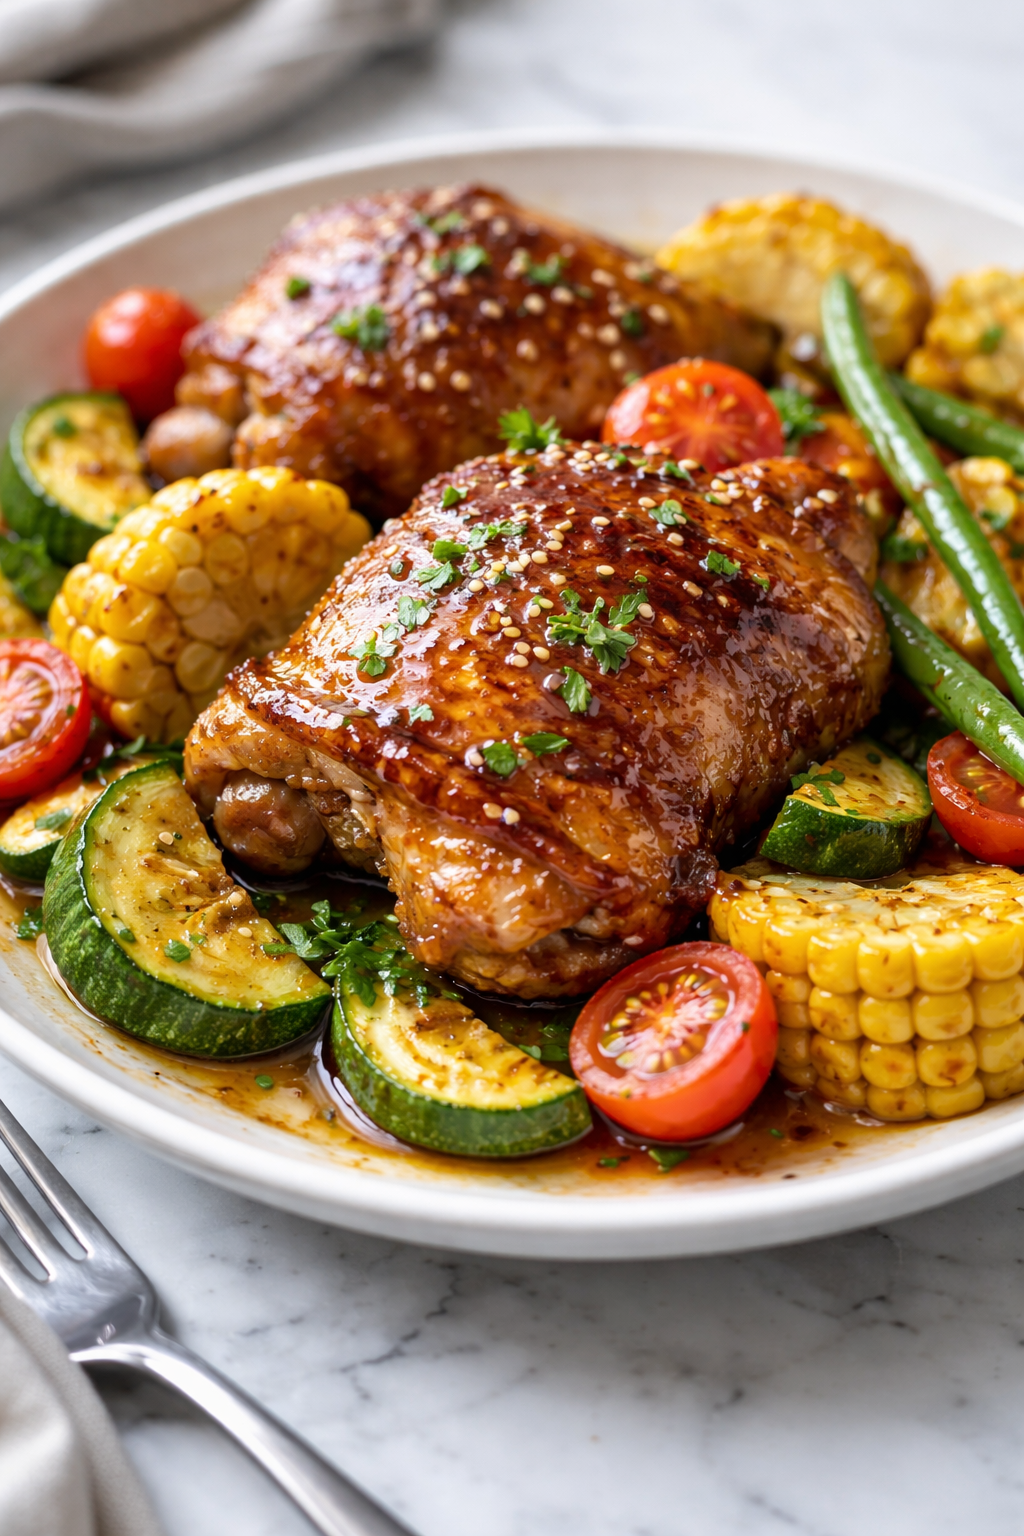
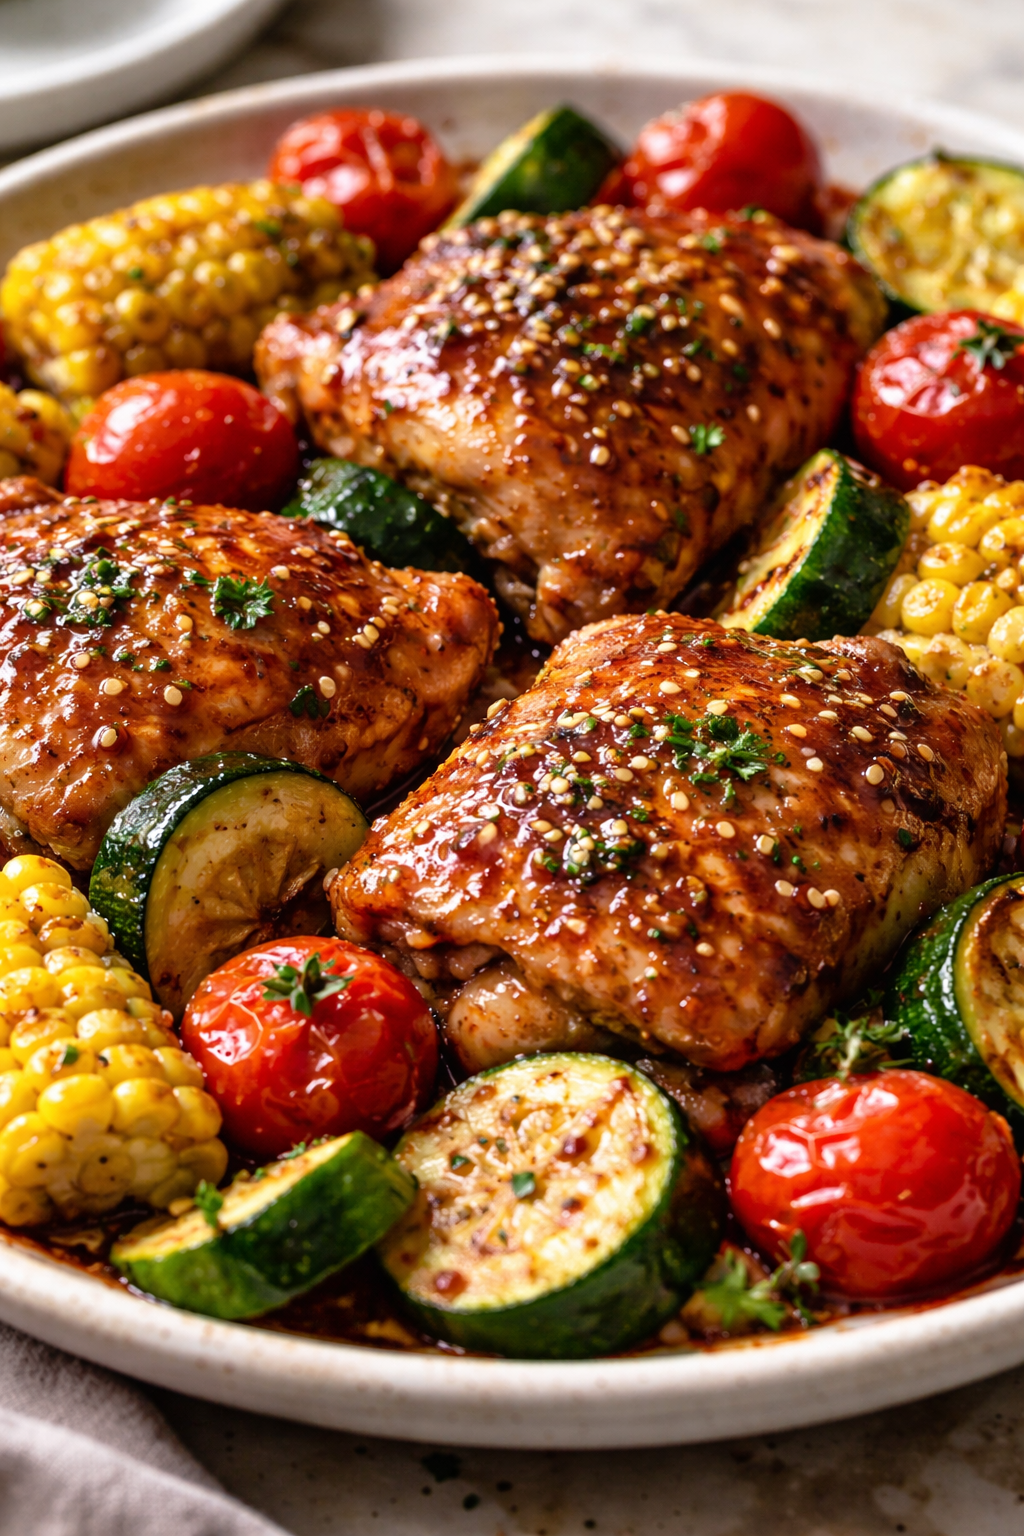
This honey garlic chicken is my go-to for busy nights. Juicy thighs glazed in a sweet-savory sauce with fresh garlic that really shines. Toss in some crisp summer veggies and dinner’s done!
Introduction
I stumbled upon this honey garlic chicken recipe during one of those hectic weeknights when I had little time but big hunger. What caught me was how simple the ingredients were, yet the flavors felt rich and comforting. Unlike many chicken dishes that can dry out or feel bland, this one stays juicy thanks to the bone-in thighs and a quick sear before simmering in the honey garlic glaze. The trick I learned early on was to let the sauce reduce slowly so it thickens and clings to every bite. Plus, adding fresh summer veggies keeps the meal light and vibrant, balancing the sweet and savory notes. My family loves how the garlic pops without being overpowering, and I appreciate how quick it comes together. If you’re looking for something cozy but fuss-free, give this a try—you’ll be surprised how often it becomes a dinner staple in your rotation too.
How To Do It
Step 1
Start by seasoning the chicken thighs generously with salt and pepper. This simple step enhances the natural flavors and helps create a tasty crust when seared. Heat olive oil in a large skillet over medium-high heat until shimmering. Place the chicken thighs skin-side down and cook without moving them for about 6-7 minutes. This allows the skin to crisp up beautifully, locking in moisture. Avoid the temptation to flip too soon or press down, as this can prevent browning. When the skin is golden and releases easily from the pan, flip the thighs and cook the other side for 4-5 minutes to develop color.
⏱ Time: 12 minutes
✓ Doneness: Skin is golden brown and crisp; chicken releases easily from the pan
Step 2
Remove the chicken from the skillet and set aside on a plate. Lower the heat to medium and add minced garlic to the pan, stirring constantly to avoid burning. Garlic cooks quickly and burns easily, which would add bitterness. After about 30 seconds, pour in the honey, soy sauce, apple cider vinegar, and grated ginger if using. Stir well to combine and bring the mixture to a gentle simmer. This glaze is the heart of the dish, balancing sweetness, acidity, and umami. Let it cook for 2-3 minutes so the sauce thickens slightly and flavors meld together.
⏱ Time: 5 minutes
✓ Doneness: Sauce becomes glossy and syrupy with an inviting aroma
Step 3
Return the chicken thighs to the skillet, skin-side up this time, nestling them into the sauce. Spoon some glaze over the tops to coat. Cover the pan with a lid or foil and reduce heat to low. Simmer gently for about 15 minutes, turning the chicken once halfway through to ensure even cooking and glazing. The gentle simmer allows the thighs to finish cooking through while soaking up the sauce’s flavors. Avoid high heat here to prevent drying out the meat or burning the glaze.
⏱ Time: 15 minutes
✓ Doneness: Chicken is cooked through with an internal temperature of 165°F and sauce clings well
Step 4
While the chicken simmers, prepare the summer veggies. Heat a separate skillet over medium heat and add a splash of olive oil. Toss in the zucchini, cherry tomatoes, and bell pepper slices. Sauté for 5-7 minutes until just tender but still crisp, stirring occasionally. The goal is to keep the veggies vibrant and fresh, providing a crisp contrast to the rich chicken. Season lightly with salt and pepper. Overcooking here would cause sogginess and dull flavors.
⏱ Time: 7 minutes
✓ Doneness: Veggies are tender-crisp with bright colors
Step 5
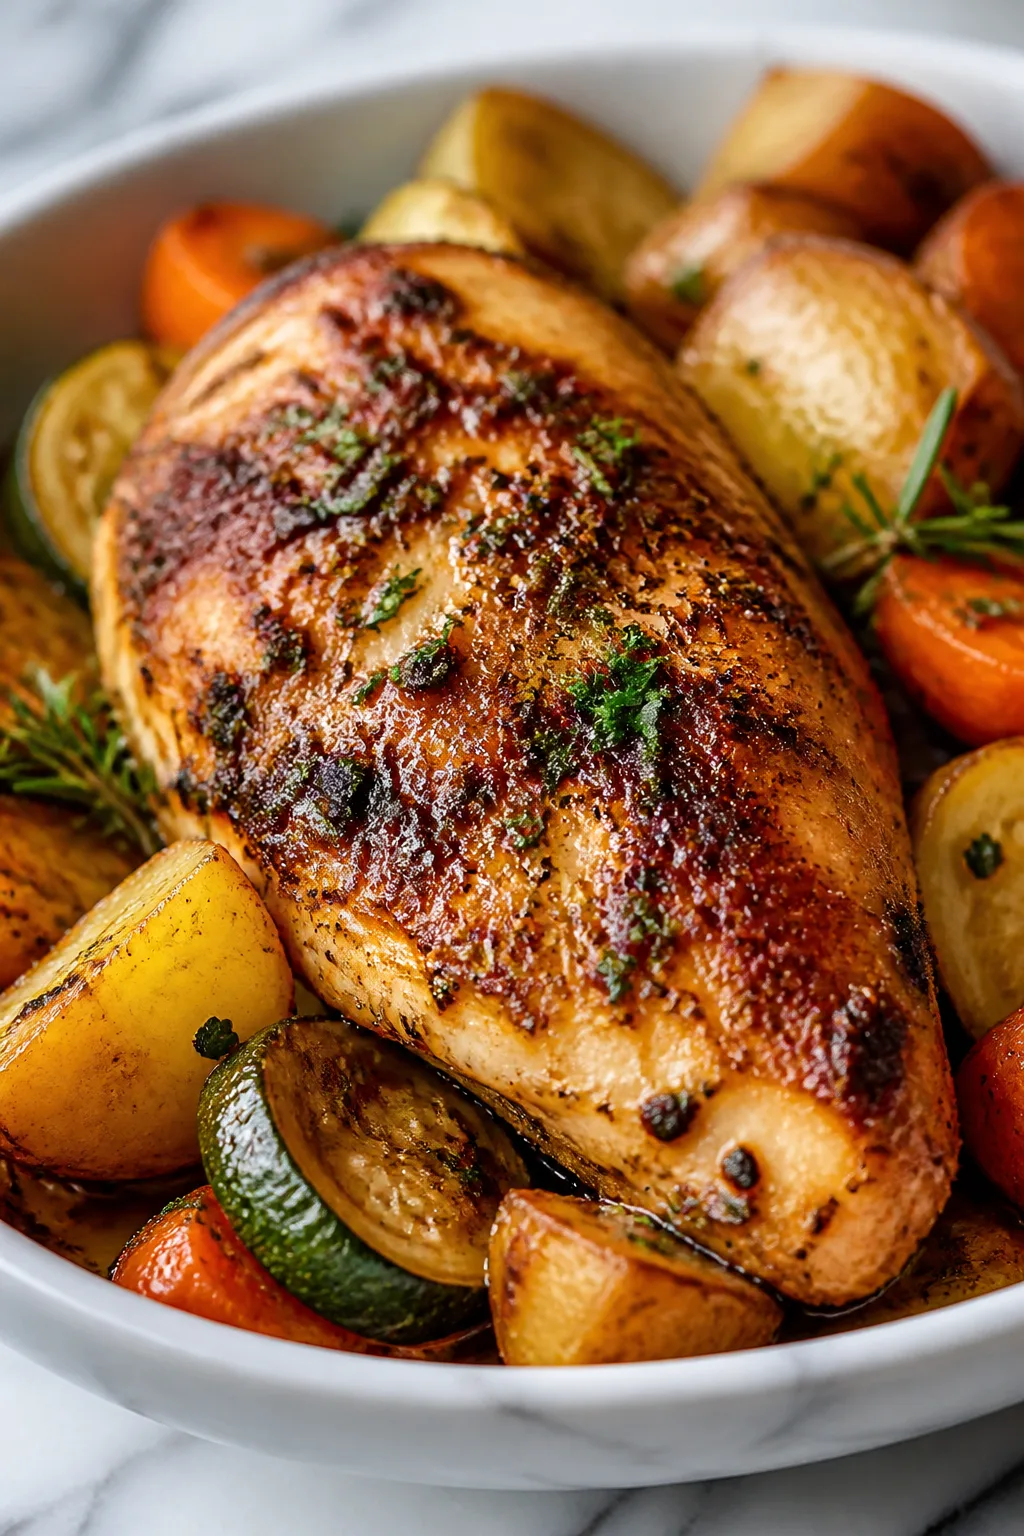
Once the chicken is done, remove it from the heat. Spoon extra sauce from the pan over the thighs to maximize flavor and glossiness. Plate the chicken alongside the sautéed veggies and sprinkle chopped parsley on top for a fresh herbal note and color contrast. This final garnish adds brightness and makes the dish feel complete without overpowering the main flavors.
⏱ Time: 3 minutes
✓ Doneness: Dish looks vibrant and glossy with fresh green garnish
Step 6
Taste the sauce in the pan and adjust seasoning if needed—sometimes a pinch more salt or a squeeze of lemon juice can brighten the glaze. This small step ensures the balance of sweet, savory, and tangy hits your palate just right. Don’t skip tasting; it’s the secret to a restaurant-quality finish at home.
⏱ Time: 2 minutes
✓ Doneness: Sauce tastes balanced with no single flavor overpowering
Step 7
If you want a thicker sauce, remove the chicken and increase the heat to medium-high, stirring frequently to reduce the glaze further. Watch closely because it can burn quickly. This concentrated sauce can be drizzled over the chicken and veggies for extra indulgence. But don’t over-reduce, or the honey may crystallize and turn grainy.
⏱ Time: 3-5 minutes
✓ Doneness: Sauce coats the back of a spoon smoothly and thickly
Step 8
For extra crispiness, you can broil the chicken thighs for 2-3 minutes skin-side up after simmering. Just transfer the skillet (if oven-safe) or place the thighs on a baking sheet and broil until the skin bubbles and crisps up again. Keep a close eye to prevent burning. This step adds a delightful textural contrast that makes the dish feel special.
⏱ Time: 3 minutes
✓ Doneness: Skin is visibly blistered and extra crispy
Step 9
Serve the honey garlic chicken hot with the sautéed summer veggies on the side. This meal pairs well with steamed rice or crusty bread to soak up the luscious sauce. Enjoy immediately for the best texture and flavor, but leftovers reheat nicely too. Sharing this with family or friends makes it all the more rewarding!
⏱ Time: 2 minutes
✓ Doneness: Dish served warm with vibrant veggies and glossy chicken
Variations
Spicy Honey Garlic Chicken
Add a teaspoon of red pepper flakes or a dash of sriracha to the honey garlic sauce for a spicy kick. This variation brings warmth and depth without overpowering the sweet and savory balance. Pair with steamed rice to mellow the heat.
Note: Adjust spice level carefully; too much heat can mask the delicate honey and garlic flavors.
Honey Garlic Chicken with Roasted Potatoes
Swap sautéed veggies for crispy roasted potatoes tossed in olive oil and herbs. The potatoes soak up the sauce beautifully, making this a heartier, comforting meal perfect for cooler nights.
Note: Roast potatoes at 425°F for 25-30 minutes until golden and crisp before serving alongside chicken.
Honey Garlic Chicken Stir-Fry
Cut the chicken into bite-sized pieces and stir-fry with a mix of colorful veggies like snap peas, carrots, and broccoli. Toss everything in the honey garlic sauce for a quick, vibrant dinner packed with texture and flavor.
Note: Cook chicken pieces quickly on high heat to avoid drying out; add sauce at the end to coat evenly.
Gluten-Free Honey Garlic Chicken
Use tamari or coconut aminos instead of soy sauce to make this recipe gluten-free. The flavor stays rich and satisfying, perfect for those with dietary restrictions without compromising taste.
Note: Check all labels to ensure no hidden gluten; coconut aminos are a slightly sweeter alternative.
Honey Garlic Chicken Salad
Serve the cooked chicken sliced over a bed of mixed greens, cucumbers, and avocado. Drizzle extra honey garlic sauce as dressing for a light, fresh meal that’s perfect for warmer days or lunch.
Note: Let the chicken cool slightly before slicing to maintain juiciness and clean cuts.
Pro Tips
Always pat the chicken dry before seasoning and searing.
Removing excess moisture from the skin ensures it crisps up nicely instead of steaming. Moisture on the surface causes the chicken to release water during cooking, preventing the Maillard reaction that gives that beautiful golden crust.
Use a heavy-bottomed skillet for even heat distribution.
A thick skillet prevents hot spots that can burn the glaze or chicken unevenly. Even heat helps develop a consistent sear and allows the sauce to reduce at a steady pace without scorching.
Simmer the chicken on low heat after searing.
Low heat allows the chicken to cook through gently while the sauce thickens and flavors infuse. High heat risks drying the meat and burning the honey-based glaze, which can turn bitter.
Don’t overcrowd the pan when searing chicken thighs.
Crowding traps steam and prevents browning. Searing in batches if needed ensures each piece crisps up properly, which is essential for flavor and texture.
Add ginger for a subtle spicy warmth.
Fresh grated ginger complements garlic and honey beautifully, adding complexity and a slight zing. It also aids digestion and balances the sweetness.
Sauté veggies separately to keep them crisp.
Cooking vegetables in their own pan lets you control doneness precisely. This keeps them vibrant and crunchy, contrasting nicely with the tender chicken.
Let the sauce reduce without stirring constantly.
Occasional stirring prevents burning but letting it sit lets the sugars caramelize properly, creating a sticky, glossy glaze that clings well.
Common Mistakes to Avoid
Skipping the sear on the chicken skin
Why it happens Many cooks rush to get the chicken into the sauce and skip searing, thinking it saves time or effort.
Fix Take the time to sear the skin first. It locks in juices and creates that irresistible crispy texture. Use medium-high heat and don’t move the chicken until it naturally releases from the pan. This step makes a huge difference in flavor and texture.
Burning the garlic
Why it happens Garlic cooks quickly and can burn if added to hot oil too early or left unattended.
Fix Add garlic only after reducing heat slightly and stir constantly for about 30 seconds. Remove from heat if it starts to brown too fast. Burnt garlic tastes bitter and ruins the dish.
Using boneless, skinless chicken thighs
Why it happens Some prefer convenience or think it’s healthier, but it changes texture and flavor.
Fix Stick to bone-in, skin-on thighs here. If you must use boneless, expect less juicy, less flavorful results and adjust cooking time accordingly to avoid drying out.
Overcooking the veggies
Why it happens Trying to cook veggies in the same pan or for too long leads to mushy, dull-tasting sides.
Fix Sauté veggies separately and remove from heat as soon as they’re tender-crisp. This preserves color, texture, and fresh flavor.
Not tasting and adjusting the sauce
Why it happens Rushing to serve without tasting the glaze can leave the sauce too sweet, salty, or flat.
Fix Always taste the sauce before plating. Add a pinch of salt, a squeeze of lemon, or a dash of soy sauce if needed to balance flavors perfectly.
Nutrition
Per Serving:
Nutritional values are estimates and may vary based on specific ingredients used.
Storage & Tips
Room Temperature
This dish can safely sit at room temperature for up to 2 hours. Cover loosely with foil or a clean towel if serving buffet style to keep it from drying out.
Refrigerator
Store leftovers in an airtight container in the fridge for up to 3 days. The sauce may thicken and the chicken may firm up slightly; reheat gently to restore juiciness.
Freezer
Freeze cooked chicken and sauce in a sealed container for up to 2 months. Wrap tightly to prevent freezer burn. Thaw overnight in the refrigerator before reheating.
Reheating
Reheat gently on the stovetop over low heat with a splash of water or broth to loosen the sauce. Avoid microwaving on high to prevent drying. Stir occasionally until warmed through.
Make Ahead
You can prepare the sauce and chop veggies a day ahead. Store separately in the fridge. Cook the chicken fresh to maintain the best texture and crispness.
FAQ
Can I use boneless chicken thighs instead of bone-in?
Yes, but boneless thighs cook faster and can dry out more easily. Reduce cooking time by a few minutes and watch closely. The flavor and texture won’t be quite the same since you lose the moisture-retaining bone and crispy skin.
What can I substitute for soy sauce if I’m allergic?
Tamari is a great gluten-free alternative and usually soy-free versions exist too. Coconut aminos are another flavorful substitute with a slightly sweeter taste. Avoid regular soy sauce if allergic, and adjust salt levels accordingly.
How do I prevent the honey from burning in the glaze?
Keep the heat moderate when simmering the sauce and stir frequently. Honey sugars can burn quickly at high temperatures, causing bitterness. Lower heat lets the sauce thicken slowly and develop a nice caramel color without burning.
Can I make this recipe in an oven instead of stovetop?
Absolutely! After searing the chicken, transfer it to a baking dish and pour the sauce over. Bake at 375°F for 25-30 minutes until cooked through. Finish under the broiler for a couple minutes to crisp the skin if desired.
Is it okay to use dried garlic instead of fresh?
Fresh garlic has a brighter, more complex flavor that really makes this dish pop. Dried garlic won’t provide the same aroma and can taste less vibrant. If using dried, use half the amount and add it earlier in cooking to mellow.
What side dishes pair well with this honey garlic chicken?
Steamed jasmine rice, quinoa, or crusty bread are excellent for soaking up the sauce. Fresh sautéed or roasted veggies complement the rich chicken. For a low-carb option, serve with cauliflower rice or a crisp salad.
How do I know when the chicken is fully cooked?
The safest method is to use a meat thermometer; the internal temperature should reach 165°F. The juices should run clear when pierced. The meat will be tender and no longer pink inside.
Can I prepare this recipe for meal prep?
Yes! Cook the chicken and veggies, then store in separate airtight containers. Reheat gently to keep the chicken juicy and veggies crisp. The sauce may thicken in the fridge — add a splash of water when reheating.
Final Thoughts
I hope you enjoy making this honey garlic chicken as much as my family does! It’s simple, flavorful, and perfect for busy nights. Don’t forget to share how it turns out!