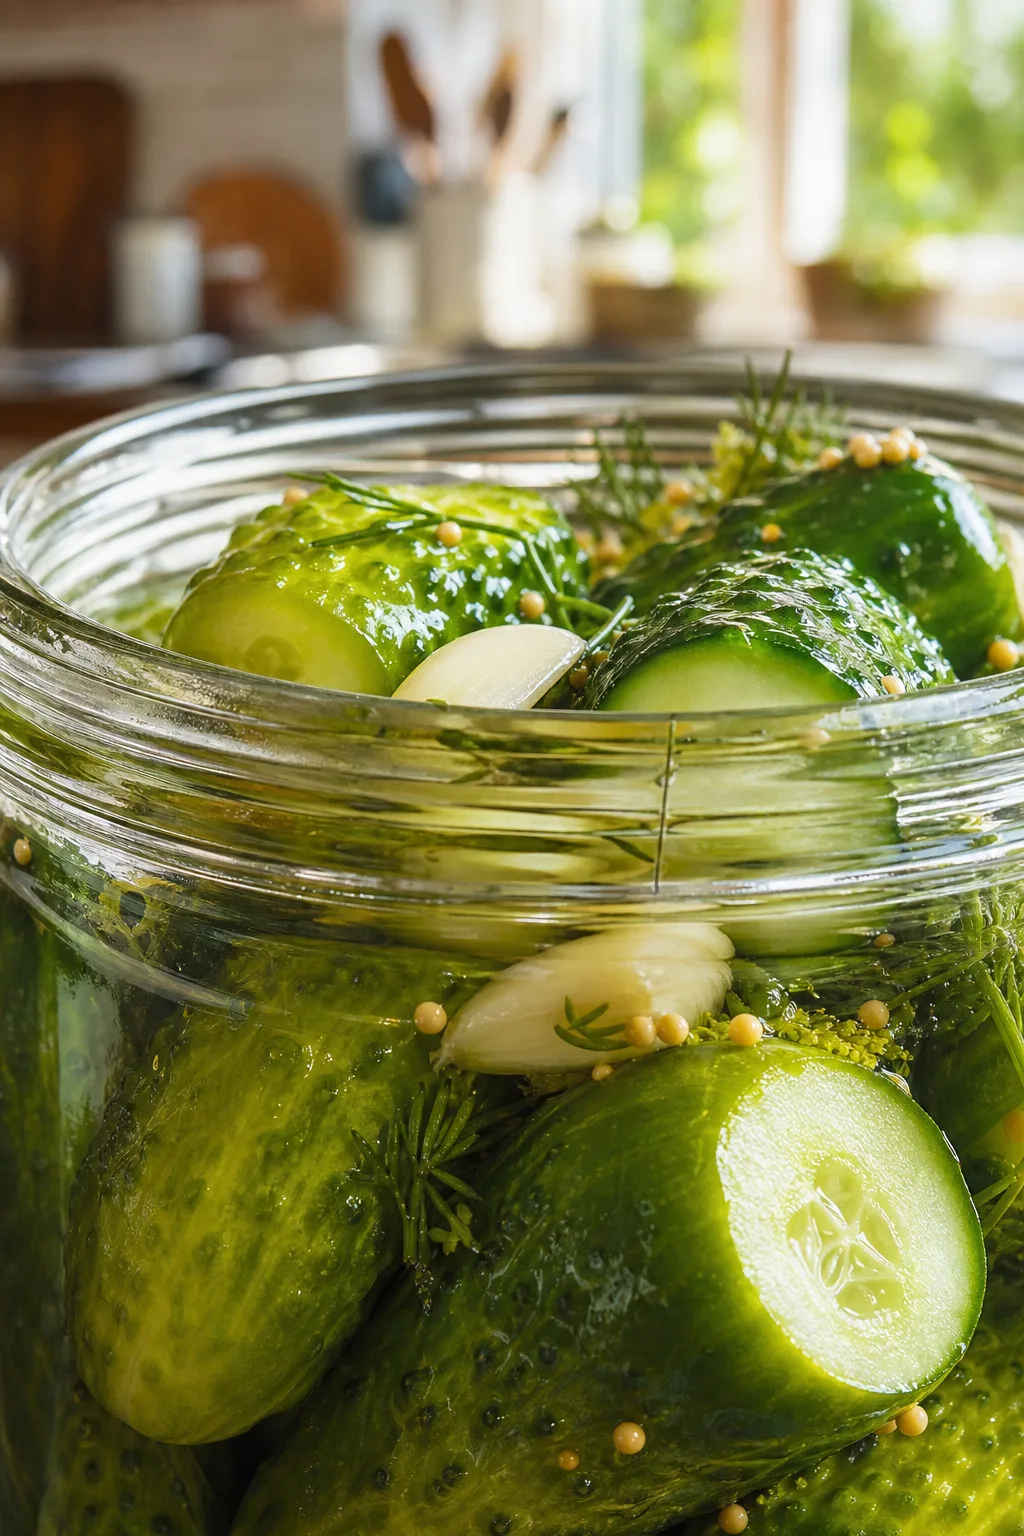
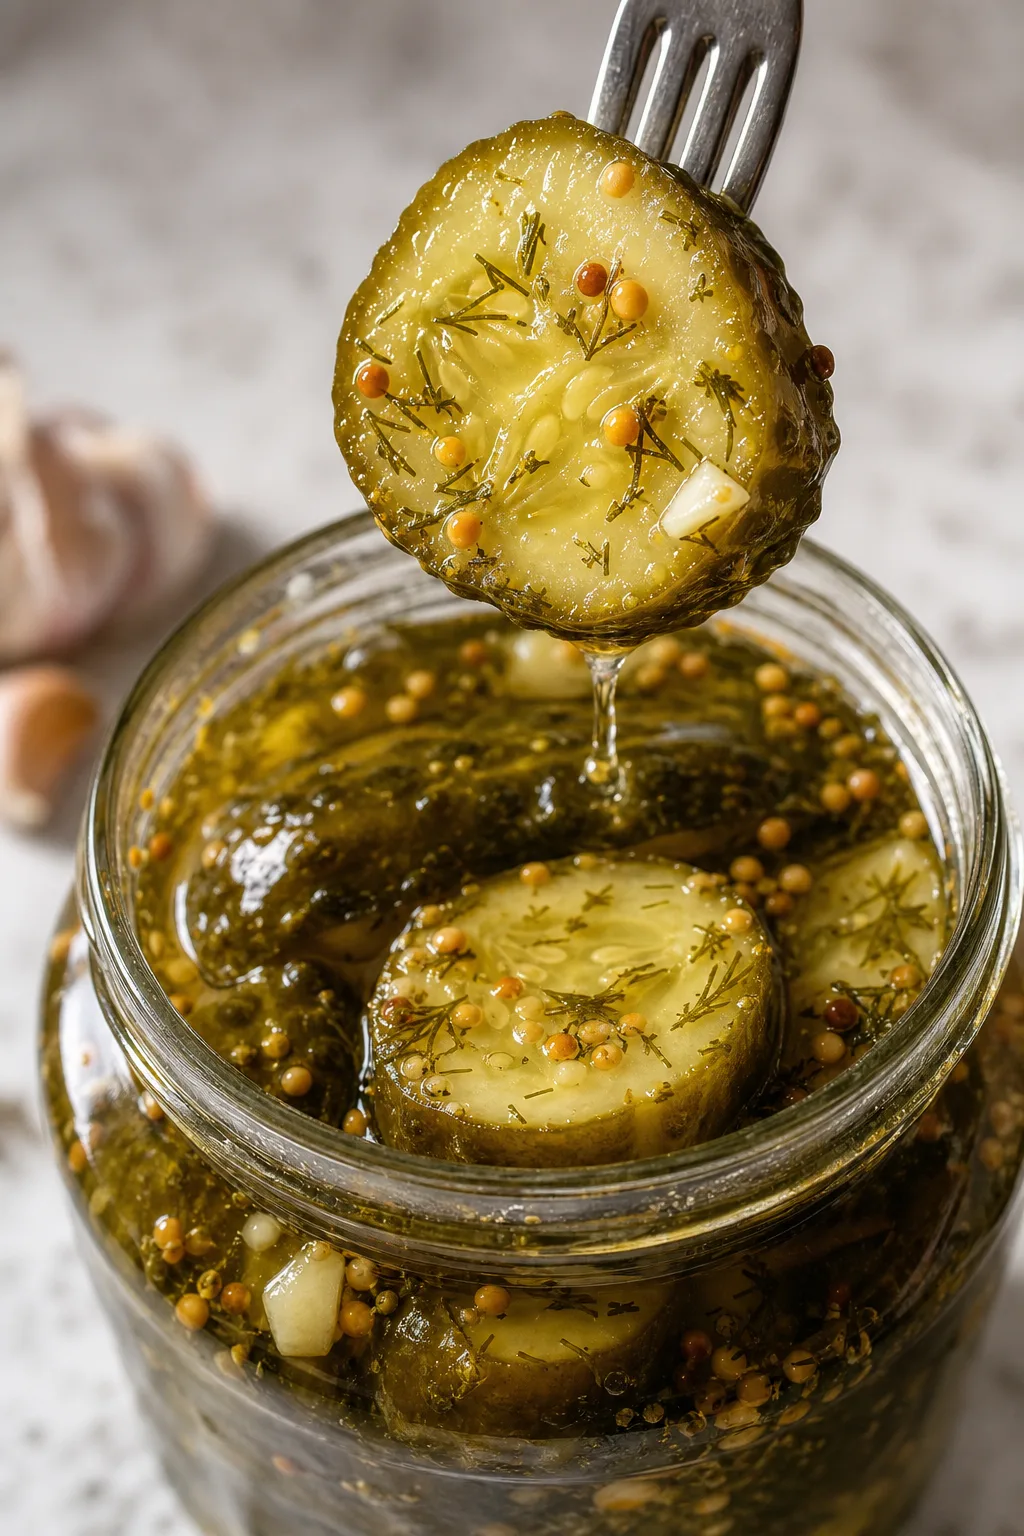
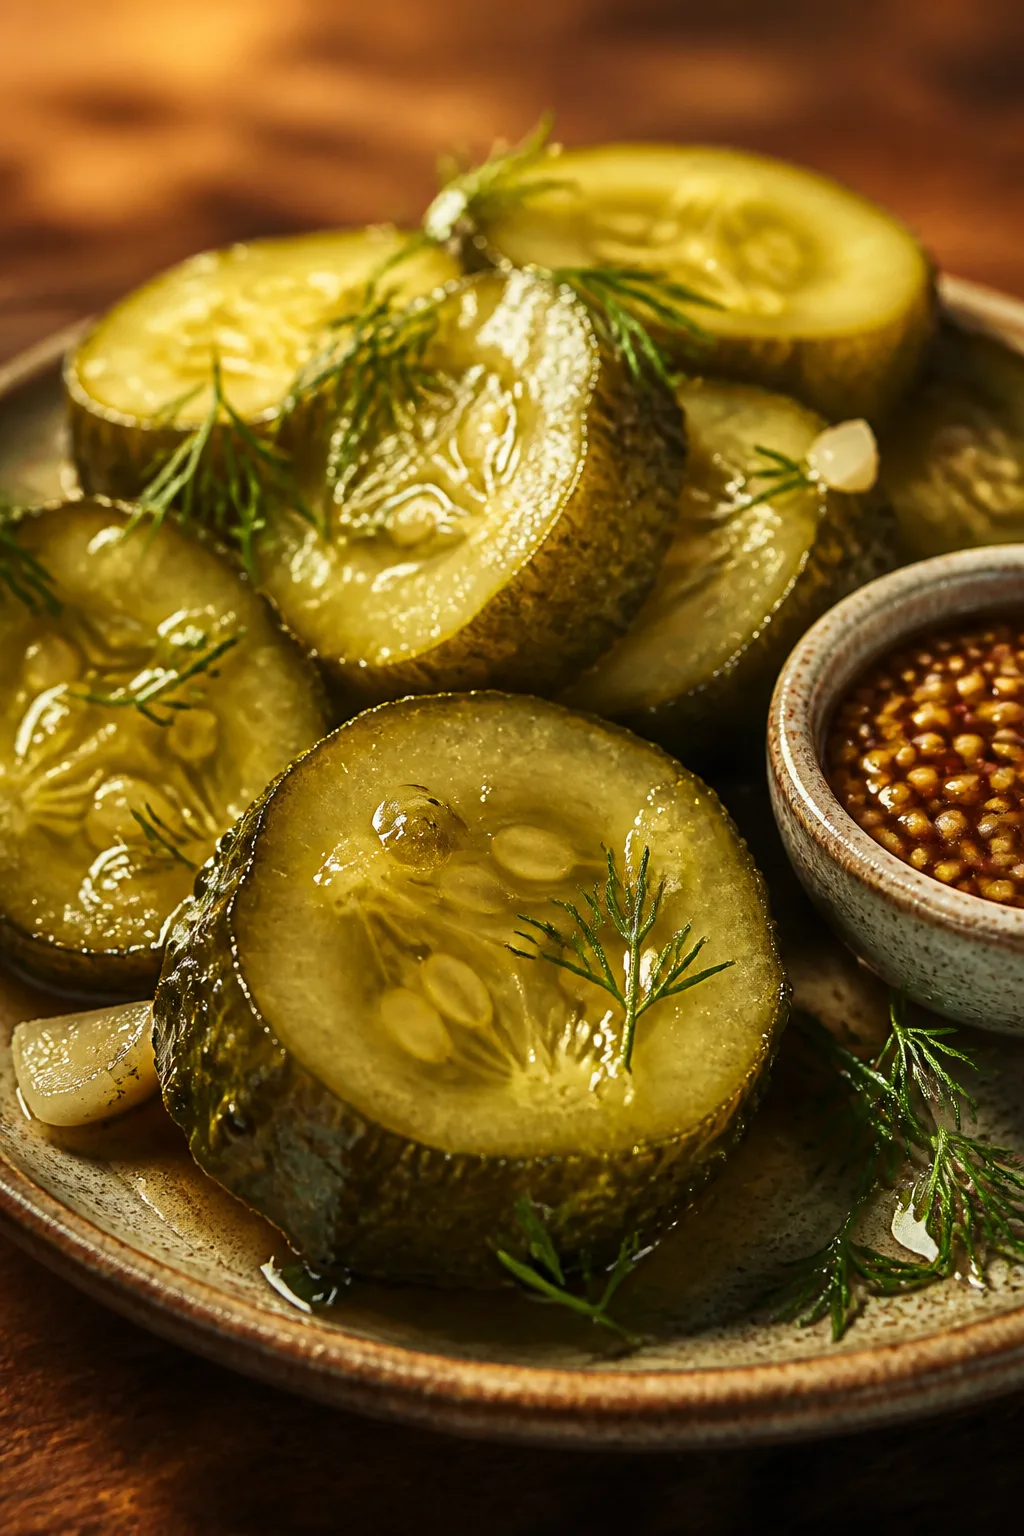
These pickles are my go-to when I want a quick tangy snack or a crunchy sandwich topper. The fresh dill and garlic really bring that classic zing, and they come together fast, no fuss!
Introduction
I first made these homemade dill and garlic pickles on a whim, craving that satisfying crunch you just can't get from store-bought jars. What I love about this recipe is how fresh and bright the flavors come through — the dill is vibrant, and the garlic gives just the right punch without overpowering. Unlike some pickles that take weeks, these are ready in just a few days. One trick I learned is to slice the cucumbers evenly and pack them tightly, so every bite is perfectly crisp. I've had my fair share of soggy pickles before figuring out the right salt and vinegar balance, so this recipe is my little victory! The end result? Pickles that are tangy, crunchy, and perfect for snacking or topping your favorite sandwiches. Honestly, once you try making your own, you might never go back to the store version.
What You'll Need
Approximately 4 cups pickles, 4 servings
- 4 cups cucumber slices, fresh
- 2 cups water
- 1 cup white vinegar
- 1 tablespoon kosher salt
- 4 cloves garlic, smashed
- 4 sprigs fresh dill
- 1 teaspoon black peppercorns
- 1 teaspoon mustard seeds
How To Do It
Step 1
Start by slicing the cucumbers into uniform pieces, about 1/4 inch thick. This ensures they pickle evenly and stay crisp. Avoid slicing too thin, or they'll get mushy quickly. Rinse the slices under cold water, then pat dry with a clean towel to remove excess moisture. This step helps the pickles stay crunchy and prevents dilution of the brine.
⏱ Time: 10
✓ Doneness: Slices are evenly cut and dry to the touch
Step 2
In a medium saucepan, combine water, white vinegar, and kosher salt. Heat over medium until the salt dissolves completely, stirring occasionally. Don’t let the mixture boil vigorously; just warm enough to dissolve salt fully. This creates a balanced brine that preserves crunch and adds tang without harshness.
⏱ Time: 5
✓ Doneness: Brine is clear with no salt crystals visible
Step 3
Place the smashed garlic cloves, fresh dill sprigs, black peppercorns, and mustard seeds into a clean glass jar. These aromatics infuse the pickles with classic flavors that make this recipe special. Make sure the jar is sanitized to prevent any unwanted bacteria growth during pickling.
⏱ Time: 5
✓ Doneness: Aromatic ingredients are evenly spread in the jar bottom
Step 4
Pack the cucumber slices tightly into the jar on top of the herbs and spices, leaving about half an inch of headspace at the top. Press down gently to remove air pockets but avoid crushing the slices. Proper packing ensures consistent flavor and texture throughout the batch.
⏱ Time: 5
✓ Doneness: Jar is full but not overflowing, cucumbers are snug
Step 5
Pour the warm brine over the cucumbers until they are fully submerged. If needed, use a clean weight or small glass to keep the cucumbers under the liquid. Exposure to air can cause spoilage or uneven pickling, so this step is crucial for safety and flavor.
⏱ Time: 5
✓ Doneness: Cucumbers fully covered with brine, no floating pieces
Step 6
Seal the jar with a tight-fitting lid and let it cool to room temperature before refrigerating. Cooling prevents condensation inside the jar, which could dilute the brine or encourage mold growth. This patience pays off with crisp, delicious pickles.
⏱ Time: 10
✓ Doneness: Jar is cool to the touch before refrigeration
Step 7
Refrigerate the jar for at least 24 hours before tasting. The flavors develop more over 2-3 days, so if you can wait, your pickles will taste even better. I like to shake the jar gently once a day to redistribute flavors.
⏱ Time: 1440
✓ Doneness: Pickles have vibrant color and tangy aroma
Step 8
When ready to serve, use a fork or tongs to remove pickles from the jar. They’re perfect as a crunchy snack, burger topping, or side to your favorite meals. Store leftovers in the fridge and consume within 2 weeks for best quality.
⏱ Time: 0
✓ Doneness: Pickles maintain crunch and bright flavor
Step 9
If you want to keep pickling longer, you can refill the jar with fresh brine and repeat the process. This keeps the batch going and reduces waste. Just make sure to monitor the flavor and texture so they don’t get too sour or soft.
⏱ Time: 0
✓ Doneness: Pickles stay firm and flavorful after refreshing brine
Variations
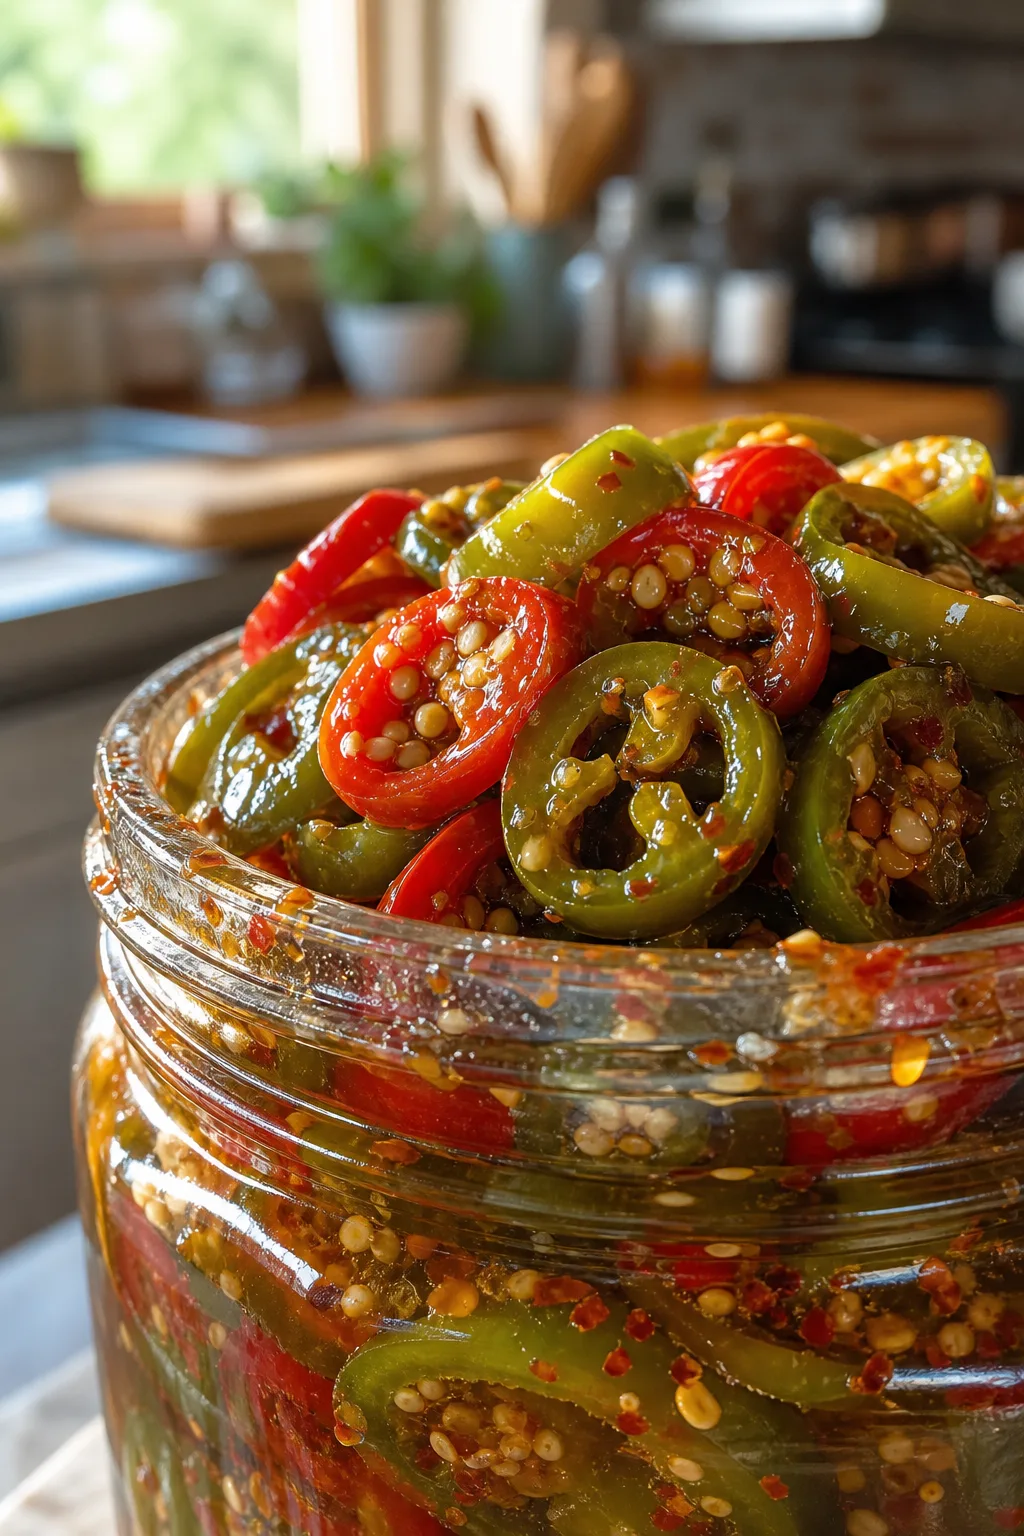
Spicy Dill Pickles
Add a few dried red pepper flakes or a sliced jalapeño to the jar for a spicy kick. The heat complements the garlic and dill, making these perfect for those who love a little fire in their snacks.
Note: Monitor the spice level carefully; peppers release heat over time. Adjust quantity to your heat preference.
Bread and Butter Pickles
Incorporate some sugar and mustard seeds into the brine to create a sweet and tangy pickle. These are great for sandwiches and pair well with richer meats.
Note: Reduce salt slightly to balance sweetness and maintain crispness.
Garlic Herb Pickles
Add fresh thyme or rosemary along with dill for a herbaceous twist. This variation pairs beautifully with roasted dishes and adds complexity to the flavor.
Note: Use fresh herbs sparingly to avoid overpowering the classic dill flavor.
Quick Refrigerator Pickles
Slice cucumbers thinner and reduce brining time to just a few hours for quick pickles. Great when you need a crunchy snack fast, but expect a milder flavor.
Note: Because of short brining, store in fridge and consume within 3-4 days to ensure freshness.
Sweet and Spicy Pickles
Combine sugar, honey, and chili flakes in the brine for a complex sweet-heat profile. These pickles are fantastic on burgers or charcuterie boards.
Note: Balance sugar and spice carefully to preserve crispness and avoid cloying flavors.
Pro Tips
Slice cucumbers evenly for consistent pickling.
Uniform slices ensure that each piece absorbs the brine at the same rate, preventing some from becoming mushy while others stay too firm. Uneven slices can lead to unpredictable texture and inconsistent flavor.
Use a clean, sterilized jar to prevent spoilage.
Sanitizing your jar removes bacteria and yeast that could cause mold or off flavors. This step is crucial for safe pickling and keeps your pickles fresh longer.
Keep cucumbers fully submerged under the brine.
Exposure to air encourages unwanted bacterial growth and causes discoloration. Using a weight or small glass keeps all slices submerged, ensuring even fermentation and safety.
Don’t rush the resting time; let flavors meld.
Pickles develop their signature tang and crunch over time. Rushing this step results in bland flavor and soft texture. Patience is key to a satisfying pickle.
Use kosher salt instead of table salt.
Kosher salt has no additives that can cloud the brine or affect flavor. It dissolves evenly and provides the right saltiness, which is essential for texture and preservation.
Smash garlic instead of chopping finely.
Smashing releases more flavor oils and prevents garlic bits from overpowering the brine. It imparts a balanced garlic aroma without bitterness.
Store pickles in the fridge for best crunch.
Cold slows bacterial activity and preserves texture. Room temperature storage shortens shelf life and softens pickles.
Common Mistakes to Avoid
Using uneven cucumber slices
Why it happens It’s easy to slice haphazardly, especially if you’re in a hurry or don’t have a sharp knife. This leads to inconsistent pickling.
Fix Take your time slicing and use a sharp knife or mandoline for even thickness. This ensures all pieces pickle uniformly and stay crisp.
Not fully submerging cucumbers in brine
Why it happens People often forget to use a weight or don’t pack the jar tightly, leaving some slices exposed to air.
Fix Use a clean weight or small glass to keep cucumbers under the brine. This prevents mold and uneven fermentation.
Using table salt instead of kosher salt
Why it happens Table salt is more common and easier to grab, but it contains additives that affect taste and clarity.
Fix Always use kosher salt for pickling. It dissolves cleanly and flavors the brine properly.
Skipping the cooling step before refrigeration
Why it happens Impatience or lack of knowledge can lead cooks to refrigerate hot jars immediately, causing condensation.
Fix Allow jars to cool to room temperature before sealing and refrigerating to avoid water dilution and spoilage.
Eating pickles too soon
Why it happens Excited to try the pickles, some eat them before the flavors fully develop.
Fix Wait at least 24 hours, ideally 2-3 days, for the best texture and flavor. It’s worth the wait!
Nutrition
Per Serving:
Nutritional values are estimates and may vary based on specific ingredients used.
Storage & Tips
Room Temperature
These pickles should not be kept at room temperature for more than 2 hours as they are refrigerated quick pickles. Always keep them covered and chilled to maintain crunch and prevent spoilage.
Refrigerator
Store pickles in an airtight glass jar for up to 2 weeks. Flavor and crunch remain best during the first week. They can be enjoyed cold or at room temperature, but refrigeration keeps them crisp longer.
Freezer
Freezing is not recommended as it will cause cucumbers to become mushy and lose crunch. Instead, consume within 2 weeks refrigerated or make smaller batches.
Reheating
No reheating needed or recommended. Serve pickles cold or at room temperature for best texture and flavor.
Make Ahead
You can prepare the brine and aromatics a day ahead and slice cucumbers just before assembling. This saves time and keeps cucumbers fresh. Once assembled, refrigerate and allow pickling for at least 24 hours before serving.
FAQ
Can I use regular cucumbers instead of Kirby cucumbers?
You can, but Kirby cucumbers are preferred because of their firm flesh and thin skin, which helps the pickles stay crisp. Regular slicing cucumbers are often larger and more watery, which can lead to softer, less crunchy pickles. If using regular cucumbers, slice thicker and consider reducing brining time slightly.
How long do these pickles last in the fridge?
Stored properly in an airtight container, these pickles last about 2 weeks in the refrigerator. Over time, they may become softer and more sour. For best texture and flavor, try to consume them within the first week.
Can I use apple cider vinegar instead of white vinegar?
Yes, apple cider vinegar can be used and will add a slightly fruity note to your pickles. Make sure it has at least 5% acidity to preserve the cucumbers properly. The color of the pickles may also be slightly darker.
Why are my pickles soft and mushy?
Soft pickles usually result from using cucumbers that are not fresh or slicing them too thin. Also, if the brine is too hot when poured over cucumbers or if they weren’t fully submerged, it can cause mushiness. Use fresh, firm cucumbers and follow the brining instructions carefully.
Can I can these pickles for shelf storage?
This recipe is designed for quick refrigerator pickles and is not suitable for water bath canning. For shelf-stable pickles, use a tested canning recipe that includes proper processing times to ensure safety.
How can I make these pickles spicier?
Add sliced jalapeños, red pepper flakes, or even a few whole peppercorns to the jar before pouring the brine. Start with small amounts, as the heat intensifies over time in the brine.
Is it necessary to smash the garlic?
Smashing garlic releases more of its oils and flavor into the brine, giving the pickles a balanced garlic punch without overpowering. You can finely slice or chop if you prefer a milder infusion, but smashing is recommended for best flavor.
Why does my brine look cloudy?
A slightly cloudy brine can happen if salt hasn’t fully dissolved or if there’s some sediment from spices. As long as there’s no off smell or mold, it’s usually safe. Using kosher salt and dissolving it fully in warm water helps keep the brine clear.
Final Thoughts
I hope you give this dill and garlic pickle recipe a try — they’re so much better fresh from your own kitchen! Don’t forget to share how yours turn out; I’d love to hear your tweaks and favorites.