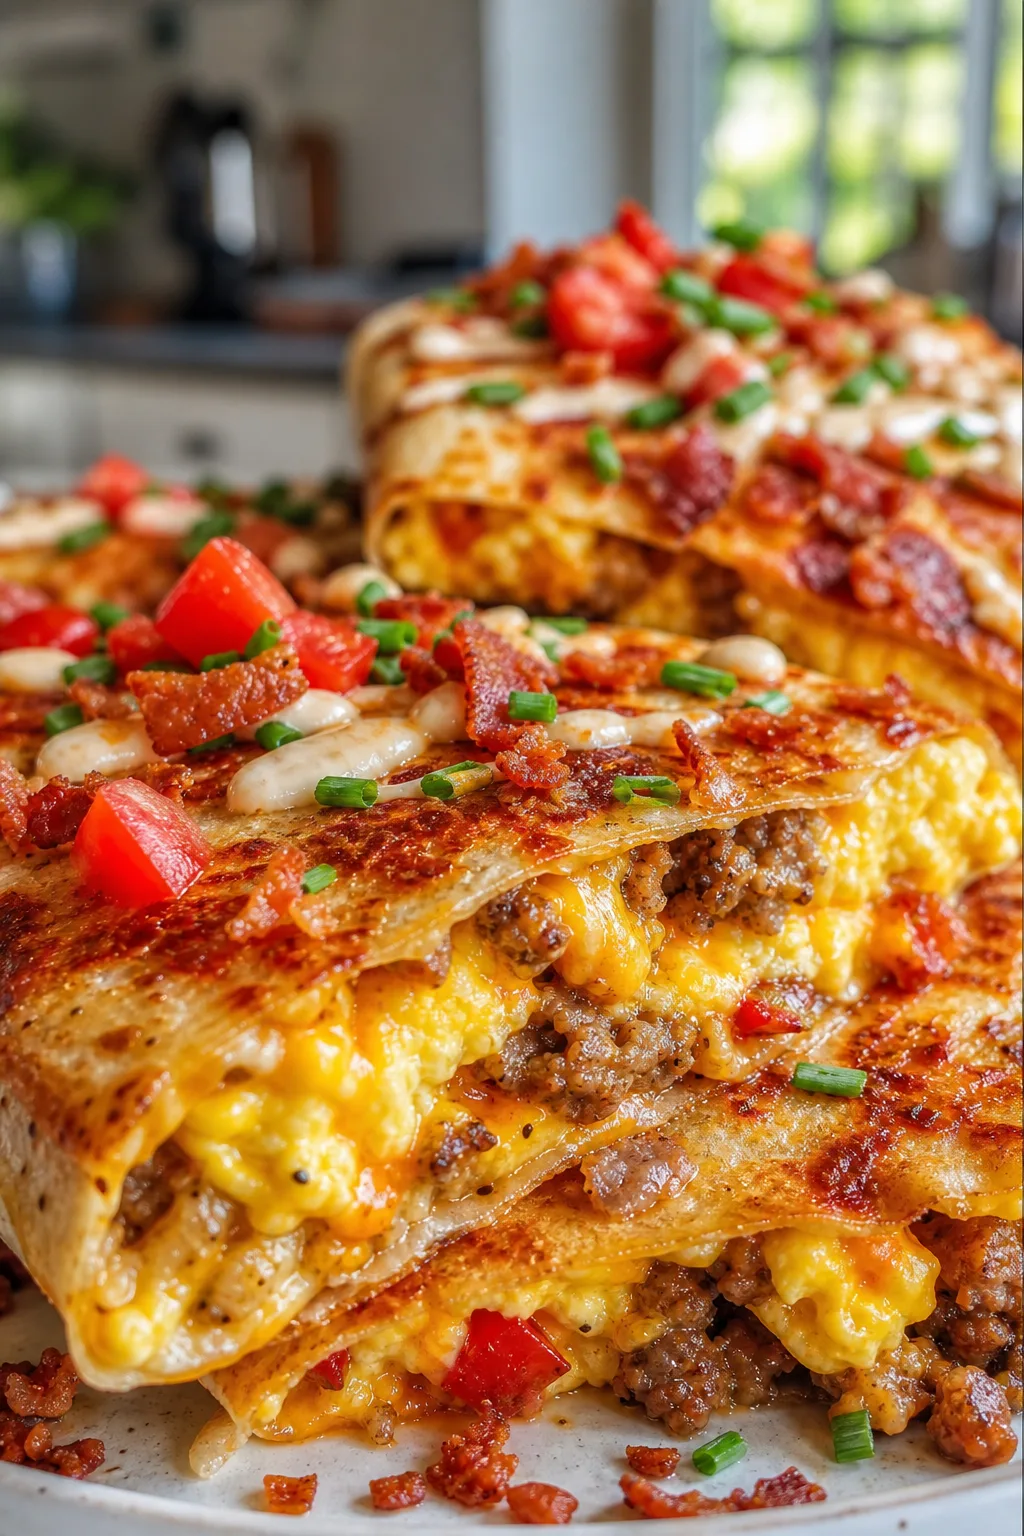
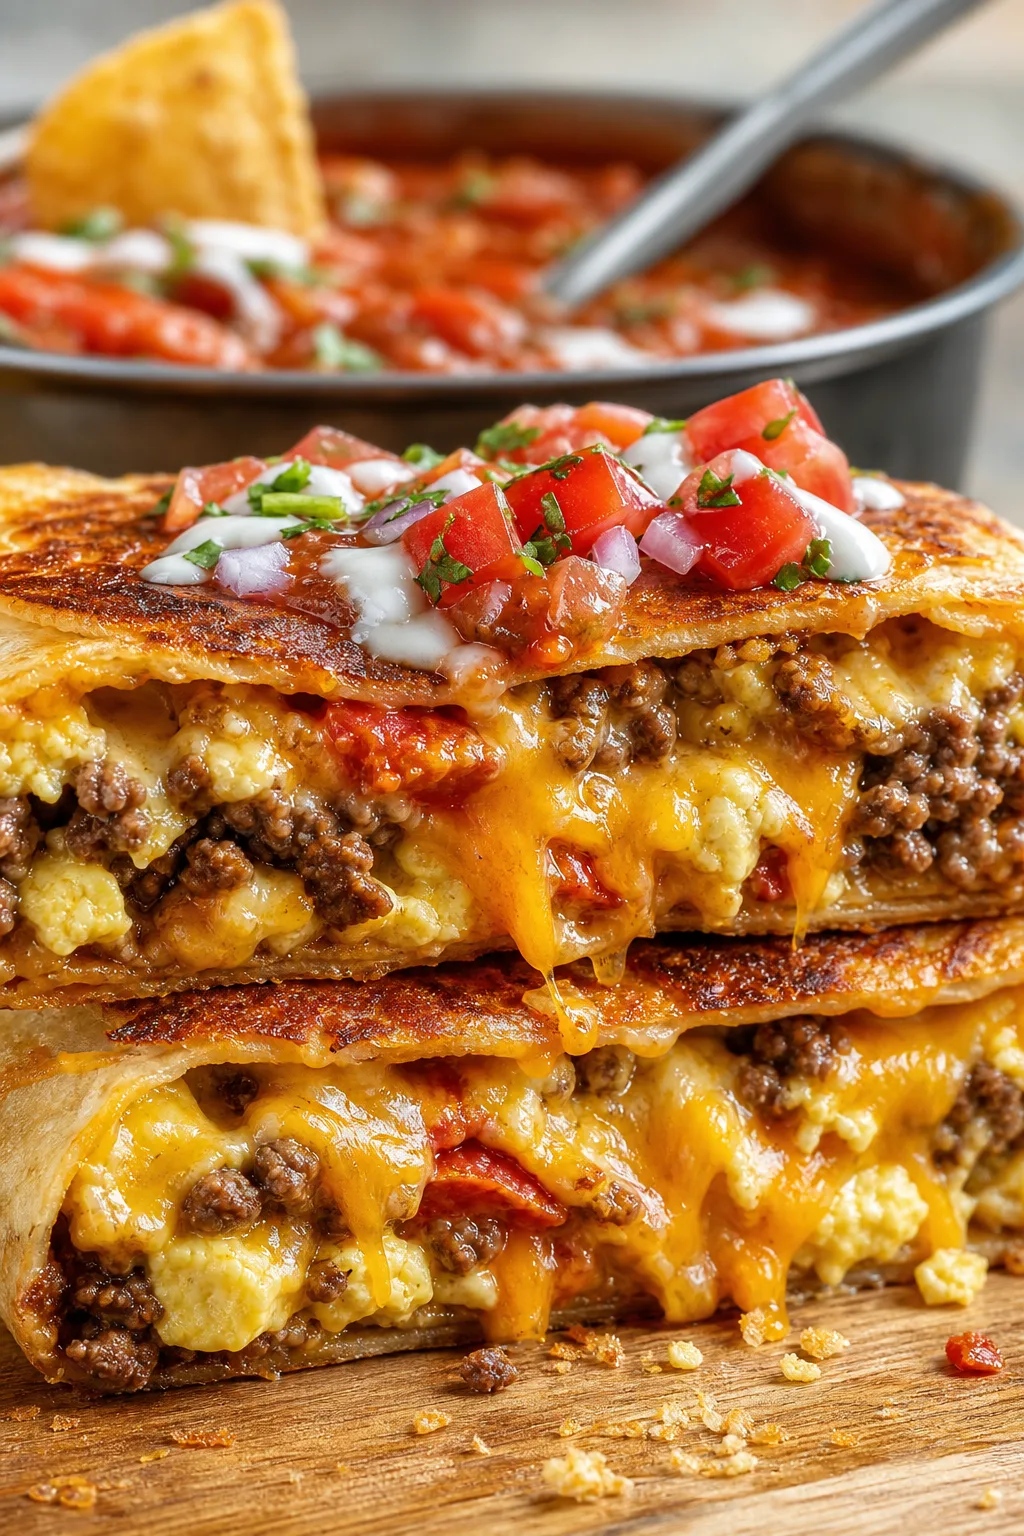
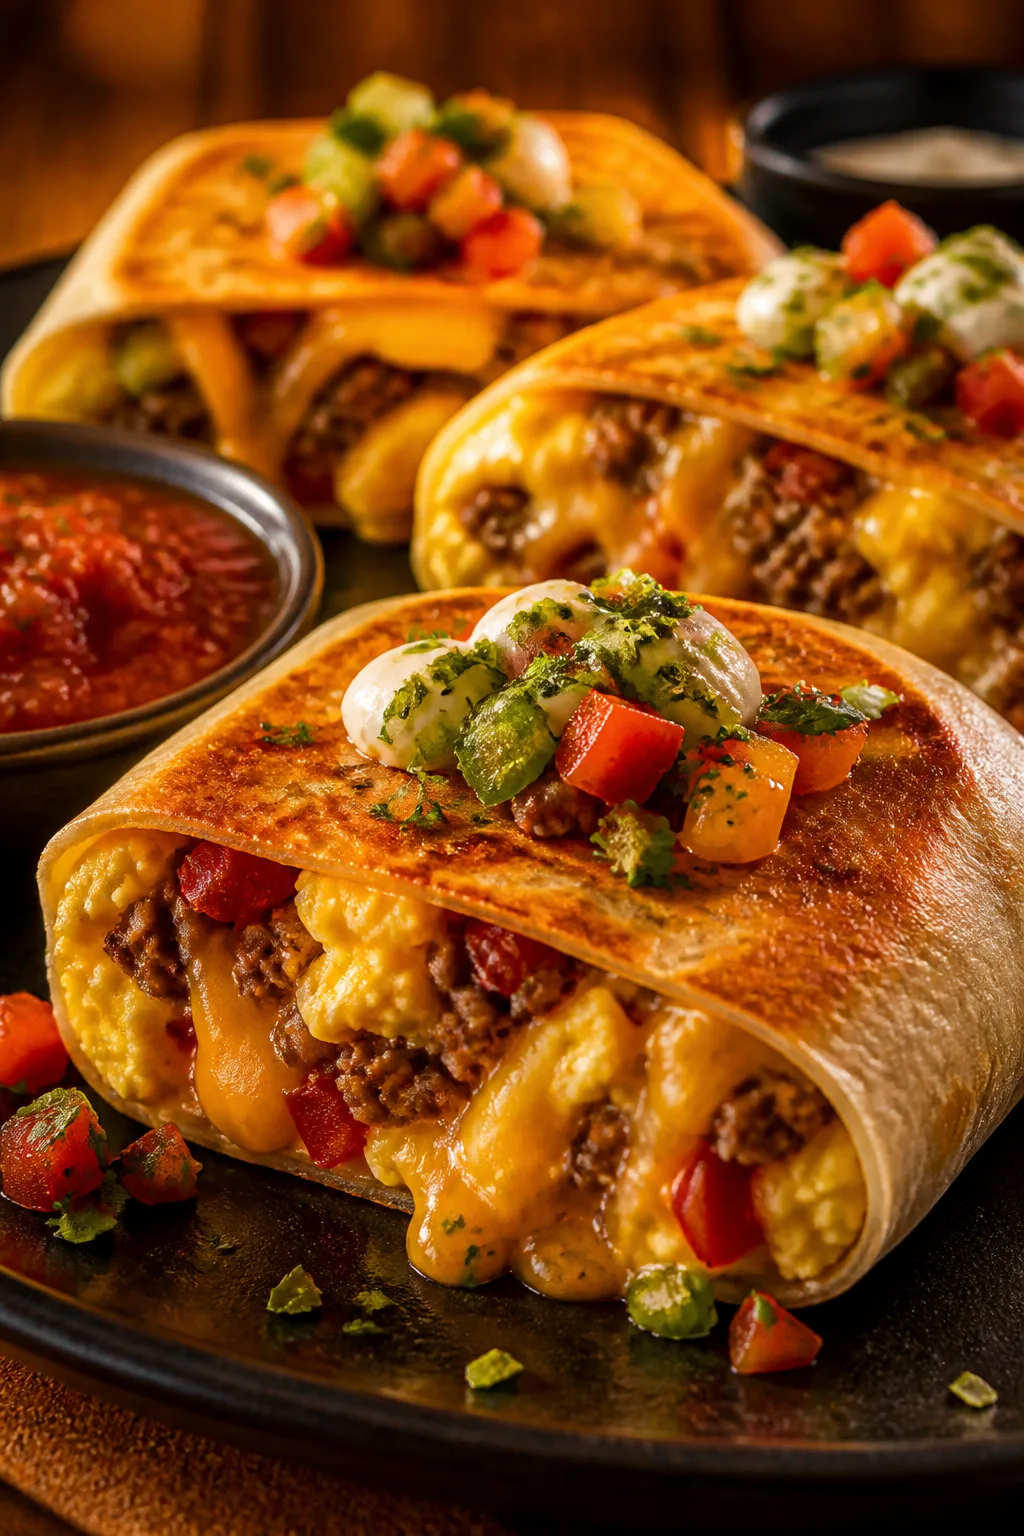
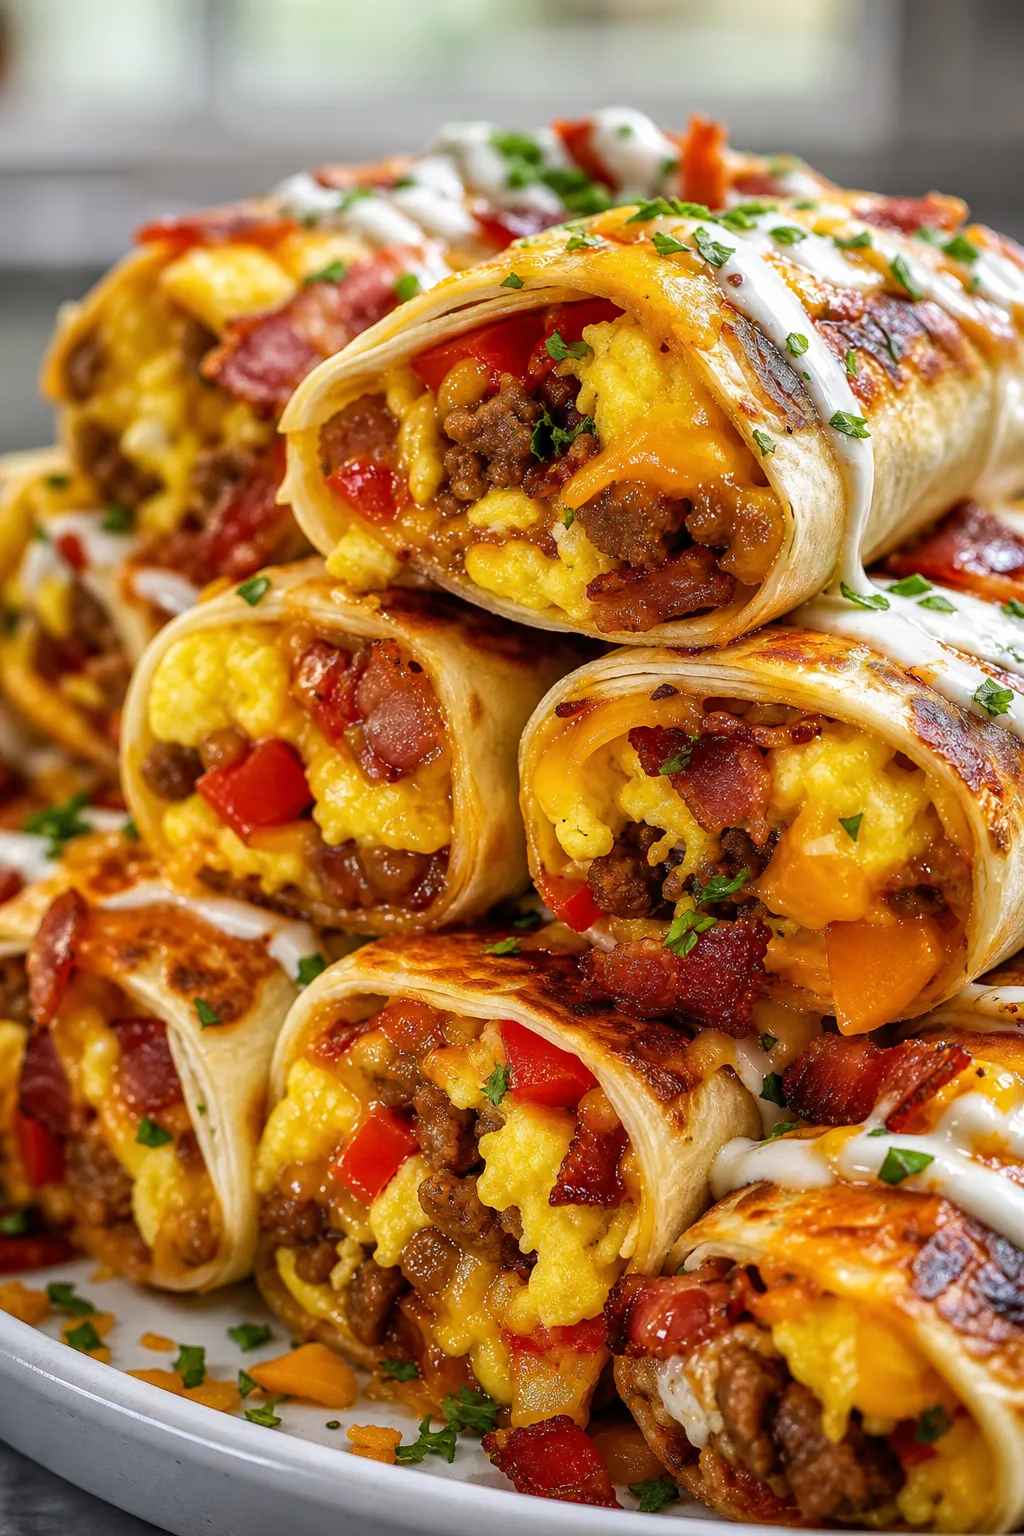
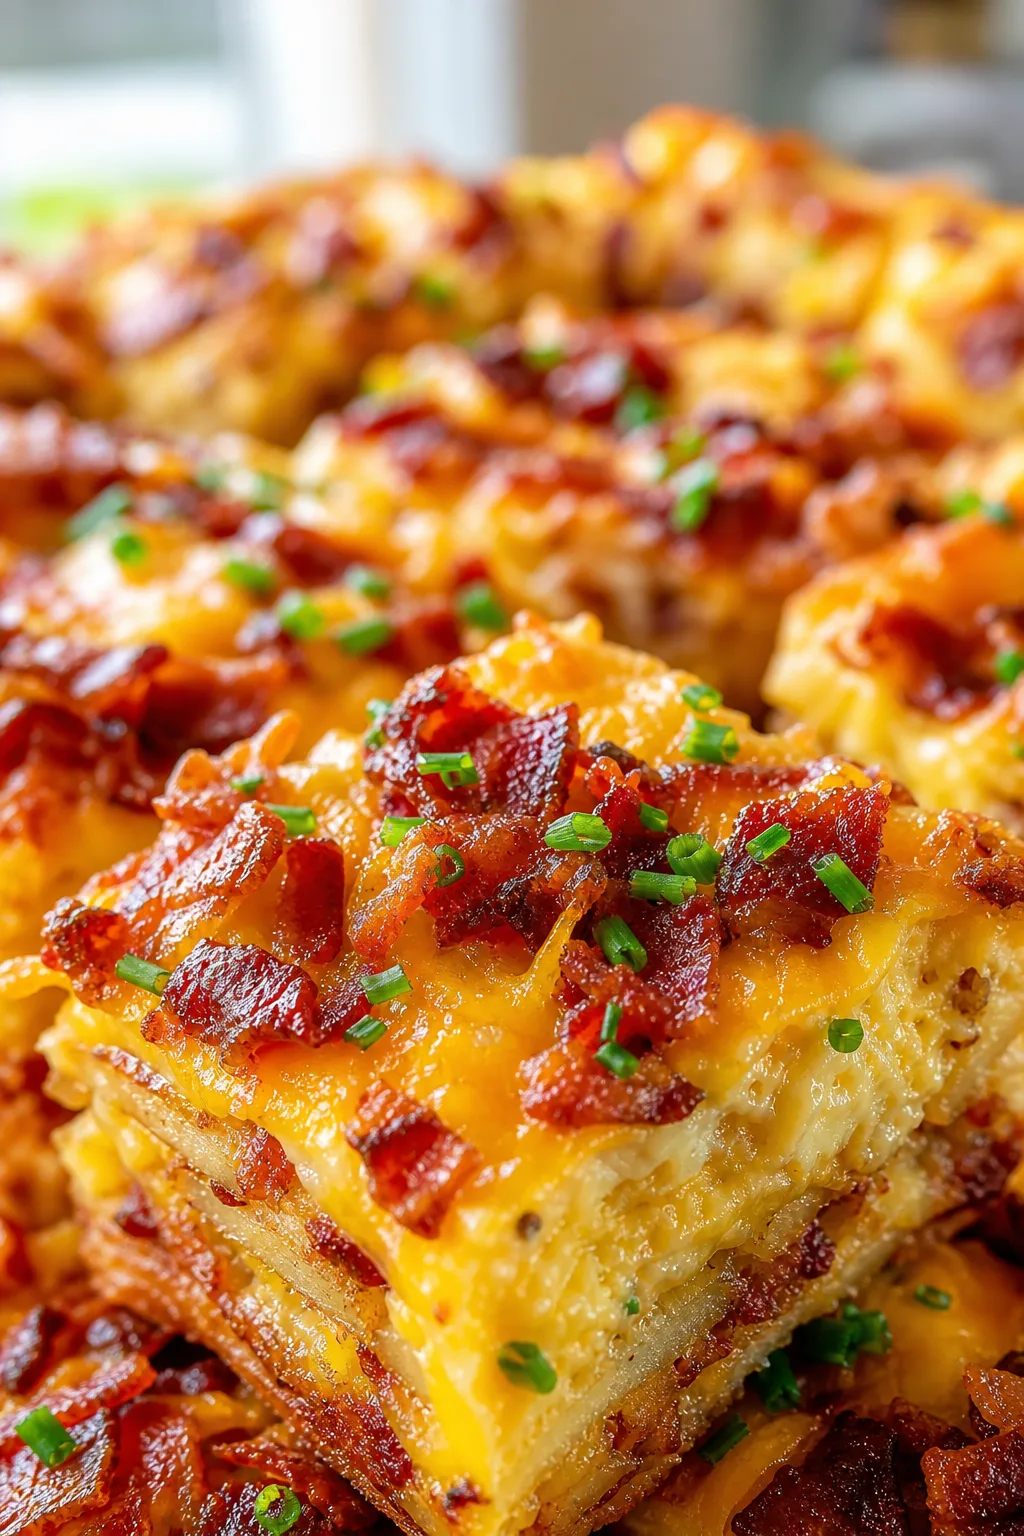
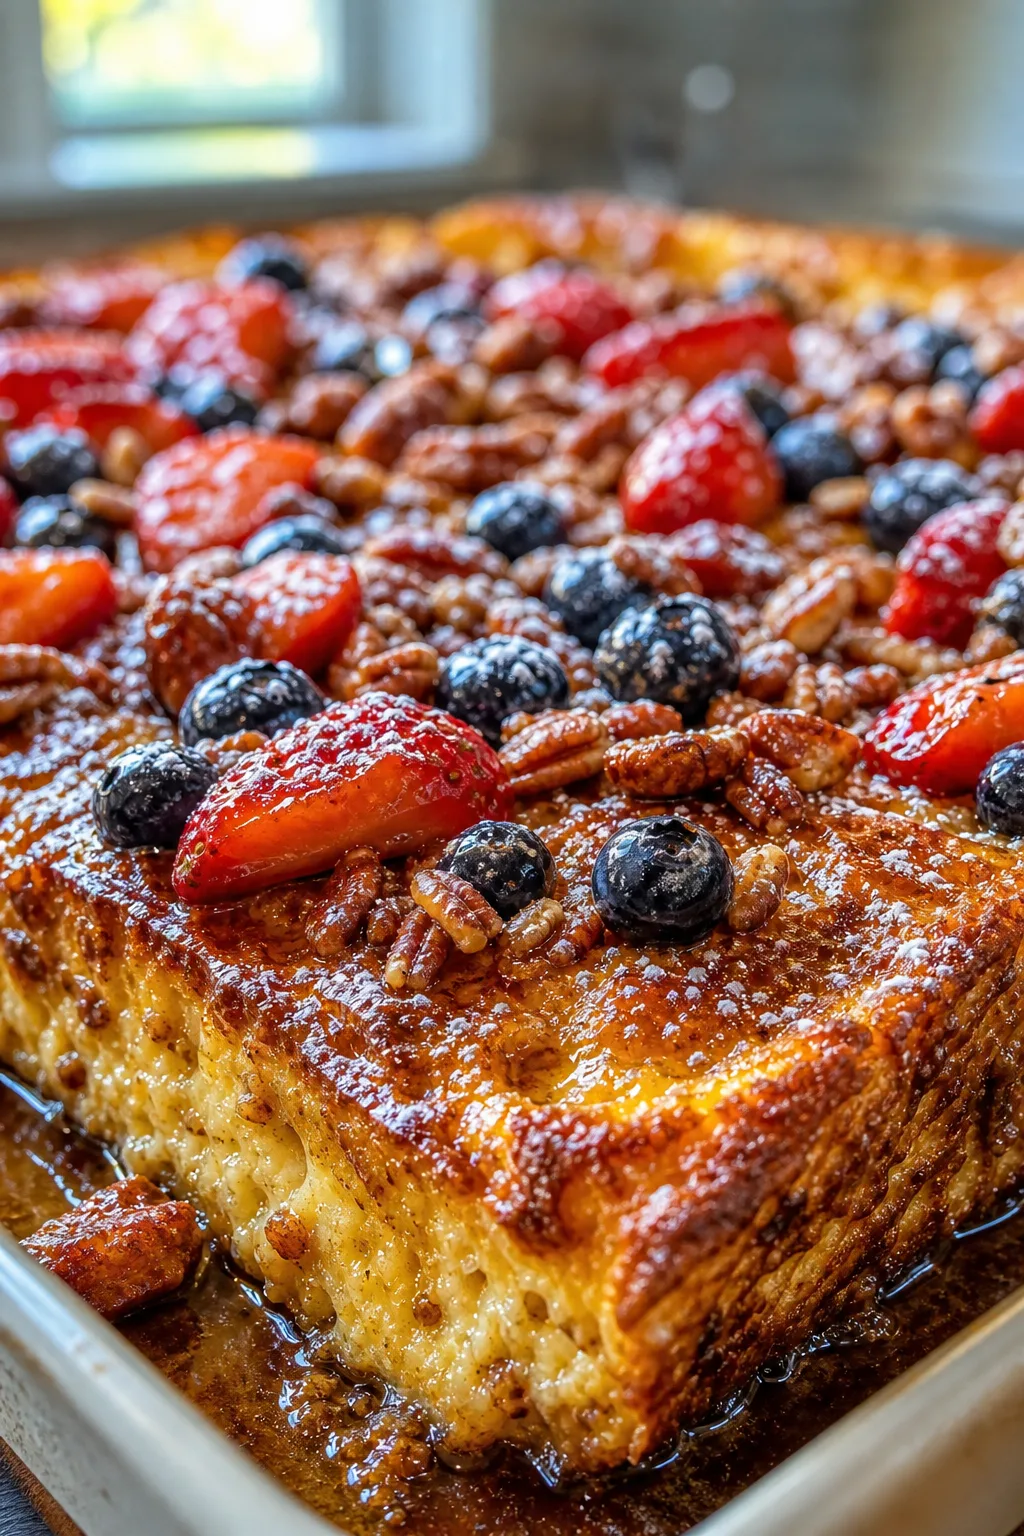
This sheet pan breakfast crunchwrap is a lifesaver on busy mornings. Loaded with fluffy eggs, gooey cheese, and savory sausage, it’s all toasted to crispy perfection. Perfect for brunch or a weekend treat!
Introduction
I first stumbled upon this sheet pan breakfast crunchwrap recipe when I needed a quick, no-fuss meal to feed a hungry family on a weekend morning. I’d tried individual wraps before, but they were time-consuming and messy. This one-pan method changed everything. What makes it stand out is how everything cooks together evenly, and the edges get perfectly crispy while the insides stay soft and cheesy. I love that it combines fluffy eggs, melty cheddar, and savory sausage all toasted up on a single sheet pan – less cleanup, more yum! The trick I learned was to use a little butter brushed on the tortillas before baking to get that golden crunch. Plus, adding diced green onions gives a fresh burst of flavor that balances the richness. When it’s done, you get this beautiful golden crunchwrap that’s hearty, satisfying, and so easy to slice and serve. It’s become my go-to for weekend brunches or anytime I want a crowd-pleasing breakfast without standing over the stove for ages. Honestly, it feels like a treat but is so simple to pull off. If you love breakfast that’s both comforting and effortless, you’ll really enjoy this one.
What You'll Need
4 large crunchwraps, serves 4
- 8 large flour tortillas
- 8 large eggs, whisked
- 1 cup shredded cheddar cheese
- 1 cup cooked breakfast sausage, crumbled
- 1/2 cup diced green onions
- 1/4 cup sour cream
- 1 tablespoon butter
- Salt and pepper to taste
- Optional: hot sauce for serving
How To Do It
Step 1
Preheat your oven to 400°F (200°C). Line a large sheet pan with parchment paper or a silicone baking mat to prevent sticking and help with easy cleanup. This preparation ensures your crunchwraps don’t stick and bake evenly. Don’t skip this step because the direct heat on the pan can cause the tortillas to burn or stick, ruining the texture.
⏱ Time: 10 minutes
✓ Doneness: Oven fully preheated and pan lined with parchment
Step 2
In a mixing bowl, whisk the eggs with a pinch of salt and pepper until fully combined and slightly frothy. Whisking introduces air, which helps make the eggs fluffy when cooked. Avoid rushing this step; under-whisked eggs can turn rubbery instead of light and tender.
⏱ Time: 5 minutes
✓ Doneness: Eggs are pale yellow and frothy
Step 3
Heat a nonstick skillet over medium heat and melt the butter. Pour in the whisked eggs and gently scramble them, stirring occasionally until just set but still soft. Stop cooking before they are fully firm because they will continue to cook in the oven and you want them moist inside the crunchwrap.
⏱ Time: 5 minutes
✓ Doneness: Eggs are mostly set but still moist and soft
Step 4
Lay out the tortillas on the prepared sheet pan. Spread a thin layer of sour cream in the center of each tortilla, leaving about 2 inches from the edge. The sour cream acts as a glue and adds tangy creaminess. Don’t use too much or the tortillas will get soggy.
⏱ Time: 5 minutes
✓ Doneness: Sour cream evenly spread but not dripping over edges
Step 5
Divide the scrambled eggs evenly over the sour cream on each tortilla. Top the eggs with crumbled cooked sausage and shredded cheddar cheese. Layering like this ensures every bite has balanced flavors and textures. If you rush, the cheese may melt unevenly or the sausage won’t be distributed well.
⏱ Time: 5 minutes
✓ Doneness: Evenly layered ingredients without overfilling
Step 6
Fold the edges of each tortilla up and over the filling to create a sealed crunchwrap shape. It doesn’t have to be perfect; just tuck the edges in to hold the filling. This folding traps steam so the eggs stay moist while the outside crisps up.
⏱ Time: 7 minutes
✓ Doneness: Tortillas folded up with filling enclosed
Step 7
Brush the tops of each crunchwrap lightly with melted butter. This helps the tortillas brown beautifully and develop a crispy texture in the oven. Skipping this step results in a softer, less golden crunchwrap.
⏱ Time: 3 minutes
✓ Doneness: Butter evenly brushed with a slight sheen
Step 8
Bake the crunchwraps in the preheated oven for 15-20 minutes or until the tortillas are golden brown and crispy. Keep an eye on them to prevent burning. The baking melts the cheese fully and crisps the tortilla edges for that perfect crunch.
⏱ Time: 15-20 minutes
✓ Doneness: Crunchwraps are golden, crispy, and cheese is melted
Step 9
Remove from the oven and let the crunchwraps rest for 2-3 minutes before slicing. This resting time helps the filling set slightly so it doesn’t spill out when cut. Serve warm with optional hot sauce for a spicy kick.
⏱ Time: 3 minutes
✓ Doneness: Crunchwraps cool slightly and hold shape when sliced
Variations
Vegetarian Crunchwrap
Swap sausage for sautéed mushrooms and bell peppers. Add black beans for protein and a smoky chipotle sauce for flavor. This keeps the crunchwrap hearty but meat-free.
Note: Sauté veggies until tender and moisture evaporates to avoid soggy crunchwraps.
Spicy Southwest Crunchwrap
Add diced jalapeños and a sprinkle of cumin and chili powder to the eggs. Use pepper jack cheese for extra heat. Serve with salsa and avocado slices.
Note: Adjust spice level carefully to keep flavors balanced without overpowering.
Cheesy Bacon Crunchwrap
Replace sausage with crispy bacon and add extra cheddar and mozzarella blend for gooey cheesiness. Great for bacon lovers seeking a rich breakfast.
Note: Cook bacon until crispy to prevent sogginess inside the crunchwrap.
Healthy Whole Wheat Crunchwrap
Use whole wheat tortillas and turkey sausage for a lighter version. Add fresh spinach for extra greens. This option is nutritious without sacrificing taste.
Note: Whole wheat tortillas may be less pliable; warm them slightly before folding.
Sweet Breakfast Crunchwrap
Fill with scrambled eggs, cream cheese, and a drizzle of maple syrup. Add cooked apples or berries for a sweet twist on the classic savory crunchwrap.
Note: Use less salt in eggs and balance sweetness carefully to avoid clashing flavors.
Pro Tips
Don’t overcook the eggs before assembling.
Eggs continue cooking in the oven, so undercooking slightly ensures they finish moist and tender inside the crunchwrap. Overcooked eggs become rubbery and dry, ruining the texture contrast.
Brush melted butter on tortillas before baking.
Butter helps the tortillas brown evenly and get crispy through the Maillard reaction, adding flavor and texture that oil or skipping fat won’t replicate.
Use parchment paper or a silicone mat on your sheet pan.
This prevents sticking and makes cleanup a breeze. It also helps distribute heat evenly and keeps the tortillas from burning on the pan surface.
Fold the tortilla edges tightly around the filling.
Tight folding traps steam and moisture inside, keeping the filling juicy while the outer shell crisps up. Loose folds can lead to filling leaks and uneven texture.
Let the crunchwraps rest a few minutes after baking.
Resting helps the filling set, making slicing cleaner and preventing the contents from spilling out when cut.
Use sharp cheddar cheese for better melting and flavor.
Sharp cheddar melts smoothly and adds a nice tang that balances the richness of sausage and eggs, elevating the overall taste.
Add diced green onions for a fresh flavor pop.
Green onions cut through the richness and add a subtle crunch, brightening the dish and making it taste more complex.
Common Mistakes to Avoid
Overcooking eggs before assembly
Why it happens Many cooks want to fully scramble eggs ahead of time to save baking time, but this dries them out.
Fix Cook eggs until just set but still moist, then finish cooking in the oven. This keeps eggs tender and prevents dryness.
Skipping the butter on tortillas
Why it happens Some assume oil or no fat will crisp the tortillas fine, but it doesn’t brown the same.
Fix Brush melted butter on each tortilla before baking for perfect golden crispness and flavor.
Folding tortillas loosely
Why it happens To avoid tearing, some don’t fold edges tightly enough, causing filling to spill.
Fix Fold edges snugly around filling to trap moisture and keep crunchwrap intact.
Using corn tortillas instead of flour
Why it happens Corn tortillas are traditional for tacos but aren’t flexible enough for folding here.
Fix Use large flour tortillas that fold easily and crisp nicely in the oven.
Overfilling the crunchwraps
Why it happens Trying to pack too much filling leads to tearing or leaking during baking.
Fix Distribute filling evenly and keep a 2-inch border to allow folding without spillage.
Nutrition
Per Serving:
Nutritional values are estimates and may vary based on specific ingredients used.
Storage & Tips
Room Temperature
Crunchwraps can sit at room temperature for up to 2 hours covered loosely to avoid drying out. Longer than this risks food safety issues, especially with eggs and sausage inside.
Refrigerator
Store leftovers in an airtight container for up to 3 days. They may lose some crispiness but reheat well in the oven or toaster oven to restore crunch.
Freezer
Wrap each crunchwrap tightly in plastic wrap and foil, then freeze for up to 2 months. Thaw overnight in the fridge before reheating to preserve texture.
Reheating
Reheat in a 350°F oven for 10-12 minutes to crisp up the tortilla again. Avoid microwaving as it makes the tortilla soggy. Add a splash of water and cover loosely if reheating in microwave to keep eggs moist.
Make Ahead
You can prepare the filling and assemble crunchwraps up to a day ahead, then bake fresh when ready. Store assembled crunchwraps covered in the fridge and bake just before serving for best texture.
FAQ
Can I make this recipe gluten-free?
Yes! Use gluten-free flour tortillas to make this crunchwrap gluten-free. Just make sure your sausage and other ingredients are labeled gluten-free. The texture will be slightly different but still tasty and crispy.
How can I make this recipe dairy-free?
To make it dairy-free, substitute cheese with your favorite dairy-free cheese alternative and use a dairy-free spread instead of butter. Skip the sour cream or use a plant-based version. The flavor will be a bit different but still delicious.
Can I prepare this the night before?
Absolutely. You can scramble the eggs and cook the sausage ahead, then assemble the crunchwraps and cover tightly in the fridge. Bake fresh in the morning for best texture and flavor.
What’s the best way to reheat leftovers?
Reheat in a 350°F oven or toaster oven for 10-12 minutes to restore crispiness. Microwaving is faster but makes the tortilla soggy, so if you must microwave, cover loosely and add a splash of water.
Can I add veggies to this recipe?
Yes! Diced bell peppers, spinach, or mushrooms sautéed and added to the filling work great. Just cook veggies well to avoid excess moisture that could make the crunchwrap soggy.
What if my crunchwraps fall apart during baking?
Make sure you fold the tortillas tightly around the filling and don’t overfill. Using sour cream as a glue helps keep everything sealed. Also, be gentle when moving the sheet pan in and out of the oven.
Why are my eggs rubbery inside the crunchwrap?
This usually happens from overcooking the eggs before assembling. Cook them until just set and slightly moist, then finish baking in the oven to keep them tender.
Can I freeze assembled crunchwraps before baking?
Yes, wrap them tightly and freeze up to 2 months. Thaw overnight in the fridge and bake as usual. This is great for meal prep and quick breakfasts later.
Final Thoughts
I hope you love this sheet pan breakfast crunchwrap as much as my family does! Give it a try and let me know how it turns out – it’s a total game changer for easy, delicious mornings.