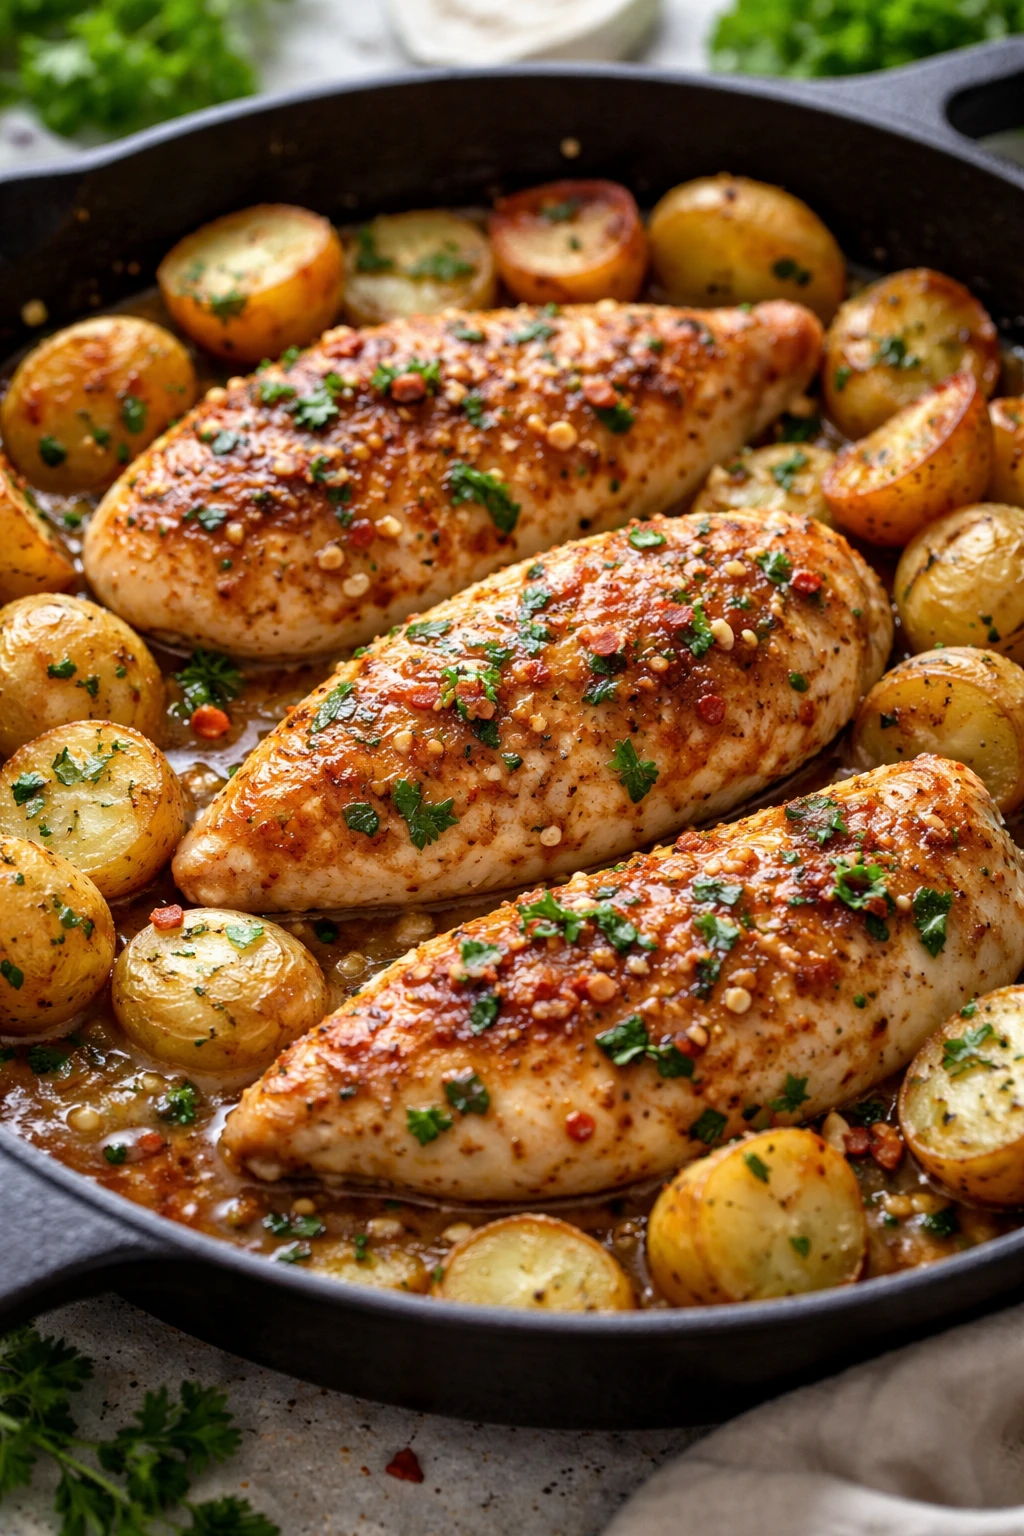
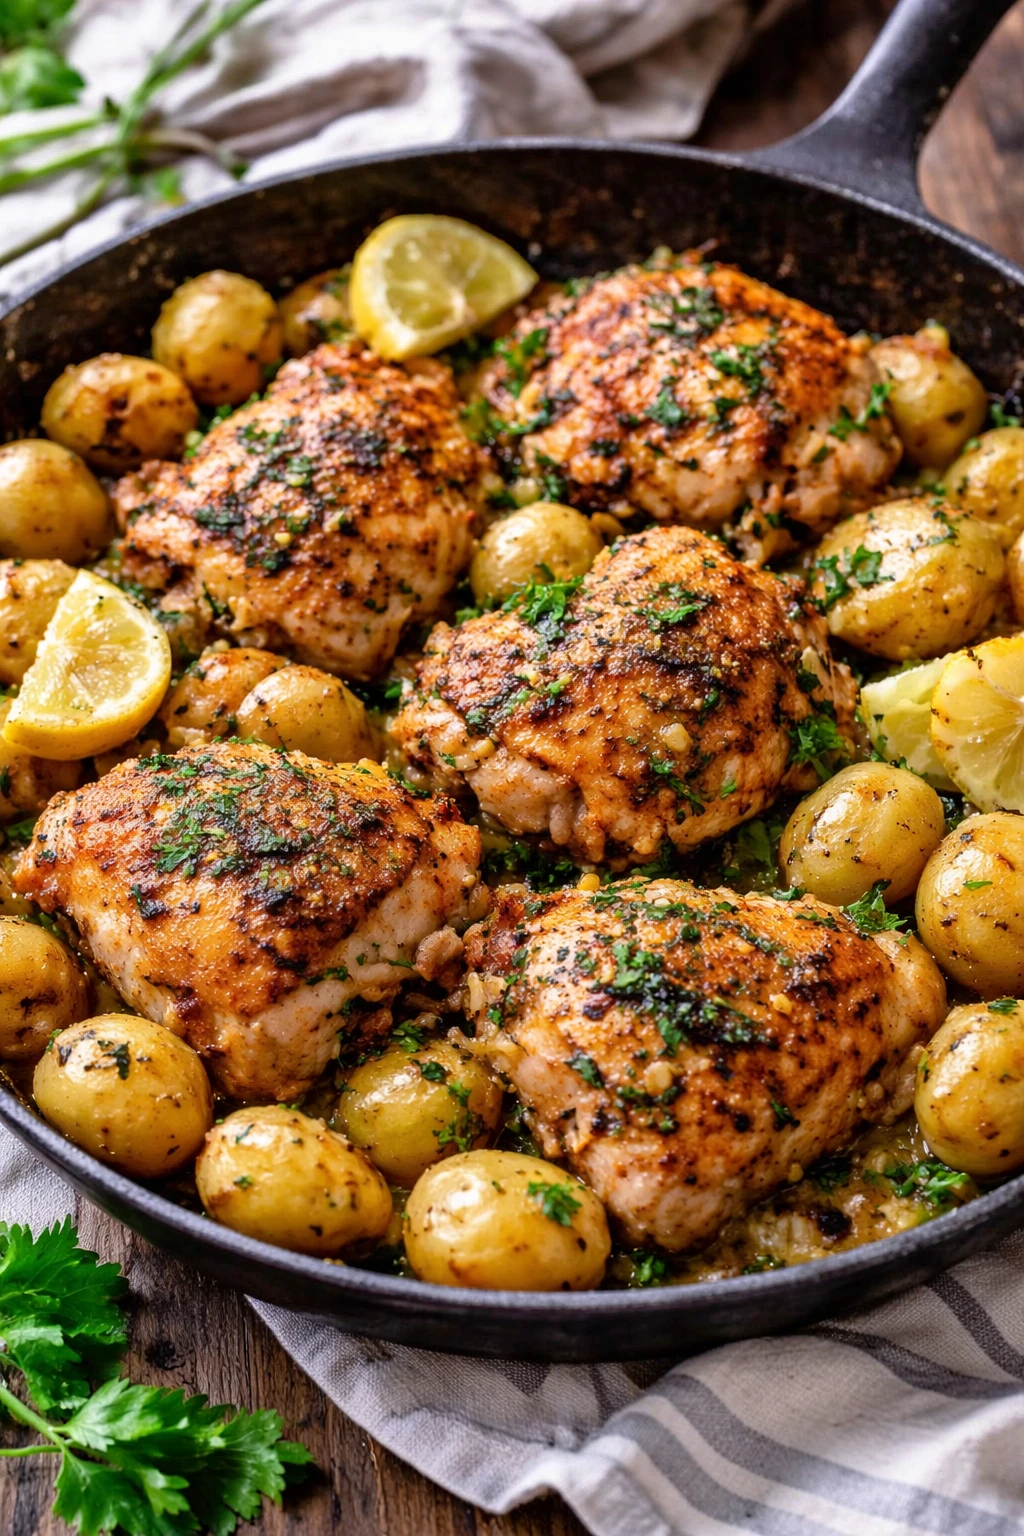
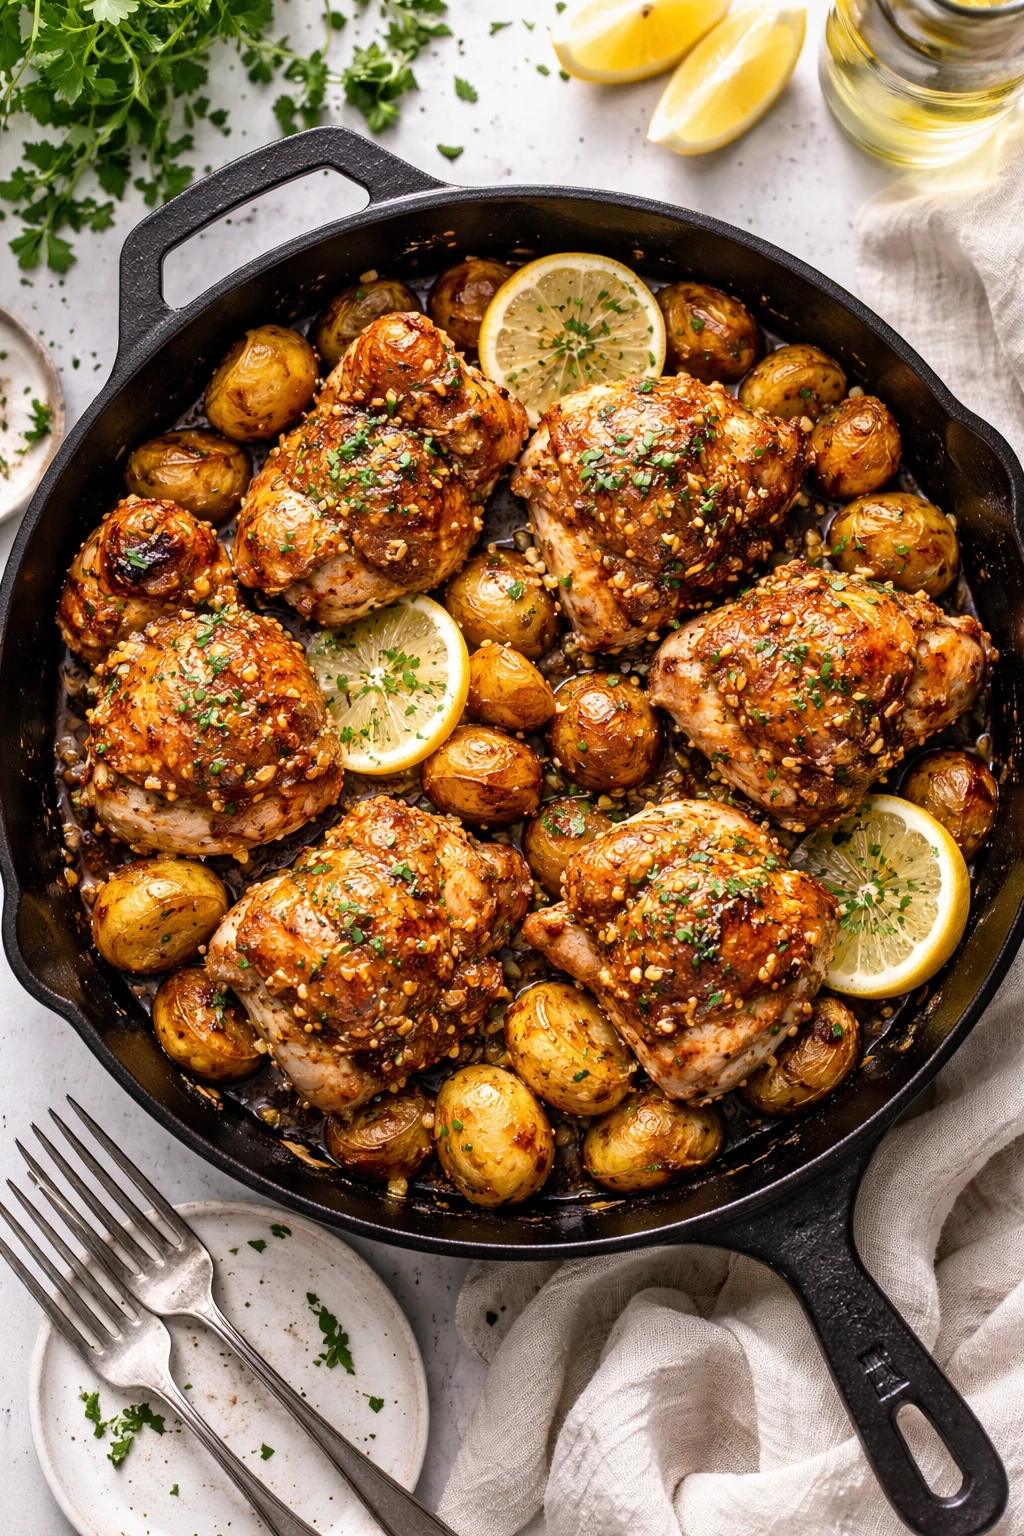
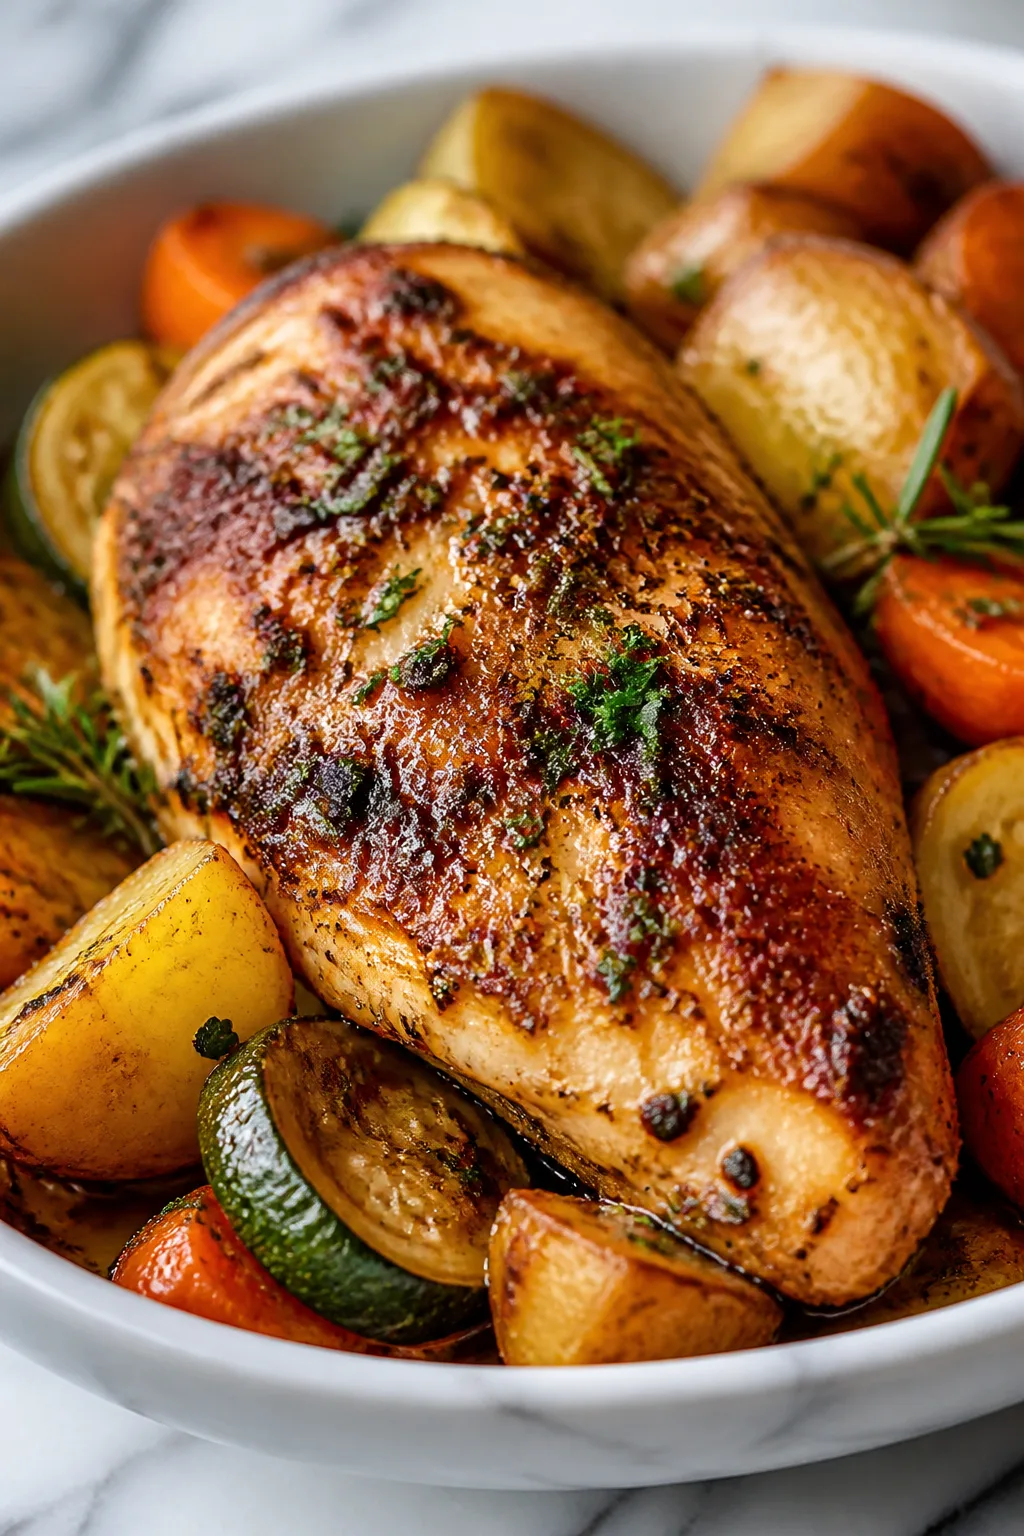
This one pan garlic butter chicken is juicy and tender, paired with crispy golden potatoes all soaked in a rich, buttery garlic sauce. It’s a simple, cozy dinner that’s perfect for busy weeknights or anytime you want comfort food without fuss.
Introduction
I first made this one pan garlic butter chicken with potatoes on a hectic weeknight when I needed something fast but still satisfying. It quickly became a favorite because it’s so simple yet packed with flavor. The trick I learned was to sear the chicken skin first to get that irresistible golden crisp, which locks in the juices. Then, roasting the potatoes alongside in the same pan lets them soak up all that buttery garlic goodness. It’s basically comfort food that doesn’t feel heavy or complicated. I love how the sauce turns silky and coats everything perfectly without needing extra steps or bowls. The finished dish is juicy, tender chicken with crispy skin, and potatoes that are crispy on the outside but soft inside. Plus, the garlic butter sauce ties it all together beautifully. It’s perfect for busy evenings when you want something homemade without a ton of cleanup. Honestly, I’ve messed up this recipe before by overcrowding the pan, so I always make sure to give the potatoes space to crisp up. If you want a cozy, fuss-free dinner, this one pan meal is a winner every time!
How To Do It
Step 1
Start by patting the chicken thighs dry with paper towels to ensure the skin crisps up nicely during cooking. Season both sides generously with salt, pepper, smoked paprika, and dried thyme. This seasoning mix gives the chicken a lovely depth of flavor and a hint of smokiness that complements the garlic butter sauce. Preheating the pan and drying the chicken properly are key to getting that golden, crispy skin everyone loves.
⏱ Time: 10
✓ Doneness: Chicken skin should be golden brown and crispy without burning
Step 2
Heat 2 tablespoons of olive oil in a large oven-safe skillet over medium-high heat. Once hot, add the chicken thighs skin-side down and sear without moving for about 6-8 minutes until the skin is deeply golden and releases easily from the pan. This step locks in the juices and builds flavor through the Maillard reaction, which creates that irresistible crust. Avoid flipping too soon or the skin will stick and tear.
⏱ Time: 8
✓ Doneness: Skin is crisp and golden brown; chicken releases easily when lifted
Step 3
Remove the chicken and set aside. Add the halved baby potatoes to the same skillet, tossing them in the rendered chicken fat and olive oil left behind. Spread them out evenly and cook undisturbed for 5 minutes to start crisping the cut sides. This initial sear on the potatoes is crucial for a crispy exterior later in the oven.
⏱ Time: 5
✓ Doneness: Potatoes develop a golden crust on the bottom side
Step 4
Flip the potatoes and add 2 tablespoons of butter along with the minced garlic. Stir gently to coat the potatoes in the butter and garlic without burning the garlic. The butter infuses the potatoes with richness and the garlic adds aromatic depth. Garlic burns quickly, so keep the heat moderate and stir often.
⏱ Time: 3
✓ Doneness: Garlic is fragrant but not browned or bitter
Step 5
Return the chicken thighs skin-side up on top of the potatoes. Add the remaining 2 tablespoons of butter, cut into small pieces, evenly distributed over the chicken and potatoes. This extra butter melts during roasting, creating a luscious garlic butter sauce that bastes the ingredients and keeps everything moist.
⏱ Time: 2
✓ Doneness: Butter pieces start melting but chicken skin stays exposed
Step 6
Transfer the skillet to a preheated oven at 400°F (200°C). Roast for 20-25 minutes until the chicken reaches an internal temperature of 165°F (74°C) and the potatoes are tender when pierced with a fork. Roasting in the oven finishes cooking the chicken evenly and crisps the potatoes perfectly without drying the meat.
⏱ Time: 25
✓ Doneness: Chicken juices run clear and potatoes are soft inside with crispy edges
Step 7
Carefully remove the skillet from the oven and spoon the garlic butter sauce over the chicken and potatoes. Let it rest for 5 minutes to allow the juices to redistribute in the meat and the sauce to thicken slightly. Resting is key for juicy chicken and rich sauce.
⏱ Time: 5
✓ Doneness: Chicken feels firm but juicy when pressed gently
Step 8
Sprinkle chopped fresh parsley over the dish for a pop of color and fresh herbal note. The parsley brightens the rich garlic butter and adds visual appeal. This final touch makes the dish feel homemade and inviting.
⏱ Time: 1
✓ Doneness: Parsley is vibrant green and fresh-looking
Step 9
Serve the chicken thighs alongside the crispy garlic butter potatoes immediately, spooning extra sauce from the pan over everything. This meal pairs wonderfully with a simple green salad or steamed veggies to balance the richness. Enjoy the comforting, buttery flavors in every bite!
⏱ Time: 1
✓ Doneness: Dish is hot and sauce is glossy and coating the ingredients
Variations
Spicy Garlic Butter Chicken
Add 1 teaspoon of crushed red pepper flakes to the garlic butter sauce for a subtle heat kick. You can also toss the potatoes with a pinch of cayenne before roasting. This variation adds warmth and complexity without overpowering the buttery richness.
Note: Be careful not to add too much chili early to avoid burning. Add spice with garlic in step 4 for best flavor balance.
Lemon Herb Butter Chicken
Add zest and juice of one lemon to the garlic butter sauce and sprinkle fresh rosemary or thyme before roasting. The citrus brightens the dish and pairs beautifully with the rich butter and garlic flavors, making it feel fresh and summery.
Note: Add lemon juice after roasting to keep the brightness vibrant and avoid curdling the butter.
Creamy Mushroom Garlic Butter Chicken
Add sliced mushrooms to the pan after searing chicken and before adding potatoes. Cook mushrooms until browned, then proceed with garlic and butter. The mushrooms add earthiness and a creamy texture that complements the chicken and potatoes.
Note: Make sure to cook mushrooms long enough to release moisture and brown, or the sauce will be watery.
Dairy-Free Garlic Butter Chicken
Replace butter with dairy-free margarine or coconut oil and use garlic infused olive oil for extra flavor. This keeps the rich, buttery taste while making the recipe suitable for those avoiding dairy.
Note: Coconut oil has a lower smoke point, so monitor heat carefully to avoid burning.
Sheet Pan Garlic Butter Chicken and Veggies
Add chopped carrots, green beans, or Brussels sprouts to the pan with potatoes for a complete meal. Toss veggies in olive oil and seasoning before roasting. This variation adds color, nutrition, and texture variety.
Note: Cut veggies evenly and add them to the pan so everything cooks uniformly in the oven.
Pro Tips
Pat chicken skin dry before seasoning.
Dry skin crisps up much better because moisture inhibits browning. If the skin is wet, it steams instead of sears, resulting in soggy texture rather than the desired golden crisp.
Don’t overcrowd the pan with potatoes.
Crowding traps steam and prevents crisping. Giving potatoes space allows hot air and fat to circulate, ensuring they develop a crunchy crust instead of steaming into mush.
Add garlic later in cooking.
Garlic burns quickly at high heat and turns bitter, spoiling the dish. Adding it after the potatoes have started to crisp and stirring gently preserves its mellow, aromatic flavor.
Use an oven-safe skillet.
Starting on the stovetop and finishing in the oven allows for perfect searing and even roasting. Using an oven-safe pan avoids transferring food and losing precious butter and pan juices.
Let chicken rest after roasting.
Resting allows juices to redistribute within the meat, making it tender and juicy. Cutting immediately causes juices to escape, resulting in dry chicken.
Use bone-in thighs for best flavor.
The bone helps conduct heat evenly and retains moisture, keeping the chicken juicy. Skin-on adds texture and flavor from the rendered fat during cooking.
Garnish with fresh parsley just before serving.
Fresh parsley adds color and a bright herbal note that balances the richness of the garlic butter sauce, enhancing the overall flavor and presentation.
Common Mistakes to Avoid
Not drying the chicken skin before cooking.
Why it happens It’s easy to skip this because it feels like an extra step and sometimes you’re in a rush.
Fix Always pat the chicken skin dry with paper towels before seasoning and searing. This removes surface moisture that prevents crisping and ensures a golden, crispy skin instead of soggy.
Adding garlic too early and burning it.
Why it happens Garlic cooks very fast and cooks at a lower temperature than other ingredients, so it burns if left on high heat too long.
Fix Add minced garlic after the potatoes have had a chance to start crisping and stir gently to avoid burning. This keeps garlic flavorful and aromatic without bitterness.
Overcrowding the pan with potatoes.
Why it happens Trying to fit everything in one pan leads to crowding, which traps moisture and prevents crisping.
Fix Spread potatoes in a single layer with some space between pieces. If needed, roast in batches or use a larger pan to allow for proper crisping.
Skipping resting time after roasting.
Why it happens Impatience or not knowing the importance of resting leads to cutting chicken too soon.
Fix Let the chicken rest for at least 5 minutes after removing from oven to let juices redistribute, ensuring moist, tender meat.
Using boneless, skinless chicken thighs instead of bone-in skin-on.
Why it happens Convenience or preference for leaner meat.
Fix For best flavor and texture, use bone-in, skin-on thighs. If substituting, reduce cooking time and expect less crispy texture.
Nutrition
Per Serving:
Nutritional values are estimates and may vary based on specific ingredients used.
Storage & Tips
Room Temperature
This dish can safely sit at room temperature for up to 2 hours if covered loosely. Beyond that, bacteria growth increases, so refrigerate promptly to maintain safety and freshness.
Refrigerator
Store leftovers in an airtight container in the refrigerator for up to 3 days. The chicken skin will lose crispness when cold but reheating in the oven restores some crunch. Potatoes may become softer but still taste great.
Freezer
Freeze cooked chicken and potatoes in airtight containers or heavy-duty freezer bags for up to 2 months. To prevent freezer burn, remove as much air as possible before sealing. Thaw overnight in the refrigerator before reheating.
Reheating
Reheat in a preheated oven at 350°F (175°C) for 15-20 minutes, uncovered, to restore crispiness. Avoid microwaving as it makes skin soggy. Add a splash of broth or water if the sauce seems dry.
Make Ahead
You can prepare and season the chicken and potatoes 1-2 days ahead, storing them separately in the fridge. Assemble and roast fresh on the day of serving for best texture and flavor.
FAQ
Can I use boneless chicken thighs instead of bone-in?
Yes, but boneless thighs cook faster and won’t have the same juicy texture or crispy skin. Reduce oven time by 5-10 minutes and watch closely to avoid overcooking. The flavor won’t be quite as rich since bones add depth during cooking.
How do I make the potatoes extra crispy?
Make sure to halve the potatoes evenly and spread them in a single layer with space between pieces. Pat them dry before cooking and sear on the stovetop before roasting. Avoid overcrowding the pan to allow moisture to escape and crispness to develop.
Can I use frozen potatoes?
Frozen potatoes often release more moisture and may not crisp up as well. If you use frozen, thaw and dry them thoroughly before cooking, and consider increasing searing time to help develop a crust.
What if I don’t have an oven-safe skillet?
You can sear the chicken and potatoes in a regular skillet, then transfer everything to a baking dish for the oven step. Just be sure to transfer the flavorful pan juices to the baking dish to keep the dish moist.
Can I add other vegetables to this dish?
Absolutely! Root vegetables like carrots or parsnips work well, as do green beans or Brussels sprouts. Add them with the potatoes and adjust roasting time if needed. Just cut veggies evenly to ensure they cook through.
How do I prevent the garlic from burning?
Add garlic after the potatoes have started to crisp and stir gently over moderate heat. Garlic burns quickly if cooked at high heat for too long, resulting in bitterness. Adding it later ensures it stays fragrant and mellow.
Can I make this recipe dairy-free?
Yes, substitute butter with dairy-free margarine or coconut oil. Use garlic-infused olive oil for extra flavor. Keep an eye on cooking temperature as some dairy-free fats have lower smoke points.
How do I store leftovers to keep the chicken skin crispy?
Store leftovers in the fridge uncovered or loosely covered to keep skin from getting soggy. When reheating, do so in the oven to help crisp the skin again. Avoid microwaving if possible.
Final Thoughts
Give this one pan garlic butter chicken and potatoes a try—you’ll love how easy and delicious it is! Don’t forget to share your results; I’d love to hear how it turns out for you.