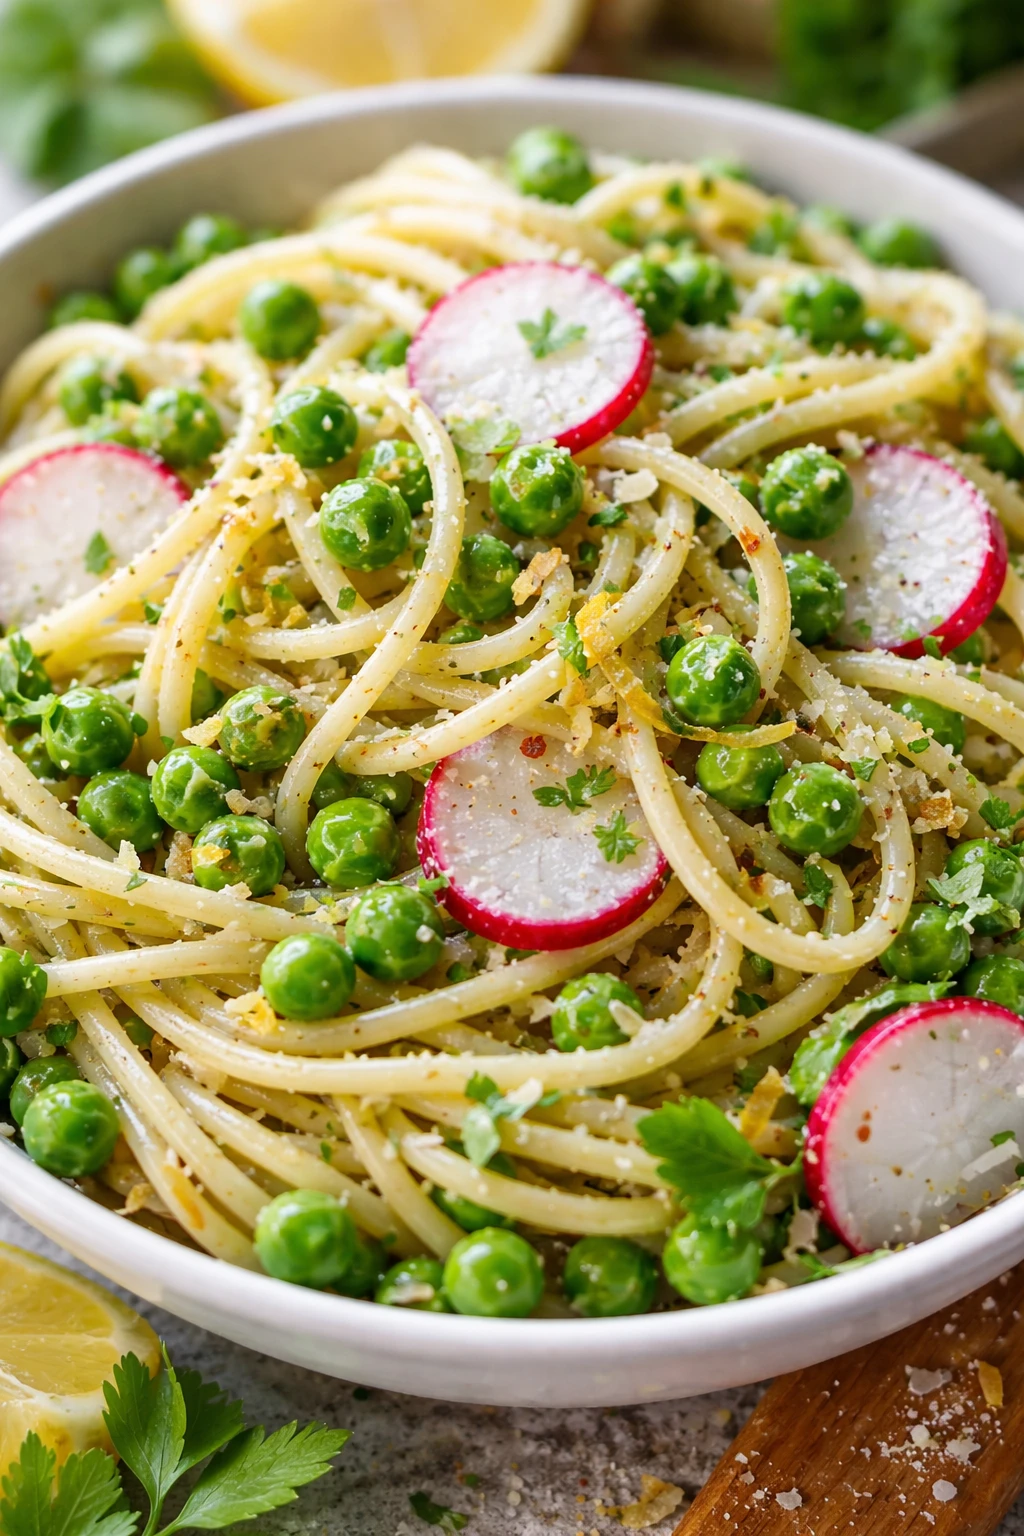
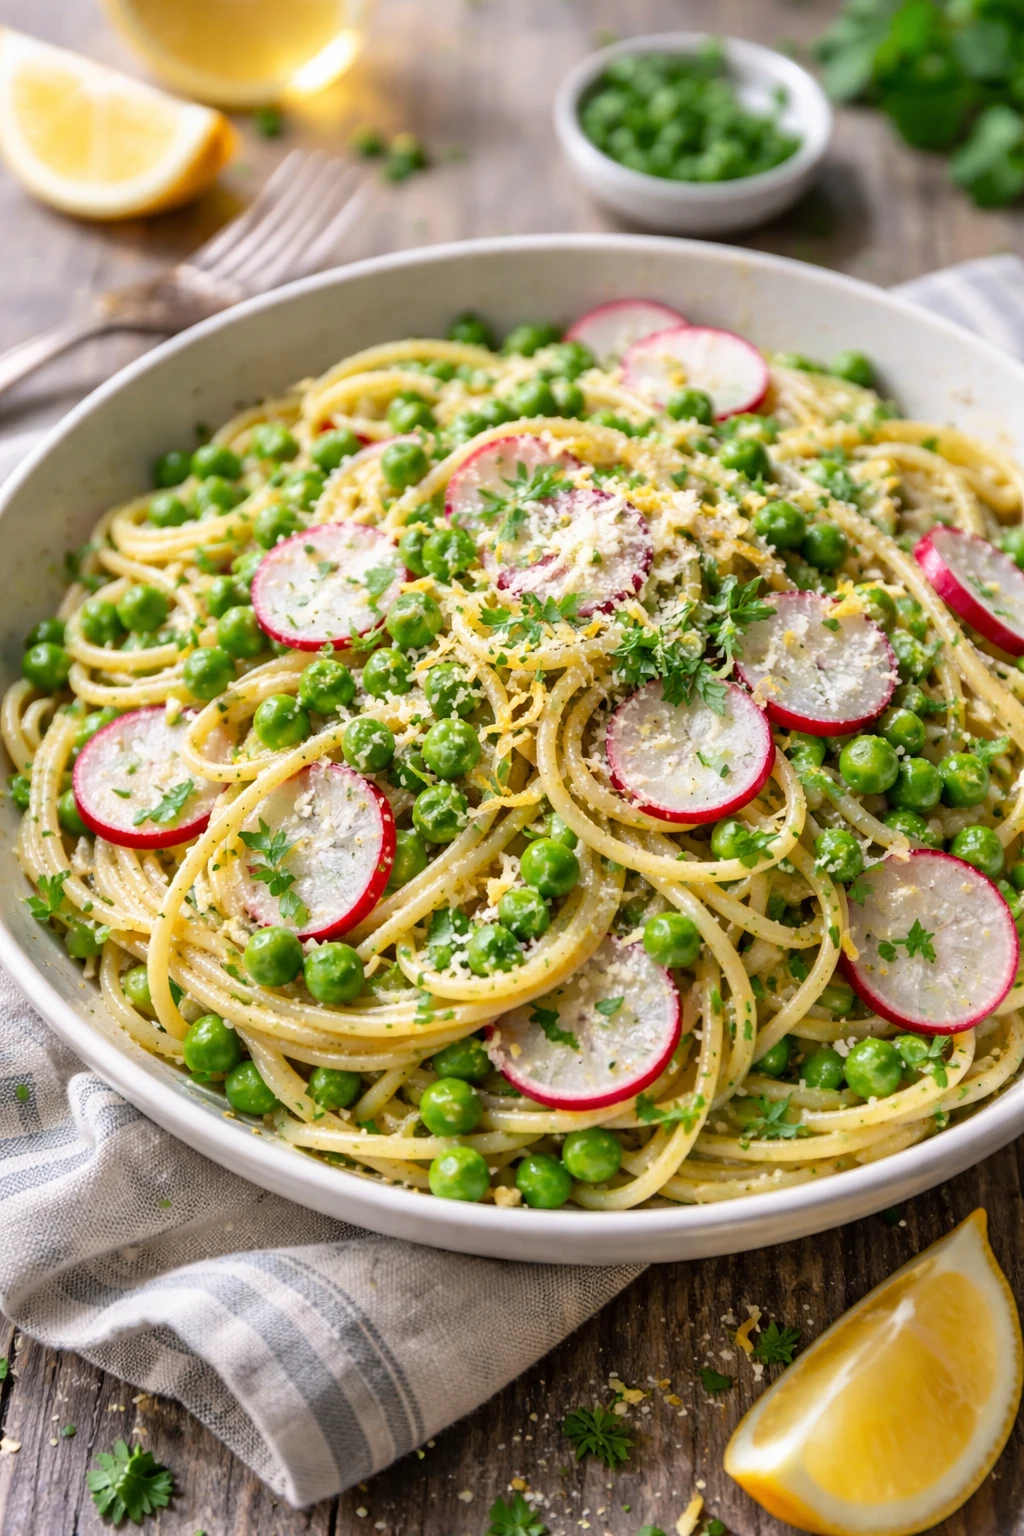
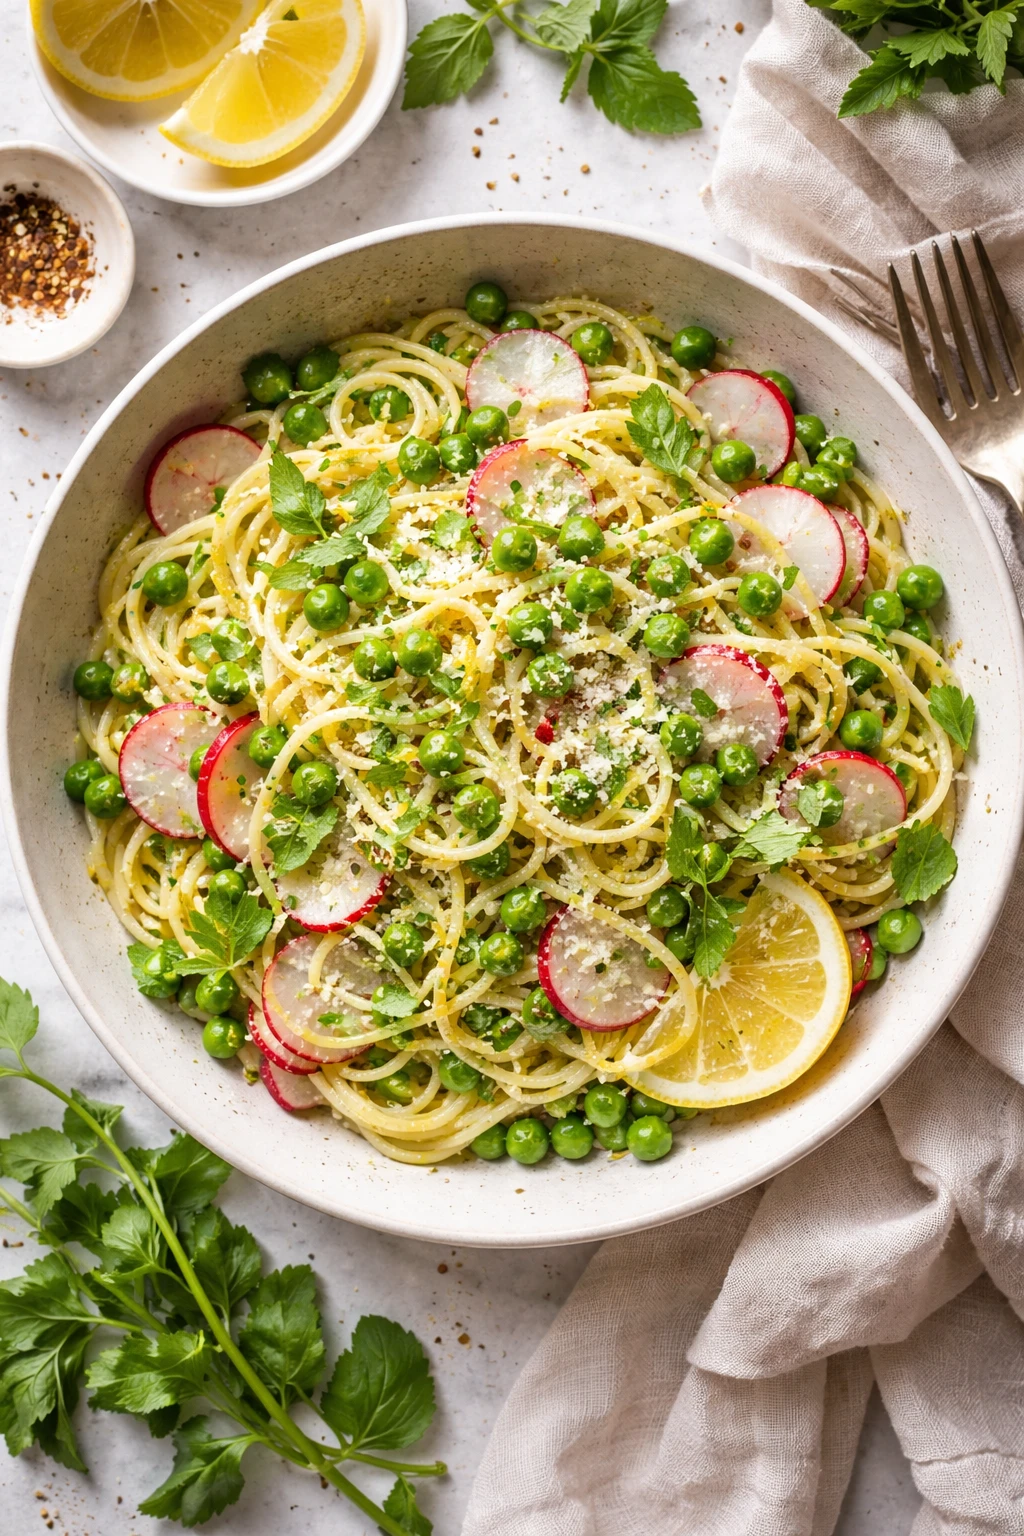
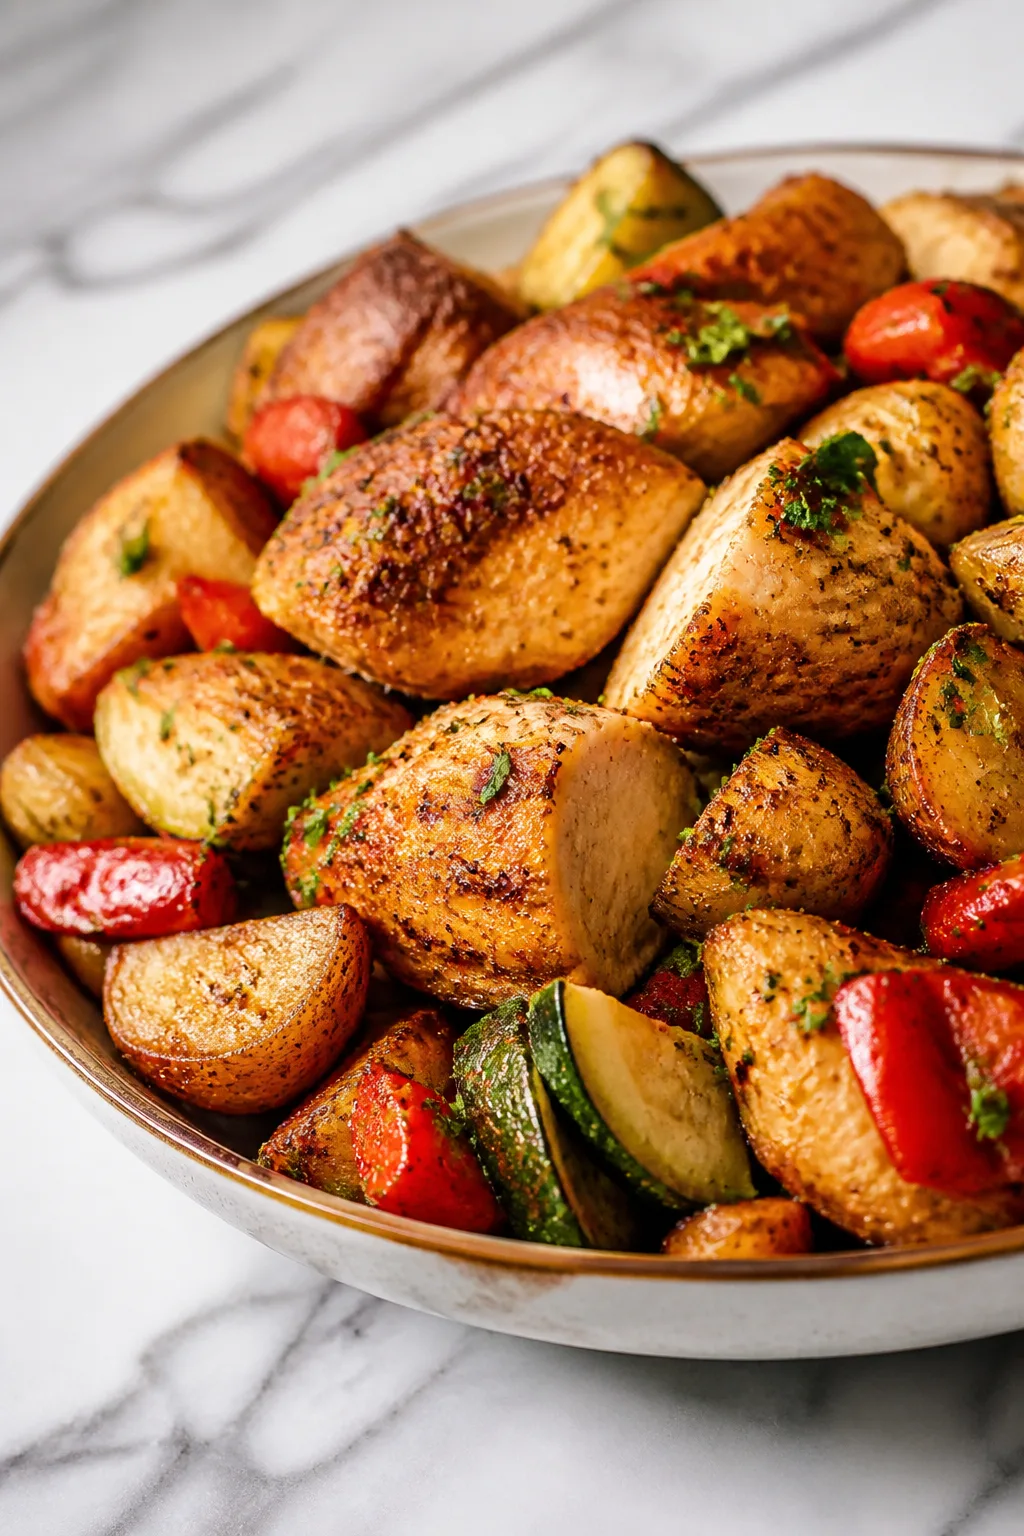
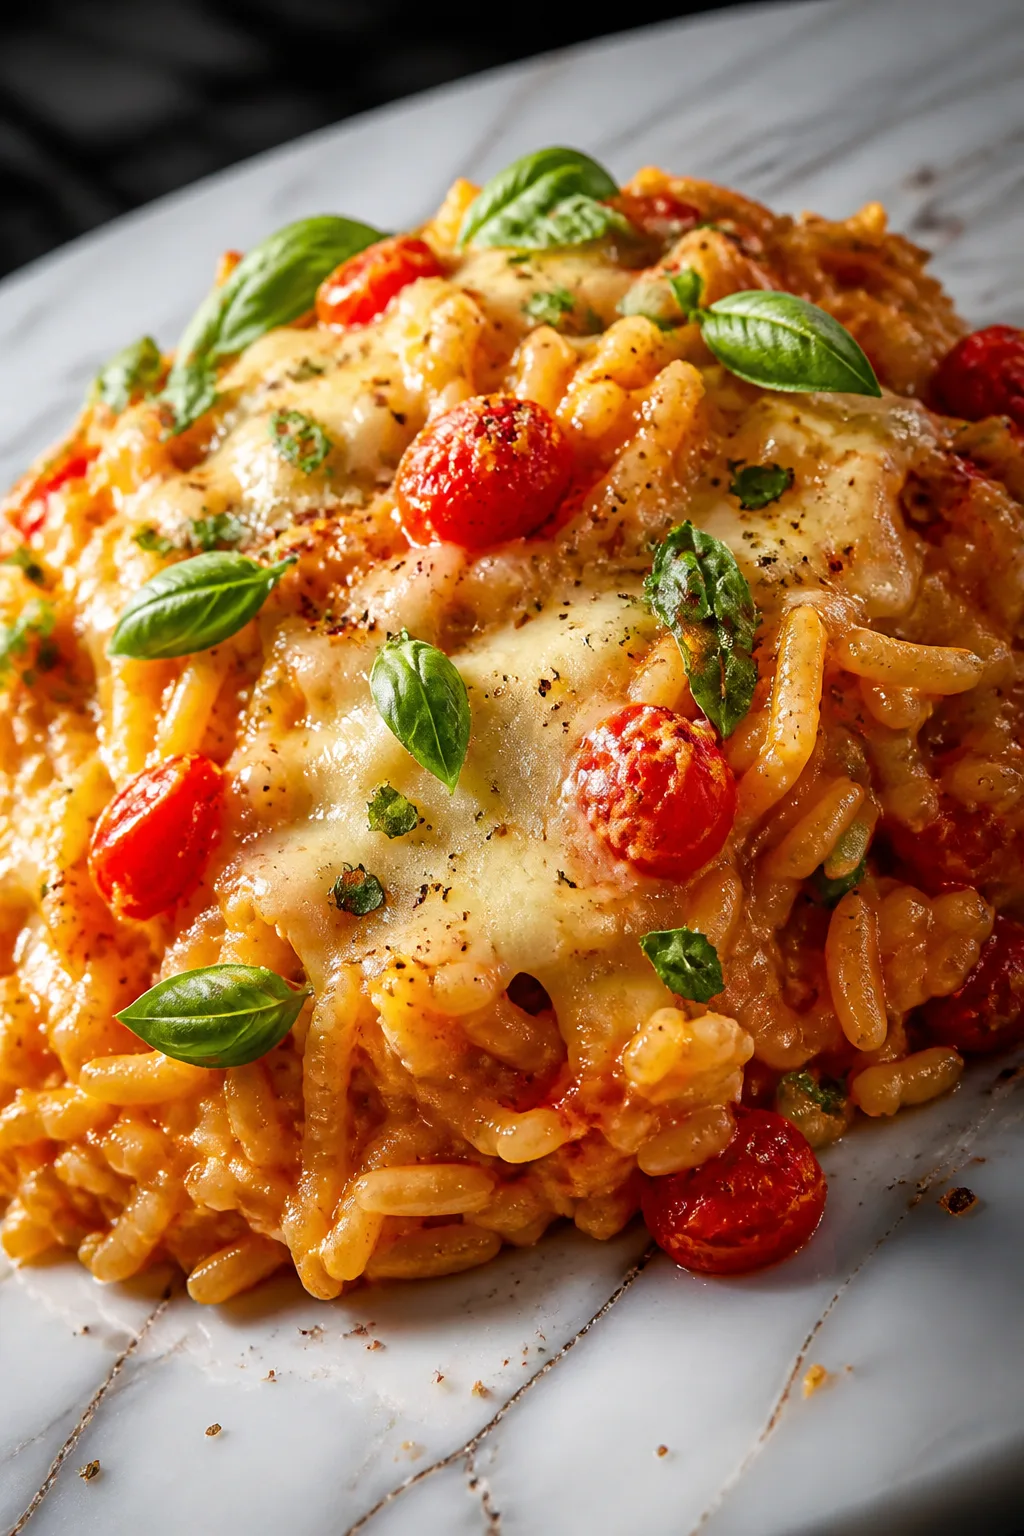
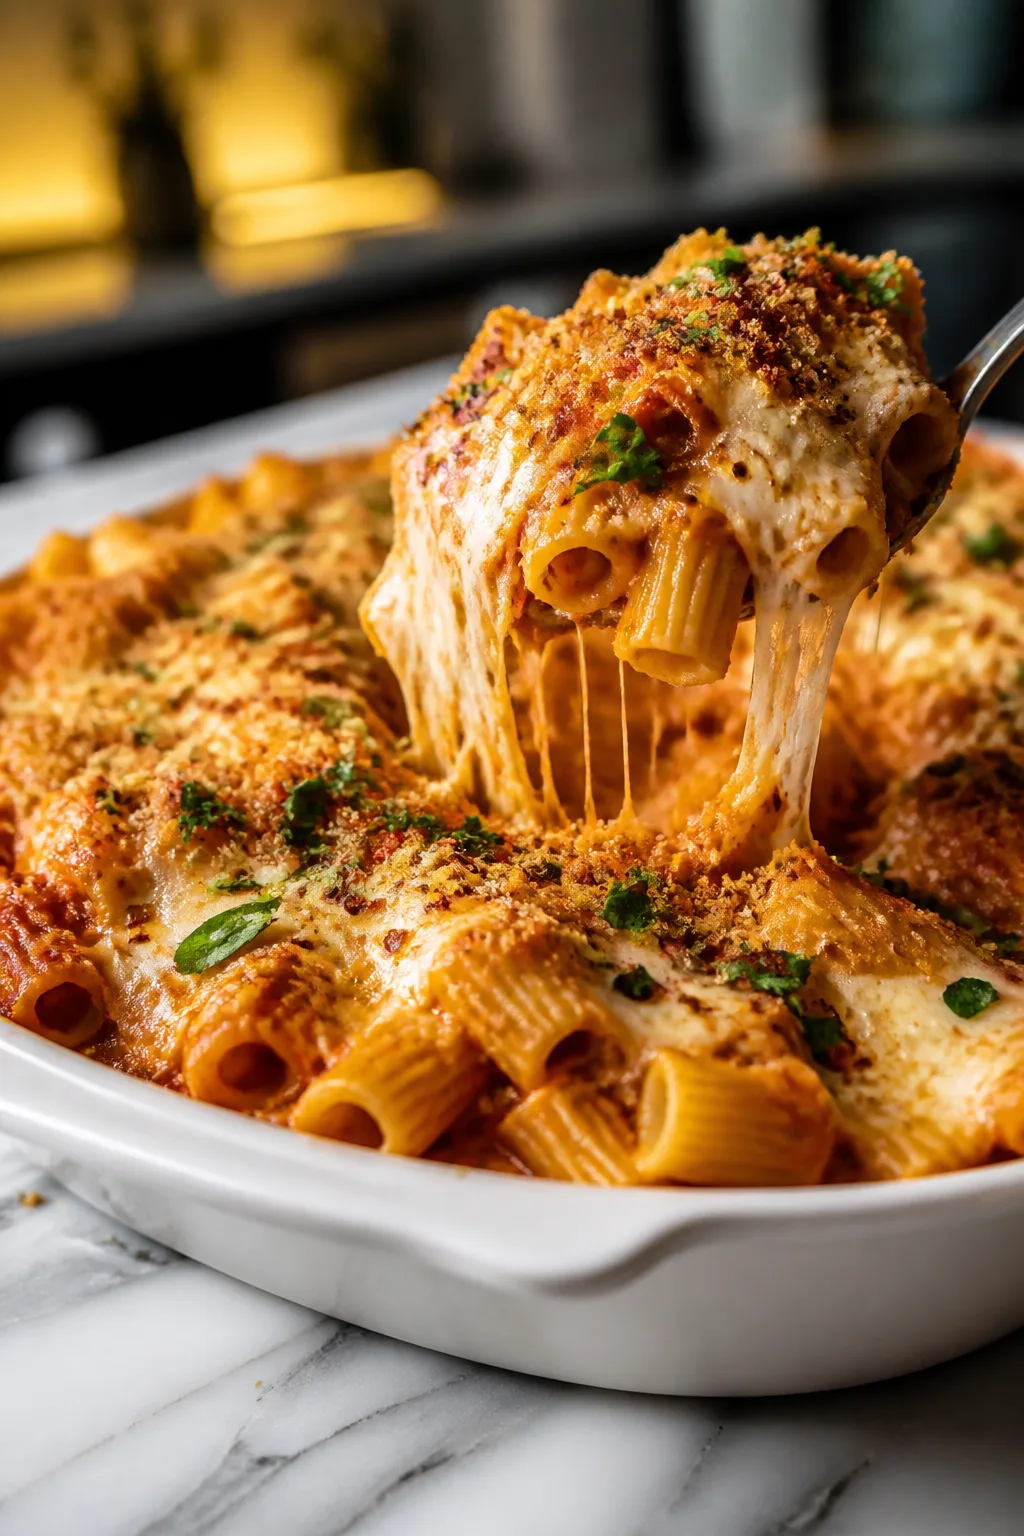
This one-pot pasta is a fresh, light dinner that’s ready in under 30 minutes. Sweet peas and peppery radishes bring a lovely spring twist. Perfect when you want something quick but satisfying after a long day.
Introduction
I first stumbled upon this one-pot pasta recipe during a hectic weeknight when I desperately needed something quick, fresh, and fuss-free. What I love most about it is how it captures the brightness of spring with just a few simple ingredients—sweet peas and peppery radishes really make it pop. Over time, I tweaked the method to cook everything together in one pot, which means less cleanup and more time to relax. The trick I learned is adding the pasta directly to the broth with the veggies so it soaks up all the flavor as it cooks. The result is a tender, flavorful pasta with bursts of freshness from the veggies and a subtle tang from the lemon juice. It’s light enough not to weigh you down but satisfying enough to feel like a real meal. Plus, the quick cooking time is perfect for those evenings when you want something homemade without spending hours in the kitchen. I think you’re going to love how simple and tasty this dish is—it’s become a regular in my dinner rotation, especially when spring rolls around.
How To Do It
Step 1
Start by heating the olive oil in a large deep skillet or wide pot over medium heat. Add the chopped onion and minced garlic, sautéing gently until they become soft and fragrant—about 3 to 4 minutes. This step is important because it builds the flavor base for the entire dish. Avoid browning the garlic too much to prevent bitterness. Stir often and watch for the onions to become translucent and tender, which signals they're ready for the next step.
⏱ Time: 4
✓ Doneness: Onions look translucent and soft; garlic is fragrant but not browned
Step 2
Pour in the vegetable broth and bring it to a gentle boil. Then add the broken linguine or spaghetti directly into the broth, spreading it out so it’s mostly submerged. This method allows the pasta to cook evenly and absorb the broth’s flavor. Be sure to stir occasionally to prevent the noodles from sticking together or to the bottom of the pot. Skipping this can lead to clumpy pasta. Let it cook uncovered for about 8 minutes until the pasta is almost al dente.
⏱ Time: 8
✓ Doneness: Pasta is mostly submerged and starts to soften but still has a slight bite
Step 3
Add the peas and sliced radishes to the pot. These fresh ingredients add a sweet and peppery crunch that balances the pasta’s creaminess. Continue cooking for another 5 to 7 minutes, stirring occasionally. The peas should become tender and bright green, while the radishes soften just enough to mellow their bite without losing texture. Watch carefully so you don’t overcook the veggies, which would make the dish dull.
⏱ Time: 7
✓ Doneness: Peas are bright green and tender; radishes softened but still slightly crisp
Step 4
Season the pasta with salt and black pepper to taste. Stir in the lemon juice to brighten the flavors and the Parmesan cheese for a creamy, savory finish. The cheese will melt into the hot pasta and broth, creating a silky texture. If the mixture seems too thick, add a splash of water or broth to loosen it. Taste again and adjust seasoning as needed. This final step pulls all the flavors together and makes the dish feel complete.
⏱ Time: 3
✓ Doneness: Cheese melted smoothly; flavors balanced with a hint of lemon brightness
Step 5
Remove the pot from heat and sprinkle chopped fresh parsley on top. This adds a fresh herbal note and a pop of color that makes the dish visually inviting. Give everything one last gentle stir to distribute the parsley evenly. Let the pasta rest for a minute to allow flavors to meld before serving. Resting also helps the pasta absorb any remaining liquid and improves the texture.
⏱ Time: 2
✓ Doneness: Parsley evenly distributed; pasta looks glossy and well-coated
Step 6
Serve the pasta immediately while it’s warm and fresh. You can add extra Parmesan or a drizzle of olive oil on top if desired. Pair it with a simple green salad or crusty bread for a complete meal. Enjoying it right away ensures the pasta retains the perfect texture and the veggies stay crisp-tender. Leftovers tend to thicken, so reheat gently if needed.
⏱ Time: 1
✓ Doneness: Pasta served warm with bright, fresh veggies and a creamy sauce
Step 7
If you want to add a protein boost, toss in some cooked chicken, shrimp, or crispy tofu after adding the peas and radishes. This makes the dish more filling without losing its fresh vibe. Just warm the protein through with the pasta for a couple of minutes. Avoid adding raw protein at this stage to prevent uneven cooking or dryness.
⏱ Time: 3
✓ Doneness: Protein heated through and evenly mixed with pasta and veggies
Step 8
For a creamier texture, stir in a splash of cream or a dollop of ricotta cheese at the end. This enriches the sauce without overpowering the delicate spring flavors. Heat gently after adding cream to avoid curdling. If you prefer a dairy-free option, coconut milk or cashew cream works nicely as well.
⏱ Time: 2
✓ Doneness: Sauce looks creamy and coats pasta evenly without separation
Step 9
Garnish with freshly cracked black pepper and an optional sprinkle of chili flakes if you like a little heat. This final touch adds depth and a subtle kick that balances the sweetness of the peas and the freshness of the radishes. Remember, less is more here—start with a small pinch and adjust to your taste.
⏱ Time: 1
✓ Doneness: Garnish evenly sprinkled and enhances aroma without overpowering
Variations
Add Grilled Chicken for Extra Protein
Toss in sliced grilled chicken breast after cooking the pasta for a heartier meal. The smoky flavor pairs well with the fresh peas and radishes, making it perfect for a filling lunch or dinner.
Note: Make sure to warm the chicken through with the pasta and veggies for about 2 minutes to avoid drying it out.
Swap Radishes for Asparagus Tips
Replace radishes with tender asparagus tips for a milder, earthy crunch. This variation is great if you want a less peppery bite but still crave spring veggies.
Note: Add asparagus tips at the same time you would the radishes to maintain texture and color.
Make It Vegan by Omitting Cheese
Skip the Parmesan or use a vegan cheese alternative to make this dish fully plant-based. Nutritional yeast can add a cheesy flavor without dairy.
Note: Add a bit of nutritional yeast at the end and adjust salt to compensate for the missing cheese saltiness.
Add a Spicy Kick with Red Pepper Flakes
Sprinkle red pepper flakes into the broth while cooking to infuse a gentle heat throughout the dish. This gives a nice contrast to the sweet peas and fresh radishes.
Note: Start with 1/4 teaspoon and adjust to taste to avoid overpowering the delicate flavors.
Use Orzo Instead of Long Pasta
Swap linguine for orzo for a different texture and quicker cooking time. Orzo absorbs flavors well and creates a comforting, risotto-like dish.
Note: Reduce broth slightly and watch closely as orzo cooks faster—about 8-10 minutes total.
Pro Tips
Break the pasta in half before cooking to fit better in the pot.
Breaking pasta allows it to submerge fully in the broth, promoting even cooking and preventing dry, stiff ends. This also helps the pasta absorb more flavor and reduces clumping.
Stir the pasta frequently during cooking to prevent sticking.
Pasta releases starch as it cooks, which can cause it to stick together or to the pan. Stirring keeps noodles separate and ensures an even coating of the flavorful broth.
Add peas and radishes toward the end to keep their texture vibrant.
Cooking these veggies too long can cause them to lose color, flavor, and crunch. Adding them later preserves their fresh taste and pleasing bite.
Use fresh lemon juice instead of bottled for brightness.
Fresh lemon juice has a cleaner, brighter flavor with subtle acidity that lifts the dish without overpowering it. Bottled juice can taste dull or overly acidic.
Finish with fresh parsley for color and herbal freshness.
Parsley adds a bright green pop and fresh aroma that balances the richness of the cheese and broth. Adding it last preserves its delicate flavor.
Don’t overcook the pasta; aim for al dente.
Overcooked pasta becomes mushy and loses its bite, especially when cooked in broth. Al dente pasta holds texture better and tastes more satisfying.
Use a wide, deep skillet or pot to allow pasta to cook evenly.
A wide vessel helps the pasta lay flat and cook uniformly in the broth. A narrow pot can cause uneven cooking and clumping.
Common Mistakes to Avoid
Overcooking the pasta until mushy.
Why it happens It’s easy to leave pasta in the broth too long, especially when multitasking, causing it to lose its texture.
Fix Set a timer and check the pasta a minute or two before the package instructions. Aim for al dente, then remove from heat immediately to prevent further cooking.
Adding peas and radishes too early, making them soggy.
Why it happens Some cooks add all ingredients at once to save time but don’t account for varying cooking times of veggies.
Fix Add peas and radishes only during the last few minutes of cooking to keep them bright and crisp-tender.
Not stirring the pasta enough, leading to clumps.
Why it happens When pasta cooks in liquid, starches can cause sticking if neglected.
Fix Stir frequently, especially in the first few minutes, to separate noodles and ensure even cooking.
Using low-quality broth that tastes bland.
Why it happens Broth is the flavor base here, so a weak broth results in a dull dish.
Fix Choose a rich, flavorful broth or make your own to enhance depth. Taste broth before cooking and adjust seasoning.
Skipping the lemon juice, resulting in a flat taste.
Why it happens Lemon adds acidity and brightness that balance richness. Forgetting it leaves the dish one-dimensional.
Fix Always add fresh lemon juice at the end and taste to adjust, even a small amount makes a big difference.
Nutrition
Per Serving:
Nutritional values are estimates and may vary based on specific ingredients used.
Storage & Tips
Room Temperature
This pasta should not be left out at room temperature for more than 2 hours. Cover it loosely with foil or a clean towel if you need to keep it out briefly before serving to prevent drying.
Refrigerator
Store leftovers in an airtight container for up to 3 days. The pasta will absorb more liquid and thicken, so add a splash of broth or water when reheating to loosen it. It may lose some freshness but reheats well.
Freezer
Freeze in a sealed container for up to 1 month. To prevent freezer burn, wrap tightly with plastic wrap before placing in the container. Thaw overnight in the fridge and reheat gently on the stovetop with a little broth to restore texture.
Reheating
Reheat gently over medium-low heat on the stovetop, stirring frequently and adding a splash of broth or water to prevent sticking and dryness. Microwave reheating is possible but can dry out the pasta, so cover and heat in short intervals.
Make Ahead
You can chop the veggies and prepare the broth up to 1 day ahead. Keep them refrigerated separately. Assemble and cook the pasta fresh to maintain the best texture and flavor.
FAQ
Can I use fresh pasta instead of dried?
Fresh pasta cooks much faster and is more delicate, so it’s not ideal for this dish where pasta cooks in broth. It tends to become mushy and break apart. If you want to use fresh pasta, cook it separately and add it to the broth and veggies at the end just to warm through.
What can I substitute if I don’t have radishes?
Asparagus tips or thinly sliced bell peppers make great substitutes. They provide a different texture and flavor but keep the dish fresh and colorful. Add them at the same stage you would the radishes to keep their texture.
How do I prevent the pasta from sticking while cooking in broth?
Stir the pasta frequently, especially during the first few minutes. Using enough liquid to cover the pasta and cooking uncovered helps too. If you notice sticking, gently separate noodles with a spoon or spatula.
Can I make this gluten-free?
Yes, use your favorite gluten-free pasta that holds up well to cooking in liquid, like brown rice or corn-based pasta. Cooking times may vary, so keep an eye on the texture to avoid overcooking.
Is it okay to add cream or butter to make it richer?
Absolutely! Adding a splash of cream or a pat of butter at the end enriches the sauce and makes it silkier. Just add it off the heat or over very low heat to prevent curdling.
Can I prepare this dish ahead of time?
You can prep ingredients ahead, but it’s best to cook the pasta fresh to avoid mushiness. Store chopped veggies and broth separately in the fridge and combine them when you’re ready to cook.
Why does the pasta sometimes turn mushy in one-pot recipes?
Pasta releases starch as it cooks in liquid, which can thicken the broth and cause mushiness if overcooked. Timing is crucial—remove from heat as soon as pasta reaches al dente to maintain texture.
How do I adjust salt levels in this recipe?
Since broth and Parmesan add salt, start with a small amount and taste at the end. You can always add more salt, but it’s hard to fix if the dish becomes too salty. Low-sodium broth helps control saltiness.
Final Thoughts
I hope you give this fresh, easy one-pot pasta a try—it’s one of my favorite quick dinners that never disappoints. Let me know how it turns out!