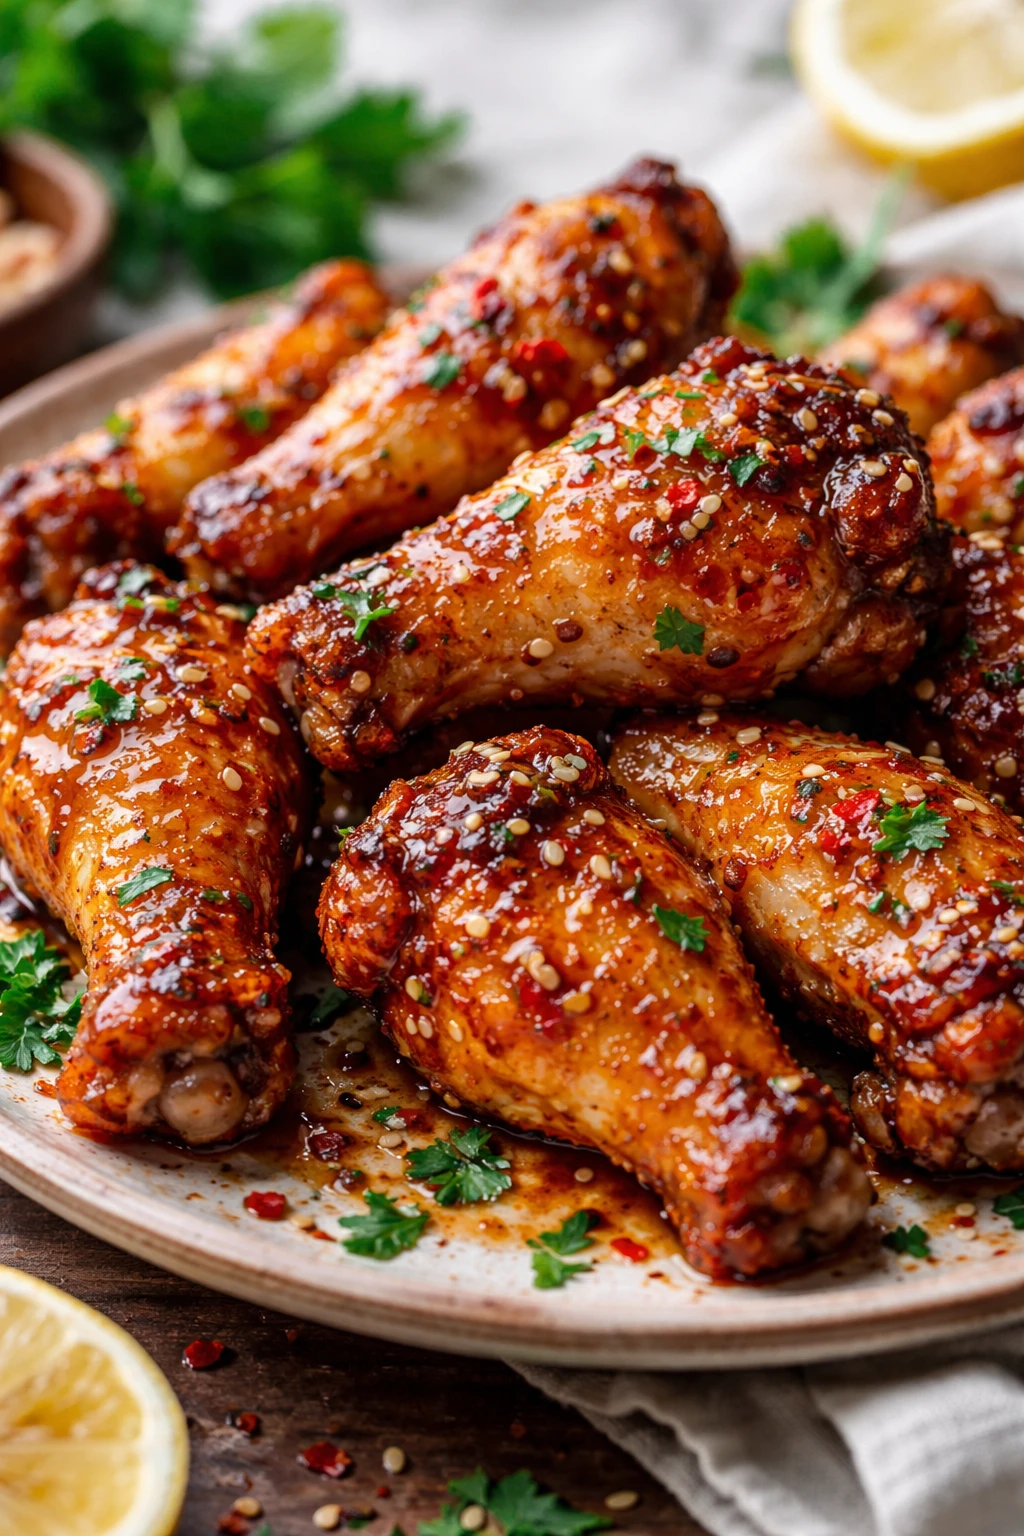
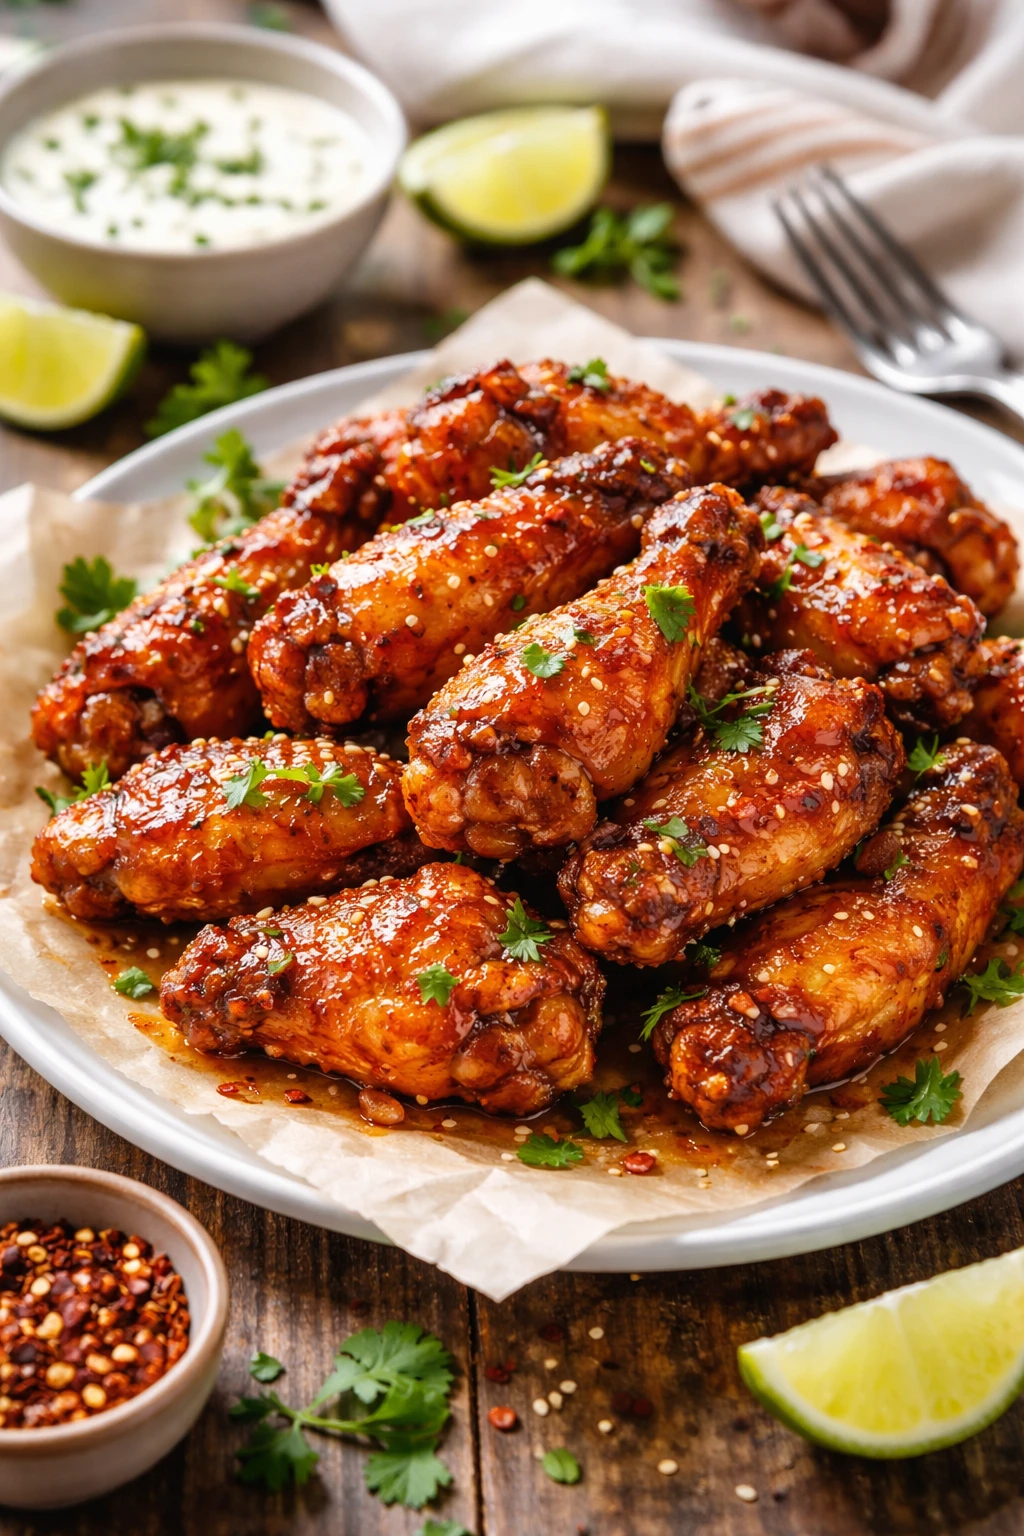
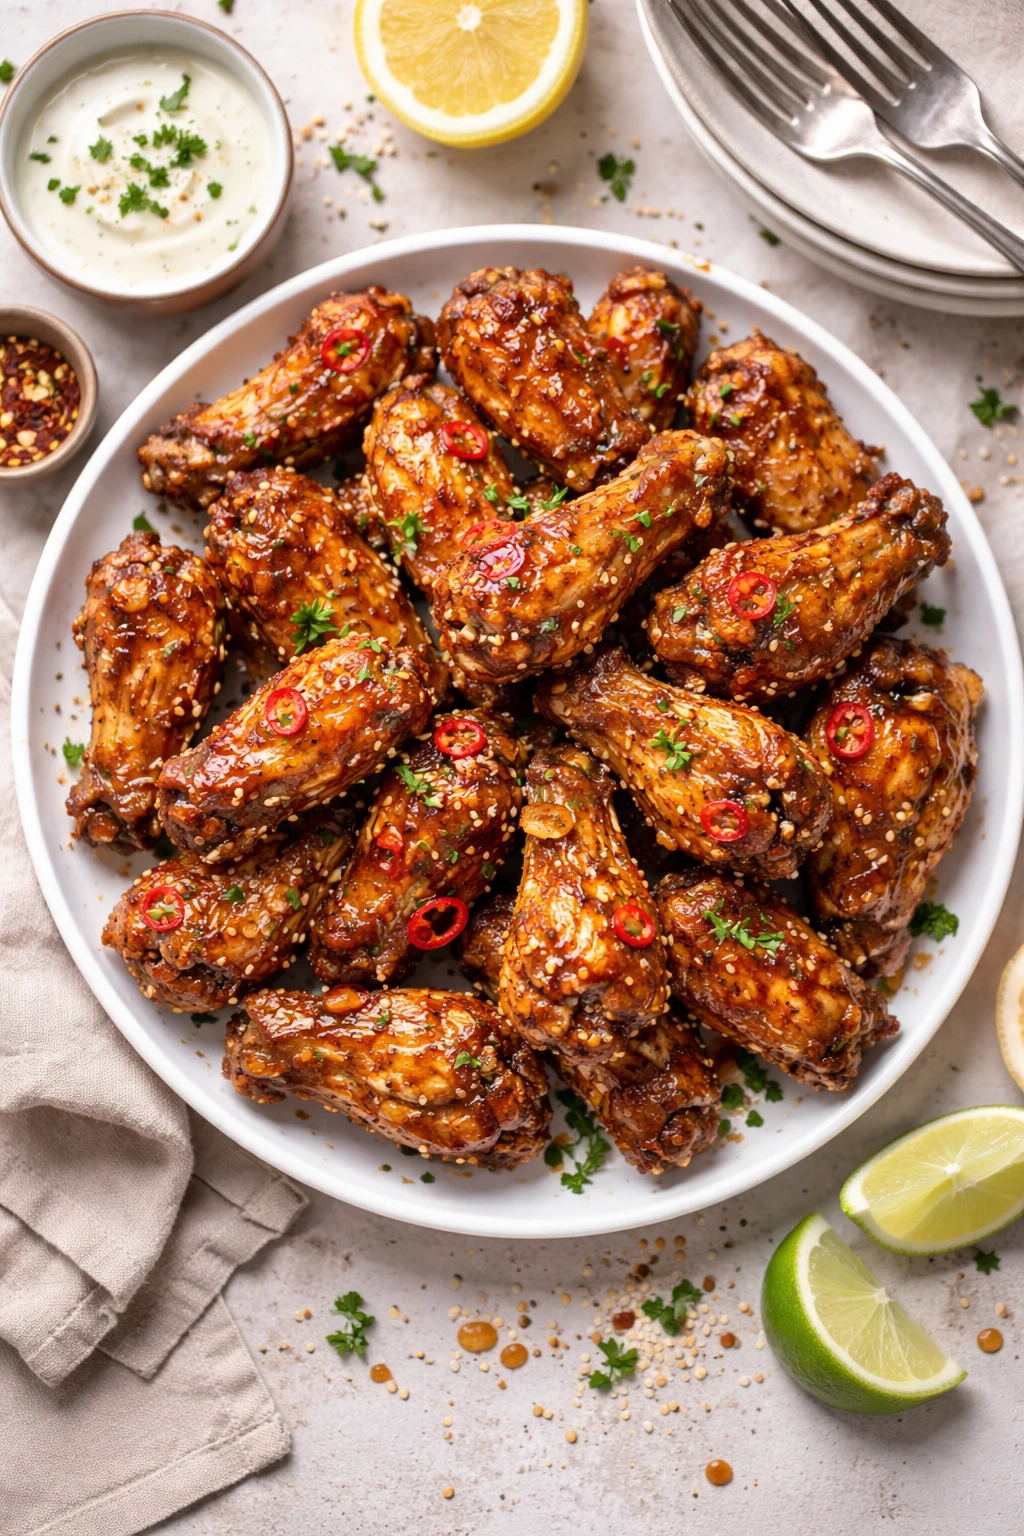
These wings are crispy on the outside and juicy inside, tossed in a sticky, spicy honey glaze that hits the perfect sweet-heat balance. Ready in under 45 minutes, they're perfect for casual dinners or game nights!
Introduction
I first made these honey-spiced wings a couple years ago when I wanted something quick but impressive for a casual game night with friends. Most wing recipes I tried either left the skin soggy or the glaze too sticky and cloying. After some experimentation, I discovered that tossing the wings in baking powder before baking gives them this perfect crispy skin without deep frying. The honey glaze is balanced with a splash of apple cider vinegar and soy sauce to keep it tangy and not overly sweet. I love that these wings come together in under 45 minutes and can be baked in the oven, so there’s no mess or fuss. The sticky, spicy honey coating clings beautifully, making every bite addictive. What’s great is that the wings stay juicy inside, thanks to careful temperature control during baking. You’ll notice the skin crackling and the aroma of smoky paprika and garlic as they cook. It’s become a go-to recipe for me when I want something casual but still special. Plus, leftovers reheat well if there are any! Give this a try next time you want wings that deliver big flavor with less effort.
What You'll Need
Approximately 8-10 wings, 4 servings
- 2 pounds chicken wings, whole or separated
- 1 teaspoon kosher salt
- 1/2 teaspoon black pepper
- 1 teaspoon smoked paprika
- 1/2 teaspoon garlic powder
- 1 tablespoon baking powder (not baking soda), for crispiness
- 1/3 cup honey
- 2 tablespoons hot sauce (adjust to taste)
- 1 tablespoon soy sauce
- 1 teaspoon apple cider vinegar
- 1 tablespoon olive oil
How To Do It
Step 1
Preheat your oven to 425°F (220°C). Line a baking sheet with foil and place a wire rack on top. This setup allows air to circulate around the wings, helping the skin crisp evenly without steaming. Avoid skipping the rack because wings directly on foil tend to get soggy underneath.
⏱ Time: 10 minutes
✓ Doneness: Oven fully preheated and rack securely positioned
Step 2
Pat the chicken wings dry thoroughly with paper towels. Moisture on the skin prevents crispiness, so this step is crucial. After drying, mix the baking powder, salt, pepper, smoked paprika, and garlic powder in a large bowl. Toss the wings in this dry mixture until evenly coated. The baking powder helps break down proteins in the skin and creates bubbles that crisp up beautifully during baking.
⏱ Time: 7 minutes
✓ Doneness: Wings evenly coated in a thin, powdery layer with no clumps
Step 3
Arrange the wings in a single layer on the wire rack, spacing them so they’re not touching. Crowding the wings traps steam and prevents crisping. Make sure the skin side is facing up for best texture.
⏱ Time: 3 minutes
✓ Doneness: Wings evenly spaced and skin side up without overlap
Step 4
Bake the wings for 25-30 minutes, flipping them halfway through. The first half cooks the wings through; flipping ensures all sides crisp evenly. Watch for the skin to turn golden brown and start crackling. Avoid opening the oven too often as it lowers the temperature and affects crispiness.
⏱ Time: 30 minutes
✓ Doneness: Skin is golden, crackly, and internal juices run clear when pierced
Step 5
While wings bake, prepare the honey glaze. In a small saucepan, combine honey, hot sauce, soy sauce, apple cider vinegar, and olive oil. Warm over low heat, stirring gently until well combined and slightly thickened. This glaze balances sweetness, heat, and acidity for a complex flavor.
⏱ Time: 7 minutes
✓ Doneness: Glaze is smooth, shiny, and coats the back of a spoon
Step 6
Once wings are done baking, transfer them to a large mixing bowl. Pour the warm honey glaze over the wings and toss gently but thoroughly to coat each piece. The residual heat helps the glaze stick and thicken slightly on the skin.
⏱ Time: 3 minutes
✓ Doneness: Wings are evenly coated in sticky, glossy glaze without clumps
Step 7
Serve the wings immediately while warm and sticky. They pair wonderfully with crunchy celery sticks and a cooling ranch or blue cheese dip to balance the heat. If needed, garnish with chopped fresh herbs like parsley or cilantro for a fresh pop.
⏱ Time: 2 minutes
✓ Doneness: Wings served hot with complementary sides and garnish
Step 8
If you want to prepare ahead, you can bake the wings fully, cool them, then store unglazed in an airtight container in the fridge. When ready, reheat in the oven until crisp, then toss in freshly warmed glaze for best texture and flavor.
⏱ Time: N/A
✓ Doneness: Wings reheated hot and crispy before glazing
Step 9
For extra crispy wings, consider broiling for 2-3 minutes at the end of baking, watching carefully to avoid burning. This step intensifies the Maillard reaction, producing that irresistible crunch and golden color.
⏱ Time: 2-3 minutes
✓ Doneness: Skin is deeply golden and crackly without charring
Variations
Garlic Parmesan Wings
Swap the honey glaze for a buttery garlic and parmesan sauce tossed with fresh parsley. These wings have a rich, savory flavor and a cheesy crust that’s a crowd-pleaser. Perfect if you want less heat and more indulgence.
Note: Bake wings the same way, then toss immediately in warm garlic butter and grated parmesan. Broil briefly if desired to melt cheese slightly.
Spicy Sriracha Lime Wings
Replace the honey glaze with a mixture of sriracha, lime juice, and a touch of brown sugar. This version is tangy, fiery, and bright, great for those who love a zesty kick. The lime juice adds freshness that balances the heat.
Note: Prepare glaze fresh and toss wings right after baking. Lime juice acidity can slightly soften skin if added too early, so add just before serving.
Smoky Chipotle BBQ Wings
Use a smoky chipotle BBQ sauce instead of the honey glaze for deep, smoky heat with a hint of sweetness. These wings have a rich, layered flavor and a sticky finish that’s perfect for backyard cookouts.
Note: Brush sauce on wings during last 5 minutes of baking and again after removing from oven for sticky layering.
Lemon Herb Wings
Marinate wings in lemon juice, olive oil, garlic, and fresh herbs like rosemary and thyme before baking. This gives a fresh, bright flavor that’s lighter but still packed with aroma. A great option for summer meals.
Note: Marinate for at least 1 hour and skip the baking powder for a softer skin texture.
Asian-Inspired Honey Soy Wings
Add ginger and garlic to the honey glaze along with a splash of sesame oil and finish with toasted sesame seeds. These wings have a fragrant, umami-rich profile that’s addictive and pairs well with steamed rice or slaw.
Note: Warm glaze gently to dissolve ingredients and toss wings immediately after baking for best stickiness.
Pro Tips
Make sure to pat the wings completely dry before coating with baking powder.
Moisture is the enemy of crispiness. Any water on the skin will steam the wings during baking, leading to soggy skin. Drying thoroughly allows the baking powder to work its magic, creating that bubbly, crispy crust.
Use a wire rack on a baking sheet to elevate the wings while baking.
The rack allows hot air to circulate around the wings, preventing the underside from steaming and getting soggy. It also lets fat drip away, which helps the skin crisp up evenly.
Flip the wings halfway through cooking for even browning.
Flipping exposes all sides to direct heat and air circulation, ensuring uniform crispiness. Skipping this step often results in unevenly cooked wings with some soggy spots.
Warm the honey glaze gently before tossing with wings.
Heating the glaze helps it thin out and coat the wings evenly. It also thickens slightly as it cools on the hot wings, creating a glossy, sticky finish without being cloying.
Try a quick broil at the end for extra crunch.
Broiling intensifies the Maillard reaction, boosting browning and crispiness. Watch carefully to avoid burning, as it only takes a couple of minutes to make a big difference.
Use aluminum-free baking powder to avoid off-flavors.
Some baking powders contain aluminum compounds that can give a metallic taste. Using aluminum-free ensures clean flavor and crisp skin without bitterness.
Serve wings immediately for best texture.
Wings lose their crispiness as they cool because moisture migrates back into the skin. Serving hot preserves the texture and flavor experience that makes these wings special.
Common Mistakes to Avoid
Not drying the wings enough before baking
Why it happens Many assume rinsing is enough and skip thorough drying, but moisture on the skin causes steaming instead of crisping.
Fix Use paper towels to pat wings completely dry before coating. For best results, let them air dry in the fridge uncovered for 30 minutes to an hour if you have time.
Skipping the wire rack and baking wings directly on foil
Why it happens Some think it’s simpler or don’t have a rack, but this traps moisture and fat underneath the wings.
Fix Use a wire rack to elevate wings so air circulates and fat drains away. If you don’t have a rack, try flipping wings more frequently to crisp all sides.
Using baking soda instead of baking powder
Why it happens Baking soda is sometimes confused with baking powder but has different chemical properties.
Fix Stick to baking powder here because it’s balanced with acids to create the right pH and bubbles for crisp skin without bitterness.
Adding glaze too early before wings are fully crisp
Why it happens Impatience to coat wings can lead to soggy skin if wings aren’t crisp first.
Fix Bake wings fully until skin is golden and crackly, then toss in warm glaze. This preserves crispiness and helps glaze stick well.
Overcooking wings leading to dry meat
Why it happens Trying to get extra crispiness by baking too long dries out the interior meat.
Fix Stick to recommended baking time and check doneness by clear juices and internal temperature of 165°F. Broil briefly at the end for crispness instead.
Nutrition
Per Serving:
Nutritional values are estimates and may vary based on specific ingredients used.
Storage & Tips
Room Temperature
Wings can safely sit at room temperature for up to 2 hours if covered loosely to prevent drying out. Beyond that, bacteria growth risks increase, so refrigeration is best.
Refrigerator
Store leftover wings in an airtight container for up to 3 days. The skin may soften, but reheating in the oven or air fryer restores crispiness. Avoid reheating in microwave alone as it makes skin rubbery.
Freezer
Freeze fully cooked wings in airtight freezer bags or containers for up to 3 months. Wrap tightly to prevent freezer burn. Thaw in fridge overnight before reheating to preserve texture.
Reheating
Reheat wings in a 375°F oven for 10-12 minutes or in an air fryer at 350°F for 5-7 minutes to regain crispiness. Add a splash of water to the baking dish to avoid drying meat. Avoid microwaving alone as it softens skin.
Make Ahead
Bake wings fully and cool. Store unglazed in fridge up to 2 days. Reheat before tossing in freshly warmed glaze for best texture and flavor on the day of serving.
FAQ
Can I use frozen wings straight from the freezer?
It’s best to thaw wings fully before baking to ensure even cooking and crisp skin. Frozen wings release moisture as they cook, which can steam the skin and make it soggy. Thaw overnight in the fridge or in cold water sealed in a bag.
What if I don’t have baking powder?
Baking powder is key for crispiness here. Without it, the wings won’t develop the same crackly skin. If you don’t have any, you can bake wings without it but expect a softer skin texture. Avoid substituting baking soda as it can cause off flavors.
How spicy are these wings?
The heat level depends on the amount and type of hot sauce used. The recipe uses a moderate amount of Frank’s RedHot, which gives a mild to medium spice. You can adjust by adding more or less hot sauce or swapping for a milder or hotter sauce.
Can I make these wings gluten-free?
Yes! This recipe is naturally gluten-free if you use gluten-free soy sauce or tamari. Double-check your baking powder and hot sauce labels to ensure they don’t contain gluten ingredients.
Why do you flip the wings halfway through baking?
Flipping exposes all sides to heat and air circulation, ensuring even browning and crispiness. Without flipping, the bottom side can stay soggy because it’s in contact with the rack and drippings.
Can I deep fry these wings instead of baking?
Absolutely! If you prefer deep frying, you can still toss wings in the baking powder seasoning first. Fry at 350°F until golden and crispy, then toss in the glaze. Baking is just easier and less messy.
How do I store leftover wings without losing crispiness?
Store wings in an airtight container in the fridge. To re-crisp, reheat in the oven or air fryer rather than microwave. Microwaving traps steam and softens the skin.
Can I use other types of honey or sweeteners?
Mild-flavored honey works best to avoid overpowering the glaze. You can substitute with maple syrup or agave nectar but expect a slightly different flavor profile and sweetness level.
Final Thoughts
I hope you enjoy making these crispy honey-spiced wings as much as I do! Don’t forget to share how they turn out — they’re always a hit with friends and family.