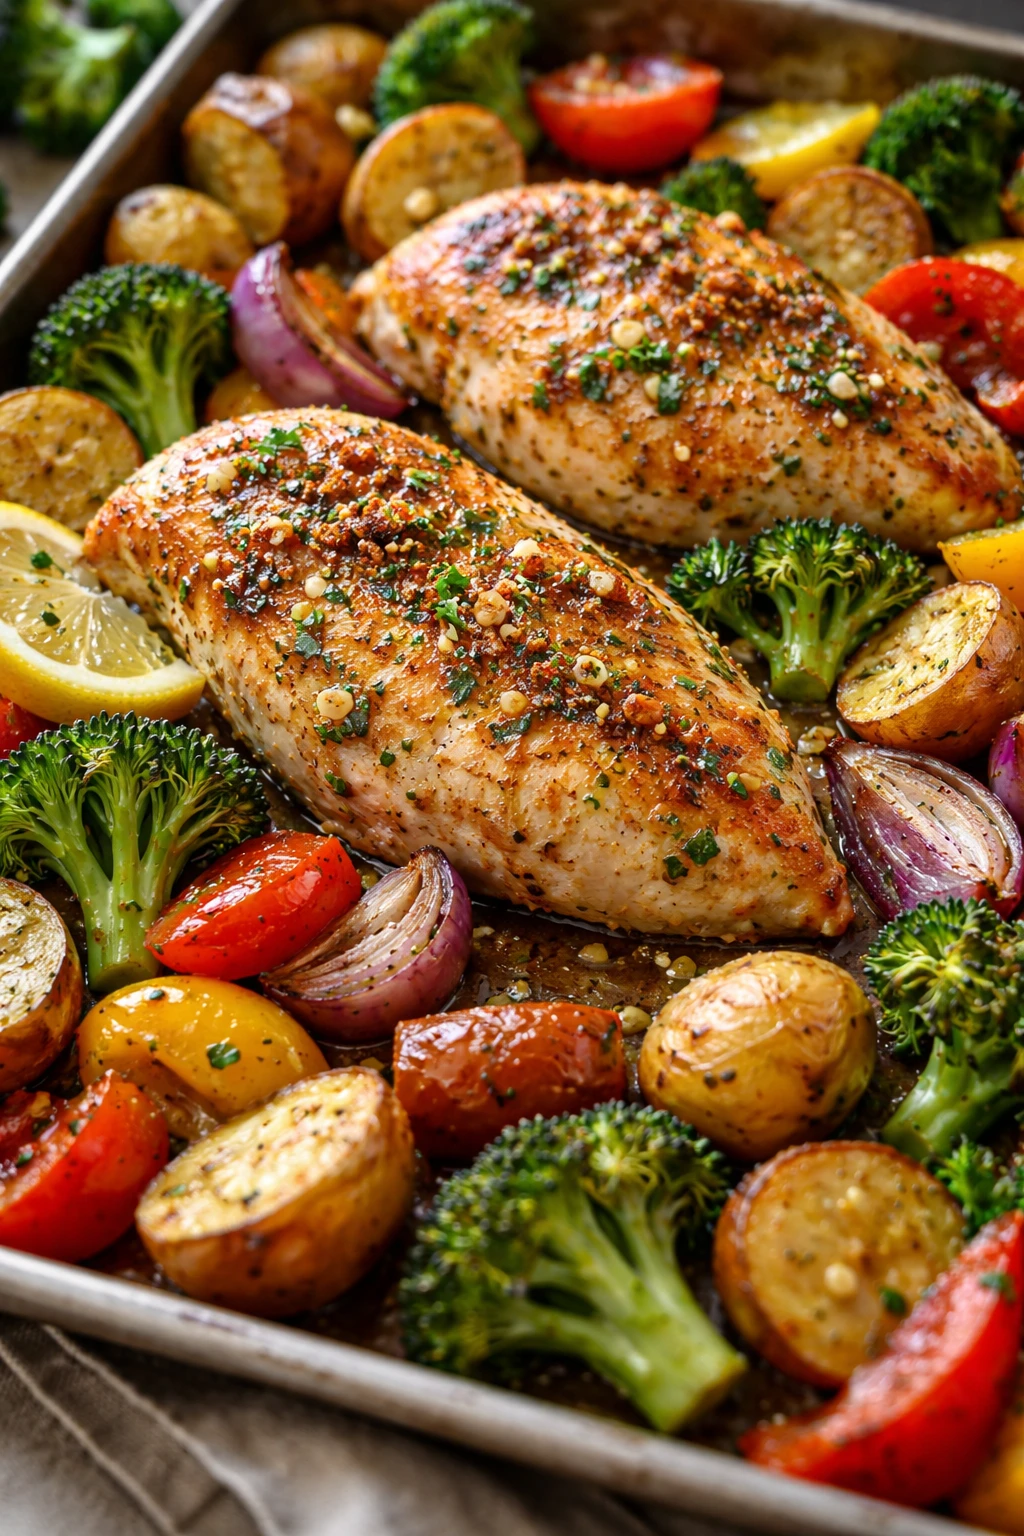
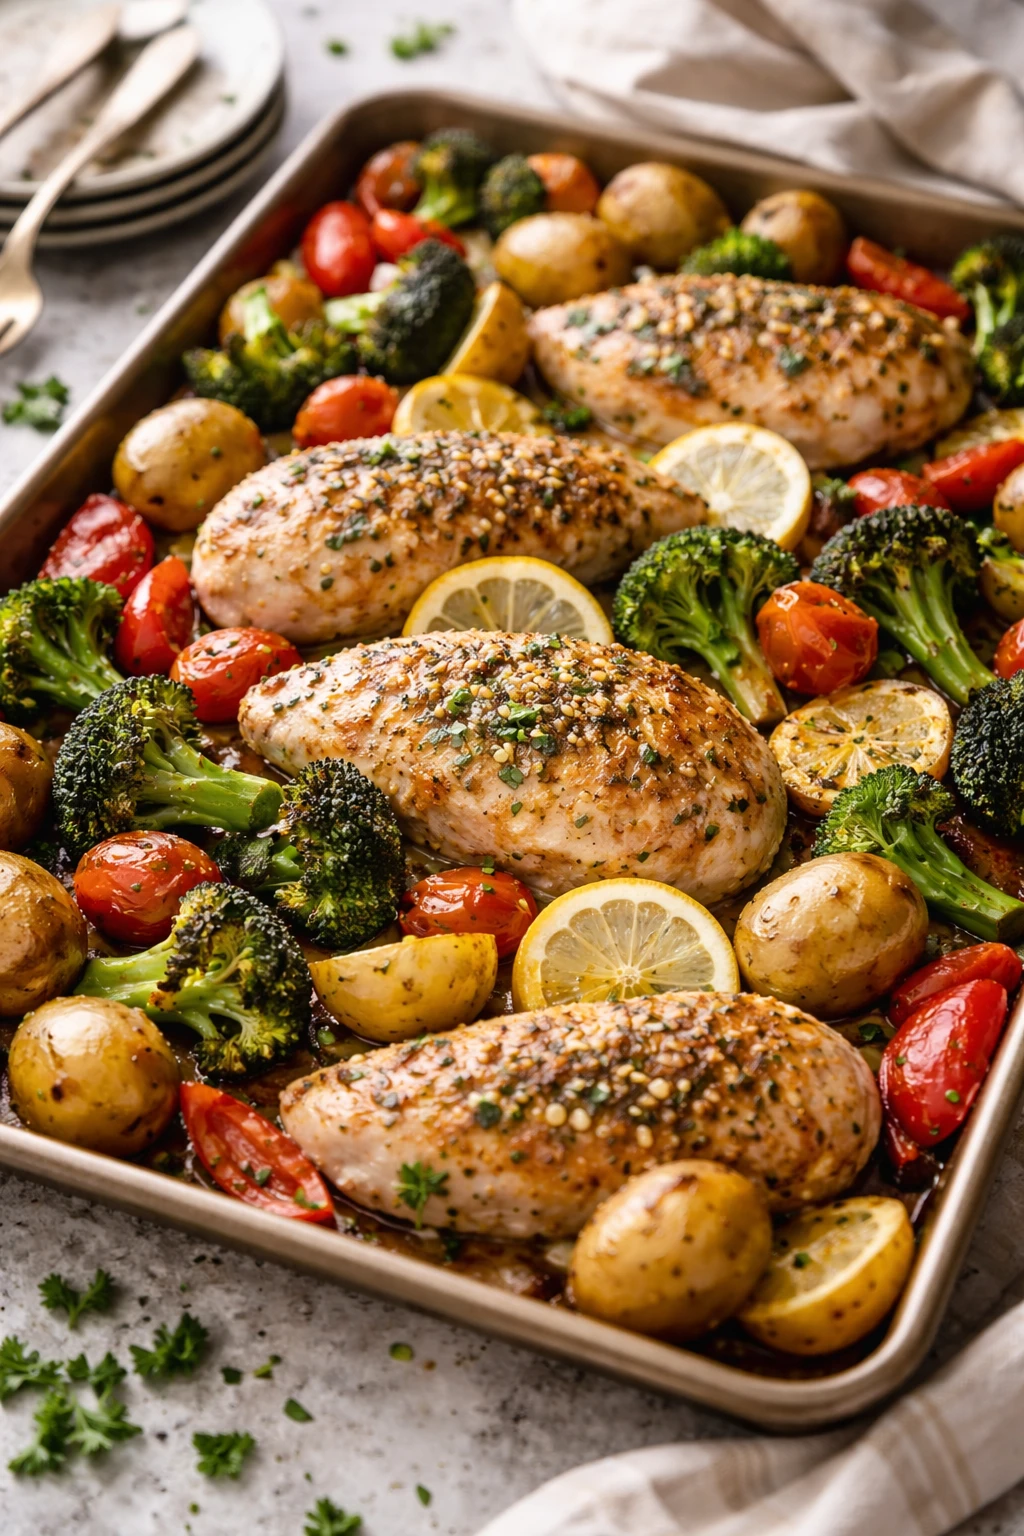
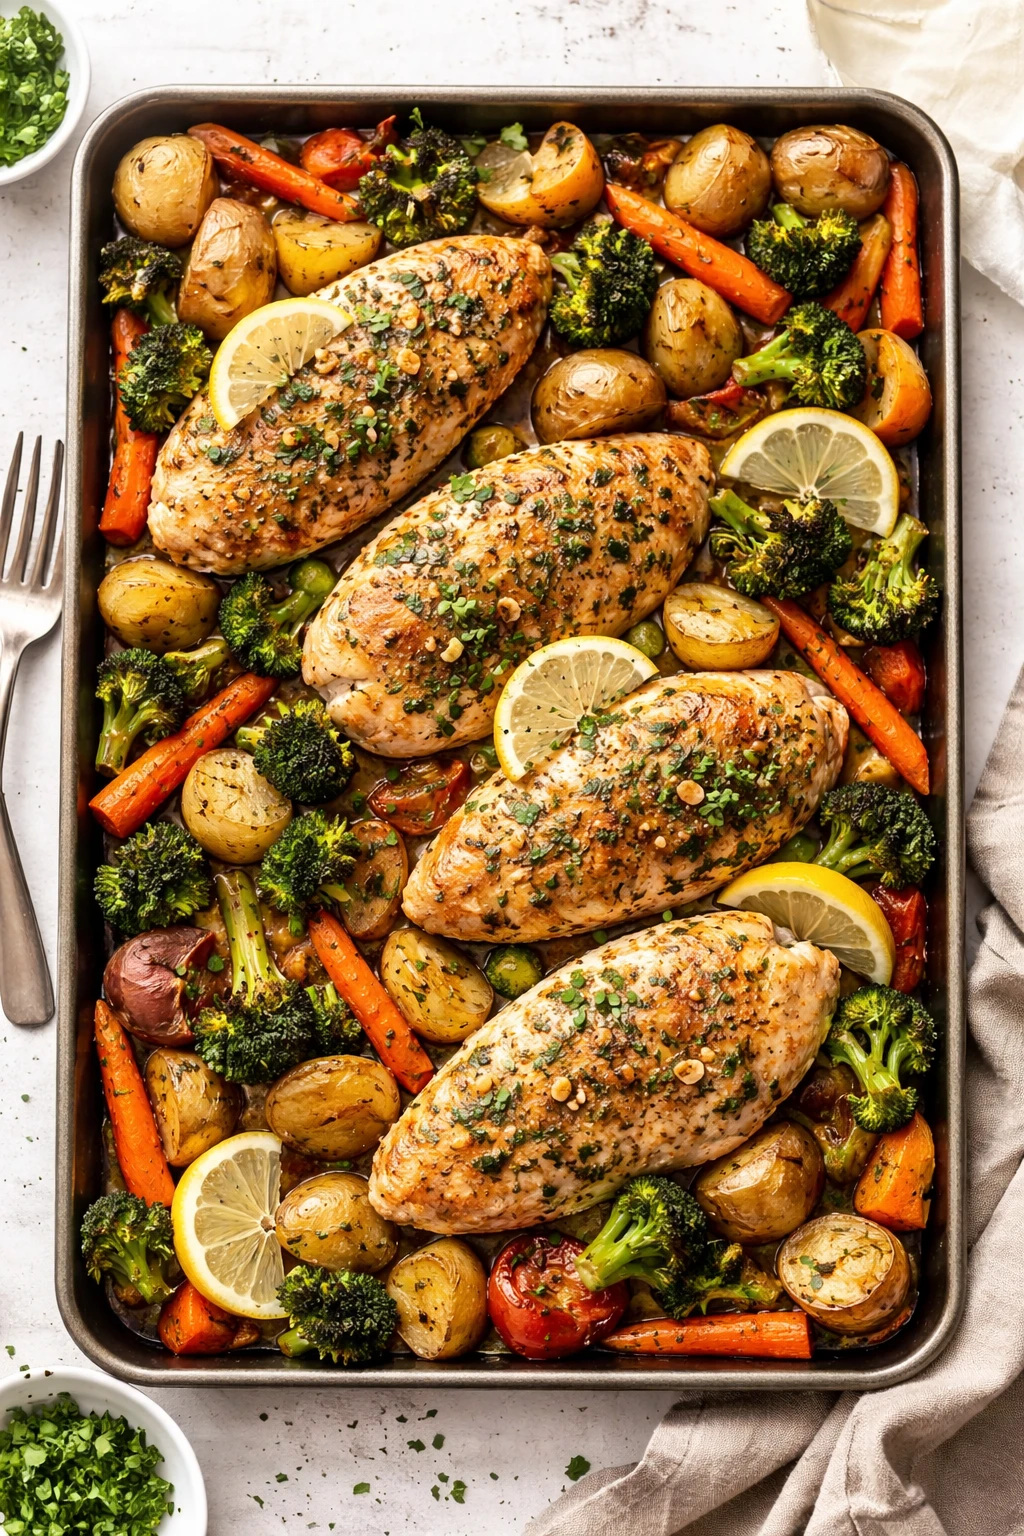
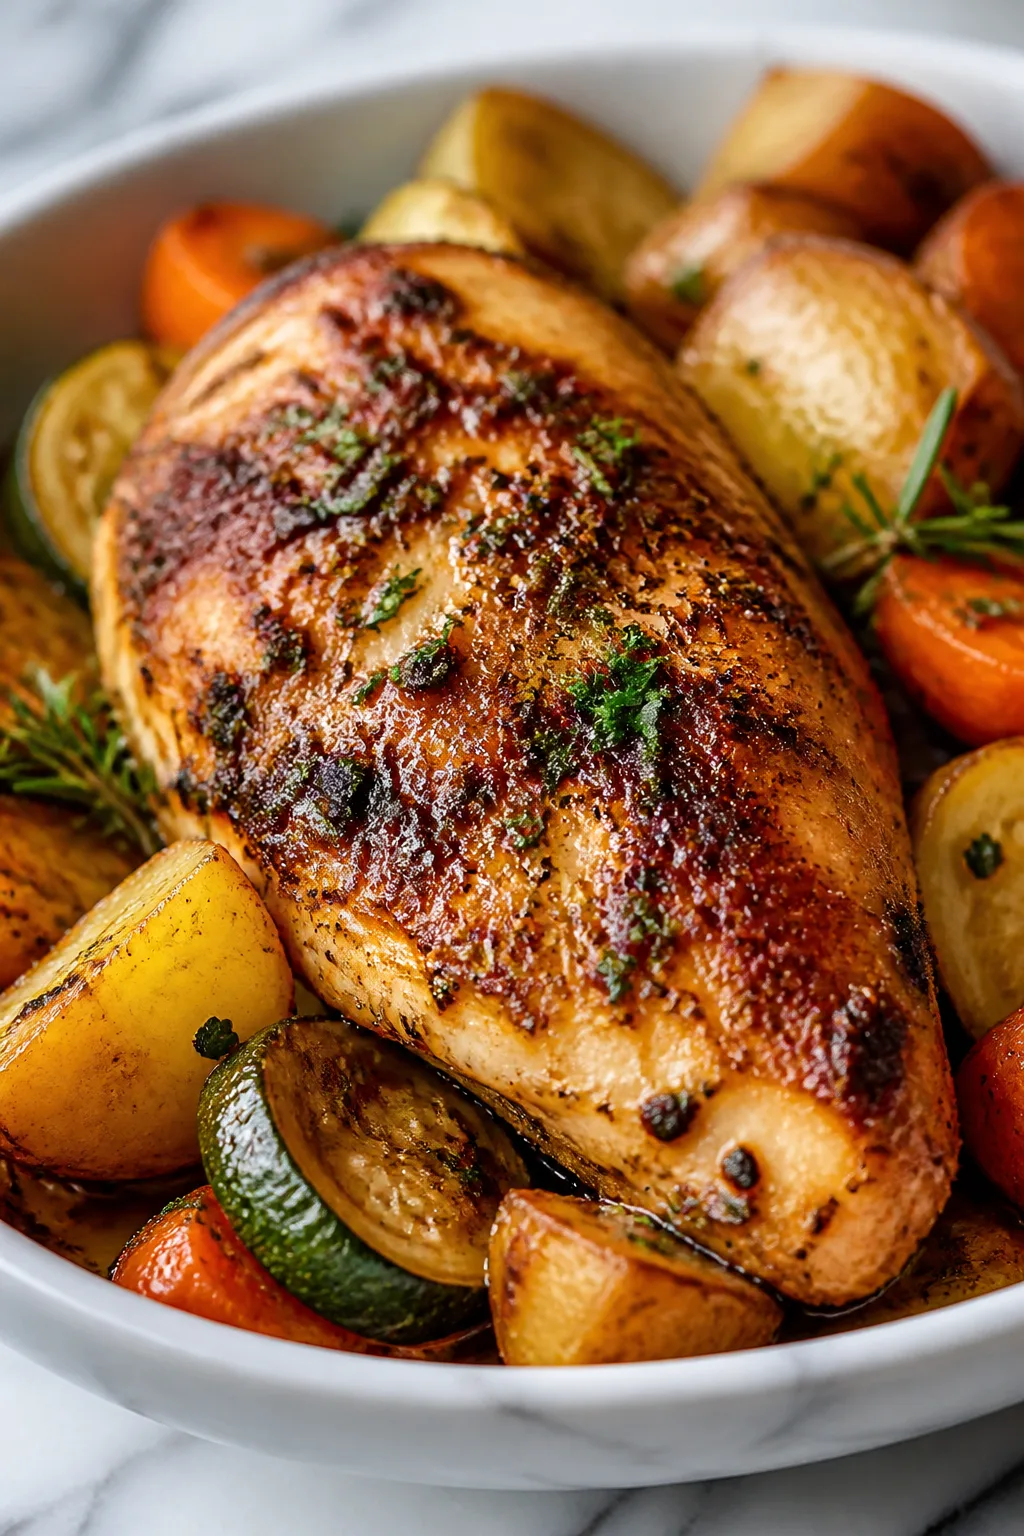
This sheet pan garlic butter chicken is the ultimate easy dinner hack. Juicy chicken and tender roasted veggies bathed in a buttery garlic sauce come together in one pan. Perfect for nights when you want hearty but simple food!
Introduction
I first stumbled upon this sheet pan garlic butter chicken recipe one hectic weeknight when I needed dinner on the table fast but still wanted something comforting and delicious. What I love most about this recipe is how everything cooks together on one pan — the chicken stays juicy and the veggies come out perfectly tender with a golden, garlicky butter coating. I’ve tried a few versions, but the trick I learned that really makes this stand out is melting the butter with garlic and herbs before drizzling it all over the chicken and veggies. It locks in flavor and keeps the chicken skin crispy while the veggies soak up all that buttery goodness. Plus, roasting everything at a high temperature means the potatoes get crispy edges and the carrots caramelize nicely. It’s one of those meals that looks fancy but is so simple to throw together. The finished dish is hearty but not heavy, with a nice balance of savory garlic butter and fresh herbs. I usually serve it with a simple green salad or crusty bread to soak up the juices. Honestly, it’s become a go-to for busy nights when I want a satisfying meal without the fuss or tons of pots and pans to clean.
How To Do It
Step 1
Preheat your oven to 425°F (220°C). This high heat is essential to get the chicken skin crispy and the veggies nicely roasted. While the oven warms, prepare your chicken by patting it dry with paper towels—this helps the skin crisp up instead of steaming. Season each piece generously with salt, pepper, smoked paprika, and thyme. Don’t skip drying the chicken; moisture is the enemy of crispiness, so this little step makes a huge difference.
⏱ Time: 10 minutes
✓ Doneness: Chicken skin should look dry and evenly coated with seasoning before cooking
Step 2
Melt the butter in a small saucepan or microwave-safe bowl, then stir in the minced garlic. Let it sit for a couple of minutes to infuse the butter with garlic flavor. This step is key because gently melting the garlic releases its aroma and taste without burning it, which would make the sauce bitter. Using melted garlic butter instead of raw garlic in the pan ensures a smooth, rich coating on the chicken and veggies.
⏱ Time: 5 minutes
✓ Doneness: Butter should be fragrant with garlic but not browned or burnt
Step 3
Toss the halved baby potatoes and baby carrots with olive oil, salt, and pepper in a large bowl. Spread them out evenly on a large rimmed baking sheet. Potatoes and carrots take longer to roast than green beans, so they go on the pan first to start cooking. Make sure the veggies are in a single layer to roast evenly and get those crispy edges we're after.
⏱ Time: 5 minutes
✓ Doneness: Veggies are evenly coated and spread without overcrowding the pan
Step 4
Place the seasoned chicken thighs skin-side up on the baking sheet, nestling them among the potatoes and carrots. Pour the garlic butter evenly over the chicken and veggies, making sure everything is well coated. This step helps the chicken skin crisp and the veggies soak up that rich garlic flavor. Avoid pouring too much butter in one spot; distributing it evenly ensures balanced flavor and prevents sogginess.
⏱ Time: 5 minutes
✓ Doneness: Butter coats chicken and veggies evenly with no pooling on the pan
Step 5
Roast the chicken, potatoes, and carrots in the oven for 20 minutes. This initial roasting cooks the chicken through and begins caramelizing the potatoes and carrots. Resist the urge to open the oven frequently, as the consistent heat is crucial for crisp skin and tender veggies. Keep an eye on the chicken juices running clear as a doneness indicator.
⏱ Time: 20 minutes
✓ Doneness: Chicken juices run clear and skin starts to crisp; potatoes begin to brown
Step 6
Remove the pan from the oven and add the trimmed green beans. Toss them gently with the chicken juices and butter on the pan for flavor. Green beans cook faster and should be added later to avoid overcooking. Stirring them in this way also helps them pick up the garlicky butter and chicken flavor, blending everything together.
⏱ Time: 5 minutes
✓ Doneness: Green beans are coated but still fresh-looking and not wilted
Step 7
Return the pan to the oven and roast for an additional 10 minutes, or until the green beans are tender and slightly blistered, and the chicken skin is deeply golden and crisp. This finish ensures all veggies are cooked perfectly and the chicken reaches a safe internal temperature of 165°F (74°C). Use a meat thermometer to check the thickest part of the chicken without touching bone for best accuracy.
⏱ Time: 10 minutes
✓ Doneness: Chicken skin is deep golden brown and internal temperature reads 165°F
Step 8
Once cooked, remove the pan from the oven and let the chicken rest for 5 minutes. Resting allows the juices to redistribute throughout the meat, making it more tender and juicy. Don’t skip this step, or your chicken might be dry when you cut into it. Meanwhile, give the veggies a gentle toss to coat them again in the buttery pan sauce.
⏱ Time: 5 minutes
✓ Doneness: Chicken juices settle and veggies glisten with sauce
Step 9
Garnish with freshly chopped parsley before serving to add a pop of color and fresh herb flavor that balances the richness of the garlic butter. Serve hot with your favorite side like a simple green salad or crusty bread to soak up the juices. This final touch elevates the dish visually and flavor-wise, making it feel special even on a busy weeknight.
⏱ Time: 2 minutes
✓ Doneness: Bright green parsley sprinkled evenly over the dish
Variations
Lemon Herb Garlic Butter Chicken
Add fresh lemon juice and zest to the garlic butter before drizzling. Swap thyme for rosemary and sprinkle lemon slices on the pan. This adds bright citrus notes and a fresh twist to the classic buttery flavor.
Note: Lemon juice added before roasting can curdle butter; add zest and juice after melting butter off heat to maintain smooth sauce.
Spicy Sheet Pan Garlic Butter Chicken
Mix in red pepper flakes or cayenne pepper with the garlic butter for a spicy kick. You can also toss the veggies with smoked paprika and chili powder for extra heat and depth.
Note: Adjust spice level cautiously; adding spice to butter means it infuses evenly, but too much can overpower the garlic flavor.
Sheet Pan Chicken with Root Vegetables
Swap baby potatoes and carrots for a medley of root veggies like parsnips, sweet potatoes, and beets. These add sweetness and earthiness, making the dish heartier and colorful.
Note: Root vegetables may require slightly longer roasting times; cut them uniformly and check for tenderness before adding green beans.
Sheet Pan Chicken with Mushrooms and Brussels Sprouts
Add halved Brussels sprouts and whole mushrooms to the pan along with potatoes and carrots. These veggies bring a savory, earthy flavor that pairs wonderfully with garlic butter.
Note: Mushrooms release moisture; roast at high heat and avoid overcrowding to get them nicely browned.
Sheet Pan Chicken with Honey Garlic Butter
Stir a tablespoon of honey into the garlic butter before drizzling. The honey caramelizes during roasting, lending a subtle sweetness that complements the savory chicken and veggies.
Note: Honey can brown quickly; monitor the roasting towards the end to prevent burning.
Pro Tips
Pat chicken thighs dry before seasoning.
Dry skin is crucial for crispiness because moisture creates steam during roasting, which prevents browning. Patting the skin thoroughly with paper towels ensures the heat can directly crisp the skin rather than steam it.
Use a rimmed baking sheet for roasting.
A rimmed pan catches juices and prevents spills in the oven, plus it allows you to toss veggies easily without them falling off. This helps distribute the garlic butter sauce evenly and promotes even roasting.
Add green beans halfway through cooking.
Green beans cook faster than potatoes and carrots, so adding them later prevents them from becoming mushy. This timing keeps them tender-crisp and maintains their vibrant color.
Let chicken rest after roasting.
Resting allows juices to redistribute within the meat, making it juicier and more tender. Cutting into chicken right away causes juices to run out, resulting in drier meat.
Use a meat thermometer to check doneness.
Chicken thighs are safe at 165°F internal temperature. Using a thermometer prevents overcooking, which can dry out the meat, or undercooking, which is unsafe.
Coat veggies in olive oil before roasting.
Olive oil helps veggies roast evenly and develop caramelized, crispy edges. It also prevents sticking to the pan and adds a subtle fruity flavor.
Distribute garlic butter evenly over chicken and veggies.
Even coating ensures balanced flavor and prevents soggy spots. It also helps the chicken skin crisp uniformly.
Common Mistakes to Avoid
Skipping drying the chicken skin
Why it happens People often overlook this step, assuming seasoning alone is enough. Moisture on the skin causes steaming during roasting, preventing crispiness.
Fix Always pat the chicken skin thoroughly with paper towels before seasoning. This removes surface moisture so the skin crisps properly under high heat.
Adding all veggies at once
Why it happens It's tempting to toss everything on the pan together for simplicity, but different veggies cook at different rates.
Fix Add longer-roasting veggies like potatoes and carrots first, then add quicker-cooking ones like green beans halfway through to avoid mushiness.
Burning the garlic in butter
Why it happens High heat or cooking garlic too long can cause it to burn, resulting in a bitter taste.
Fix Melt butter gently and stir in minced garlic off heat or over low heat to infuse flavor without burning.
Overcrowding the pan
Why it happens Trying to cook too much on one pan can cause steaming instead of roasting because the ingredients release moisture and don't get enough airflow.
Fix Use a large rimmed baking sheet and spread ingredients in a single layer with space between pieces for even roasting.
Not resting the chicken before serving
Why it happens Impatience or assumption that resting isn't necessary leads to cutting chicken immediately and losing juices.
Fix Let the chicken rest for at least 5 minutes after roasting to allow juices to redistribute for moist meat.
Nutrition
Per Serving:
Nutritional values are estimates and may vary based on specific ingredients used.
Storage & Tips
Room Temperature
This dish can safely sit at room temperature for up to 2 hours if covered loosely with foil to prevent drying out. Beyond that, bacteria growth risk increases, so refrigerate promptly.
Refrigerator
Store leftovers in an airtight container for up to 3 days. The chicken skin may soften in the fridge, but reheating in the oven helps restore crispness. Veggies will retain flavor but may become softer.
Freezer
Freeze cooked chicken and veggies in airtight freezer-safe containers or heavy-duty bags for up to 2 months. Wrap tightly to avoid freezer burn. Thaw overnight in the fridge before reheating.
Reheating
Reheat in a preheated oven at 375°F for 15-20 minutes, uncovered, to crisp the chicken skin again. Add a splash of water or broth if veggies seem dry. Avoid microwaving as it softens the skin and makes veggies mushy.
Make Ahead
You can prep and season the chicken and veggies up to 1 day in advance, storing them separately in the fridge. Assemble and roast just before serving for best texture and flavor.
FAQ
Can I use boneless chicken breasts instead of thighs?
Yes, but boneless breasts cook faster and can dry out more easily. Reduce roasting time to about 20-25 minutes and monitor closely. Also, breasts won’t have crispy skin, so consider broiling at the end for a minute or two for some browning.
What if I don’t have a meat thermometer?
You can check doneness by cutting into the thickest part of the chicken; the juices should run clear, not pink. However, a thermometer is the safest and most reliable method to ensure the chicken is fully cooked without overcooking.
Can I use frozen vegetables?
Frozen veggies tend to release extra moisture and may not roast as well, resulting in a softer texture. If using frozen, pat them dry and add them later in the cooking process to avoid sogginess.
How do I make this recipe gluten-free?
This recipe is naturally gluten-free as it uses whole ingredients without any gluten-containing additives. Just double-check your spices and butter for any added ingredients if you’re highly sensitive.
Can I prepare this recipe in advance?
Yes! You can season the chicken and chop the veggies the day before, storing them separately in the fridge. Assemble on the baking sheet and roast when ready to eat, which helps maintain freshness and texture.
What sides go well with this sheet pan chicken?
Simple green salads, crusty bread, or steamed rice complement this dish nicely. The garlic butter sauce is flavorful enough to stand alone but pairing it with fresh or neutral sides balances the meal.
Why does the chicken sometimes come out dry?
Dry chicken often results from overcooking or not resting after roasting. Using a meat thermometer and letting the chicken rest before slicing helps keep it juicy.
Can I add other herbs besides thyme?
Definitely! Rosemary, oregano, or sage work well with garlic butter chicken. Fresh herbs added after roasting brighten the dish, while dried herbs can be added with the seasoning before cooking.
Final Thoughts
I hope you give this sheet pan garlic butter chicken a try—it’s become a favorite in my kitchen for busy nights. Let me know how it turns out and what variations you loved!