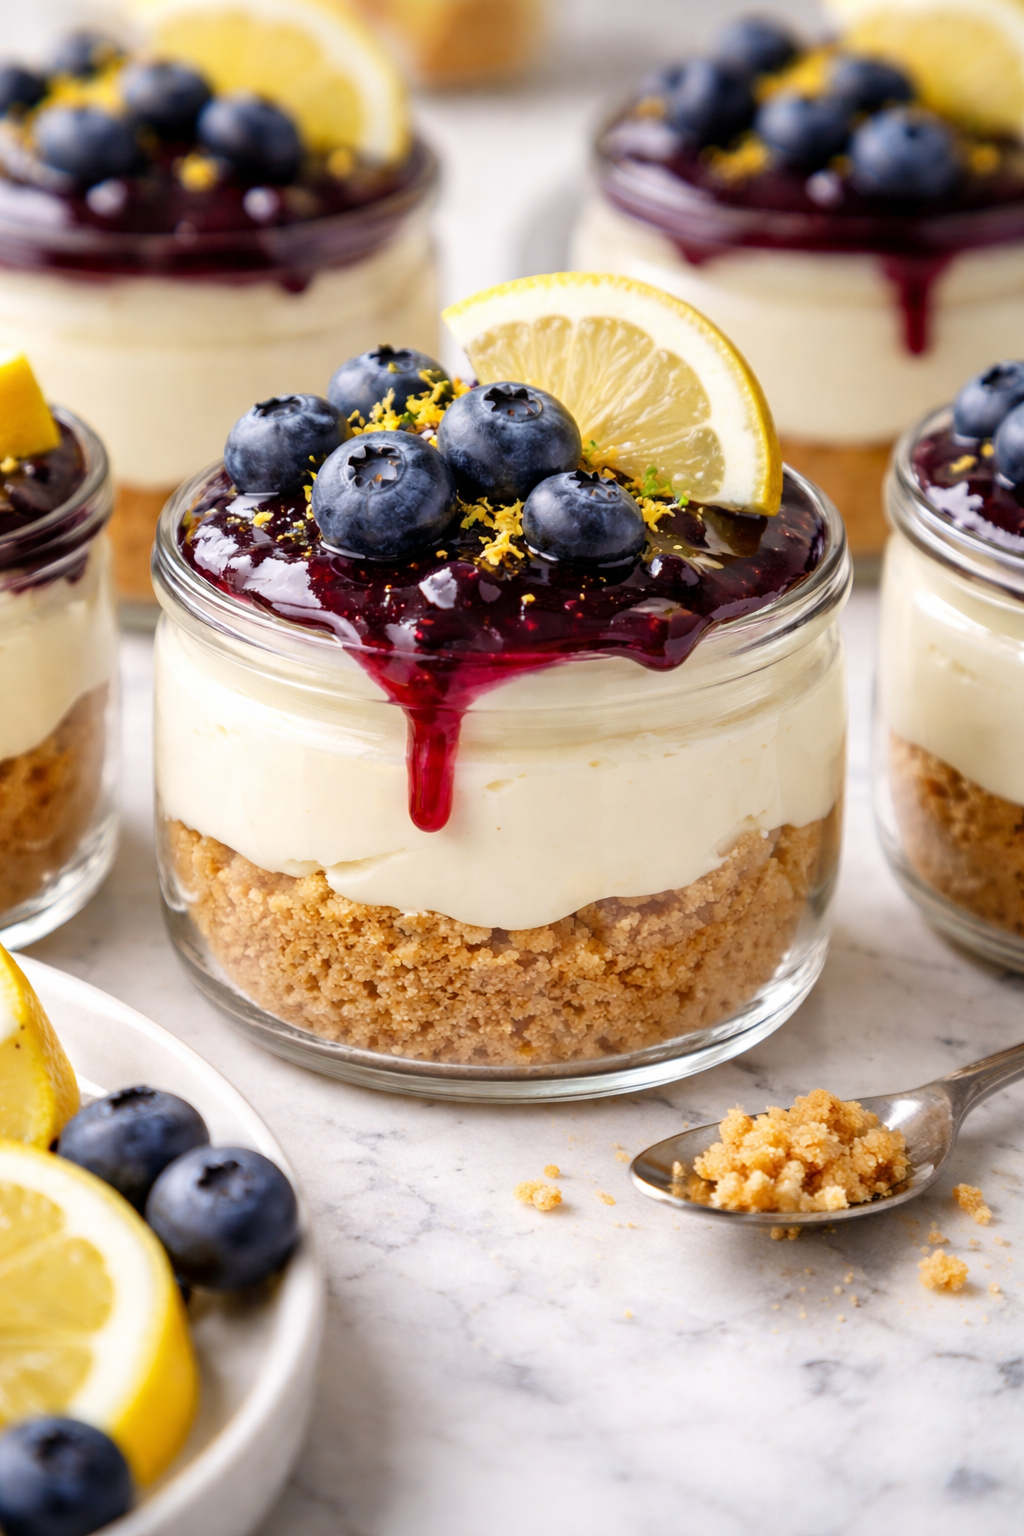
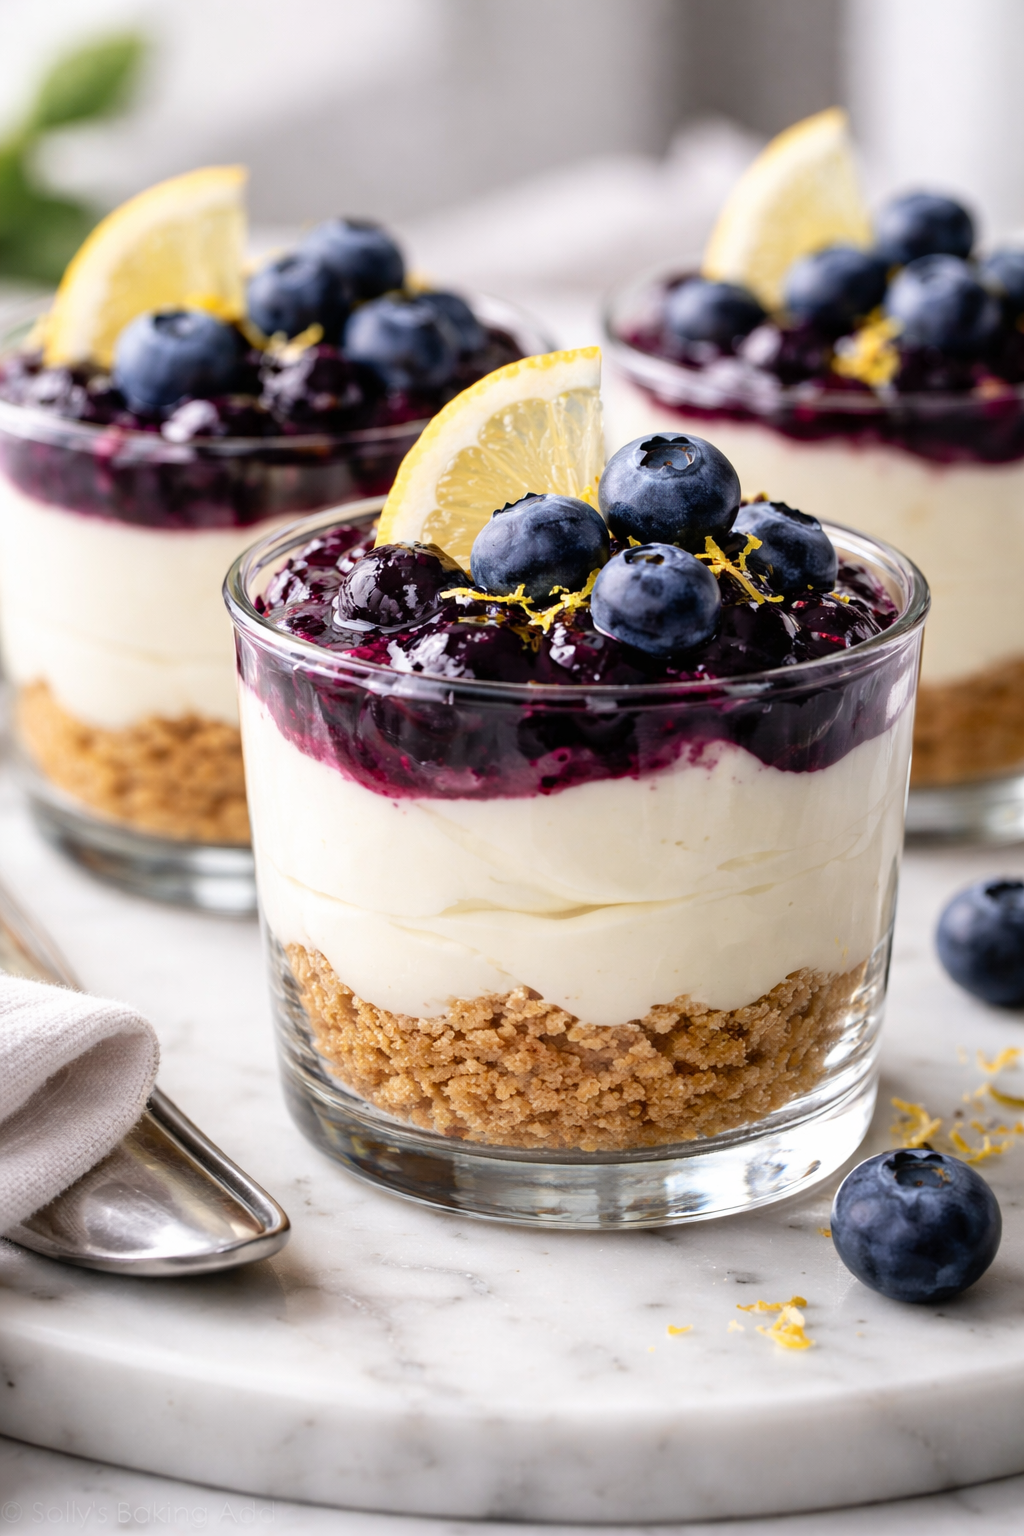
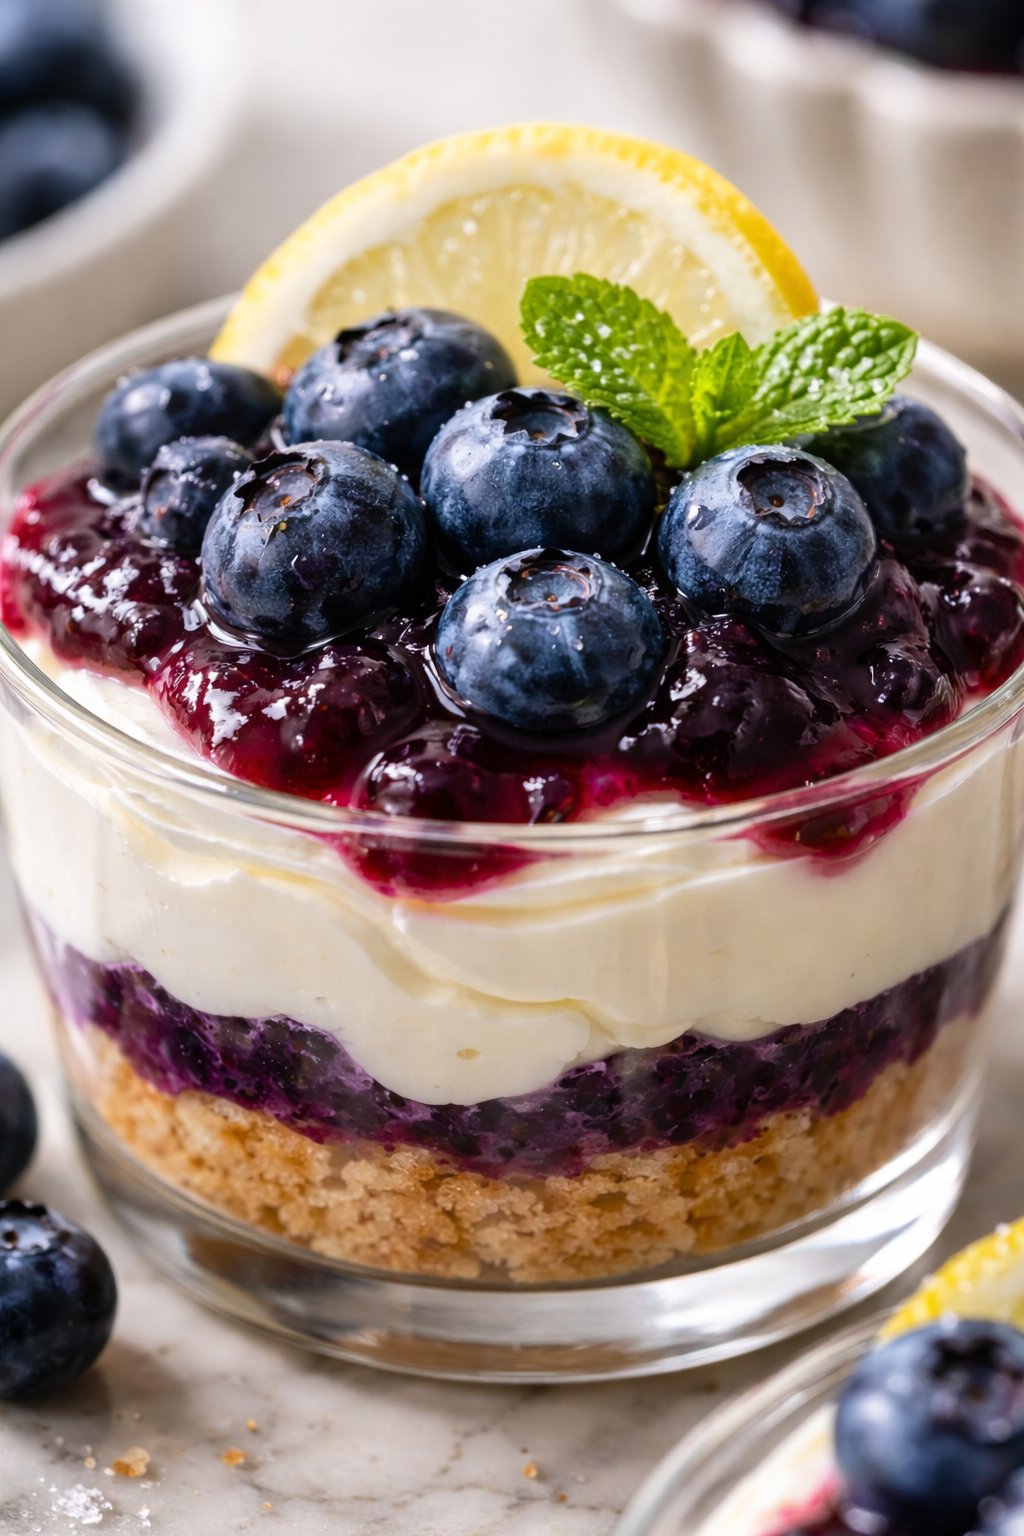
These no-bake cheesecake cups combine creamy, tangy filling with juicy blueberries and zesty lemon. They’re light, fresh, and perfect for a quick dessert when you don’t want to heat up the kitchen.
Introduction
I first made these no-bake blueberry lemon cheesecake cups on a sweltering summer afternoon when turning the oven on felt impossible. I wanted a dessert that was light, fresh, and didn’t require baking or hours of prep. After a few trial runs, I found the perfect balance of creamy texture and bright lemon zing that felt just right. What sets this version apart is the use of fresh lemon zest combined with a gentle folding of whipped cream into the cream cheese mixture, which keeps the filling airy and not too heavy. Also, mixing in fresh blueberries right before serving adds a burst of juicy sweetness that pairs beautifully with the tangy lemon. The graham cracker crust is simple but buttery enough to add a satisfying crunch without overpowering the delicate filling. When you dig into these cups, you’ll notice they’re smooth, creamy, and refreshingly light—far from the dense traditional cheesecakes. I love serving these at casual gatherings, especially on warm days when you want something sweet but not too rich. Honestly, the first time I made them, I nearly ate the whole batch myself because they’re just that good. Plus, no baking means you can whip them up last minute, which is always a win in my book!
What You'll Need
4 individual cheesecake cups
- 1 cup graham cracker crumbs
- 3 tablespoons unsalted butter, melted
- 8 ounces cream cheese, softened
- 1/2 cup powdered sugar
- 1 teaspoon vanilla extract
- 1 cup heavy cream, cold
- Zest of 1 lemon
- 2 tablespoons fresh lemon juice
- 1/2 cup fresh blueberries, plus extra for garnish
How To Do It
Step 1
Start by preparing the crust. In a medium bowl, combine the graham cracker crumbs with melted butter. Mix until the crumbs are evenly coated and the mixture holds together when pressed. This step is crucial because the butter binds the crumbs, creating a firm base that won’t crumble apart when you eat the cheesecake cups. Avoid adding too much butter, or the crust will be greasy and soggy instead of crisp. Press this mixture firmly into the bottom of your serving cups or jars to form an even layer. Using the back of a spoon or your fingers helps pack it down nicely.
⏱ Time: 5 minutes
✓ Doneness: Crust feels compact and slightly firm to the touch, no loose crumbs falling apart
Step 2
Next, whip the heavy cream in a chilled bowl until stiff peaks form. This means when you lift the whisk, the cream holds its shape without falling. Whipping the cream properly is key for a light, fluffy filling. If you under-whip, the cheesecake will be runny; over-whip and it turns grainy or buttery. Keep your bowl and beaters cold to help this process go smoothly and quickly.
⏱ Time: 5 minutes
✓ Doneness: Cream stands tall with firm peaks that don't droop
Step 3
In a separate bowl, beat the softened cream cheese with powdered sugar, vanilla extract, lemon zest, and lemon juice until smooth and creamy. This mixture is the flavor base, so make sure the cream cheese is fully softened to avoid lumps. The lemon zest adds a fresh, bright aroma, while the juice gives the filling a pleasant tang. Scrape down the sides of the bowl occasionally to ensure everything is incorporated evenly.
⏱ Time: 4 minutes
✓ Doneness: Smooth, glossy mixture without lumps and vibrant lemon aroma
Step 4
Gently fold the whipped cream into the cream cheese mixture in batches. Use a spatula and fold carefully to keep as much air as possible in the filling. This lightens the texture and prevents the filling from becoming dense or heavy. Folding rather than stirring is important here; stirring would deflate the whipped cream and result in a thicker, less airy cheesecake.
⏱ Time: 3 minutes
✓ Doneness: Mixture is uniform in color and texture, fluffy but stable
Step 5
Spoon or pipe the cheesecake filling over the prepared crust in your cups. Filling them evenly ensures consistent portions and a nice visual presentation. Don’t overfill to leave room for the blueberries topping. Tap the cups gently on the counter to settle the filling and remove any air pockets.
⏱ Time: 3 minutes
✓ Doneness: Filling sits evenly on crust, smooth top surface
Step 6
Sprinkle the fresh blueberries evenly on top of each cheesecake cup. The berries add a juicy pop and contrast nicely with the creamy filling. If you want extra flavor, you can toss the blueberries in a little lemon juice and sugar beforehand, but fresh is best for natural sweetness.
⏱ Time: 2 minutes
✓ Doneness: Blueberries look fresh, evenly distributed without sinking
Step 7
Refrigerate the cheesecake cups for at least 2 hours before serving. This chilling time allows the filling to set and the flavors to meld. Don’t rush this step; serving too soon will result in a runny texture and less flavor development. Overnight chilling works great if you want to prep ahead.
⏱ Time: 120 minutes
✓ Doneness: Filling is firm to the touch and holds shape when spooned
Step 8
Before serving, optionally garnish with extra lemon zest or a sprig of mint for a fresh look. This step is all about presentation and a tiny flavor boost. It makes the cups look inviting and adds a nice pop of color.
⏱ Time: 2 minutes
✓ Doneness: Garnish looks fresh and vibrant
Step 9
Serve chilled and enjoy immediately. These cheesecake cups are best eaten within 24 hours for optimal freshness. The crust stays crisp and the filling tastes fresh and tangy. Leftovers can be stored but may soften over time.
⏱ Time: Immediate
✓ Doneness: Creamy, chilled texture with fresh berry flavor
Variations
Strawberry No-Bake Cheesecake Cups
Swap blueberries with fresh sliced strawberries for a sweeter, slightly different berry flavor. You can also swirl in a spoonful of strawberry jam into the filling for extra fruitiness. The texture remains creamy and light but with a summery twist.
Note: Strawberries release more juice than blueberries, so add them just before serving to avoid a soggy crust.
Chocolate-Graham Cracker Crust Cheesecake Cups
Add 2 tablespoons of cocoa powder to the graham cracker crumbs for a chocolaty crust that pairs wonderfully with the tangy lemon filling. This variation adds depth and richness without overwhelming the fresh flavors.
Note: Mix cocoa powder evenly with crumbs to avoid clumping and ensure consistent flavor.
Vegan No-Bake Cheesecake Cups
Use vegan cream cheese and coconut cream whipped to stiff peaks in place of dairy. Substitute the butter in the crust with coconut oil. This keeps the dessert creamy and tangy while making it plant-based and suitable for dairy-free diets.
Note: Coconut cream should be chilled overnight and separated from liquid for best whipping results.
Lime and Raspberry Cheesecake Cups
Swap lemon zest and juice for fresh lime for a slightly more tart and zesty flavor. Top with fresh raspberries instead of blueberries for a different but equally vibrant berry note. Great for a tropical-inspired dessert.
Note: Lime juice is more acidic, so adjust sugar slightly if needed to balance tartness.
Pumpkin Spice No-Bake Cheesecake Cups
Add 1/2 cup canned pumpkin puree and 1 tsp pumpkin pie spice to the cream cheese mixture for a fall-inspired twist. This variation is creamy, spiced, and perfect for chilly evenings without baking.
Note: Pumpkin puree adds moisture, so reduce lemon juice slightly to maintain texture.
Pro Tips
Make sure your cream cheese is fully softened before mixing.
Softened cream cheese blends smoothly with powdered sugar and lemon, preventing lumps that can ruin the texture. If it’s too cold, you’ll get uneven mixing and a gritty filling.
Chill your mixing bowl and beaters before whipping cream.
Cold equipment helps the heavy cream whip faster and reach stiff peaks more reliably. Warm bowls slow down the process and can cause the cream to remain soft or separate.
Fold whipped cream gently into the cream cheese mixture in batches.
Folding preserves the air bubbles whipped into the cream, keeping the filling light and fluffy. Stirring aggressively deflates the mixture, making the cheesecake dense.
Press the crust firmly into the bottom of your serving cups.
Firm pressing binds the crumbs with melted butter, creating a sturdy base that holds together when eating. Loose crust will fall apart and make a mess.
Use fresh lemon zest rather than dried or bottled lemon flavor.
Fresh zest carries essential oils that add bright, natural citrus notes. Bottled flavorings lack depth and can taste artificial.
Refrigerate the cheesecake cups for at least 2 hours before serving.
Chilling allows the filling to set and the flavors to meld, resulting in a better texture and taste. Serving too soon means a runny, less flavorful dessert.
Add blueberries right before serving to keep them fresh and juicy.
Adding berries too early can cause them to release juice and make the filling watery. Fresh berries maintain their texture and provide a nice contrast.
Common Mistakes to Avoid
Using cold cream cheese straight from the fridge.
Why it happens Many cooks rush the process or forget to plan ahead, mixing cold cream cheese that’s too firm.
Fix Let the cream cheese sit at room temperature for at least 30 minutes before using. If short on time, cut it into small pieces to soften faster.
Overwhipping the cream until it turns grainy.
Why it happens It’s easy to get carried away when whipping cream, especially if not watching closely.
Fix Stop whipping as soon as stiff peaks form. If you overwhip, the cream will separate into butter and liquid, ruining the texture.
Mixing whipped cream too vigorously into the filling.
Why it happens Trying to combine everything quickly can lead to stirring instead of folding.
Fix Use a spatula to gently fold the whipped cream in batches, preserving airiness and texture.
Not pressing the crust firmly enough.
Why it happens Sometimes people sprinkle crumbs loosely or don’t pack them down.
Fix Press the crumb mixture firmly with the back of a spoon or your fingers to create a compact base.
Skipping the chilling step before serving.
Why it happens Impatience or last-minute dessert plans often lead to skipping refrigeration.
Fix Plan ahead to chill the cups for at least 2 hours or overnight to allow proper setting and flavor development.
Nutrition
Per Serving:
Nutritional values are estimates and may vary based on specific ingredients used.
Storage & Tips
Room Temperature
These cheesecake cups should not be left out at room temperature for more than 2 hours. Cover with plastic wrap or a lid to protect from contaminants if left briefly.
Refrigerator
Store in an airtight container in the fridge for up to 3 days. The crust may soften slightly, but the filling stays creamy. Serve chilled for best texture and flavor.
Freezer
Freeze cheesecake cups for up to 1 month. Wrap tightly with plastic wrap and place in a freezer-safe container to prevent freezer burn. Thaw in the fridge overnight before serving to maintain texture.
Reheating
No reheating needed. Serve straight from the fridge. If you want a softer texture, let sit at room temperature for 10 minutes before eating.
Make Ahead
Prepare the crust and filling up to 2 days in advance. Assemble the cups and refrigerate, adding blueberries just before serving to keep them fresh.
FAQ
Can I use low-fat cream cheese or whipped cream?
Low-fat cream cheese lacks the fat needed for a creamy texture and can result in a grainy filling. Similarly, whipped cream with less fat won’t whip to stiff peaks properly, making the filling runny. For best results, stick to full-fat versions.
How long can I store these cheesecake cups?
They keep well in the refrigerator for up to 3 days. Beyond that, the crust may become soggy and the filling can lose its fresh texture. For longer storage, freeze them and thaw before serving.
Can I make these gluten-free?
Yes! Use gluten-free graham cracker crumbs or substitute with crushed gluten-free cookies for the crust. The rest of the ingredients are naturally gluten-free, making this dessert suitable for gluten-sensitive diets.
What if I don’t have fresh blueberries?
Fresh blueberries are best for texture and flavor, but frozen berries can be used if thawed and drained well. Avoid using canned berries as they are often too soft and syrupy.
Why does my filling sometimes turn out runny?
Runny filling usually means the cream wasn’t whipped enough or the cream cheese was too cold and not fully blended. Make sure to whip the cream to stiff peaks and soften the cream cheese properly before mixing.
Can I add gelatin to help the filling set?
This recipe doesn’t require gelatin because chilling firms the filling. However, if you want extra stability, you can dissolve a small amount of gelatin in lemon juice and fold it in, but it may affect the texture slightly.
How do I prevent the crust from getting soggy?
Press the crust firmly and chill it well before adding the filling. Avoid adding wet toppings directly on the crust and serve the dessert soon after assembly to keep the crust crisp.
Can I double or triple the recipe?
Absolutely! Just scale the ingredients proportionally. If making a larger batch, consider using a bigger container and adjust chilling time accordingly to ensure proper setting.
Final Thoughts
Give these no-bake blueberry lemon cheesecake cups a try—you’ll love how fresh and easy they are! Don’t forget to share your results; I’d love to hear how they turn out.