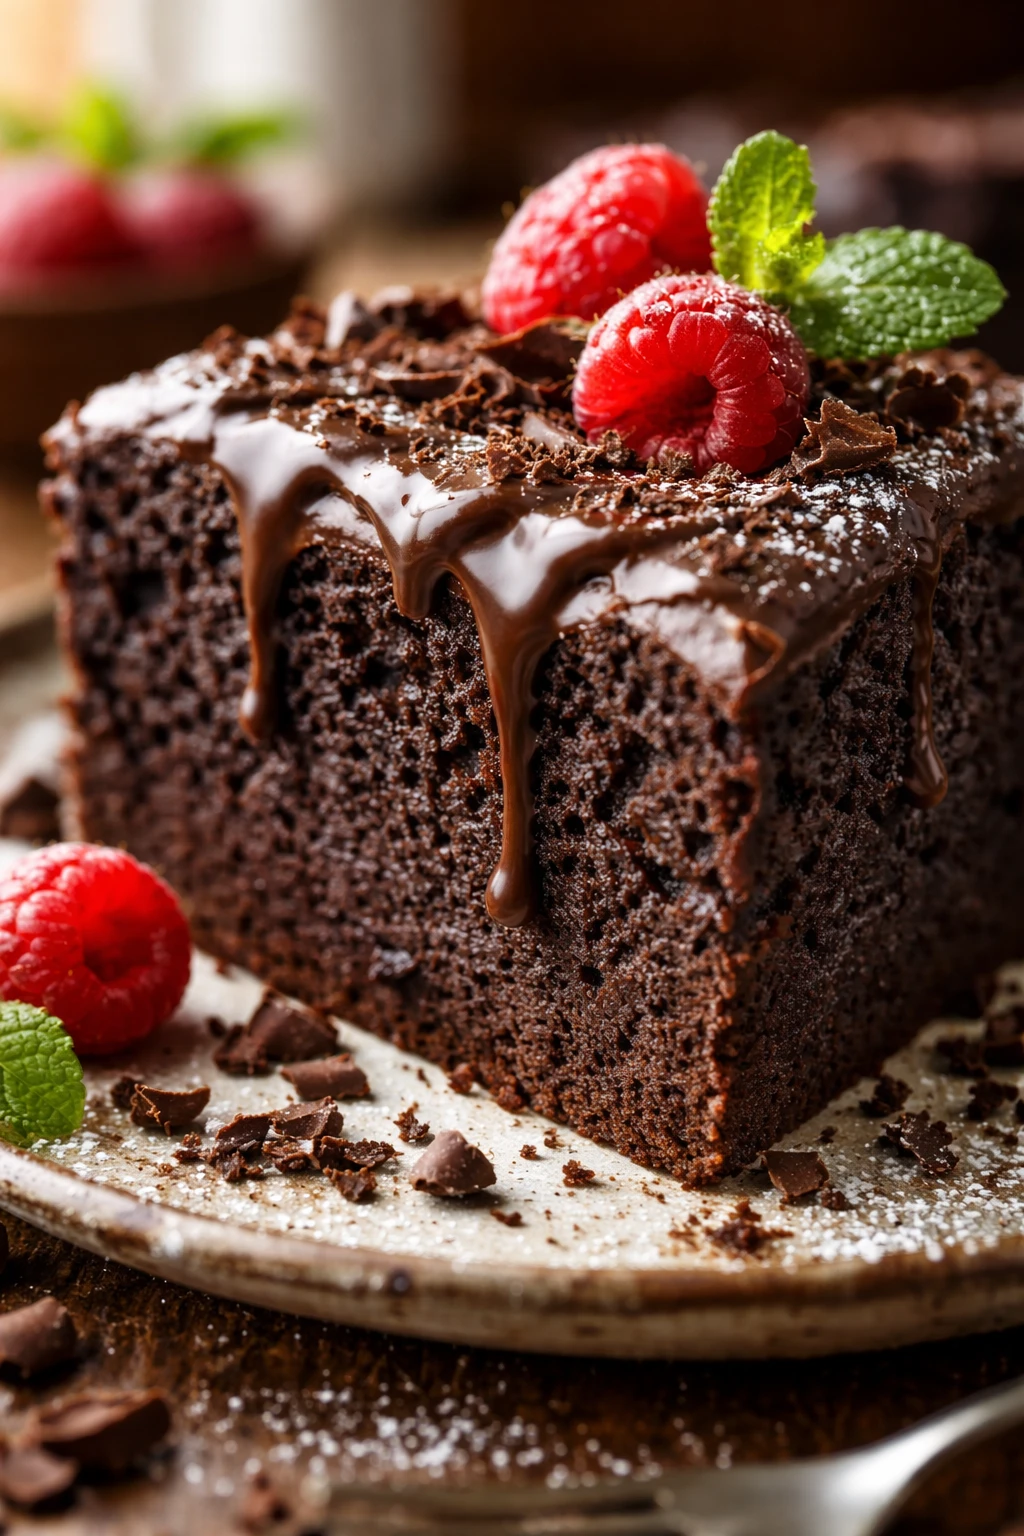
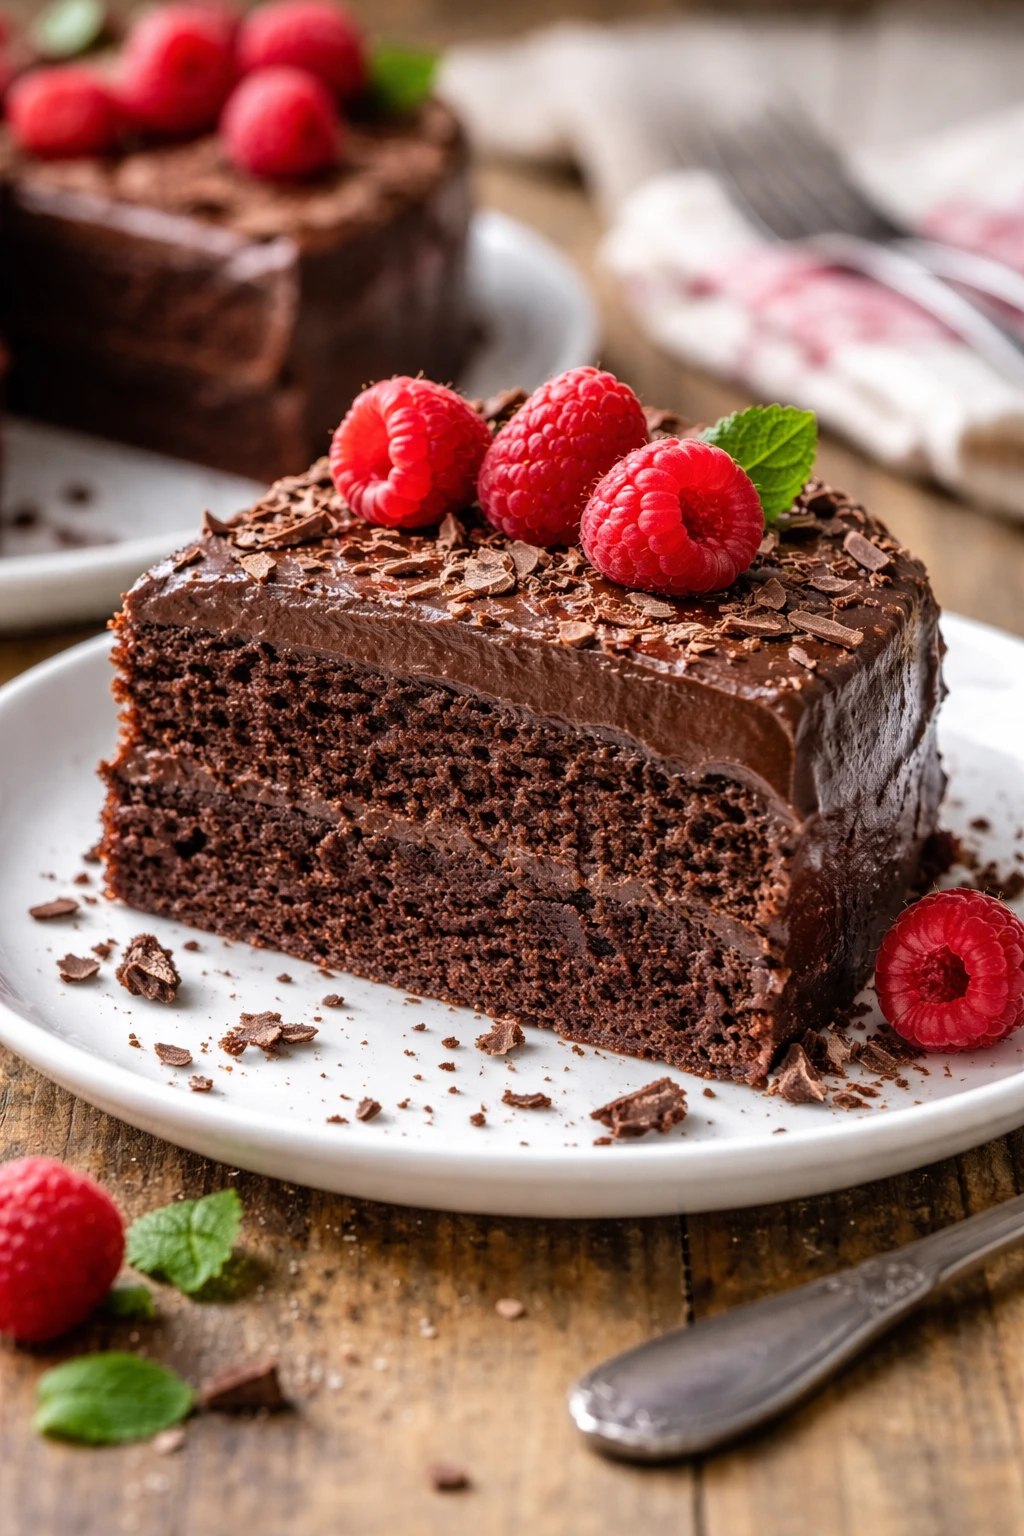
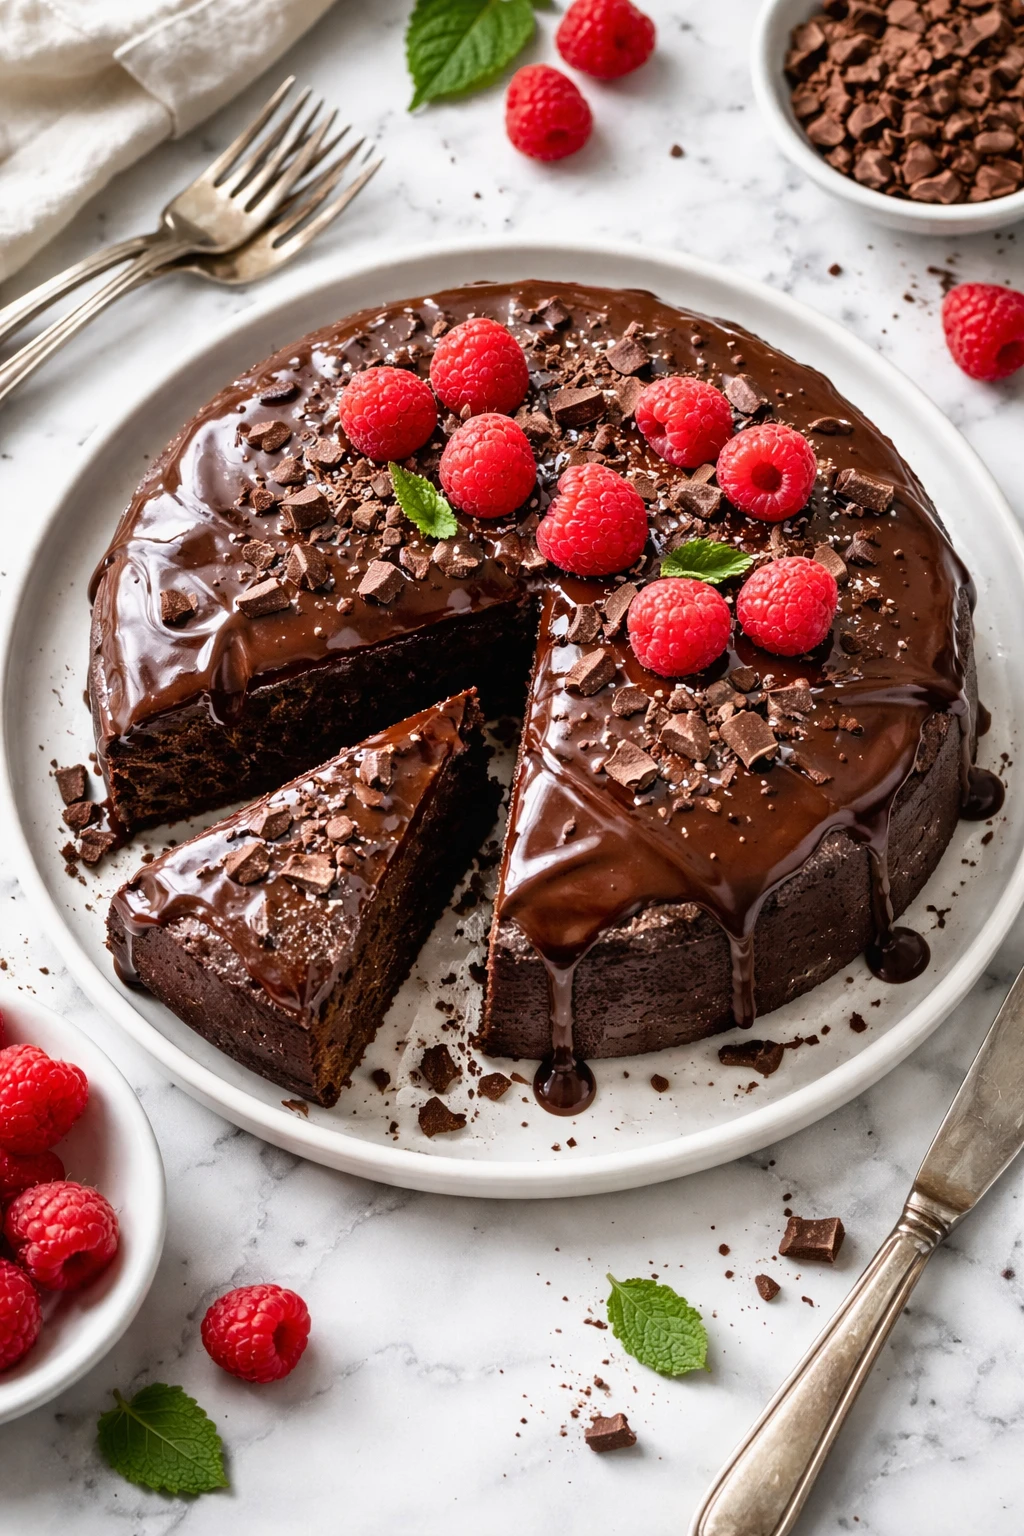
This chocolate cake is a breeze to make with just five ingredients and a secret splash of sour cream that keeps it super moist. Perfect for when you need a quick, delicious dessert in under 30 minutes!
Introduction
I first stumbled upon this chocolate cake recipe on a hectic weeknight when I desperately needed something quick, comforting, and chocolatey. What I love about this version is how it only uses five main ingredients but still manages to be incredibly moist and rich. The magic ingredient? Sour cream. It adds just the right amount of tang and moisture that makes every slice tender and soft, unlike your typical dry chocolate cakes. I remember trying a few recipes before and ending up with cakes that were either too dense or crumbly, but this one consistently turns out perfectly. The technique is pretty straightforward — mixing dry and wet ingredients separately before combining them gently helps prevent overmixing, which keeps the crumb light. When it’s done, the cake has a beautiful deep chocolate color, a soft crumb, and a subtle tanginess from the sour cream that balances the sweetness. It’s great on its own or dressed up with frosting or fresh berries. Honestly, it’s become my go-to for last-minute celebrations or when I just want a no-fuss chocolate treat to share with friends and family.
What You'll Need
One 9-inch round cake, 8 servings
- 1 cup all-purpose flour
- 1 cup granulated sugar
- 1/2 cup unsweetened cocoa powder
- 1 teaspoon baking soda
- 1/2 cup sour cream
- 1/2 cup vegetable oil
- 1/2 cup water
- 1 teaspoon vanilla extract
- 1/2 teaspoon salt
How To Do It
Step 1
Preheat your oven to 350°F (175°C) and grease a 9-inch round cake pan or line it with parchment paper. This step ensures your cake won’t stick and will come out cleanly, so you don’t lose any of that beautiful crumb. It’s tempting to skip greasing, but trust me, it’s worth the little extra effort to get a perfect release.
⏱ Time: 10 minutes
✓ Doneness: Oven preheated to 350°F and cake pan prepared
Step 2
In a large bowl, sift together the flour, cocoa powder, baking soda, salt, and sugar. Sifting breaks up lumps and aerates the dry ingredients, which helps your cake stay light and evenly mixed. If you don’t sift, you might end up with clumps of cocoa or baking soda pockets that affect texture and taste.
⏱ Time: 5 minutes
✓ Doneness: Dry ingredients are well combined and lump-free
Step 3
In a separate bowl, whisk together the sour cream, vegetable oil, water, and vanilla extract until smooth. This wet mixture brings moisture and richness to the cake. Using room temperature ingredients here helps everything combine evenly, avoiding lumps or separation.
⏱ Time: 5 minutes
✓ Doneness: Wet ingredients form a smooth, homogenous mixture
Step 4
Slowly pour the wet ingredients into the dry ingredients bowl. Stir gently with a spatula or wooden spoon just until combined. Overmixing at this stage can develop gluten in the flour, making the cake tough instead of tender. Stop mixing as soon as you don’t see dry flour.
⏱ Time: 3 minutes
✓ Doneness: Batter is smooth with no dry spots, but still slightly thick
Step 5
Pour the batter into your prepared cake pan, smoothing the top with the back of a spoon or spatula for even baking. An even surface helps the cake bake uniformly and prevents doming or cracking on top.
⏱ Time: 2 minutes
✓ Doneness: Batter evenly spread in the pan with a smooth surface
Step 6
Bake in the preheated oven for 20 to 25 minutes. Start checking at 20 minutes by inserting a toothpick in the center — it should come out with a few moist crumbs but no wet batter. Baking too long will dry out the cake, while underbaking leaves it gooey inside.
⏱ Time: 20-25 minutes
✓ Doneness: Toothpick inserted in center comes out with moist crumbs
Step 7
Remove the cake from the oven and let it cool in the pan for 10 minutes. This resting time allows the cake to firm up slightly, making it easier to remove from the pan without breaking.
⏱ Time: 10 minutes
✓ Doneness: Cake edges begin to pull away slightly from pan sides
Step 8
Run a knife around the edges to loosen the cake, then invert it onto a cooling rack. Let it cool completely before slicing or frosting. Cutting too soon can cause the cake to crumble or stick to the knife.
⏱ Time: 15-20 minutes
✓ Doneness: Cake is completely cool to the touch and firm
Step 9
Optional: Frost with your favorite icing or dust with powdered sugar. I love a simple chocolate glaze or fresh berries for a quick finish. The cake is moist and flavorful enough to enjoy plain, but frosting adds a nice touch for special occasions.
⏱ Time: 5-10 minutes
✓ Doneness: Frosting or decoration evenly applied and set
Variations
Chocolate Sour Cream Bundt Cake
Use a bundt pan instead of a round cake pan for a beautiful shape. The batter and baking time remain the same, but the cake will have more crust and a stunning presentation perfect for gatherings.
Note: Increase baking time by 5-10 minutes and check doneness with a toothpick to avoid underbaking in the center.
Add Espresso Powder for Deeper Chocolate Flavor
Stir in 1 teaspoon of instant espresso powder with the dry ingredients to enhance the chocolate flavor without adding coffee taste. It intensifies the richness and complexity of the cake.
Note: Dissolve espresso powder fully to avoid gritty texture.
Gluten-Free Version
Substitute the all-purpose flour with a 1:1 gluten-free baking flour blend. The sour cream helps keep the cake moist, but the texture might be slightly denser. Great for gluten-sensitive friends!
Note: Ensure your gluten-free blend contains xanthan gum for structure.
Vegan Chocolate Cake
Replace sour cream with vegan yogurt and use a flaxseed egg instead of eggs if included. Use vegetable oil and plant-based milk instead of water for richness. The result is still moist and chocolatey, suitable for vegan diets.
Note: Monitor baking time as vegan substitutes can affect rise and texture.
Chocolate Layer Cake with Whipped Cream
Double the recipe and bake two layers. Fill and frost with lightly sweetened whipped cream and fresh berries for a light, elegant dessert. The moist cake pairs beautifully with airy cream.
Note: Chill layers before frosting to prevent crumbling.
Pro Tips
Always sift your dry ingredients together.
Sifting aerates the flour and cocoa powder, breaks up lumps, and evenly distributes baking soda and salt. This helps the cake rise evenly and prevents dense spots or bitter cocoa clumps. Skipping this step can lead to a heavier, uneven crumb.
Use room temperature sour cream and liquids.
Cold ingredients can cause the batter to seize or mix unevenly, leading to lumps or inconsistent texture. Room temperature ingredients blend smoothly, resulting in a uniform batter that bakes evenly and produces a tender crumb.
Be gentle when mixing wet and dry ingredients.
Overmixing develops gluten in the flour, which makes cakes tough and chewy instead of soft and tender. Mixing just until combined ensures a light texture and prevents a gummy crumb.
Check the cake early for doneness with a toothpick.
Oven temperatures vary, and overbaking dries out the cake. Starting to check at 20 minutes helps you catch it at the perfect moist stage with a few moist crumbs on the toothpick, ensuring a tender result.
Let the cake cool in the pan before removing.
This resting time lets the cake firm up and contract slightly, preventing it from breaking or sticking when you turn it out. Removing too soon can cause the cake to crumble.
Grease and line your pan properly.
Preventing sticking is crucial for a clean release and intact cake. Using parchment paper and greasing the pan ensures your cake comes out easily without tearing or crumbling.
Use fresh baking soda for best rise.
Expired baking soda loses its potency, resulting in a dense cake that doesn’t rise well. Always check the expiration date to guarantee a fluffy texture.
Common Mistakes to Avoid
Overmixing the batter
Why it happens Many cooks think mixing longer ensures better incorporation, but this actually develops gluten in the flour, making the cake tough.
Fix Mix the batter gently and just until the dry ingredients disappear. Use a spatula or wooden spoon and fold ingredients together instead of beating vigorously.
Using cold sour cream
Why it happens Forgetting to bring sour cream to room temperature can cause lumps and uneven batter texture.
Fix Let sour cream sit out for 15-20 minutes before mixing. This ensures it blends smoothly and contributes to a tender crumb.
Skipping sifting of dry ingredients
Why it happens Some skip sifting to save time, but it leads to lumps and uneven leavening distribution.
Fix Always sift flour, cocoa, baking soda, and salt together to aerate and mix thoroughly for an even rise and smooth batter.
Baking at too high a temperature
Why it happens Rushing baking by increasing oven temp can cause the cake to rise quickly and crack or dry out.
Fix Stick to 350°F (175°C) and bake patiently. This ensures even cooking and a moist crumb.
Removing cake from pan too soon
Why it happens Impatience leads to trying to unmold the cake while still hot and fragile, causing breakage.
Fix Wait at least 10 minutes for cooling in the pan before turning out onto a rack.
Nutrition
Per Serving:
Nutritional values are estimates and may vary based on specific ingredients used.
Storage & Tips
Room Temperature
Store the cake covered at room temperature for up to 2 days. Use a cake dome or airtight container to keep it from drying out. It’s best enjoyed within this window to maintain moistness.
Refrigerator
Keep the cake in an airtight container in the fridge for up to 4 days. The sour cream helps it retain moisture, but refrigeration can slightly firm the crumb. Bring to room temperature before serving or warm briefly to soften.
Freezer
Wrap the cake tightly in plastic wrap and aluminum foil, then freeze for up to 2 months. Thaw overnight in the fridge or at room temperature. Avoid refreezing to maintain texture.
Reheating
Warm slices gently in the microwave for 15-20 seconds or in a low oven (300°F) wrapped in foil for 10 minutes. Adding a small dab of butter or a splash of milk can refresh the moistness.
Make Ahead
You can bake the cake a day ahead and store it wrapped at room temperature or refrigerated. If frosting, wait to apply until the day of serving to keep it fresh and avoid sogginess.
FAQ
Can I substitute the sour cream in this recipe?
Yes, but sour cream adds both moisture and acidity that reacts with baking soda, so substitutes like Greek yogurt or crème fraîche work best. Using plain yogurt is fine, but avoid low-fat or non-dairy substitutes unless you adjust leavening accordingly, as this can affect texture and rise.
What if my cake is dense or flat?
Dense or flat cakes often result from expired baking soda, overmixing the batter, or not enough acidity in the wet ingredients. Make sure your baking soda is fresh, mix gently, and use full-fat sour cream to get a good rise and tender crumb.
Can I make this cake gluten-free?
Absolutely! Use a quality 1:1 gluten-free baking flour blend with xanthan gum included. The sour cream helps keep the cake moist, but the texture might be slightly different—usually a bit denser but still delicious.
How do I know when the cake is done baking?
Insert a toothpick in the center around 20 minutes. It should come out with a few moist crumbs but no wet batter. If it’s too wet, bake a few minutes longer and keep checking to avoid drying out.
Can I double this recipe for a larger cake?
Yes, doubling works well. Use a larger pan or two pans and adjust baking time accordingly, usually adding 5-10 minutes. Check doneness with a toothpick to avoid over or underbaking.
Is it better to use natural or Dutch-processed cocoa powder?
Natural cocoa powder is preferred here because it’s acidic and reacts with baking soda to help the cake rise. Dutch-processed cocoa is less acidic, so it may affect the leavening and texture.
Can I add frosting or glaze to this cake?
Definitely! This cake pairs well with chocolate ganache, cream cheese frosting, or a simple dusting of powdered sugar. Just make sure the cake is completely cool before frosting to avoid melting.
How should I store leftovers?
Store leftover cake in an airtight container at room temperature for up to 2 days or refrigerate for up to 4 days. For longer storage, freeze wrapped tightly for up to 2 months.
Final Thoughts
Give this easy, moist chocolate cake a try and see how simple ingredients can deliver big flavor. I’d love to hear how it turns out for you!