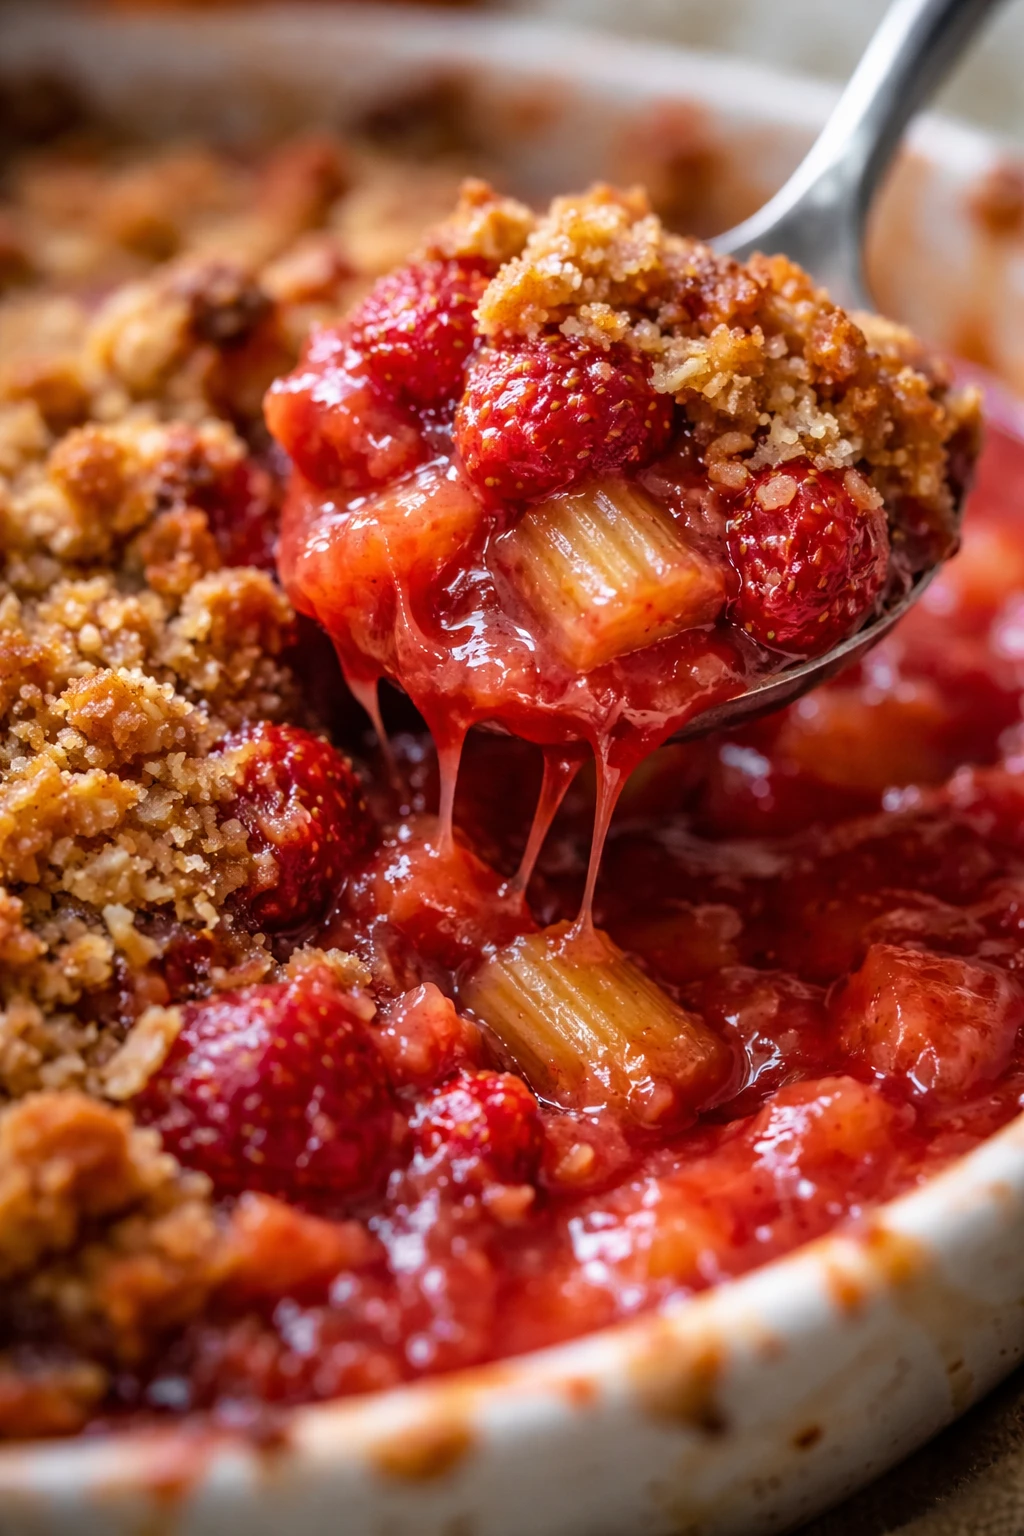
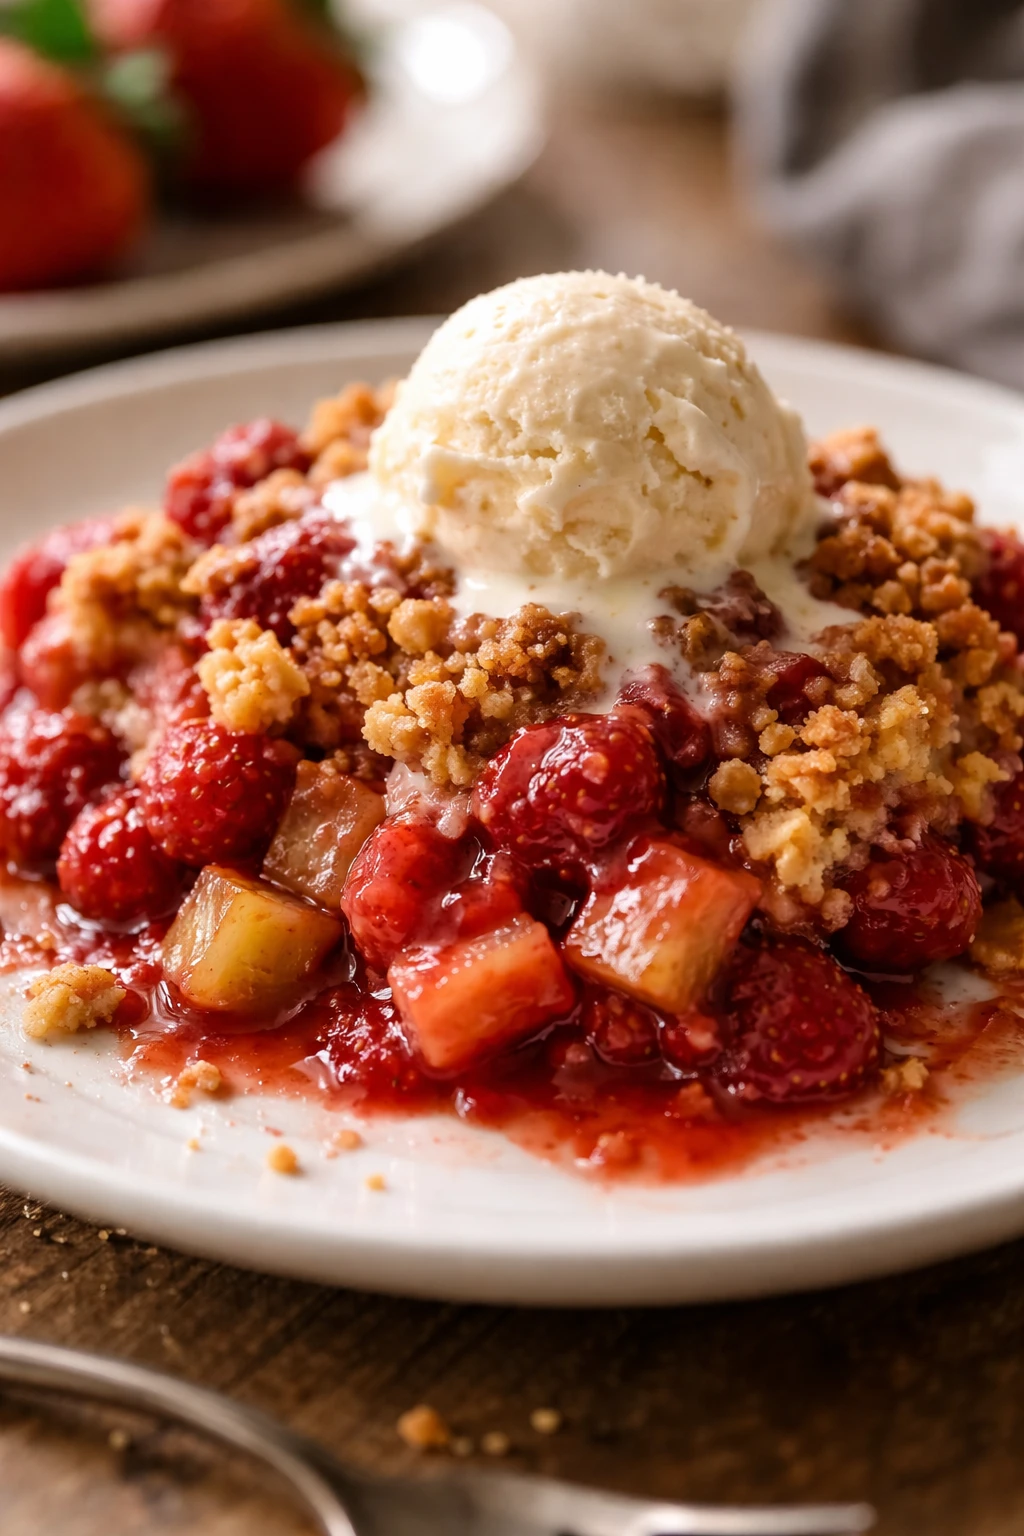
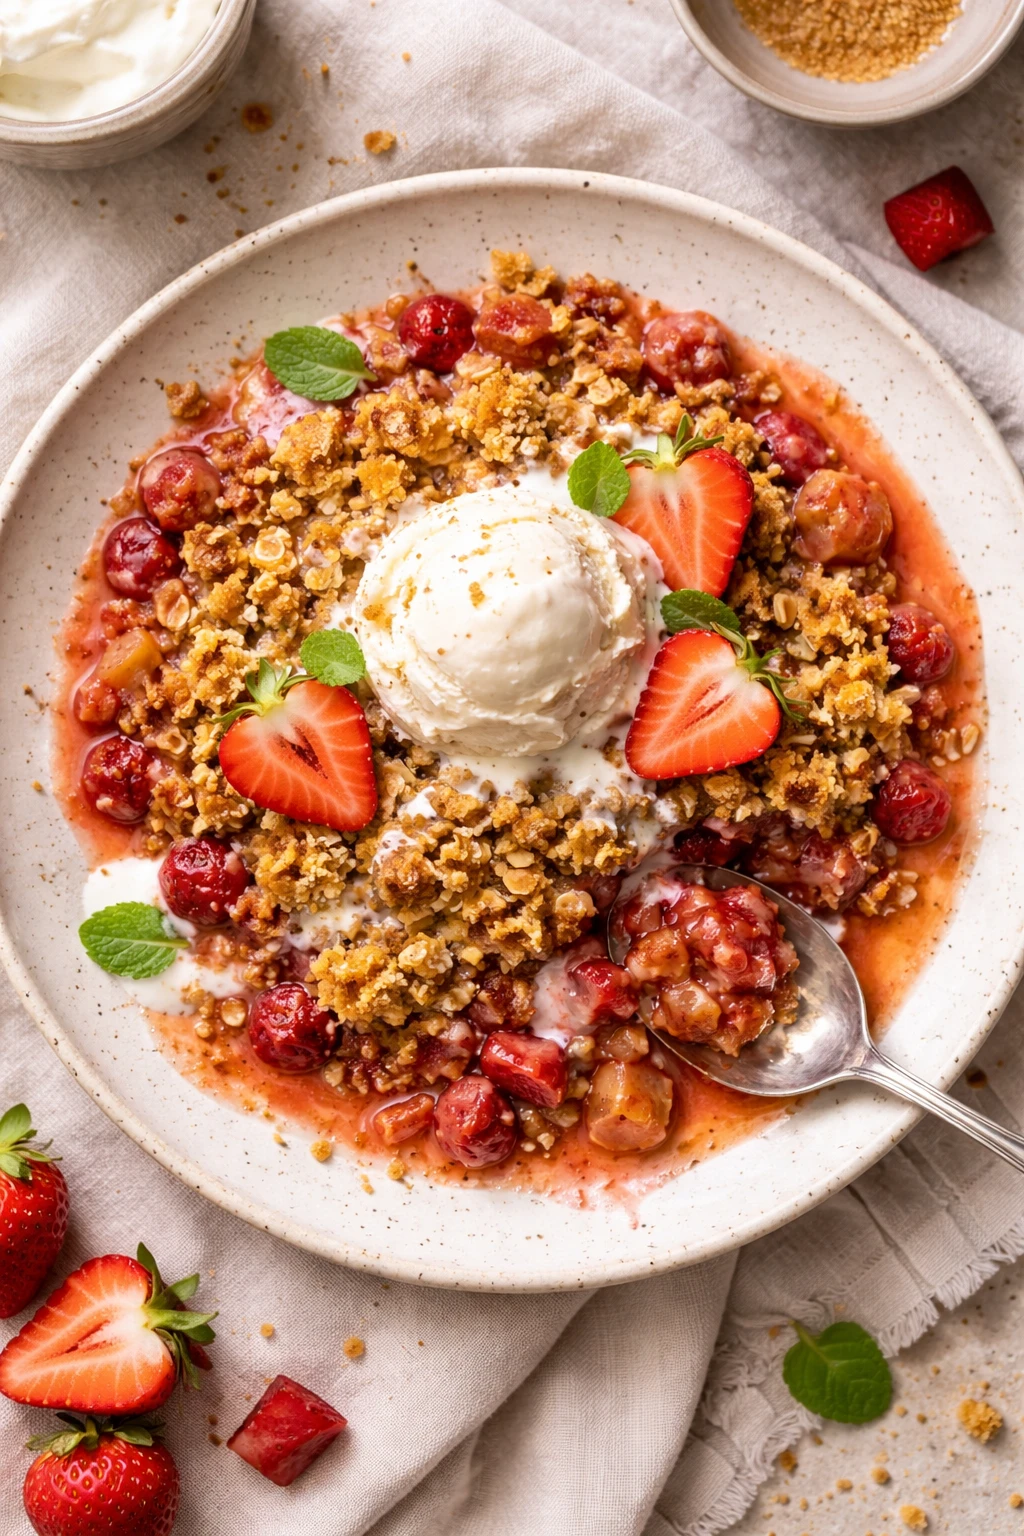
This strawberry rhubarb crisp is a cozy springtime dessert with the perfect balance of tart and sweet. The oat topping caramelizes beautifully with brown sugar, making it great for weekend dinners or casual get-togethers.
Introduction
I first made this strawberry rhubarb crisp a few springs ago when rhubarb was in season at my local farmer’s market. I’d always loved the tartness of rhubarb paired with sweet strawberries but had only ever eaten it in pies. This crisp was a game-changer — it’s simpler to throw together, and the oat topping adds such a lovely crunch and warmth that pies sometimes lack. The trick I learned early on is to make sure the butter in the topping is really cold, so it forms those perfect little clusters as it bakes, giving the crisp that irresistible texture. Also, balancing the sugar is key because rhubarb can be quite tart, but too much sugar overwhelms the fruit’s brightness. The finished crisp is bubbly, sweet, and tart all at once with a golden, caramelized topping that’s perfect right out of the oven or even with a scoop of vanilla ice cream. It’s become my go-to dessert for casual dinners or weekend gatherings when I want something comforting but not fussy.
How To Do It
Step 1
Preheat your oven to 350°F (175°C) and grease a 9-inch square baking dish lightly with butter or non-stick spray. This ensures your crisp doesn’t stick and makes cleanup easier. Setting the oven early lets it reach the perfect temperature so the topping browns evenly without burning. Also, prepping the dish now helps you stay organized.
⏱ Time: 10 minutes
✓ Doneness: Oven fully preheated and baking dish lightly greased without excess oil pooling
Step 2
In a large bowl, combine the chopped rhubarb, halved strawberries, granulated sugar, lemon juice, and vanilla extract. Toss gently until the fruit is evenly coated. The sugar draws out the juices, creating a natural syrup during baking, while lemon juice balances the sweetness and enhances the fruit’s flavor. Be careful not to overmix or mash the berries.
⏱ Time: 5 minutes
✓ Doneness: Fruit is evenly coated and starts to release some liquid but remains intact
Step 3
Transfer the fruit mixture to your prepared baking dish, spreading it out evenly. Distributing the fruit layer evenly ensures consistent cooking and bubbling. If the fruit is piled unevenly, some areas might undercook or overcook.
⏱ Time: 3 minutes
✓ Doneness: Fruit layer is level and fills the dish evenly
Step 4
In a separate bowl, mix the oats, flour, brown sugar, salt, and cinnamon until combined. This dry mix forms the base of your crisp topping. The oats provide texture, while the brown sugar adds moisture and caramelization. Make sure your spices are fresh to get the best aroma and flavor.
⏱ Time: 5 minutes
✓ Doneness: Dry ingredients are evenly mixed with uniform color
Step 5
Add the cold cubed butter to the oat mixture. Using a pastry cutter or your fingers, cut the butter into the dry ingredients until the mixture resembles coarse crumbs with pea-sized bits of butter. This step is critical for creating that flaky, crunchy topping. If the butter melts too much, the topping will be greasy and dense instead of crisp.
⏱ Time: 7 minutes
✓ Doneness: Mixture looks crumbly with visible small butter pieces
Step 6
Sprinkle the oat topping evenly over the fruit in the baking dish, covering as much of the fruit as possible. This ensures the topping crisps up nicely and protects the fruit from drying out. Don’t press it down—leave it loose to encourage crispiness.
⏱ Time: 3 minutes
✓ Doneness: Topping evenly distributed and loosely piled on fruit
Step 7
Place the baking dish on the middle rack of the oven and bake for about 30 minutes. Keep an eye on the topping as it browns; it should turn golden brown and crispy without burning. The fruit will bubble up around the edges, signaling it’s cooked through. Avoid opening the oven door too often to prevent temperature drops.
⏱ Time: 30 minutes
✓ Doneness: Topping is golden brown and fruit mixture is bubbly
Step 8
Once baked, remove the crisp from the oven and let it cool for at least 15 minutes. This resting time allows the fruit juices to thicken slightly, preventing the crisp from being too runny. It also makes serving easier. Resist the urge to dig in immediately—it’s worth the wait!
⏱ Time: 15 minutes
✓ Doneness: Fruit juice has thickened and crisp has set slightly
Step 9
Serve warm, optionally topped with vanilla ice cream or whipped cream. The cold cream contrasts beautifully with the warm, tangy fruit and crunchy topping. This step transforms a simple crisp into an indulgent treat that’s perfect for sharing.
⏱ Time: 5 minutes
✓ Doneness: Crisp is warm and topping remains crunchy when served
Variations
Add a nutty twist with chopped pecans or walnuts
Mix chopped pecans or walnuts into the oat topping for added crunch and a warm, nutty flavor. This variation adds texture and richness that pairs wonderfully with the tart fruit. Toast the nuts lightly before mixing for extra depth.
Note: Add nuts just before sprinkling the topping over the fruit to keep them crunchy. Baking time remains the same.
Make it gluten-free with almond flour and gluten-free oats
Swap the all-purpose flour for almond flour and use certified gluten-free oats to make the crisp gluten-free. Almond flour adds a subtle sweetness and moist crumb that complements the fruit beautifully.
Note: Almond flour tends to brown faster, so watch the topping closely in the last 5 minutes of baking.
Boost flavor with fresh ginger or cardamom in the fruit filling
Add a teaspoon of grated fresh ginger or a pinch of ground cardamom to the fruit mixture for a warm, spicy kick. It brightens the fruit flavors and adds a unique twist to this classic dessert.
Note: Add spices during fruit mixing step to ensure even distribution.
Turn it into a crumble by adding chopped butter to the topping
For a more crumbly topping, add a bit more butter and mix until the topping forms larger clumps. This creates a richer texture that some prefer over a traditional crisp.
Note: Increase butter by 2 tablespoons and mix until pea-sized clumps form before sprinkling.
Serve with a drizzle of balsamic glaze for a sophisticated touch
Drizzle a little balsamic reduction over each serving to add a tangy, complex flavor that contrasts beautifully with the sweet fruit. This elevates the crisp for dinner parties or special occasions.
Note: Prepare balsamic glaze ahead by simmering balsamic vinegar until thickened; add after baking and cooling.
Pro Tips
Keep the butter in the topping as cold as possible until baking.
Cold butter creates pockets of fat that melt during baking, producing a flaky, crunchy texture. If the butter warms too much or melts before baking, the topping will become greasy and dense instead of crisp.
Let the crisp rest after baking before serving.
Resting allows the fruit juices to thicken and set, which prevents the crisp from being too runny. It also makes serving easier and the flavors more concentrated.
Use a mix of granulated and brown sugar for the topping and filling.
Granulated sugar sweetens the fruit without adding moisture, while brown sugar adds moisture and caramel flavor to the topping, creating a perfect balance of texture and taste.
Don’t overmix the fruit when combining with sugar and lemon juice.
Overmixing can break down the berries and rhubarb, resulting in a mushy texture. Gently toss to coat evenly while keeping the fruit pieces intact for the best texture.
Distribute the topping loosely over the fruit without pressing down.
A loose topping crisps better and allows heat to circulate, ensuring a crunchy texture. Pressing it down can make the topping dense and soggy.
Bake the crisp on the middle rack of the oven.
The middle rack provides even heat distribution, helping the topping brown evenly without burning and the fruit to cook properly.
Use fresh lemon juice rather than bottled.
Fresh lemon juice has a brighter, cleaner acidity that enhances the fruit flavors better than bottled juice, which can be bitter or dull.
Common Mistakes to Avoid
Using softened or melted butter in the topping.
Why it happens People often forget to keep butter cold or try to speed up the process by softening it, thinking it will mix better.
Fix Always use cold, cubed butter and work quickly to cut it into the dry ingredients. You can chill the mixture briefly before baking if needed to keep it cold.
Overloading the fruit with sugar.
Why it happens It’s tempting to add more sugar to balance tartness, but too much masks the fresh fruit flavor and makes the crisp overly sweet.
Fix Stick to the recipe’s sugar amounts and taste the fruit mixture before baking. The lemon juice also helps balance sweetness naturally.
Skipping the resting time after baking.
Why it happens Eagerness to eat can lead to serving immediately, but the crisp will be too runny and hard to portion.
Fix Let the crisp cool and rest for at least 15 minutes to allow juices to thicken for cleaner servings.
Pressing the topping down firmly onto the fruit.
Why it happens Some think pressing the topping helps it stick better, but it actually compacts it too much.
Fix Sprinkle the topping loosely over the fruit so it bakes into a light, crisp layer.
Using instant oats instead of rolled oats.
Why it happens Instant oats are convenient but don’t provide the right texture for a crisp topping.
Fix Choose old-fashioned rolled oats for the best chew and crunch.
Nutrition
Per Serving:
Nutritional values are estimates and may vary based on specific ingredients used.
Storage & Tips
Room Temperature
You can keep the crisp covered at room temperature for up to 2 hours safely. Beyond that, the fruit juices may ferment and the topping soften, so it’s best to refrigerate if not serving immediately.
Refrigerator
Store leftovers in an airtight container for up to 3 days. The topping may soften but reheating in a toaster oven or oven can help restore crispiness. The fruit flavor remains bright but the texture changes slightly when cold.
Freezer
Freeze portions in airtight containers or freezer bags for up to 2 months. Wrap tightly to prevent freezer burn. Thaw overnight in the fridge and reheat in the oven to revive the crisp topping.
Reheating
Reheat in a 350°F oven for 10-15 minutes until warmed through and the topping is crisp again. Avoid microwaving as it softens the topping. Add a splash of water or lemon juice if the fruit seems dry.
Make Ahead
Prepare the fruit filling and topping separately 1-2 days ahead. Store fruit in the fridge and topping in an airtight container. Assemble and bake just before serving to ensure the freshest texture and flavor.
FAQ
Can I use frozen strawberries and rhubarb for this crisp?
Yes, frozen fruit works well but it releases more liquid, so reduce added sugar slightly and consider adding 1-2 tablespoons of cornstarch to the fruit mixture to help thicken the juices during baking. Thaw and drain excess liquid before assembling.
How do I prevent the topping from burning before the fruit is cooked?
Bake at a moderate temperature (350°F) and place the crisp on the middle rack for even heat. If the topping browns too quickly, loosely cover with foil halfway through baking to protect it while the fruit finishes cooking.
Can I make this crisp vegan?
Absolutely! Substitute the butter with a vegan butter or coconut oil. The texture may be slightly different but still delicious. Use maple syrup instead of brown sugar if you want to avoid refined sugars.
What can I use instead of oats in the topping?
You can replace oats with chopped nuts or a mix of almond flour and coconut flakes for a gluten-free, oat-free topping. The texture will be different but still add crunch and flavor.
Is it necessary to add lemon juice to the fruit filling?
Lemon juice brightens the fruit flavors and balances the sweetness, making the crisp taste fresher. While optional, I recommend it for the best flavor balance.
How do I store leftover crisp to keep the topping crunchy?
Store leftovers in an airtight container in the fridge. To revive the topping’s crunch, reheat the crisp in the oven instead of the microwave just before serving.
Can I double this recipe for a larger crowd?
Yes, simply double the ingredients and bake in a larger dish. Baking time may increase by 5-10 minutes; watch for bubbling fruit and golden topping as cues for doneness.
What’s the best way to serve this crisp?
Serve warm, ideally with a scoop of vanilla ice cream or a dollop of whipped cream. The cold cream contrasts nicely with the warm, tart fruit and crunchy topping.
Can I prepare this crisp entirely ahead of time?
You can assemble the crisp a few hours ahead and refrigerate before baking. For best texture, bake just before serving. Avoid baking and storing for long periods as the topping will soften.
Why does my crisp sometimes turn out soggy?
Sogginess often results from too much fruit juice or underbaking. Use the correct fruit-to-sugar ratio, add a thickener like cornstarch if needed, and bake until the fruit is bubbly and the topping is golden brown.
Final Thoughts
I hope you enjoy making and sharing this strawberry rhubarb crisp as much as I do! Let me know how it turns out and if you try any variations.