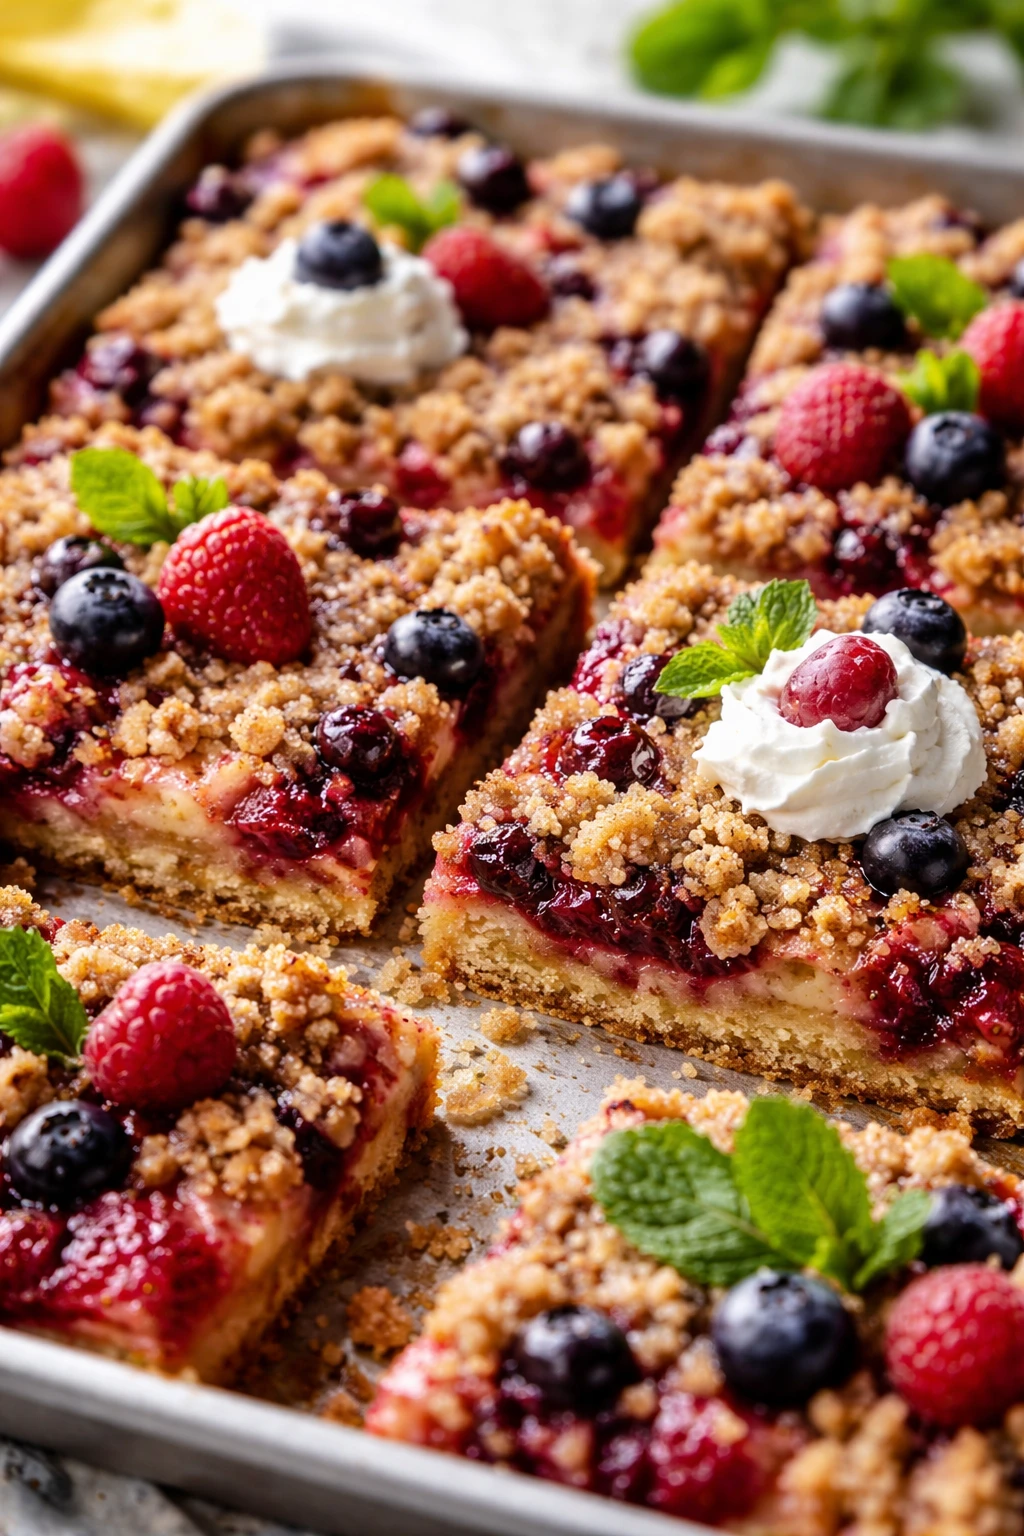
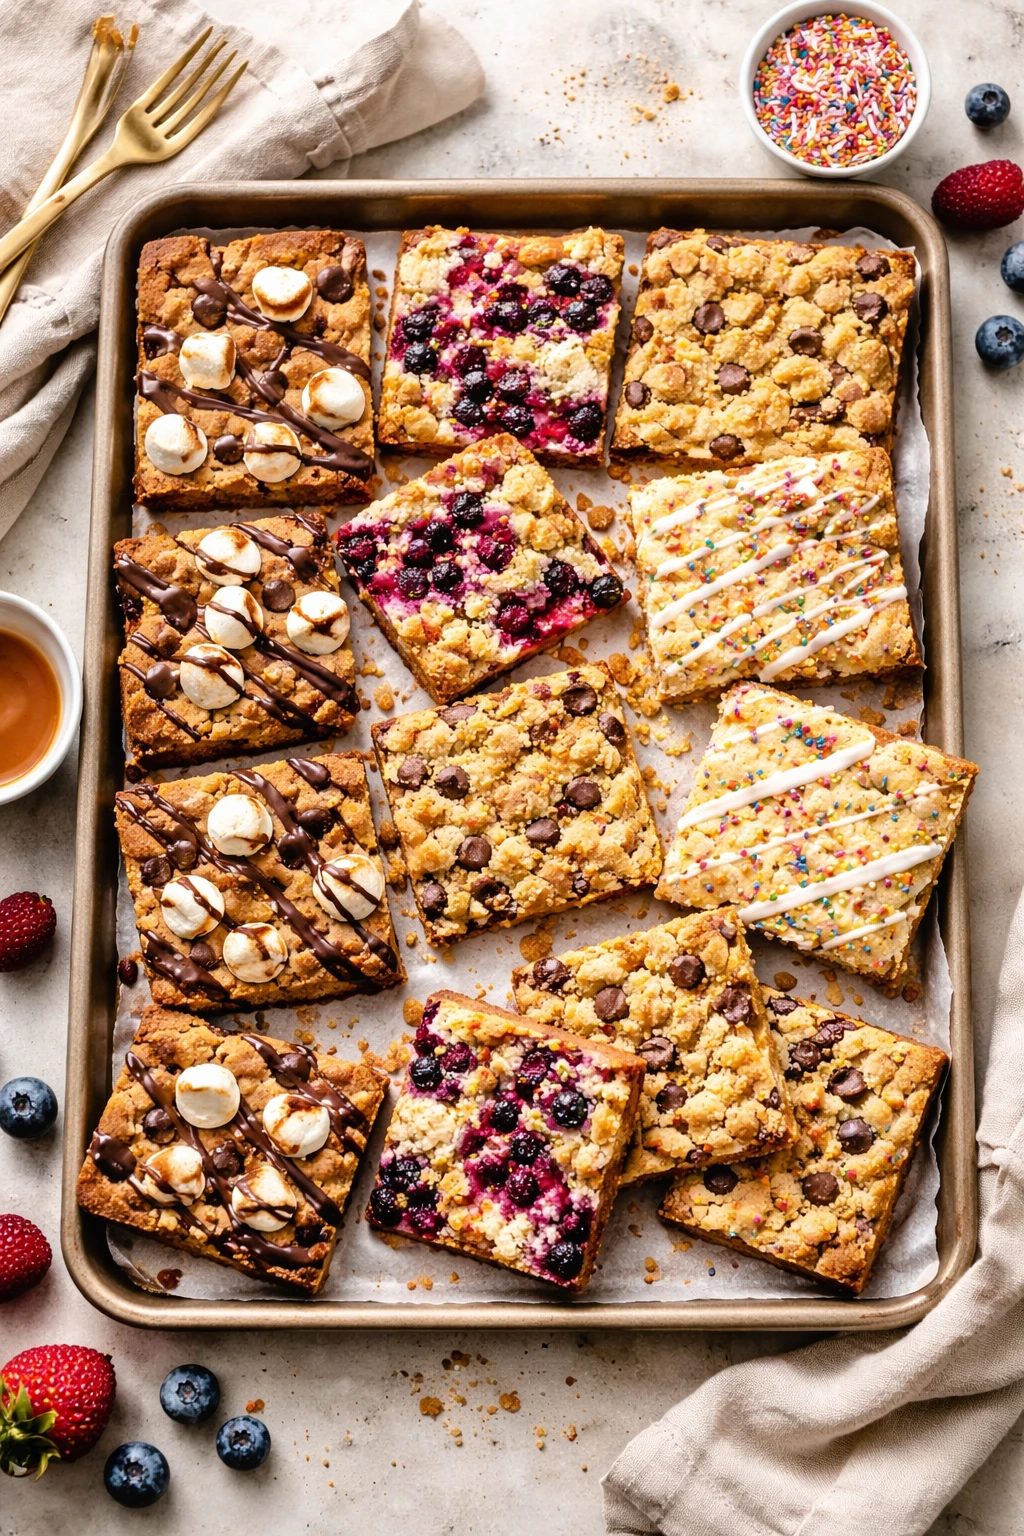
This berry crisp is the easiest dessert to whip up, with a buttery oat topping that gets perfectly crunchy. I love serving it warm straight from the oven on chilly evenings or casual get-togethers!
Introduction
I first made this sheet pan berry crisp on a whim when I wanted a dessert that felt homemade but without the fuss of multiple bowls or dishes. What makes this recipe stand out is how the oat topping crisps up beautifully while the berries bubble underneath, releasing their natural sweetness. I've tried a few versions before, but the trick I learned was using cold butter in small cubes to create that perfect crumbly texture. Also, mixing a little lemon juice into the berries really brightens the flavors and balances the sweetness. The finished crisp is warm, cozy, and packed with juicy berries topped by a crunchy, buttery oat layer — it’s the kind of dessert that feels both rustic and special. I love serving it straight from the oven with a scoop of vanilla ice cream or just on its own. It’s perfect for casual family dinners or when friends drop by unexpectedly since it’s so quick and fuss-free. Honestly, the best part is the minimal cleanup — just one pan to wash!
How To Do It
Step 1
Preheat your oven to 375°F (190°C). In a large bowl, gently toss the mixed berries with granulated sugar, lemon juice, and vanilla extract. This step helps the berries release their juices while the lemon juice adds a subtle brightness that prevents the dessert from tasting overly sweet. Be careful not to overmix, or the berries will get mushy before baking.
⏱ Time: 10 minutes
✓ Doneness: Berries are well-coated but still hold their shape
Step 2
In a separate bowl, combine the oats, flour, brown sugar, cinnamon, and salt. Add the cold butter cubes and use your fingers or a pastry cutter to work the butter into the dry ingredients until the mixture resembles coarse crumbs. The cold butter creates pockets of fat that melt during baking, making the topping crisp and tender. Avoid warming the butter with your hands, or the topping won’t be as flaky.
⏱ Time: 10 minutes
✓ Doneness: Mixture feels crumbly with pea-sized butter chunks
Step 3
Transfer the berry mixture evenly into a 9x13-inch sheet pan. Spread the oat topping evenly over the berries, making sure to cover all the fruit to protect it from drying out during baking. This even layer ensures the topping crisps up nicely while the berries bubble underneath.
⏱ Time: 5 minutes
✓ Doneness: Topping covers berries completely and evenly
Step 4
Bake in the preheated oven for about 30 minutes until the topping is golden brown and crisp. The berries should be bubbling around the edges, which indicates they’re cooked through and juicy. Avoid opening the oven door too often to keep the temperature steady and the topping from getting soggy.
⏱ Time: 30 minutes
✓ Doneness: Golden crisp top and bubbling fruit
Step 5
Once baked, remove the crisp from the oven and let it cool for 10-15 minutes before serving. This resting time allows the juices to thicken slightly, so the crisp isn’t too runny. It also helps the topping firm up just enough to hold its shape when scooped.
⏱ Time: 15 minutes
✓ Doneness: Juices slightly thickened; topping still crisp
Step 6
Serve warm, optionally with vanilla ice cream or whipped cream. The contrast between the warm crisp and cold ice cream is heavenly and adds a creamy texture that complements the crunchy topping and juicy berries.
⏱ Time: Immediate
✓ Doneness: Ice cream starts to melt slightly on contact
Step 7
If you want to prepare ahead, you can assemble the crisp and cover it in the fridge for up to 24 hours before baking. This step lets the flavors meld but be sure to bake it directly from the fridge, adding a few extra minutes to the baking time as the fruit will be cold.
⏱ Time: N/A
✓ Doneness: Baking time adjusted for chilled fruit
Step 8
For even crispier topping, sprinkle an additional tablespoon of brown sugar over the oats before baking. This caramelizes and adds a slight crunch on top. Just be careful not to add too much sugar or it will overpower the berries.
⏱ Time: During assembly
✓ Doneness: Slightly caramelized sugar crystals on top
Step 9
Let the crisp rest completely if you plan to store leftovers. This prevents the topping from becoming soggy when refrigerated. Reheat gently in the oven at 325°F (160°C) to revive the crunch before serving again.
⏱ Time: N/A
✓ Doneness: Topping regains crispness after reheating
Variations
Apple and Pear Crisp
Swap the berries for sliced apples and pears with a sprinkle of nutmeg and extra cinnamon. This variation is perfect for fall, offering a warm, comforting flavor profile with a similar crisp texture.
Note: Slice fruit evenly to ensure uniform cooking and increase baking time by 5-10 minutes as apples and pears are denser than berries.
Peach and Blueberry Crisp
Use fresh peaches and blueberries for a sweet and juicy summer dessert. Adding a splash of bourbon to the fruit mix adds a subtle depth of flavor that pairs wonderfully with the oat topping.
Note: Peaches release more juice, so reduce sugar slightly to avoid an overly sweet filling.
Gluten-Free Berry Crisp
Replace the all-purpose flour with almond flour or a gluten-free blend and use gluten-free oats. This keeps the topping crunchy and safe for gluten-sensitive eaters without compromising flavor.
Note: Gluten-free flours absorb moisture differently, so monitor topping texture and adjust butter amount slightly if needed.
Nutty Crisp Topping
Add chopped walnuts or pecans to the oat topping for extra crunch and a toasty flavor. This variation adds richness and texture that pairs well with the sweet berries.
Note: Toast nuts lightly before adding to enhance their flavor and avoid sogginess in the topping.
Vegan Berry Crisp
Use coconut oil instead of butter and maple syrup instead of sugar for a vegan-friendly dessert. The coconut oil adds a subtle flavor and keeps the topping crisp.
Note: Coconut oil melts faster than butter, so chill the topping mixture before baking to maintain texture.
Pro Tips
Use cold butter straight from the fridge and handle it quickly.
Cold butter creates flaky, crisp pockets in the oat topping because it melts slowly during baking, releasing steam. If the butter warms too much before baking, the topping can become greasy and dense instead of crumbly.
Don’t overmix the berries when tossing with sugar.
Overmixing breaks down the berries too much, releasing excessive juice and turning the filling watery. Gentle tossing keeps the berries intact while still coating them evenly with sugar and flavorings.
Let the crisp cool slightly before serving.
Allowing the crisp to rest helps the berry juices thicken and the topping set. Serving immediately can lead to a runny filling and topping that falls apart when scooped.
Use a shallow sheet pan for more even cooking.
A shallow pan spreads the berries and topping in a thinner layer, which helps the topping crisp up and the fruit cook evenly without steaming.
Add a pinch of salt to the topping.
Salt enhances the sweet flavors and balances the richness of the butter, preventing the crisp from tasting flat or overly sweet.
Experiment with different berries for seasonal variations.
Different berries bring unique flavors and textures, allowing you to tailor the crisp to what's fresh and available. Just adjust the sugar slightly based on the fruit's natural sweetness.
Serve with vanilla ice cream or whipped cream.
The cold creaminess contrasts the warm, crunchy crisp beautifully, adding a luscious texture and enhancing the overall dessert experience.
Common Mistakes to Avoid
Using warm butter in the topping
Why it happens Many assume softened butter is easier to mix, but warm butter blends too thoroughly, losing the crumbly texture needed for a crisp.
Fix Keep butter cold and cut into small cubes. Work quickly to combine it with the dry ingredients so it stays cold until baking.
Overloading the pan with too many berries
Why it happens It’s tempting to pack the pan full, but too much fruit releases excessive juice, making the crisp soggy.
Fix Stick to the recommended amount of berries and spread them evenly for balanced cooking and texture.
Skipping lemon juice in the berry mixture
Why it happens Some think lemon juice isn’t necessary, but it adds essential brightness that balances sweetness.
Fix Always add a tablespoon of fresh lemon juice to lift the fruit flavors and keep the dessert from tasting flat.
Opening the oven door repeatedly during baking
Why it happens Curiosity or impatience leads to checking too often, which lowers oven temperature and affects topping crispness.
Fix Set a timer and resist opening the door until close to the end of baking to maintain steady heat.
Serving the crisp too hot
Why it happens Serving immediately can cause the filling to be runny and the topping fragile.
Fix Let it rest 10-15 minutes after baking to allow juices to thicken and topping to firm up.
Nutrition
Per Serving:
Nutritional values are estimates and may vary based on specific ingredients used.
Storage & Tips
Room Temperature
The crisp can safely sit at room temperature for up to 2 hours if covered loosely with foil to prevent drying out. It’s best enjoyed warm or at room temp within this window.
Refrigerator
Store leftovers in an airtight container in the fridge for up to 4 days. The topping may soften slightly but reheating in the oven can restore crispness. Cold serving is fine but less crunchy.
Freezer
Freeze the crisp in a freezer-safe container for up to 2 months. Wrap tightly to avoid freezer burn. Thaw overnight in the fridge and reheat in the oven to revive texture.
Reheating
Reheat in a 325°F oven for 10-15 minutes until warmed through and topping crisps again. Avoid microwaving as it makes the topping soggy. Add a splash of water or juice if filling seems dry.
Make Ahead
Assemble the crisp up to 24 hours ahead and keep covered in the fridge. Bake fresh on the day you want to serve, adding 5-10 extra minutes to baking time if chilled.
FAQ
Can I use frozen berries instead of fresh?
Yes, frozen berries can be used but thaw and drain excess liquid before mixing with sugar to avoid a watery filling. The texture may be softer, but the flavor remains delicious.
How do I prevent the topping from burning?
Keep an eye on the crisp during the last 5 minutes of baking. If the topping browns too quickly, tent loosely with foil to prevent burning while the fruit finishes cooking.
Can I make this crisp gluten-free?
Absolutely! Use gluten-free oats and substitute all-purpose flour with almond flour or a gluten-free baking blend. The texture might be slightly different but still tasty.
Is there a way to make the topping less sweet?
You can reduce the brown sugar in the topping by up to half. The berries provide natural sweetness, so adjusting sugar helps balance flavors to your liking.
How long does the crisp keep after baking?
Stored in the fridge, the crisp keeps well for up to 4 days. Reheat in the oven to refresh the topping’s crunch. Avoid leaving it out more than 2 hours to prevent spoilage.
Can I add nuts to the topping?
Yes, chopped nuts like walnuts or pecans can be mixed into the topping for extra texture and flavor. Toast them first for best results.
What’s the best way to serve this dessert?
Serve warm with a scoop of vanilla ice cream or a dollop of whipped cream. The cold creaminess complements the warm, crunchy crisp perfectly.
Can I prepare this dessert in advance?
You can assemble the crisp a day ahead and refrigerate it before baking. Just add a few extra minutes to baking time if it’s cold from the fridge.
Final Thoughts
I hope you give this easy sheet pan berry crisp a try and enjoy every warm, crunchy bite. Don’t forget to share how yours turns out — I’d love to hear!