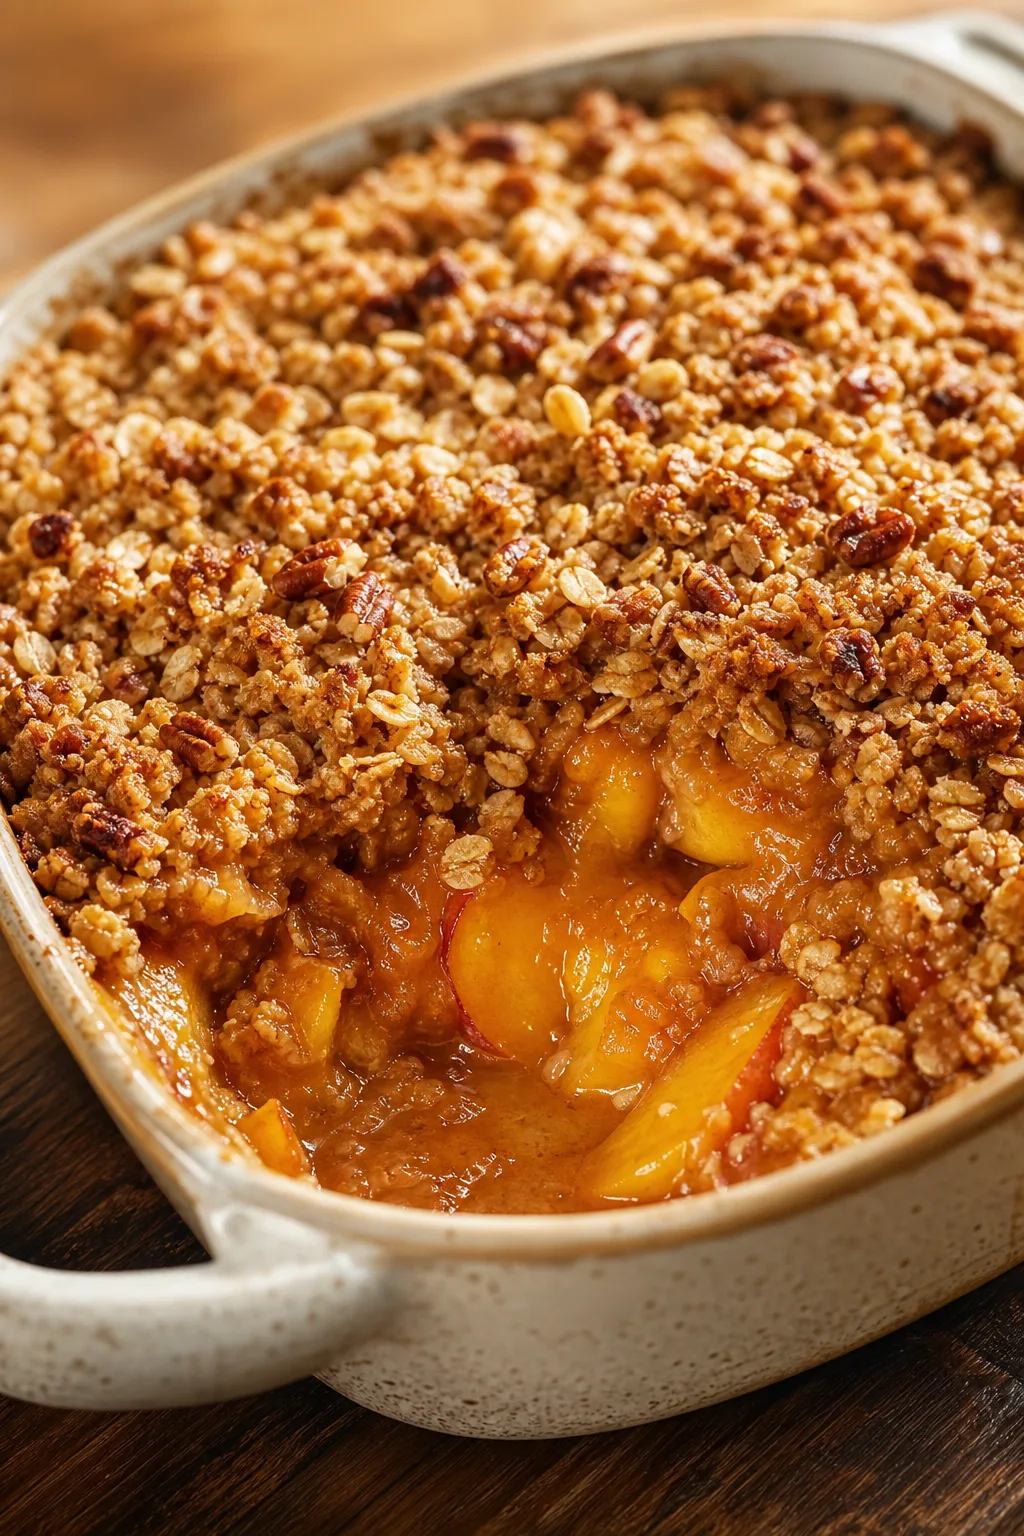
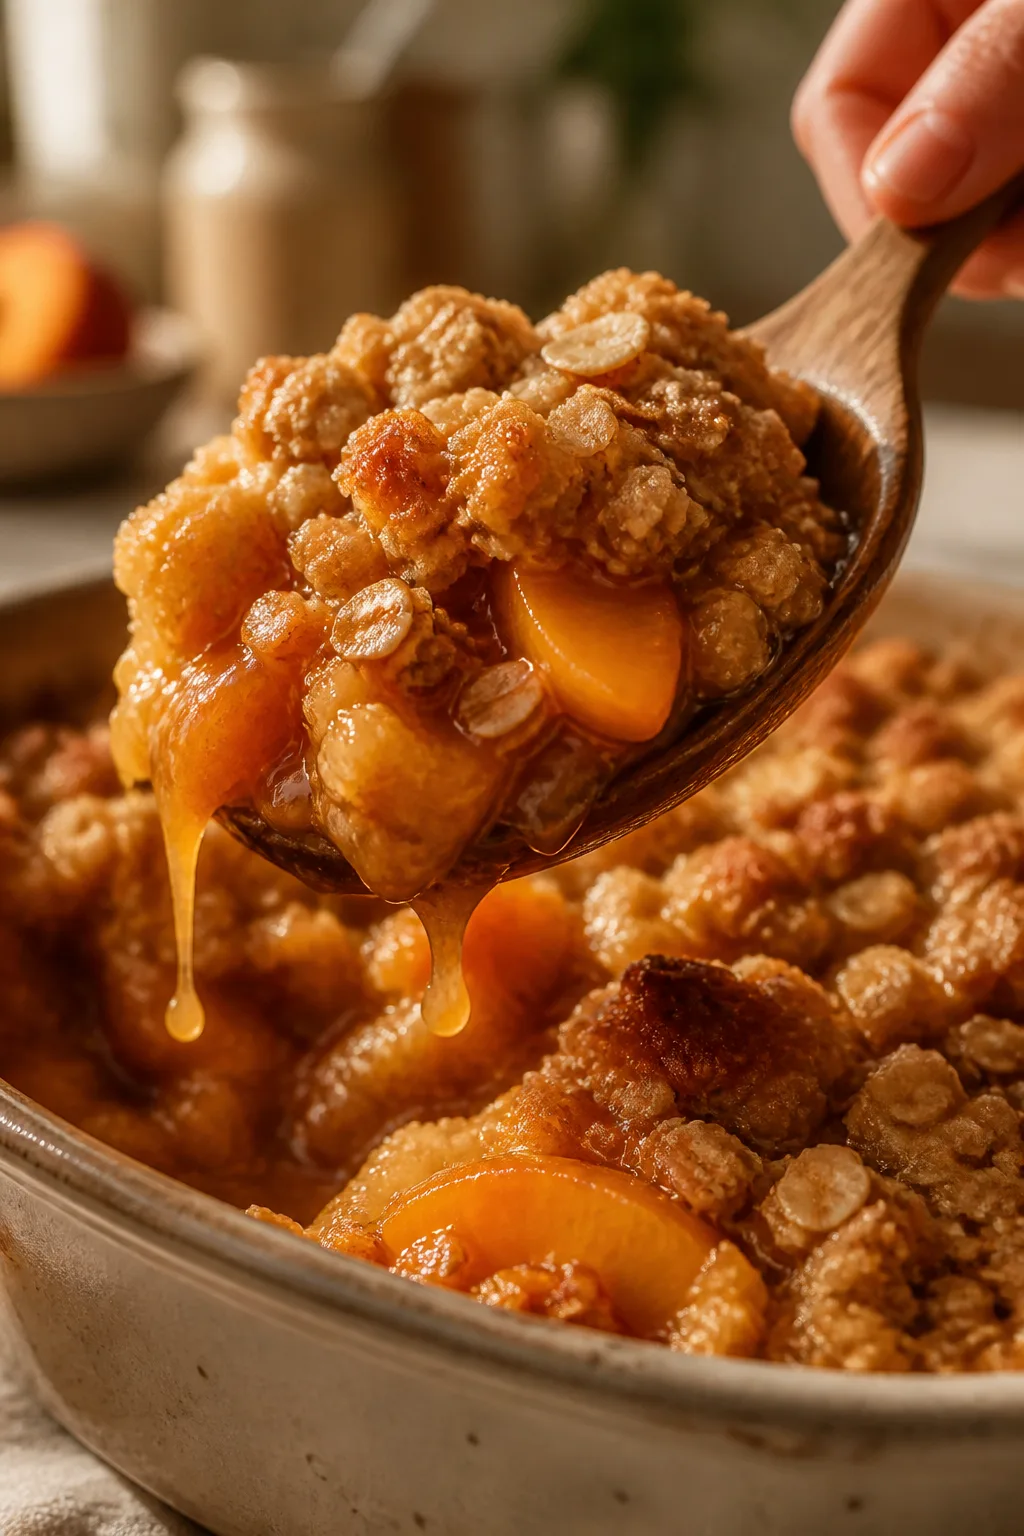
This peach crisp uses frozen peaches that turn wonderfully juicy when baked. The buttery oat topping adds a perfect crunch. It’s a comforting dessert you can whip up anytime you want that warm, homey feeling.
Introduction
I remember the first time I tried making peach crisp with frozen peaches—it was a total game changer! Usually, I’d wait for fresh peaches in the summer, but frozen ones make this dessert so accessible any time of year. What I love most is how the frozen peaches release their juices beautifully during baking, keeping the filling juicy without getting soggy. The trick I learned is to thaw and drain them well first; that way, the topping stays crisp and golden. Plus, I toss in a touch of lemon juice to brighten the flavor, which really makes the peaches pop. This version isn’t overly sweet, letting the fruit shine through, and the buttery oat topping adds that perfect crunchy texture. It’s honestly one of those desserts that feels like a warm hug—ideal for cozy nights or casual gatherings. Once you try it, I think you’ll find yourself reaching for frozen peaches more often!
How To Do It
Step 1
Start by thawing your frozen peaches completely, then drain off any excess liquid. This step is crucial because if the peaches are too wet, the topping can become soggy instead of crisp. Toss the peaches gently with granulated sugar, lemon juice, and vanilla extract in a bowl. The sugar helps draw out the natural juices, while lemon juice adds brightness and balances the sweetness. Mixing gently ensures the peaches stay intact without turning mushy.
⏱ Time: 10 minutes
✓ Doneness: Peaches should be evenly coated and slightly juicy but not swimming in liquid.
Step 2
In a separate bowl, combine the oats, flour, brown sugar, cinnamon, and salt. These dry ingredients form the base of your crisp topping. Cut the cold butter into small cubes and use your fingers or a pastry cutter to mix it into the dry ingredients until the mixture resembles coarse crumbs. The cold butter is key to creating a crumbly, crunchy topping that browns beautifully in the oven.
⏱ Time: 10 minutes
✓ Doneness: Topping mixture should hold together slightly when pinched but crumble apart easily.
Step 3
Preheat your oven to 350°F (175°C). Transfer the peach mixture into a greased baking dish, spreading it out evenly. Then sprinkle the oat topping evenly over the peaches. Distributing the topping carefully ensures every bite has a perfect balance of fruit and crunch. Avoid pressing the topping down; letting it remain loose helps it crisp up.
⏱ Time: 5 minutes
✓ Doneness: Peach layer is smooth and level, topping fully covers the fruit without gaps.
Step 4
Bake the crisp for about 30 minutes, or until the topping is golden brown and the peach filling is bubbling around the edges. Keep an eye on the edges to avoid burning the topping. The bubbling filling signals that the fruit is cooked through and the juices are thickening nicely.
⏱ Time: 30 minutes
✓ Doneness: Topping is golden and crisp, and peach juices bubble visibly.
Step 5
Once baked, let the peach crisp cool for at least 10 minutes before serving. This resting time allows the juices to thicken further, preventing a runny dessert. It also helps the topping firm up slightly, so you get that perfect texture contrast.
⏱ Time: 10 minutes
✓ Doneness: Filling is thickened, topping remains crisp, and dessert is warm but not piping hot.
Step 6
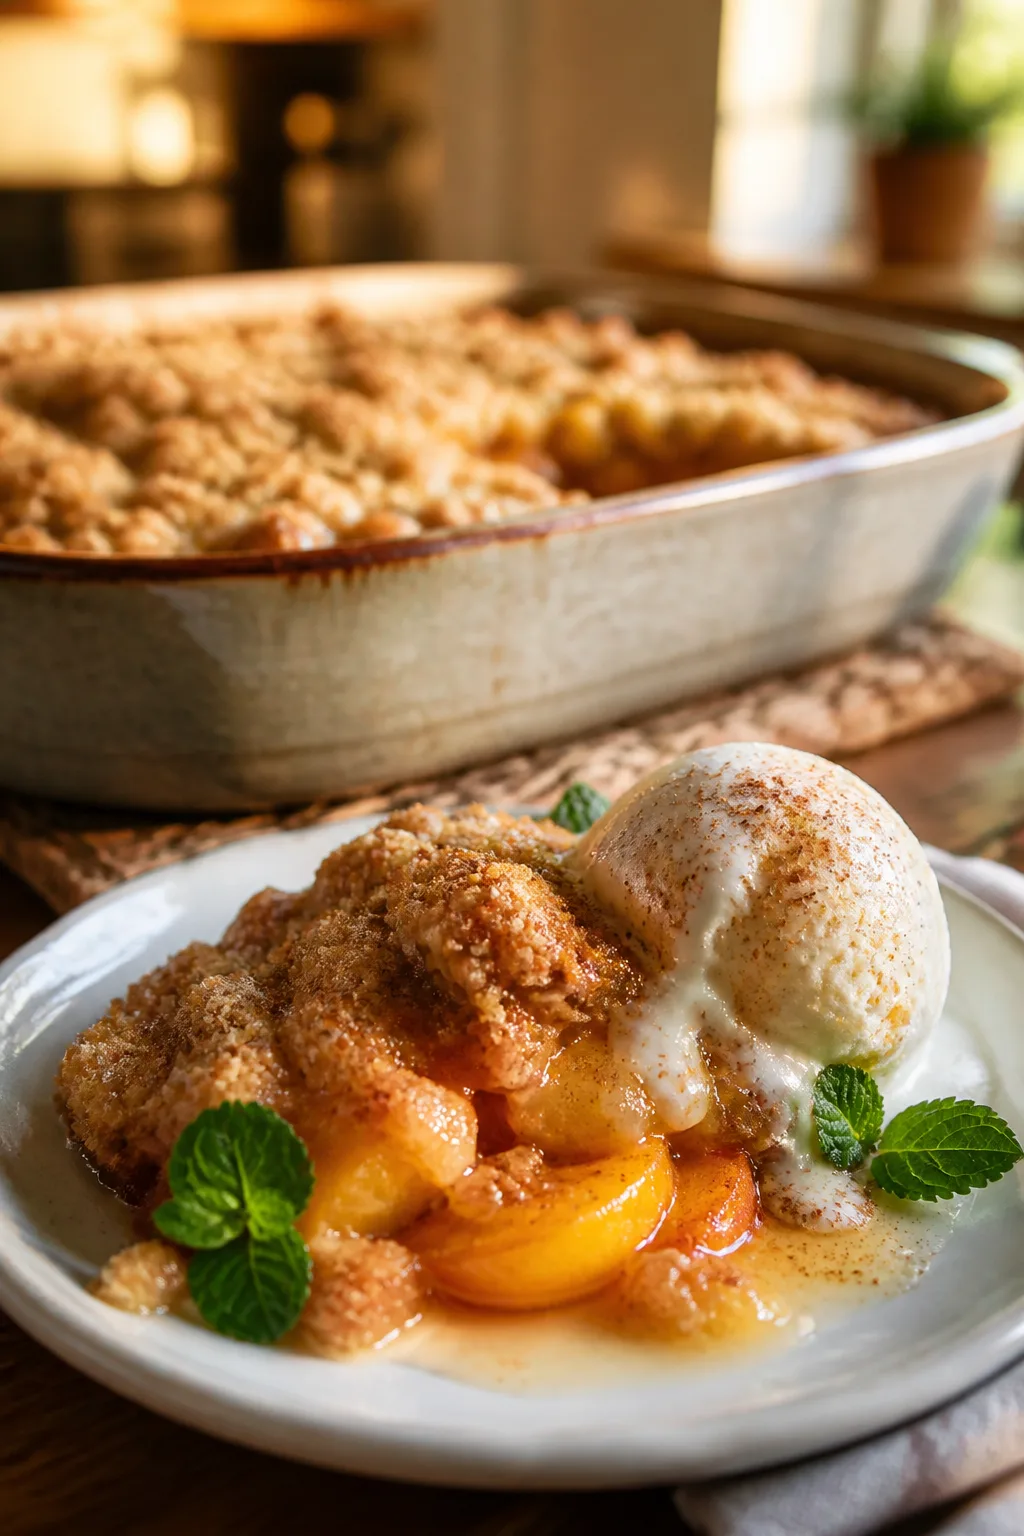
Serve your peach crisp warm, optionally topped with vanilla ice cream or whipped cream. The cold cream contrasts beautifully with the warm, juicy fruit and crunchy topping. This simple addition elevates the dessert into something truly special and comforting.
⏱ Time: 5 minutes
✓ Doneness: Ice cream begins to melt slightly on contact, enhancing flavors.
Step 7
If you want to add a little extra texture, consider sprinkling chopped nuts like pecans or walnuts over the topping before baking. This adds a lovely crunch and a nutty flavor that complements the peaches perfectly. Just be mindful of nut allergies if serving to guests.
⏱ Time: 2 minutes
✓ Doneness: Nuts are evenly distributed and embedded slightly in the topping.
Step 8
For a deeper flavor, try mixing a pinch of ground ginger or nutmeg into the oat topping mixture. These warm spices add a subtle complexity that pairs beautifully with the peaches and cinnamon. Start with a small amount to avoid overpowering the fruit’s natural sweetness.
⏱ Time: 3 minutes
✓ Doneness: Spices are blended evenly throughout the topping mixture.
Step 9
To refresh leftovers, reheat the crisp in the oven at 325°F (160°C) for about 10-15 minutes. This helps restore the crispness of the topping and warms the filling without drying it out. Avoid microwaving if possible, as it tends to make the topping soggy.
⏱ Time: 10-15 minutes
✓ Doneness: Topping is crisped again and filling is warm throughout.
Variations
Mixed Berry Peach Crisp
Add a cup of mixed berries like blueberries or raspberries to the thawed peaches for a vibrant twist. The berries add tartness and color, complementing the sweet peaches and crunchy topping.
Note: Increase sugar slightly if berries are tart and drain thawed fruit mixture well to maintain topping crispness.
Gluten-Free Peach Crisp
Swap the all-purpose flour with almond flour or a gluten-free blend and use gluten-free oats. This version is just as delicious and perfect for those avoiding gluten.
Note: Gluten-free flours may absorb liquids differently, so monitor topping texture and adjust butter if needed.
Spiced Peach Crisp with Ginger and Nutmeg
Add 1/4 teaspoon ground ginger and a pinch of nutmeg to the oat topping for a warm, spicy flavor profile. These spices pair beautifully with peaches and add complexity.
Note: Start with small amounts of spices to avoid overpowering the fruit’s natural sweetness.
Vegan Peach Crisp
Use coconut oil or vegan butter in place of butter and a flax egg if binding is needed. This keeps the crisp dairy-free and still rich and flavorful.
Note: Coconut oil melts faster than butter, so chill the topping mixture before baking to help maintain texture.
Peach Crisp with Nutty Topping
Mix chopped pecans or walnuts into the oat topping for extra crunch and a nutty flavor that enhances the peaches wonderfully.
Note: Add nuts just before baking and watch closely to prevent burning.
Pro Tips
Always thaw and drain frozen peaches thoroughly before using.
Frozen peaches release a lot of water when thawed, which can make your crisp topping soggy. Draining excess liquid ensures the topping stays crunchy and the filling thickens properly during baking.
Use cold butter for the topping and handle it quickly.
Cold butter creates flaky pockets in the topping as it melts during baking. If the butter warms up too much while mixing, the topping can become greasy and dense instead of crumbly and crisp.
Don’t press the oat topping down onto the fruit before baking.
Leaving the topping loose allows air to circulate and steam to escape, which helps it crisp up nicely. Pressing it down can trap moisture and lead to a soggy crust.
Add a splash of lemon juice to the peach filling.
Lemon juice brightens the flavor and slows oxidation, keeping the peaches looking fresh and vibrant. It also balances the natural sweetness for a more complex taste.
Bake at a moderate temperature to avoid burning the topping.
A moderate oven heat lets the fruit cook through and thicken while the topping browns evenly. Too hot and the topping might burn before the filling bubbles; too low and the topping won’t crisp properly.
Let the crisp cool before serving.
Cooling allows the filling to set and the juices to thicken, preventing a runny dessert. It also firms up the topping slightly, enhancing the texture contrast.
Use old-fashioned oats instead of quick or instant oats.
Old-fashioned oats hold their shape better during baking, providing a chewy, crunchy texture that quick oats can’t match. This makes the topping more satisfying and hearty.
Common Mistakes to Avoid
Using frozen peaches without thawing and draining.
Why it happens People often want to skip the thawing step to save time, assuming baking will handle the moisture.
Fix Always thaw frozen peaches completely and drain off excess juice before mixing with sugar. This prevents a watery filling and soggy topping, ensuring the crisp bakes up with perfect texture.
Mixing the topping until the butter melts.
Why it happens Some mix the butter too long or use warm hands, causing it to soften and lose its solid form.
Fix Use cold butter and mix quickly with your fingers or a pastry cutter until the mixture resembles coarse crumbs. This keeps the butter solid, helping create a flaky, crunchy topping.
Pressing the oat topping firmly onto the fruit.
Why it happens It feels natural to want the topping to stick, but pressing traps moisture.
Fix Sprinkle the topping loosely over the fruit and avoid pressing it down. This allows steam to escape and the topping to crisp evenly.
Baking at too high a temperature.
Why it happens To speed up baking, some crank up the heat, risking burnt topping and undercooked fruit.
Fix Stick to a moderate oven temperature (around 350°F). This helps the fruit cook through and the topping brown evenly without burning.
Serving the crisp immediately after baking.
Why it happens Impatience leads to cutting into the crisp right away, causing runny filling.
Fix Allow the crisp to cool for at least 10 minutes. This lets the juices thicken and topping set, improving texture and flavor.
Nutrition
Per Serving:
Nutritional values are estimates and may vary based on specific ingredients used.
Storage & Tips
Room Temperature
Peach crisp can be kept at room temperature covered loosely with foil or plastic wrap for up to 2 hours. Longer than that risks spoilage due to the fruit’s moisture.
Refrigerator
Store leftovers in an airtight container in the fridge for up to 4 days. The topping may soften but reheating in the oven can restore some crispness. It’s still tasty cold, especially with ice cream.
Freezer
Freeze peach crisp in a freezer-safe container for up to 3 months. Wrap tightly to prevent freezer burn. Thaw overnight in the fridge before reheating in the oven to refresh the topping and warm the filling.
Reheating
Reheat in a 325°F oven for 10-15 minutes until warmed through and topping crisps up again. Avoid microwaving as it makes the topping soggy. Add a splash of water if filling looks dry while reheating.
Make Ahead
Prepare the peach filling and topping separately up to 2 days ahead. Store filling in the fridge and topping in an airtight container. Assemble and bake just before serving for best texture.
FAQ
Can I use fresh peaches instead of frozen?
Absolutely! Fresh peaches work great in this recipe, especially in season. Just peel, slice, and toss them with sugar and lemon juice like the frozen ones. The texture might be a bit firmer, but the crisp will be just as delicious.
What if my topping is soggy after baking?
This usually happens if the fruit was too wet or the topping was pressed down. Make sure to drain frozen peaches well and sprinkle the topping loosely. Reheating in the oven can help crisp it back up.
Can I make this gluten-free?
Yes! Use gluten-free oats and substitute the flour with almond flour or a gluten-free baking mix. The texture might vary slightly but it will still be tasty and crispy.
How do I store leftovers?
Keep leftovers in an airtight container in the fridge for up to 4 days. Reheat in the oven to refresh the topping. You can also freeze it for up to 3 months.
Can I add nuts to the topping?
Definitely! Chopped pecans or walnuts add great crunch and flavor. Add them just before baking so they toast nicely without burning.
Is it okay to bake at a higher temperature to speed up cooking?
I don’t recommend it. Higher heat can burn the topping before the peaches cook through. Stick to 350°F for balanced cooking.
Why do you add lemon juice to the peaches?
Lemon juice brightens the flavor and prevents the peaches from browning. It also balances the sweetness, making the dessert taste fresher.
Can I prepare this dessert ahead of time?
Yes! You can prepare the filling and topping separately a day or two ahead. Keep them refrigerated and assemble just before baking for best results.
Final Thoughts
Give this peach crisp a try the next time you want a cozy, easy dessert. I’d love to hear how it turns out for you—don’t forget to share your photos!