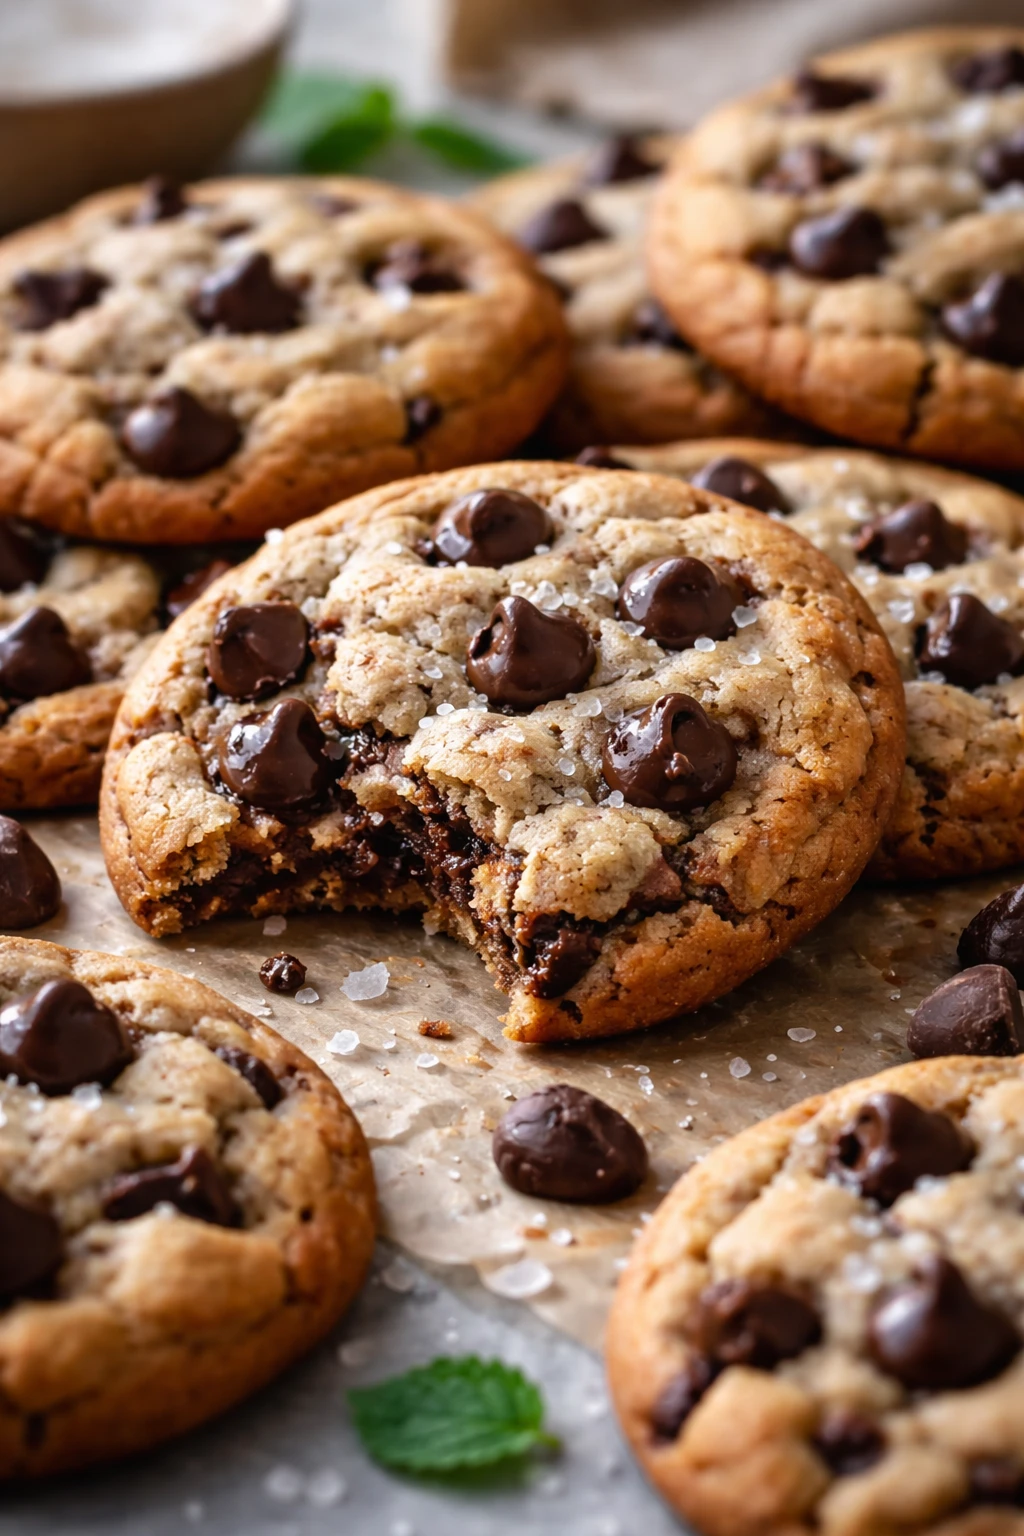
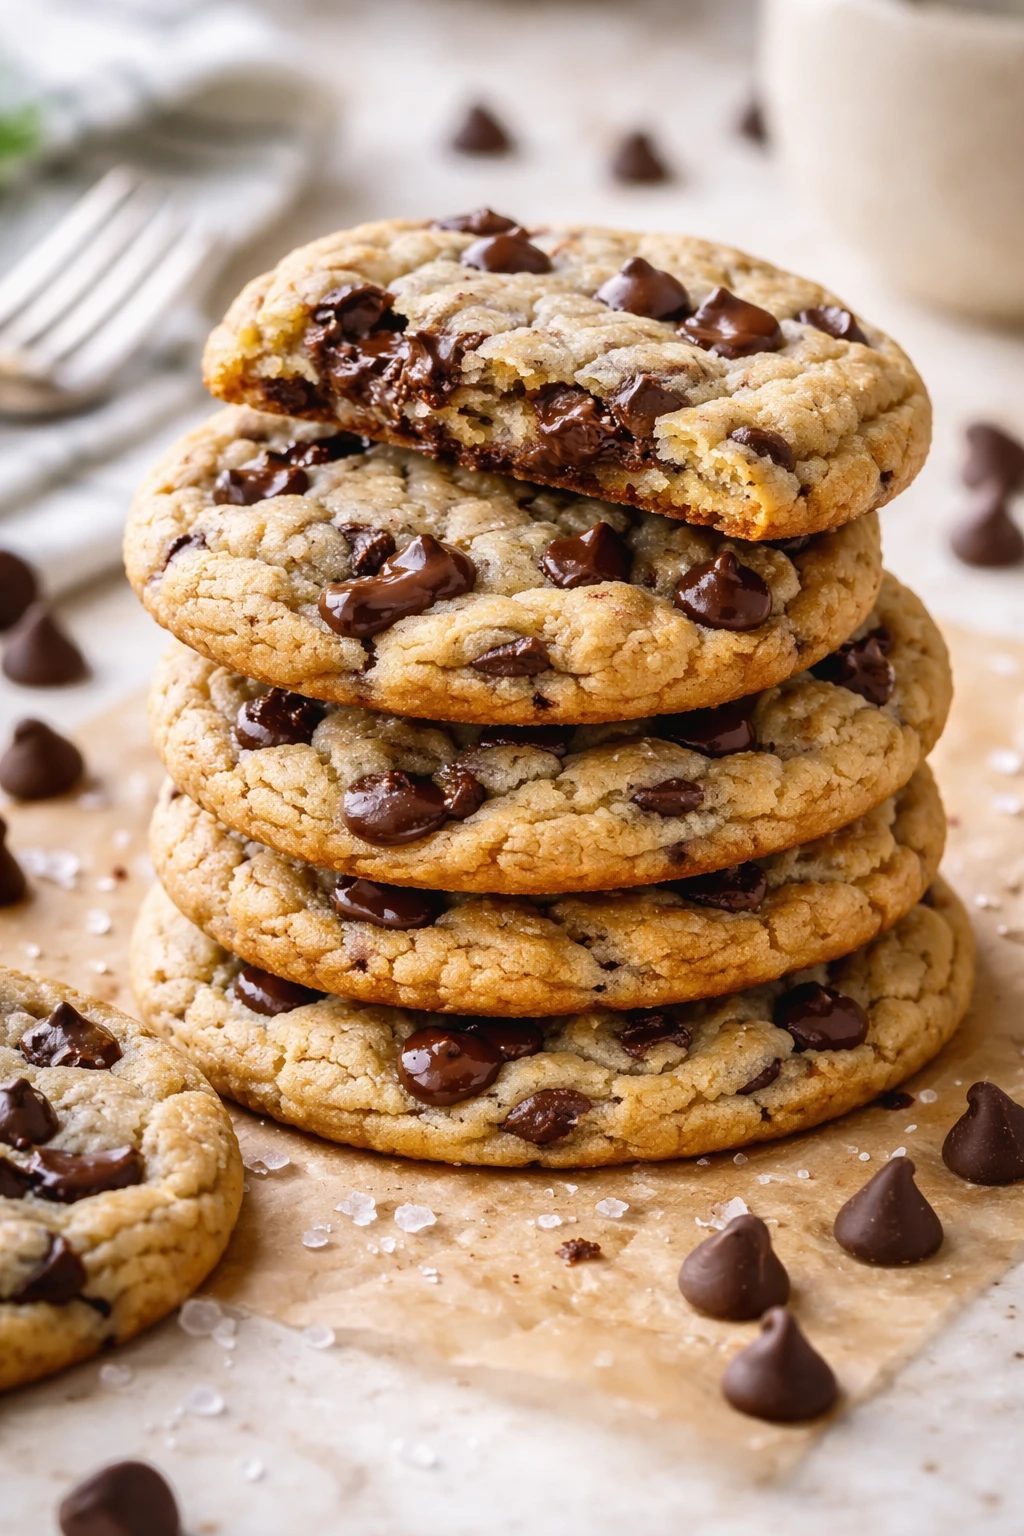
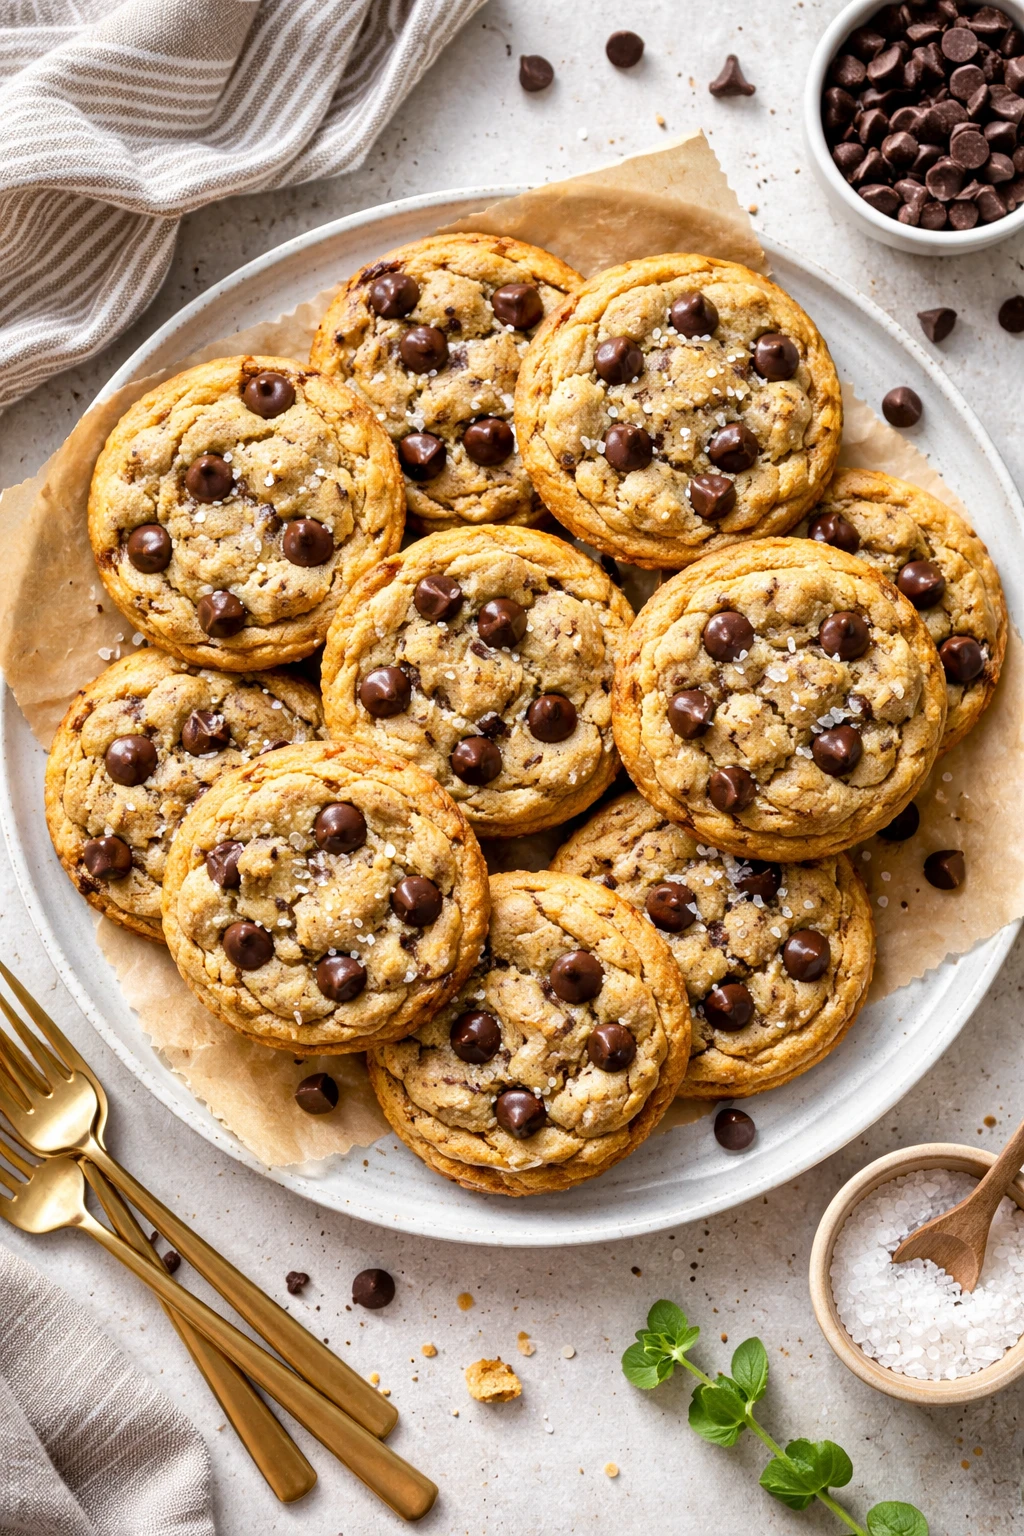
These cookies are my go-to when I want something sweet and chewy without fuss. Just five ingredients and brown sugar make them irresistibly soft. Perfect for a quick snack or sharing with friends!
Introduction
I first stumbled on this simple chocolate chip cookie recipe during a hectic week when I wanted something quick and comforting. Most cookie recipes call for a dozen ingredients and a lot of waiting, but this one is different. It’s just five ingredients and comes together in under 20 minutes — perfect for when you need a sweet fix fast. What makes these cookies stand out is the generous use of brown sugar, which gives them that soft, chewy texture I love. I’ve made these dozens of times, and the trick I learned is not to overmix the dough once the flour goes in — it keeps the cookies tender instead of tough. When they come out of the oven, they’re golden at the edges with a soft center, and the chocolate chips are perfectly melty. Honestly, these cookies bring me back to those cozy afternoons baking with my family, and I think you’ll love how simple and satisfying they are too.
How To Do It
Step 1
Start by preheating your oven to 350°F (175°C) and lining a baking sheet with parchment paper. This step is crucial because a properly heated oven ensures even baking, and parchment prevents sticking and promotes browning. Make sure your baking sheet is completely cool before placing dough on it to avoid spreading issues. Skipping this prep can lead to uneven cookies or ones that stick and break.
⏱ Time: 10 minutes
✓ Doneness: Oven fully preheated and baking sheet prepared with parchment, ready for dough.
Step 2
In a large bowl, cream together the softened butter and brown sugar using a hand mixer or stand mixer on medium speed. This step aerates the mixture, giving your cookies a lighter texture. Cream until the mixture is fluffy and pale, about 3-4 minutes. Rushing this process will cause dense cookies, so take your time to get that perfect creamy base.
⏱ Time: 4 minutes
✓ Doneness: Mixture looks smooth, creamy, and lighter in color.
Step 3
Add the eggs one at a time, beating well after each addition to fully incorporate them. This ensures the dough emulsifies properly, creating a uniform texture and helping the cookies rise evenly. If you add the eggs too quickly, the mixture might curdle, which affects texture.
⏱ Time: 2 minutes
✓ Doneness: Dough looks smooth and glossy without streaks of egg.
Step 4
Gradually sift in the all-purpose flour and gently fold it into the wet ingredients using a spatula or wooden spoon. Avoid overmixing here; just combine until you no longer see dry flour. Overmixing develops gluten, which makes cookies tough rather than tender and chewy.
⏱ Time: 3 minutes
✓ Doneness: Dough is thick, soft, and homogenous without streaks of flour.
Step 5
Fold in the chocolate chips evenly throughout the dough. Make sure to distribute them well so every cookie has a good amount of melty chocolate. You can reserve a few chips to press on top before baking for a prettier finish. Skipping this step can lead to uneven chocolate distribution.
⏱ Time: 2 minutes
✓ Doneness: Chocolate chips are visible and evenly mixed in the dough.
Step 6
Use a cookie scoop or spoon to drop rounded tablespoons of dough onto the prepared baking sheet, spacing them about 2 inches apart to allow spreading. This spacing prevents cookies from merging into one giant cookie. If you crowd them, you’ll lose that classic round shape.
⏱ Time: 5 minutes
✓ Doneness: Evenly spaced mounds of dough, each about the size of a golf ball.
Step 7
Bake the cookies in the preheated oven for 12-15 minutes. Keep a close eye from the 12-minute mark; the edges should be golden and set but the centers will still look slightly soft and underbaked. This is key for chewiness since the cookies continue to cook on the hot baking sheet after removal.
⏱ Time: 12-15 minutes
✓ Doneness: Edges are golden brown and centers look just set but soft.
Step 8
Remove the baking sheet from the oven and let the cookies cool on the sheet for 5 minutes. This resting time allows the centers to firm up without overbaking, preserving that chewy texture. If you try to move them too soon, they might fall apart; wait patiently!
⏱ Time: 5 minutes
✓ Doneness: Cookies hold shape when gently nudged and are cool enough to handle.
Step 9
Transfer the cookies to a wire rack to cool completely or enjoy warm. Cooling on a rack prevents sogginess from trapped steam underneath. If you like warm cookies, serve within 10 minutes; otherwise, store them in an airtight container once cooled.
⏱ Time: 10 minutes
✓ Doneness: Cookies are fully cooled and firm but still soft and chewy.
Variations
Add Nuts for Crunch
Mix in 1/2 cup chopped walnuts or pecans for extra texture and a toasty flavor. Nuts add a satisfying crunch that contrasts nicely with the chewy cookie base, making each bite more interesting.
Note: Fold nuts in with chocolate chips to distribute evenly. Toasting nuts beforehand enhances their flavor.
Use Dark Chocolate Chips
Swap semi-sweet chips for dark chocolate to add a richer, slightly bitter note that balances the sweetness. This variation feels a bit more sophisticated and less sugary.
Note: Dark chocolate melts differently; watch baking time closely to avoid bitterness from overbaking.
Add a Pinch of Cinnamon
Sprinkle 1/2 teaspoon cinnamon into the dough for a warm, spicy twist that complements the chocolate. It adds depth without overpowering the classic flavor.
Note: Mix cinnamon with flour before folding into wet ingredients for even distribution.
Make Vegan with Coconut Oil and Flax Eggs
Replace butter with solid coconut oil and eggs with flaxseed meal mixed with water to make vegan chewy cookies. The texture is slightly different but still soft and delicious.
Note: Chill dough longer to firm up coconut oil, which melts faster than butter.
Double Chocolate Version
Add 1/4 cup unsweetened cocoa powder to the flour for a chocolate base, then fold in chocolate chips for a double chocolate indulgence. Rich and fudgy, these cookies satisfy any chocoholic.
Note: Increase baking time by 1-2 minutes and watch closely to avoid dryness.
Pro Tips
Always use room temperature butter for creaming.
Room temperature butter creams smoothly with sugar, incorporating air that lightens the dough. Cold butter won’t blend well, resulting in uneven texture, while melted butter leads to flat, greasy cookies. Proper creaming is key to soft, tender cookies.
Don’t overmix once you add flour.
Overmixing develops gluten strands which toughen cookies. Folding gently just until combined keeps the dough tender and soft. Overworked dough bakes into dry, hard cookies, so stop mixing as soon as the flour disappears.
Use parchment paper or silicone mats for baking.
These liners prevent sticking and promote even browning by insulating the dough from direct heat. Greasing pans can cause spreading and uneven baking, so parchment or mats yield better cookie shape and texture.
Chill dough if your kitchen is warm.
Warm dough spreads too fast in the oven, producing thin, crispy cookies. Chilling firms the dough, allowing for thicker, chewier cookies by slowing melting and spreading. Even 30 minutes in the fridge helps with texture control.
Space cookies evenly on the baking sheet.
Proper spacing prevents cookies from merging during baking, preserving their round shape and ensuring even heat circulation. Crowded cookies bake unevenly and lose their classic appearance.
Remove cookies when centers look slightly underbaked.
Cookies continue to cook from residual heat after removal, so pulling them out too late results in dry, crisp cookies. The slightly soft center ensures chewy texture once cooled.
Use a cookie scoop for uniform size.
Consistent cookie size means even baking, avoiding some cookies burning while others remain doughy. Scoops speed up portioning and create professional-looking cookies.
Common Mistakes to Avoid
Using melted butter instead of softened butter
Why it happens Some assume melted butter speeds up mixing or makes cookies softer, but it changes the dough's structure.
Fix Always soften butter to room temperature before creaming to trap air for fluffiness. If you accidentally melted it, chill the dough before baking to reduce spreading.
Overmixing after adding flour
Why it happens Eager cooks may want to combine everything quickly, not realizing gluten forms with agitation.
Fix Mix flour in gently with a spatula just until no streaks remain. Stop immediately to keep cookies tender.
Baking too long until cookies are fully browned
Why it happens Waiting for a golden cookie all over can dry it out.
Fix Remove cookies when edges are golden but centers still look soft; residual heat finishes baking, preserving chewiness.
Crowding cookies on the baking sheet
Why it happens Trying to bake more at once or not leaving enough space.
Fix Leave at least 2 inches between dough mounds to allow spreading without merging.
Using old or dry brown sugar
Why it happens Brown sugar hardens over time and loses moisture.
Fix Use fresh, moist brown sugar for best chewiness. If hardened, soften by microwaving briefly with a damp paper towel.
Nutrition
Per Serving:
Nutritional values are estimates and may vary based on specific ingredients used.
Storage & Tips
Room Temperature
Cookies keep well at room temperature for up to 2 days when stored in an airtight container. Avoid leaving them uncovered as they dry out quickly. They stay soft but may lose a bit of their fresh-baked warmth.
Refrigerator
Store cookies in an airtight container in the fridge for up to 5 days. They may firm up and lose some softness, so bring to room temperature or warm briefly in the microwave before serving to restore chewiness.
Freezer
Freeze cookies in a sealed container or freezer bag for up to 3 months. Separate layers with parchment paper to prevent sticking. Thaw at room temperature for 30 minutes before eating or warm gently to revive softness.
Reheating
Reheat cookies in a microwave for 10-15 seconds or in a 300°F oven for 5 minutes. Adding a small piece of bread in the container can help maintain moisture. Avoid overheating as cookies can become hard.
Make Ahead
You can mix the dough 1-2 days ahead and store it tightly wrapped in the fridge. This resting time enhances flavor and texture. Bake fresh just before serving for best results.
FAQ
Can I substitute white sugar for brown sugar?
While you can use white sugar, it won’t give you the same chewy texture or rich flavor because it lacks molasses. Brown sugar adds moisture and a deeper taste, so for best results, stick to brown sugar.
Why are my cookies spreading too much?
This usually happens if the dough is too warm or if you use melted butter. Chilling the dough before baking helps control spreading. Also, make sure your baking sheet isn’t too hot and that you space cookies properly.
Can I use gluten-free flour?
Yes, you can substitute a 1-to-1 gluten-free flour blend, but texture may vary slightly. Some blends contain xanthan gum which helps with structure. Expect a slightly different chew but still delicious cookies.
How do I store the cookies to keep them soft?
Store in an airtight container with a slice of bread or a damp paper towel inside to maintain moisture. This prevents them from drying out and keeps them soft for several days.
Can I freeze the cookie dough?
Absolutely! Freeze dough balls on a tray, then transfer to a bag. Bake frozen dough adding a few extra minutes to the baking time. This is great for making fresh cookies anytime.
What causes cookies to be hard instead of chewy?
Overbaking is the main culprit. Remove cookies when edges are golden but centers still look soft. Also, too much flour or overmixing can make them tough. Measure ingredients carefully and mix gently.
Can I add other mix-ins like nuts or dried fruit?
Yes! Stir in 1/2 cup chopped nuts or dried fruit after mixing in the chocolate chips. Just keep total additions moderate to avoid affecting the cookie’s structure and spread.
Why do my cookies sometimes come out dry?
Dry cookies often result from using old flour, overbaking, or too much flour. Make sure to measure flour correctly by spooning it into your cup and not packing it down. Also, don’t bake past the golden edge stage.
Final Thoughts
I hope you enjoy baking and eating these chewy chocolate chip cookies as much as I do! Don’t forget to share your baking stories and tweaks with me — happy cookie baking!