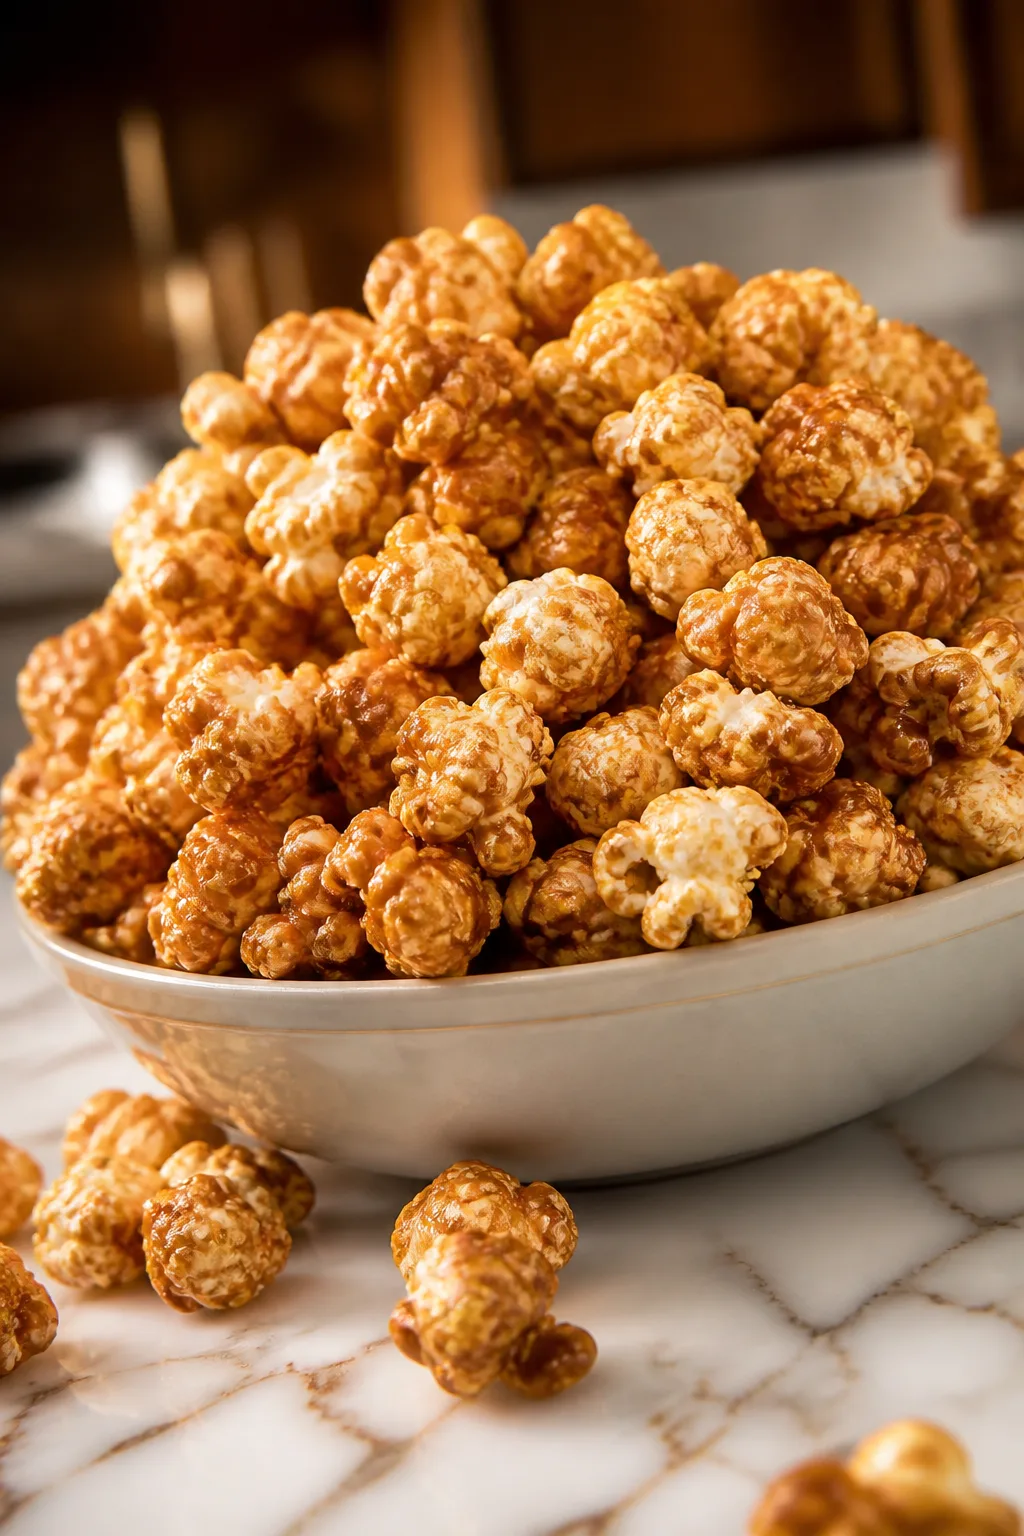
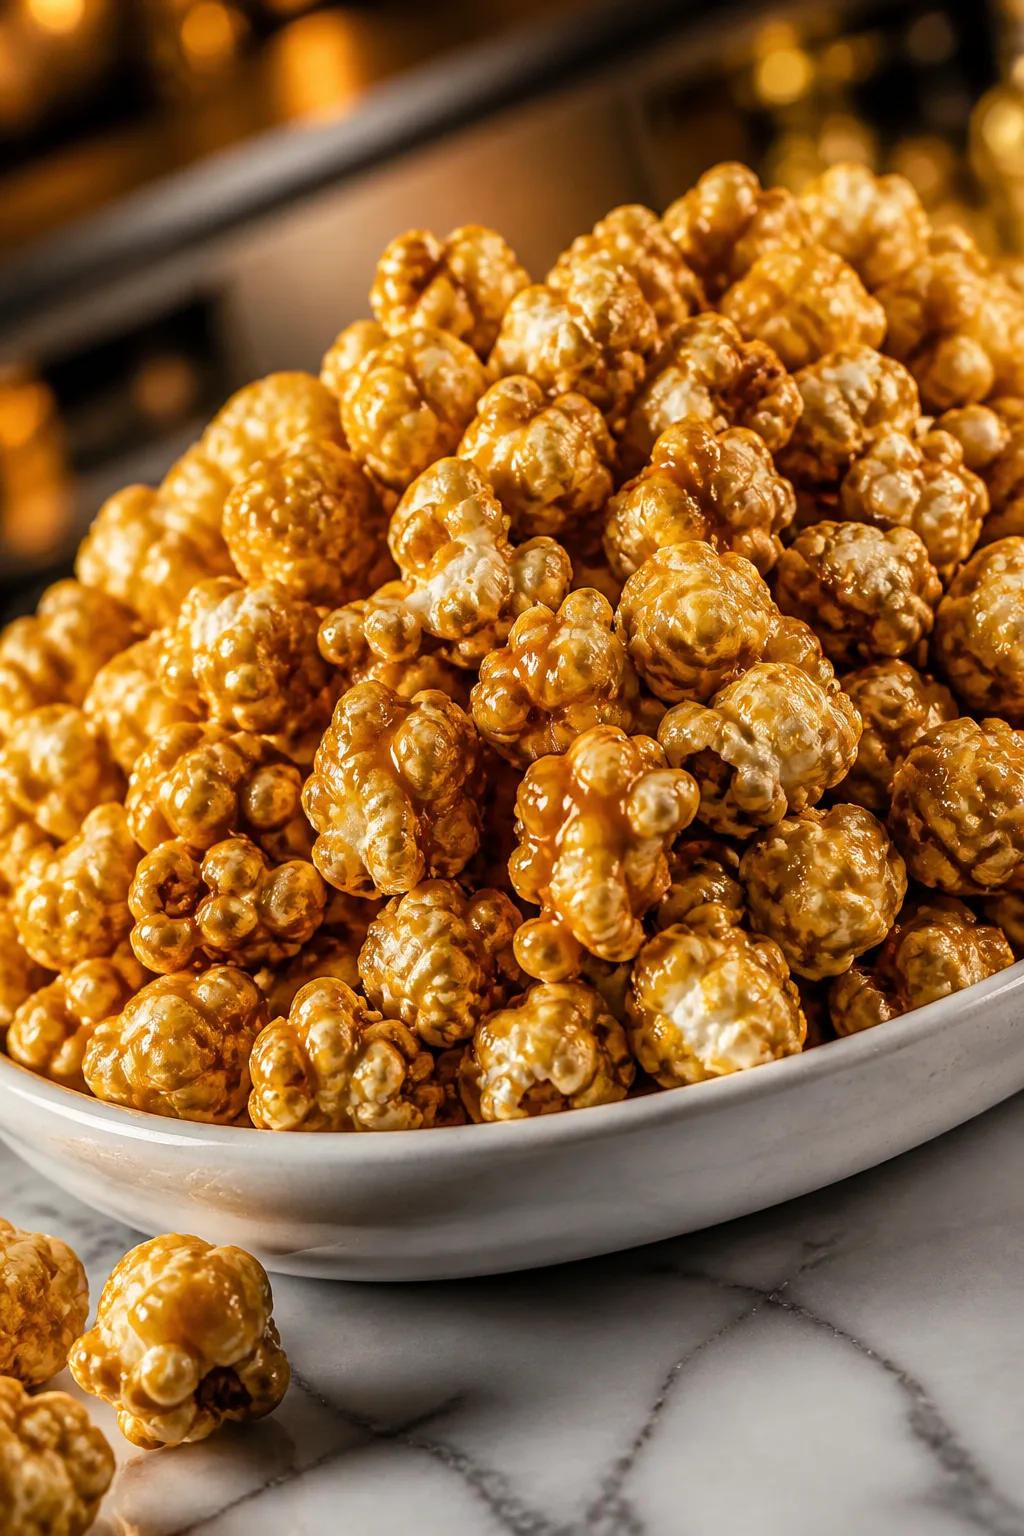
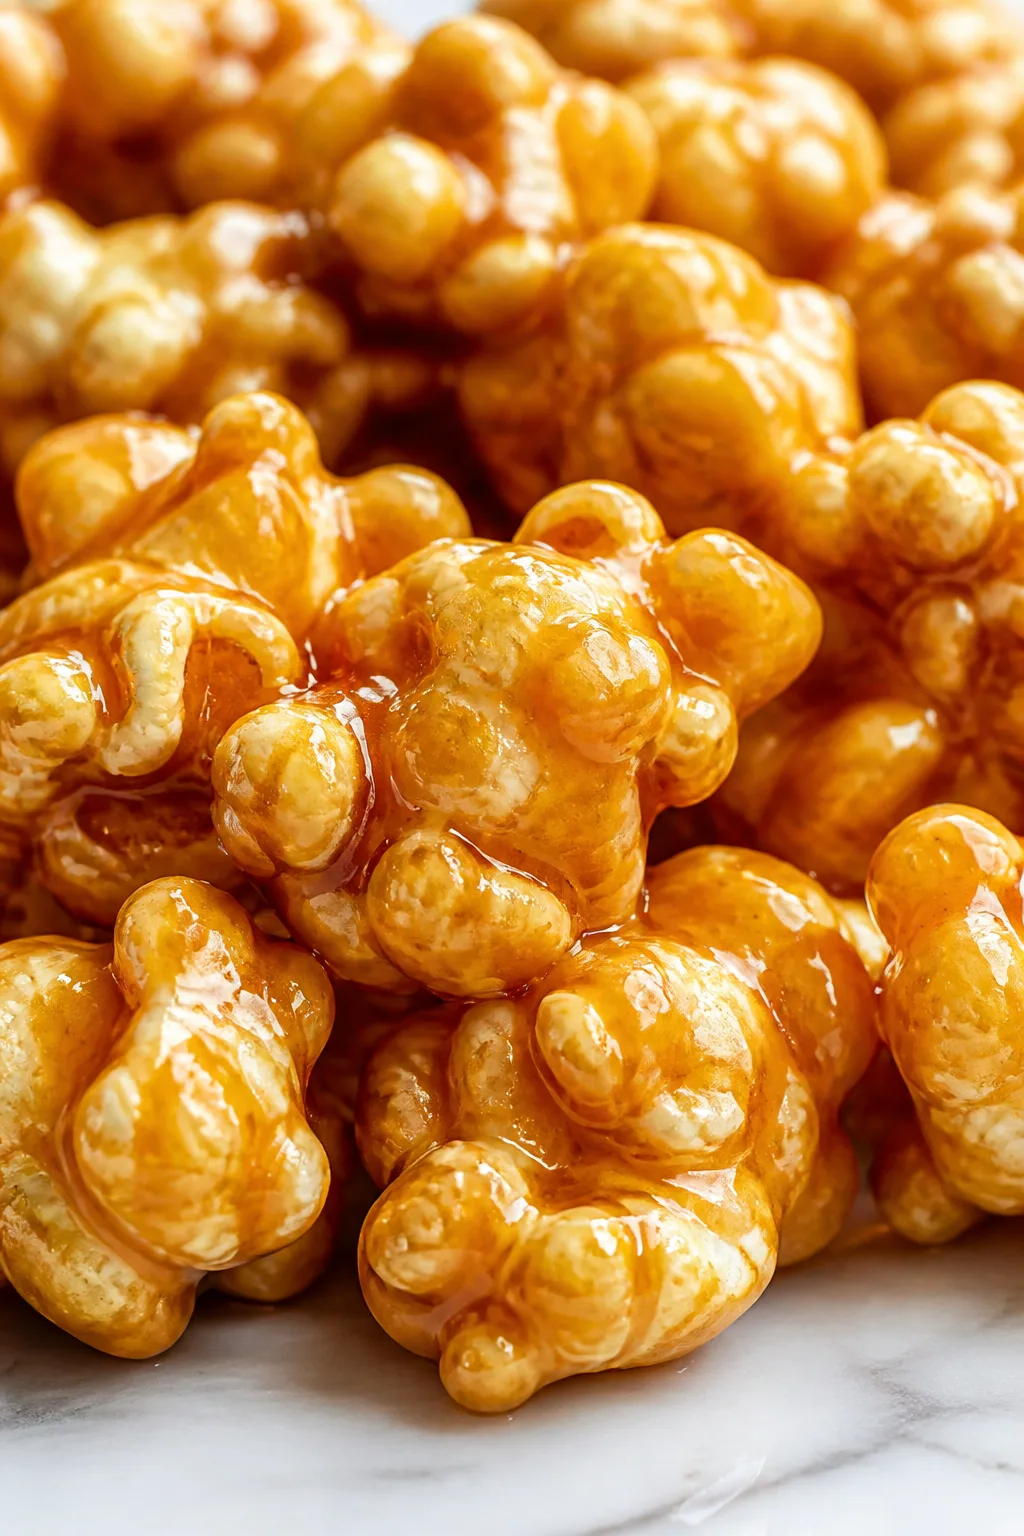
This caramel corn hits all the right notes—crispy, buttery, and just the right amount of sweet. The secret is a slow-cooked caramel that wraps every kernel in a glossy, crunchy coat. Perfect for sharing on cozy movie nights or gifting during the holidays.
Introduction
I first tried making caramel corn years ago, inspired by those classic fair snacks that always bring back warm memories. My first attempt was a bit sticky and unevenly coated, but I quickly learned that slow-cooking the caramel glaze and stirring constantly makes all the difference. This version is my go-to because it’s perfectly balanced—crispy popcorn with a smooth, buttery caramel coating that’s never too sweet or sticky. The trick is adding baking soda at the end, which lightens the caramel and gives it that irresistible crunch. When it’s done, the popcorn glistens with a golden coat that’s just begging to be devoured. Whether for a casual movie night or a festive treat, this caramel corn always steals the show. I love how it’s easy enough to whip up on a whim, yet feels special enough to share with friends and family. Plus, it stores well, so you can make it ahead and enjoy little bites whenever the craving strikes. Trust me, once you try this, you’ll never want to buy the pre-packaged stuff again.
What You'll Need
Approximately 12 cups, 6 servings
- 12 cups popped popcorn, cooled
- 1 cup unsalted butter, melted
- 2 cups packed brown sugar
- 1/2 cup light corn syrup
- 1 teaspoon kosher salt
- 1/2 teaspoon baking soda
- 1 teaspoon pure vanilla extract
How To Do It
Step 1
Preheat your oven to 250°F (120°C) and line a large baking sheet with parchment paper or a silicone mat. Spread the popped popcorn evenly on the sheet, making sure to remove any unpopped kernels. This step is crucial because baking the popcorn with the caramel helps it dry out and become perfectly crunchy instead of soggy. Also, setting the oven low ensures the caramel cooks slowly without burning, allowing the flavors to deepen.
⏱ Time: 10 minutes
✓ Doneness: Popcorn spread evenly on baking sheet, ready for caramel coating
Step 2
In a medium saucepan, combine the melted butter, brown sugar, corn syrup, and salt. Cook over medium heat, stirring constantly until the mixture comes to a boil. Once boiling, stop stirring and let it boil for 4-5 minutes without stirring to reach the right temperature for caramelization. Rushing this step or stirring too much can cause the caramel to crystallize or burn, ruining the smooth texture you want.
⏱ Time: 8 minutes
✓ Doneness: Caramel mixture bubbling steadily and turning a rich amber color
Step 3
Remove the saucepan from heat and quickly stir in the baking soda and vanilla extract. The mixture will bubble up vigorously — that’s the baking soda reacting to create tiny air bubbles, which lighten the caramel and give it that perfect crispy texture. Stir it gently but thoroughly so the air is evenly distributed.
⏱ Time: 2 minutes
✓ Doneness: Bubbly, foamy caramel with a lighter color and smooth texture
Step 4
Pour the hot caramel sauce evenly over the popcorn on the baking sheet. Use a spatula or wooden spoon to gently toss and coat the popcorn as evenly as possible. Work quickly because the caramel will start to set. Even coating means every bite gets that sweet, crunchy flavor we’re after.
⏱ Time: 5 minutes
✓ Doneness: Popcorn coated in shiny, golden caramel glaze
Step 5
Place the baking sheet in the preheated oven and bake the caramel corn for 45 minutes, stirring every 15 minutes. This baking time allows the caramel to set firmly and dry out just enough for that perfect crunch. Don’t skip the stirring — it prevents clumps and ensures even cooking.
⏱ Time: 45 minutes
✓ Doneness: Caramel corn looks glossy and is evenly crisp when stirred
Step 6
Remove the caramel corn from the oven and let it cool completely on the baking sheet. As it cools, the caramel hardens, giving the popcorn a satisfying crunch. Avoid the temptation to eat it hot because it will be sticky and soft until fully cooled.
⏱ Time: 30 minutes
✓ Doneness: Caramel corn is dry to the touch and crunchy
Step 7
Once cooled, break the caramel corn into bite-sized clusters by hand or with a spatula. Store in an airtight container at room temperature to keep it fresh and crunchy. Proper storage is key to maintaining that satisfying texture.
⏱ Time: 5 minutes
✓ Doneness: Clusters of caramel corn ready for serving or storing
Step 8
For best flavor, enjoy the caramel corn within a week. If you want to refresh the crunch after storage, you can briefly warm it in a low oven for a few minutes. This brings back that fresh-out-of-the-oven crispness without melting the caramel.
⏱ Time: 2 minutes
✓ Doneness: Crisp, fresh-tasting caramel corn after reheating
Step 9
Feel free to customize by adding chopped nuts, a sprinkle of sea salt, or even a dash of cinnamon to the caramel before pouring it over the popcorn. These little tweaks add layers of flavor and make the snack even more special. Just be mindful of the balance so the caramel remains the star.
⏱ Time: Optional prep time varies
✓ Doneness: Enhanced caramel corn with added flavor elements
Variations
Salted Caramel Corn
Add a sprinkle of flaky sea salt over the caramel-coated popcorn before baking to create a delightful sweet-and-salty contrast. This variation enhances the buttery richness and adds a savory note that balances the sweetness beautifully.
Note: Make sure to distribute the salt evenly to avoid overly salty spots; use coarse salt for texture.
Nutty Caramel Corn
Mix in toasted pecans, almonds, or peanuts before baking to add crunch and a nutty flavor dimension. Nuts also absorb some caramel, making the snack more filling and adding a great textural contrast.
Note: Toast nuts lightly beforehand to deepen flavor; stir them in quickly with the popcorn before pouring caramel.
Spiced Caramel Corn
Add warming spices like cinnamon, nutmeg, or a pinch of cayenne to the caramel mixture for a cozy, slightly spicy twist. This variation is especially nice in cooler months or holiday seasons.
Note: Add spices to the caramel right after it reaches boil but before baking to infuse flavor evenly.
Chocolate Drizzled Caramel Corn
Once the caramel corn has cooled, drizzle melted dark or milk chocolate over the top and let it set. This adds indulgence and a rich chocolatey note that pairs perfectly with the buttery caramel.
Note: Use tempered chocolate for a smooth finish and quick setting; allow caramel corn to cool fully before drizzling.
Vegan Caramel Corn
Replace butter with coconut oil and use a vegan-friendly syrup like maple syrup instead of corn syrup. The result is a slightly different flavor profile but still a deliciously sweet and crunchy snack.
Note: Coconut oil melts at a lower temperature so watch caramel closely to avoid burning; texture will be slightly softer.
Pro Tips
Stir the caramel mixture constantly until it reaches a boil to prevent burning.
Sugar can scorch easily if left unattended, which results in a bitter flavor. Continuous stirring ensures even heat distribution and smooth caramelization, giving you that rich, buttery taste without any burnt notes.
Use a candy thermometer to monitor caramel temperature closely.
Reaching the right temperature (around 240°F/115°C) is critical for caramel to set properly. Too low and it will be sticky; too high and it burns. A thermometer takes the guesswork out and guarantees consistent results.
Bake the coated popcorn at a low temperature, stirring every 15 minutes.
Low heat dries the caramel slowly, preventing it from becoming chewy or soft. Stirring breaks up clumps and exposes all kernels evenly to heat, ensuring a uniform crunchy texture throughout.
Add baking soda off the heat for a foamy, aerated caramel.
Adding baking soda while the caramel is hot triggers a chemical reaction that creates bubbles. This aeration lightens the caramel, making it crisp rather than hard and brittle, which is essential for that classic caramel corn texture.
Cool the caramel corn completely before breaking it into pieces.
Caramel needs to harden fully to reach the right crunch. Trying to separate clusters while still warm causes stickiness and messy clumps that are harder to handle and less enjoyable to eat.
Use fresh popcorn popped just before making the caramel corn.
Stale popcorn tends to be chewy or soft, which won’t hold up well under caramel. Fresh popcorn is crisp and light, allowing the caramel to coat each kernel beautifully and deliver the perfect crunch.
Store caramel corn in an airtight container at room temperature.
Exposure to air causes the caramel to absorb moisture, making it lose its crispness. Airtight storage preserves texture and flavor for several days, so you can enjoy it over time without it turning chewy.
Common Mistakes to Avoid
Skipping the baking step after coating the popcorn.
Why it happens Many assume pouring caramel over popcorn is enough, but without baking, the coating stays soft and sticky instead of crisp.
Fix Bake the caramel-coated popcorn at a low temperature for 45 minutes, stirring every 15 minutes to dry out the caramel evenly and ensure a perfect crunch.
Adding baking soda while the caramel is still boiling.
Why it happens Some think adding baking soda early will aerate better, but heat causes it to react too aggressively and can deflate the foam.
Fix Remove the caramel from heat before stirring in baking soda to create a controlled, gentle foaming that lightens the texture properly.
Using microwave popcorn with added flavors or oils.
Why it happens It’s tempting for convenience, but these additives interfere with the caramel’s ability to stick and can cause uneven texture.
Fix Use plain air-popped popcorn for the best coating and consistent crunch.
Not stirring the caramel sugar mixture until it boils.
Why it happens Some skip stirring to save time, but this causes uneven heating and burnt sugar spots.
Fix Stir constantly until boiling to ensure smooth caramel without burnt bits.
Breaking the caramel corn into pieces before it cools.
Why it happens Impatience leads to sticky, messy clumps that don’t separate cleanly.
Fix Let it cool completely on the baking sheet; the caramel will harden and break easily into perfect clusters.
Nutrition
Per Serving:
Nutritional values are estimates and may vary based on specific ingredients and portion sizes.
Storage & Tips
Room Temperature
Caramel corn can be safely kept at room temperature for up to 3 days if stored in an airtight container. Make sure to keep it away from humidity, which can soften the caramel coating and reduce crunchiness.
Refrigerator
You can refrigerate caramel corn for up to a week in an airtight container. However, refrigeration may cause the caramel to become sticky or chewy due to moisture. It’s best served at room temperature, so allow it to sit out for 15-20 minutes before eating.
Freezer
Freeze caramel corn in a sealed, freezer-safe bag or container for up to 2 months. To prevent freezer burn, remove as much air as possible before sealing. Thaw at room temperature for a few hours and gently break apart any clusters before serving.
Reheating
To refresh crispness, spread caramel corn on a baking sheet and warm in a 250°F oven for 5-7 minutes. Avoid microwaving, as it can melt the caramel unevenly and cause sogginess. Adding a splash of water to the oven can help prevent over-drying during reheating.
Make Ahead
You can prepare the caramel sauce a day ahead and store it in the fridge. Warm it gently before pouring over freshly popped popcorn on the day you want to serve. This saves time and keeps the popcorn fresh and crunchy.
FAQ
Can I use microwave popcorn for this recipe?
I don’t recommend microwave popcorn because it often contains added oils and flavors that interfere with the caramel coating. Using freshly air-popped popcorn ensures the caramel sticks well and the texture stays crispy.
What if my caramel corn turns out sticky instead of crunchy?
Sticky caramel corn usually means the caramel didn’t cook long enough or the baking step was skipped. Make sure to cook the caramel to the right temperature and bake the coated popcorn at 250°F, stirring regularly to dry it out properly.
Can I substitute corn syrup with something else?
Light corn syrup prevents sugar crystallization, keeping caramel smooth. You can substitute with golden syrup or honey, but the texture and flavor might change slightly. Avoid using regular sugar alone, as it can cause graininess.
How do I store caramel corn to keep it fresh?
Store caramel corn in an airtight container at room temperature away from humidity. This keeps it crisp for several days. Refrigeration isn’t ideal as moisture can make it chewy, but freezing works well for longer storage.
Why do I add baking soda to the caramel?
Baking soda aerates the caramel by creating tiny bubbles, which lightens the texture and prevents the coating from becoming too hard or brittle. It’s a simple but essential step for that classic crunchy caramel corn.
Can I add nuts or other mix-ins?
Absolutely! Adding toasted nuts or even pretzels before baking adds flavor and texture. Just toss them with the popcorn before pouring the caramel so everything gets evenly coated.
What’s the best way to break up caramel corn clusters?
Wait until the caramel corn has cooled completely. Then gently break it apart by hand or with a spatula. Trying to separate it while warm will cause sticky messes and uneven clusters.
How long does homemade caramel corn last?
Stored properly in an airtight container at room temperature, it lasts about 3-5 days with good crunch. Beyond that, it can become chewy or stale, so it’s best enjoyed fresh.
Final Thoughts
Give this caramel corn a try and enjoy the nostalgic crunch and buttery sweetness. I’d love to hear how it turns out for you—don’t forget to share your snack moments!