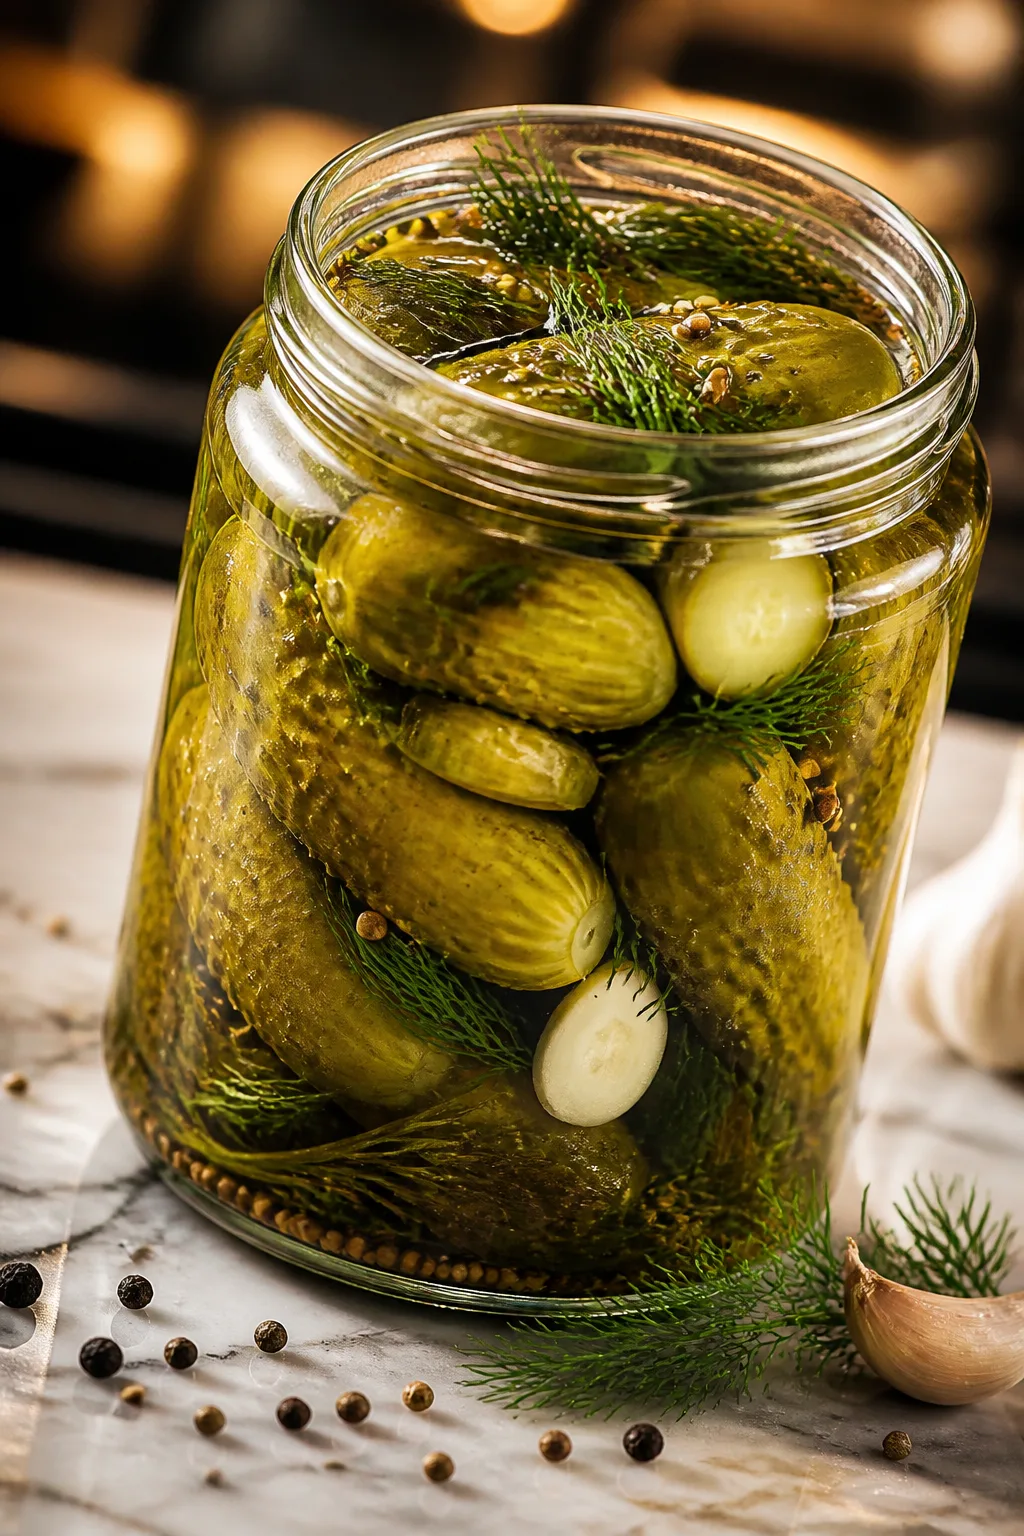
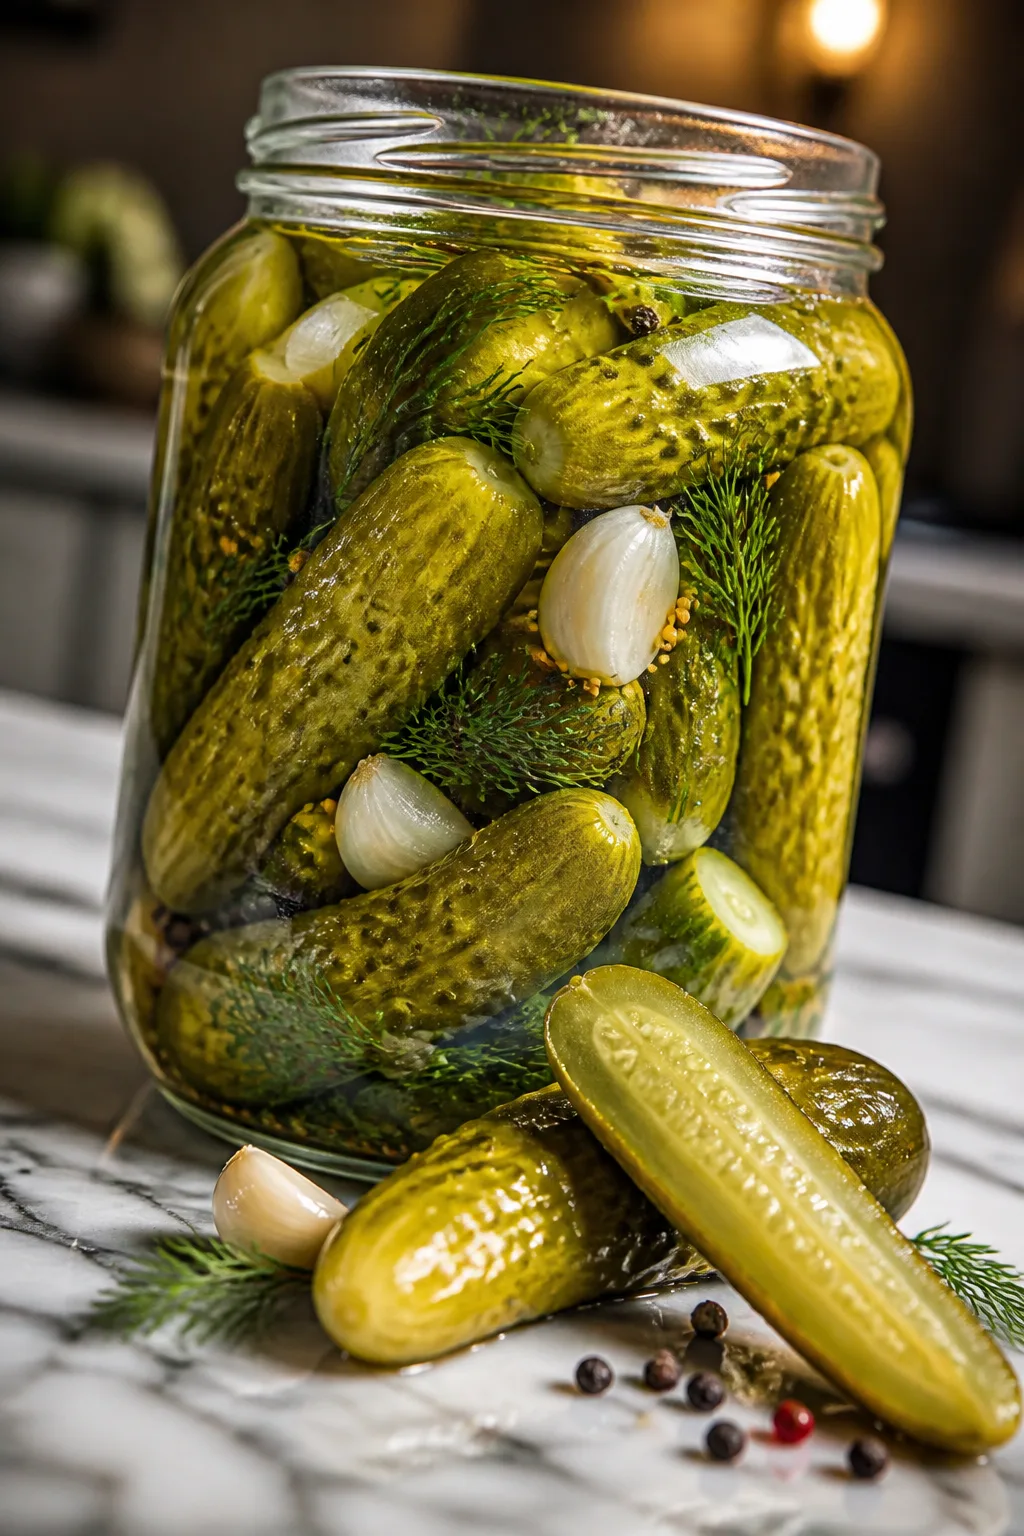
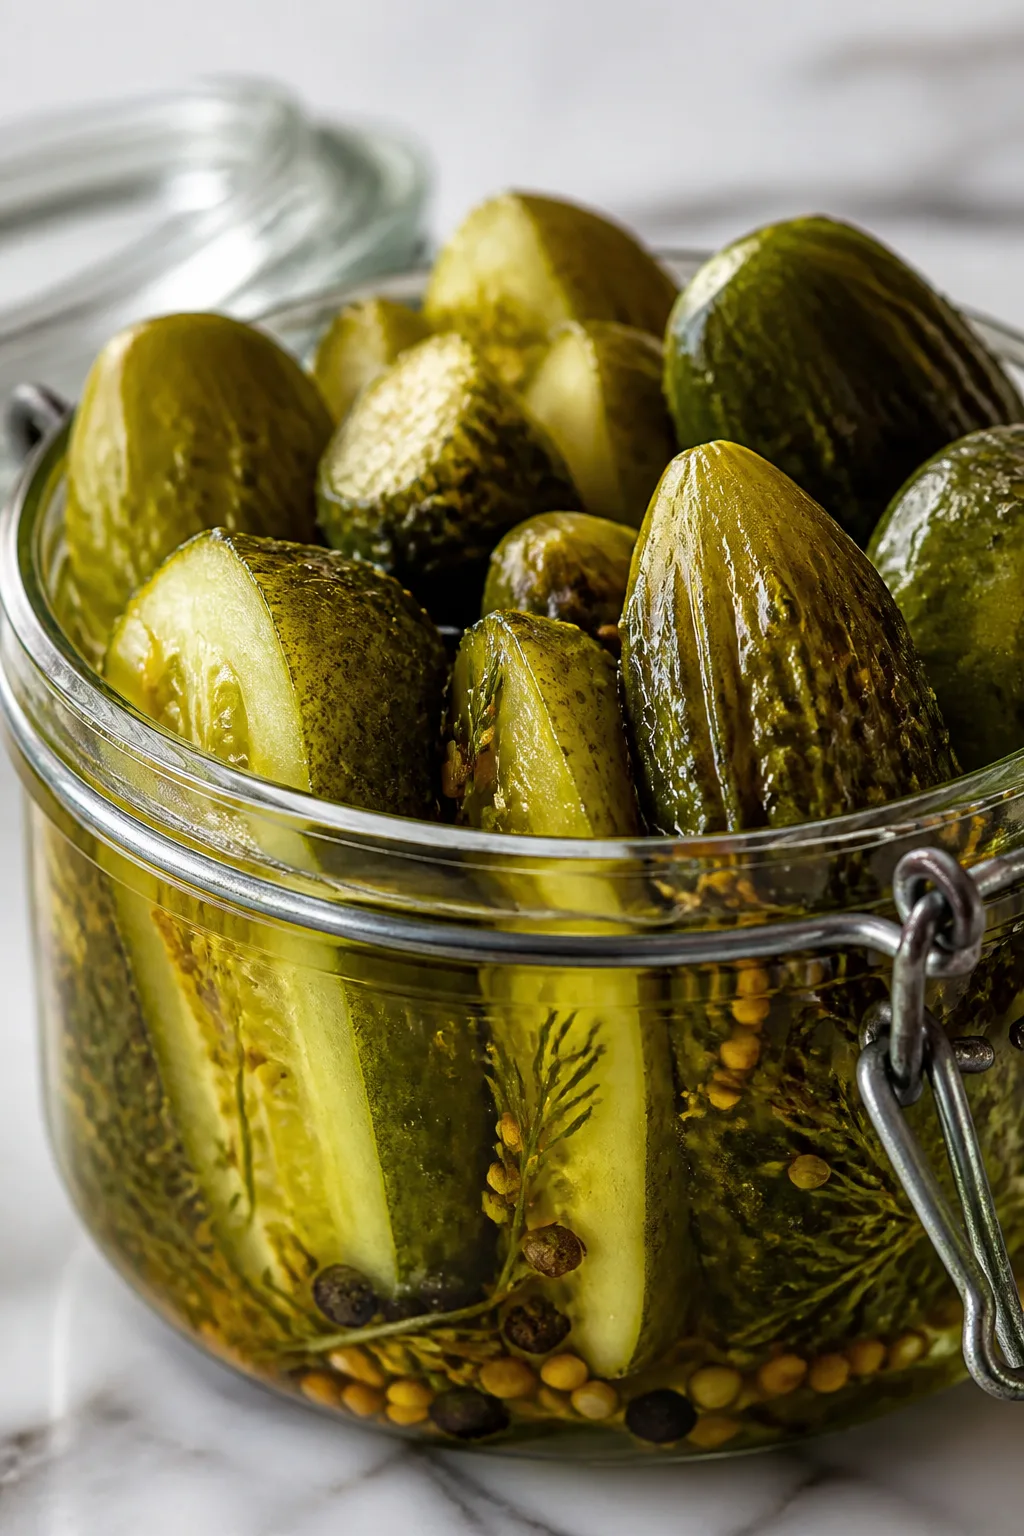
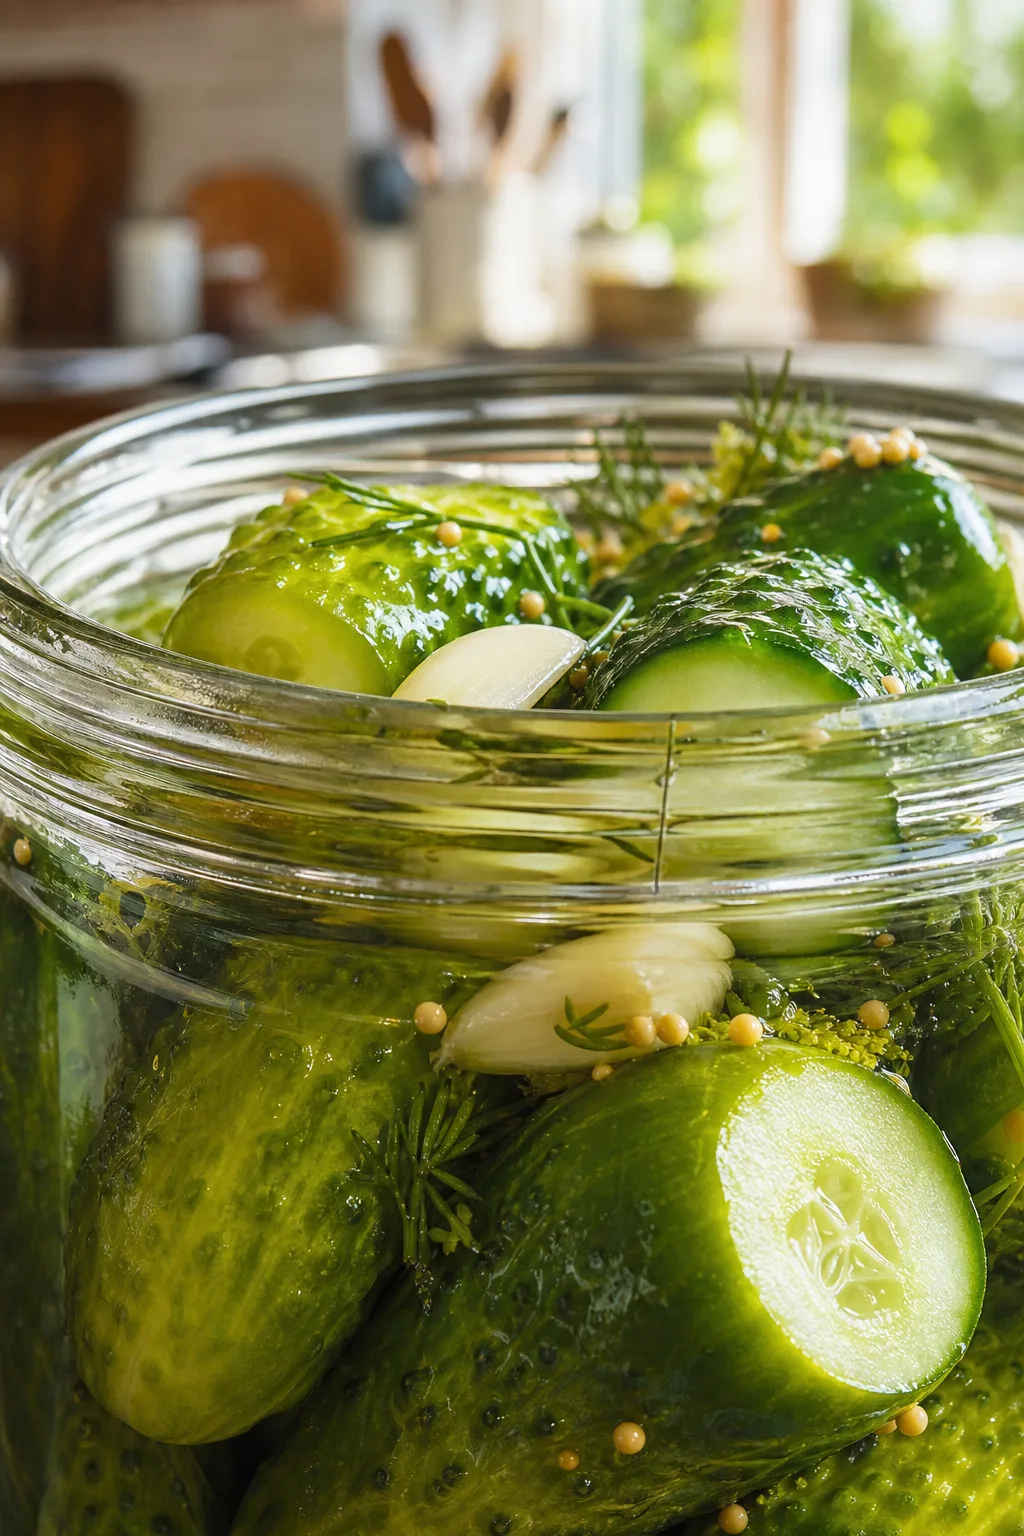
These dill pickles are delightfully crunchy with a tangy kick from fresh garlic and dill. The brine is simple but packs a punch, making them perfect for snacking or adding a zing to your sandwiches.
Introduction
I first made these dill pickles last summer when I had a surplus of fresh cucumbers from my garden. I’d tried a few recipes before, but they often came out soggy or lacking that bright, tangy punch I craved. What makes this version stand out is the simple brine balanced with fresh garlic and a generous bunch of dill, which creates that classic snap and flavor. I also learned that using kosher salt instead of table salt really helps keep the cucumbers crunchy. The trick I discovered was to slice the cucumbers into spears rather than rounds, which means more surface area for the brine to work its magic, plus they’re easier to snack on. When you open the jar, you’ll get that fresh, garlicky aroma that just invites you to take a bite. These pickles are perfect for summer barbecues or to jazz up your sandwiches any time of year. I love how quick they come together and how rewarding it feels to make something so simple but so delicious at home.
What You'll Need
Approximately 6 cups, 4 servings
- 4 cups fresh cucumbers, sliced into spears
- 2 cups water
- 1 cup white vinegar
- 2 tablespoons kosher salt
- 4 cloves garlic, peeled and smashed
- 1 bunch fresh dill
- 1 tablespoon sugar
- 1 teaspoon black peppercorns
How To Do It
Step 1
Start by thoroughly washing the cucumbers to remove any dirt or residue. Then, slice them into spears about 3-4 inches long. This shape helps the brine penetrate evenly and keeps the pickles crisp. Avoid slicing too thin, or they might get mushy. Place the sliced cucumbers into a clean glass jar or a non-reactive container, packing them snugly but without crushing. This initial prep is key for getting that perfect crunch later.
⏱ Time: 10 minutes
✓ Doneness: Cucumbers are evenly sliced and packed tightly without bruising
Step 2
In a medium saucepan, combine water, white vinegar, kosher salt, and sugar. Heat gently while stirring until the salt and sugar dissolve completely. It’s important not to boil the brine, as this can alter the flavor. Once dissolved, remove from heat and let the brine cool to room temperature. A properly balanced brine is essential for the tangy flavor and pickling process to work correctly.
⏱ Time: 10 minutes
✓ Doneness: Salt and sugar fully dissolved, brine is warm but not boiling
Step 3
Place the smashed garlic cloves, fresh dill, and black peppercorns into the jar with the cucumbers. These aromatics infuse the pickles with their signature flavor. Be generous with the dill; the fronds and stems both add complexity. If you skip this step, your pickles won’t have that classic dill character.
⏱ Time: 5 minutes
✓ Doneness: Aromatics evenly distributed among cucumber spears
Step 4
Pour the cooled brine over the cucumbers and aromatics, making sure they’re fully submerged. If needed, use a small weight or a clean stone to keep cucumbers under the liquid to prevent mold. Air exposure will ruin the pickles. Seal the jar tightly with a lid to keep the environment anaerobic.
⏱ Time: 5 minutes
✓ Doneness: Cucumbers fully covered by brine with no floating pieces
Step 5
Let the jar sit at room temperature for about 24 hours to kickstart fermentation. This resting phase allows flavors to meld and the pickles to develop that tangy bite. Keep the jar away from direct sunlight and check daily to ensure cucumbers remain submerged. Skipping this resting period results in a less flavorful pickle.
⏱ Time: 24 hours
✓ Doneness: Brine bubbles slightly and pickles smell fresh and tangy
Step 6
After the initial fermentation, move the jar to the refrigerator to slow down the process and preserve the crunch. Chill for at least 3 days before tasting. The longer they sit, the more pronounced the flavor, but be careful not to leave them too long or they might soften. This cold phase is crucial for texture and flavor balance.
⏱ Time: 3 days
✓ Doneness: Pickles firm to the bite with a balanced tangy flavor
Step 7
When ready to serve, remove pickles from the brine with clean utensils to avoid contamination. Serve chilled as a snack, side, or sandwich topper. If they seem too salty or sour, rinse briefly under cold water and pat dry. This step can help adjust the intensity without sacrificing crunch.
⏱ Time: 5 minutes
✓ Doneness: Pickles are crisp and flavorful, not overly salty
Step 8
Once opened, keep the jar refrigerated and use within 2-3 weeks for the best taste and texture. Always use clean utensils to prevent spoilage. If you notice any off smells or mold, discard immediately. Proper storage extends shelf life and keeps your pickles delicious.
⏱ Time: Ongoing
✓ Doneness: Pickles maintain crispness and fresh aroma during storage
Step 9
Experiment with adding spices like mustard seeds or red pepper flakes in future batches for a different twist. Just remember that adding too many spices can overpower the fresh dill and garlic flavors that make these pickles special. Keep notes so you can replicate your favorite version!
⏱ Time: Optional
✓ Doneness: Balanced flavor with added spice complexity
Variations
Spicy Dill Pickles
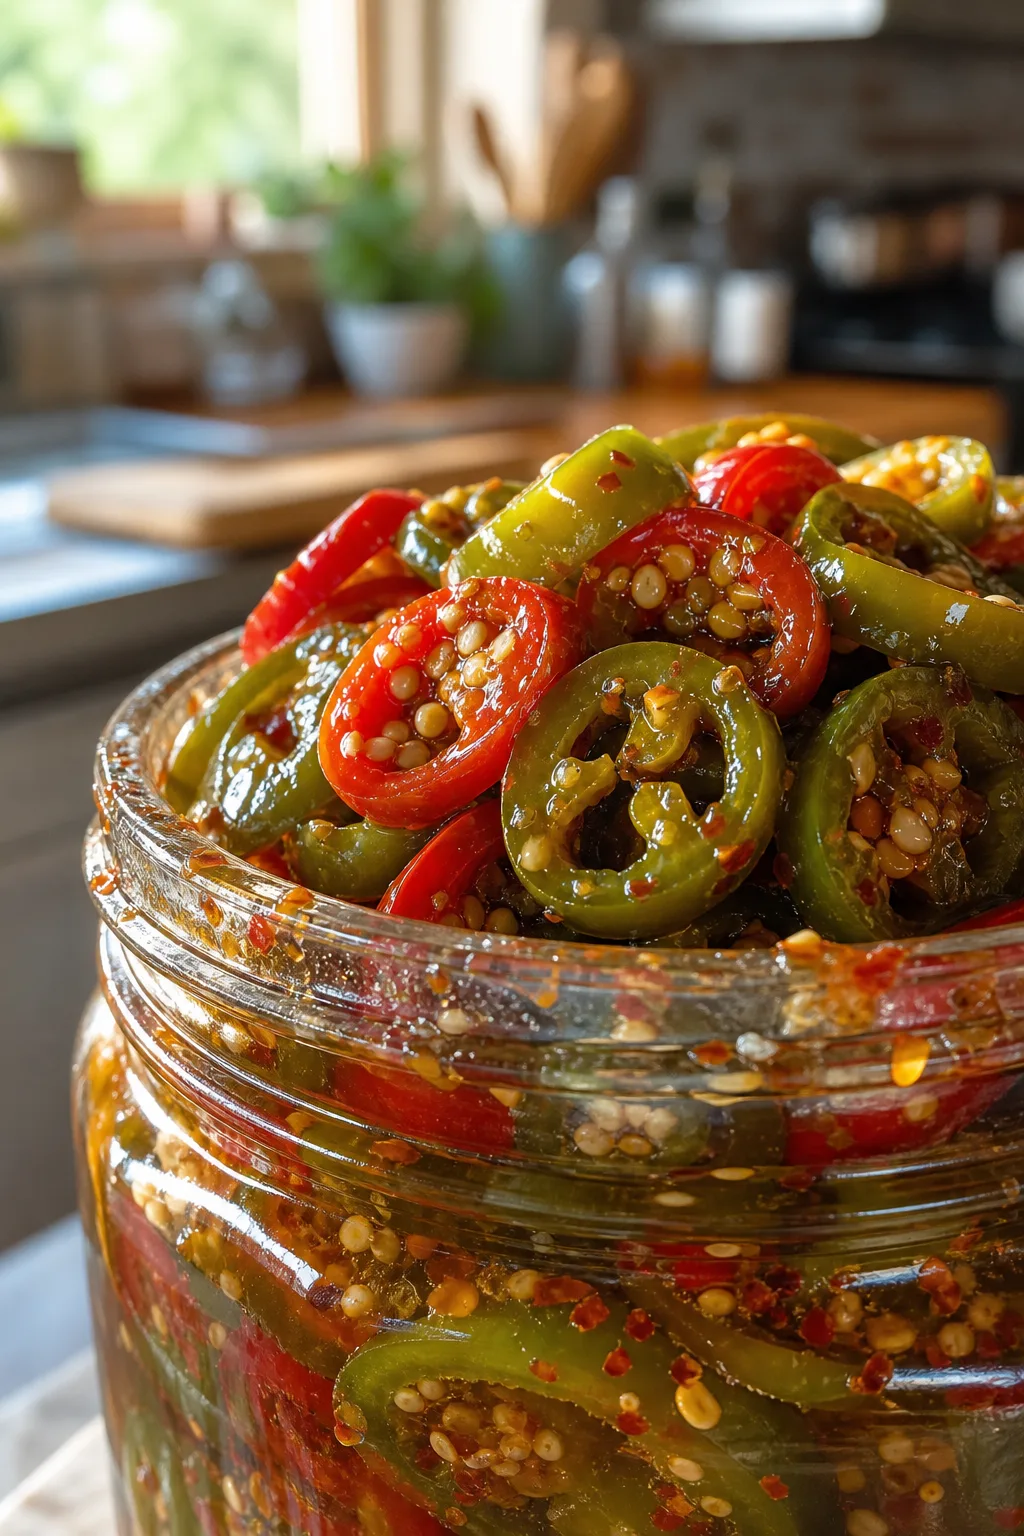
Add 1 teaspoon of red pepper flakes or a sliced jalapeño to the jar before pouring the brine. This gives the pickles a nice spicy kick without overpowering the classic dill and garlic flavors. Expect a slightly warmer, more vibrant taste that pairs well with grilled foods.
Note: Spices can speed up fermentation slightly; watch for bubbling and adjust refrigeration timing to maintain crunch.
Bread and Butter Pickles
Add 1/4 cup sugar to the brine and use sliced cucumbers rounds instead of spears. This variation is sweeter and tangier, perfect for those who like a balance of sweet and sour. It’s a great sandwich topping and snack.
Note: Sugar increases osmotic pressure; monitor texture to avoid softening by shortening fermentation time.
Garlic and Herb Pickles
In addition to dill and garlic, add fresh thyme and rosemary sprigs for an herbal twist. These pickles have a more complex aroma and pair beautifully with cheese plates or charcuterie.
Note: Herbs add essential oils; use fresh and avoid dried to prevent bitterness.
Quick Refrigerator Pickles
Skip the fermentation step and refrigerate immediately after adding brine. These pickles will be less tangy but still crisp and flavorful. Perfect when you want pickles ready in under 24 hours.
Note: Without fermentation, acidity comes only from vinegar; flavor will be milder and less complex.
Dill Pickles with Mustard Seeds
Add 1 tablespoon mustard seeds to the brine for a subtle nutty flavor and crunchy texture. This variation adds a nice depth and pairs well with burgers and sandwiches.
Note: Mustard seeds can release oils that enhance flavor; toast lightly beforehand for extra aroma.
Pro Tips
Use a glass jar for pickling instead of metal containers.
Glass is non-reactive and won’t interact with the acidic brine, ensuring your pickles retain their pure flavor. Metal can react with vinegar, causing off-flavors and discoloration.
Keep cucumbers fully submerged under the brine with a weight.
Exposure to air leads to mold and spoilage. Using a weight maintains an anaerobic environment, essential for safe fermentation and crisp texture.
Don’t rush the cooling of the brine before pouring over cucumbers.
Adding hot brine can soften cucumbers prematurely, resulting in soggy pickles. Cooling preserves crunch and prevents cooking the cucumbers.
Use fresh garlic and dill rather than dried or powdered versions.
Fresh ingredients release essential oils that provide vibrant, complex flavors. Dried forms lack this intensity and can give a flat taste.
Slice cucumbers into spears instead of rounds for better texture.
Spears have more surface area for brine absorption and retain crunch better, making them easier to snack on.
Store pickles in the refrigerator after initial fermentation.
Cold slows fermentation, preserving the ideal flavor and crispness while preventing over-fermentation or softening.
Avoid using iodized table salt in your brine.
Iodine can cause discoloration and interfere with fermentation, negatively affecting flavor and appearance.
Common Mistakes to Avoid
Using cucumbers that are too ripe or soft
Why it happens People often use whatever cucumbers they have without considering texture, assuming all cucumbers will pickle well.
Fix Select firm, fresh cucumbers with tight skin. Pickling or Kirby cucumbers are ideal. If only softer ones are available, slice thicker to help maintain crunch.
Not fully submerging cucumbers under the brine
Why it happens Sometimes jars are overfilled or no weight is used, leading to floating pieces exposed to air.
Fix Use a clean weight or small glass to keep cucumbers submerged. This prevents mold and spoilage, keeping pickles fresh.
Pouring hot brine directly over cucumbers
Why it happens Rushing the process to speed things up, cooks might skip cooling the brine.
Fix Always cool the brine to room temperature before adding. This protects cucumber texture and avoids softening.
Using iodized or table salt instead of kosher salt
Why it happens People use whatever salt is on hand without knowing the implications.
Fix Buy and use kosher salt for pickling. It dissolves properly and doesn’t contain additives that affect brine clarity or taste.
Skipping the initial room temperature fermentation step
Why it happens Impatience or misunderstanding of fermentation leads to immediate refrigeration.
Fix Allow pickles to ferment at room temp for 24 hours to develop flavor. Then refrigerate to slow fermentation and preserve crunch.
Nutrition
Per Serving:
Nutritional values are estimates and may vary based on specific ingredients used.
Storage & Tips
Room Temperature
Pickles can safely sit at room temperature during the initial 24-hour fermentation phase if kept sealed and submerged. Avoid direct sunlight and ensure the jar is in a cool, dark place. Do not store pickles at room temperature after fermentation to prevent spoilage.
Refrigerator
Store pickles in an airtight container in the fridge for up to 3 weeks. Flavor and crunch are best within the first week. Over time, pickles may soften slightly but remain delicious. Serve chilled or at room temperature as preferred.
Freezer
Freezing pickles is not recommended as it breaks down the cucumber’s cellular structure, resulting in a mushy texture upon thawing. It’s best to enjoy them fresh or refrigerated.
Reheating
Pickles are served cold or at room temperature and do not require reheating. Avoid heating as it destroys their crisp texture and fresh flavor.
Make Ahead
Prepare the brine and cucumbers up to 1 day ahead. Store cucumbers sliced and submerged in plain water in the fridge to maintain crunch. Assemble the pickles with brine and aromatics on the day of pickling and begin fermentation fresh for best results.
FAQ
Can I use regular table salt instead of kosher salt?
Regular table salt contains additives like iodine that can affect the flavor and clarity of your pickles, sometimes causing cloudiness or off tastes. Kosher salt is pure and dissolves evenly, making it the better choice for pickling. If you must use table salt, reduce the quantity slightly and expect a less crisp texture.
How long do homemade dill pickles last in the fridge?
When stored properly in an airtight container, homemade dill pickles can last up to 3 weeks in the refrigerator. The flavor remains fresh and the crunch usually holds well during this time. Always check for any signs of mold or off smells before consuming.
Why are my pickles not crunchy?
Soft pickles often result from using cucumbers that are too ripe or from pouring hot brine directly over the cucumbers. Also, skipping the room temperature fermentation or using iodized salt can contribute. Make sure to use fresh, firm cucumbers, cool brine, and kosher salt for best crunch.
Can I make these pickles without garlic?
Yes, you can omit garlic if you prefer a milder flavor. The pickles will still be tangy and crunchy, but garlic adds a distinctive aromatic punch that many love. Consider substituting with other spices like mustard seeds or dill seed to keep flavor complexity.
Do I need to ferment the pickles at room temperature?
The room temperature fermentation jumpstarts the lactic acid bacteria growth, giving your pickles that classic tang and depth of flavor. Skipping this step means you’ll have quick refrigerator pickles that are less tangy but still tasty. It depends on your timeline and flavor preference.
What’s the best way to keep cucumbers submerged in the brine?
Use a clean glass weight, a small jar filled with water, or a fermentation weight to keep cucumbers below the brine surface. This prevents mold growth and spoilage by ensuring an anaerobic environment essential for fermentation.
Can I add other vegetables to this pickle recipe?
Absolutely! Carrots, green beans, or cauliflower can be added to the jar with cucumbers for variety. Just ensure all vegetables are clean and cut similarly for even pickling. Adjust fermentation time as needed based on vegetable density.
How do I know when the pickles are ready to eat?
After 24 hours at room temperature and 3 days refrigerated, your pickles should have a firm texture and a tangy flavor. Taste a spear to check if the acidity and crunch meet your preference. If not, let them ferment longer in the fridge but watch for softening.
Final Thoughts
I hope you give these crunchy dill pickles a try — they’re such a rewarding treat to make at home! Don’t forget to share how yours turn out; I’d love to hear your tweaks and stories.