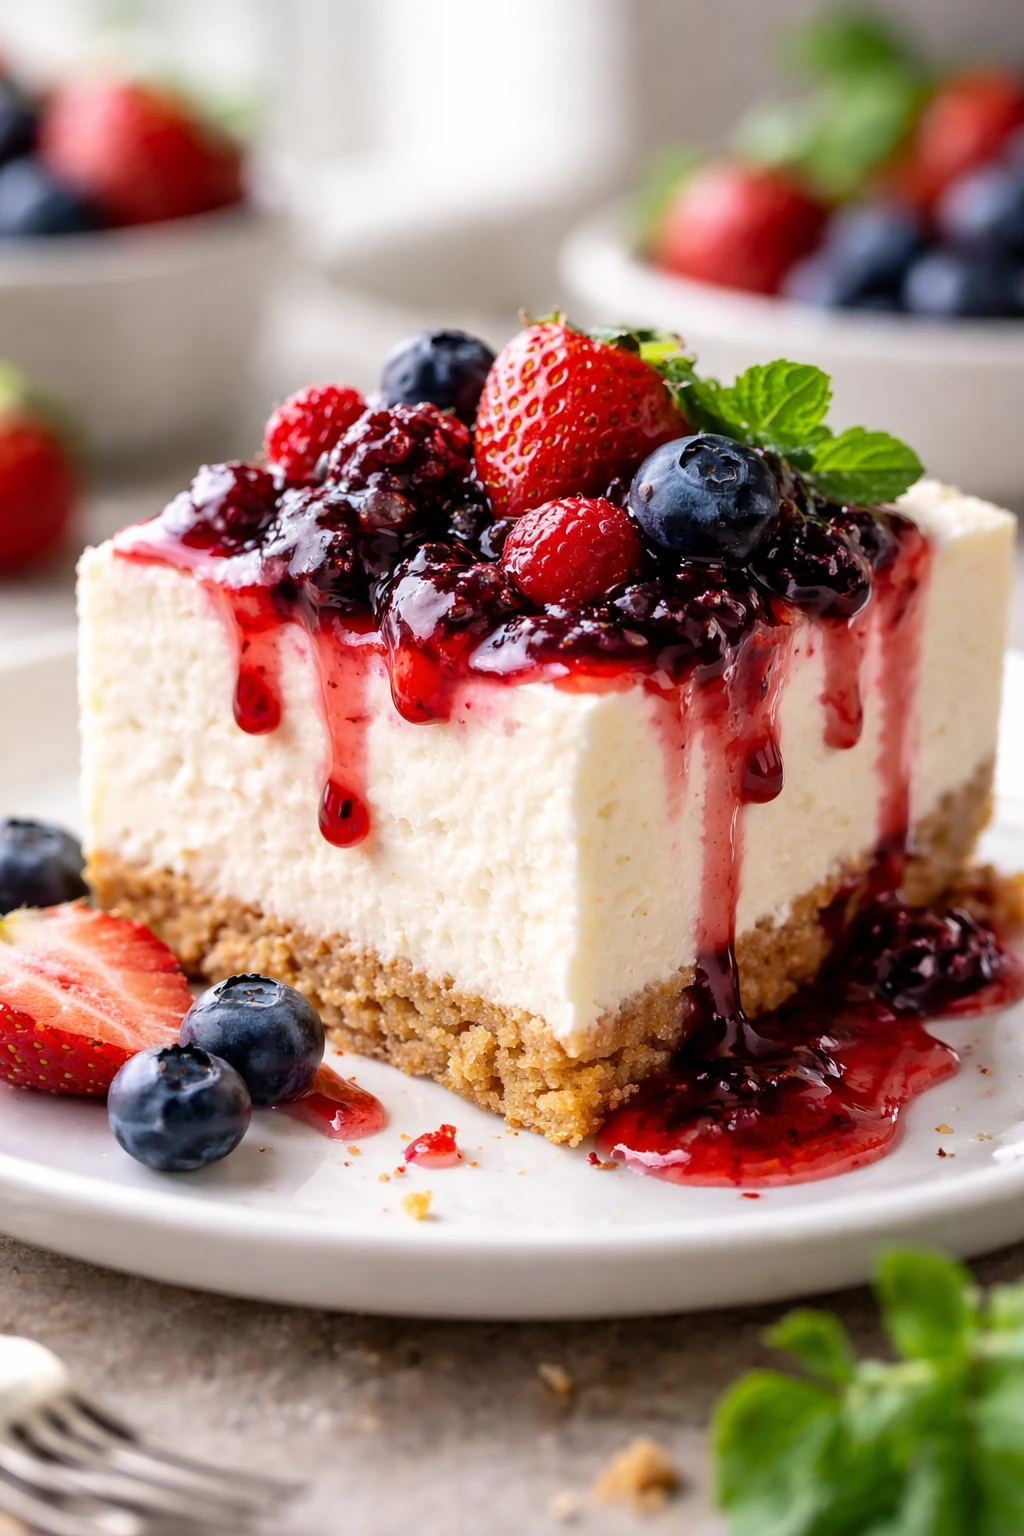
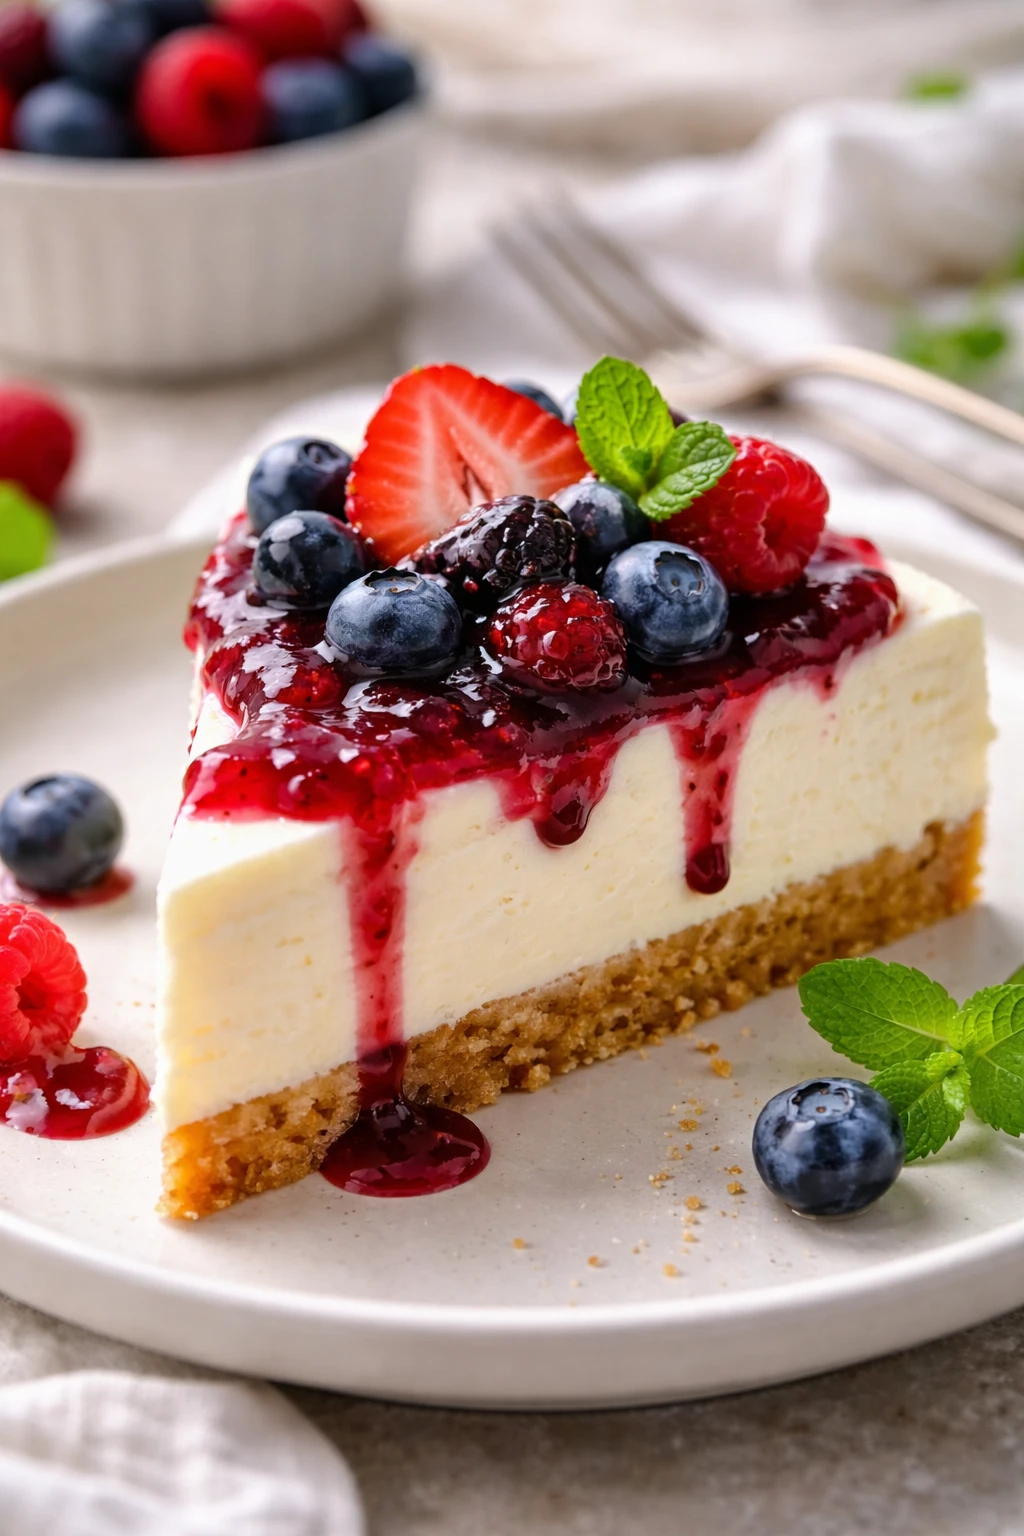
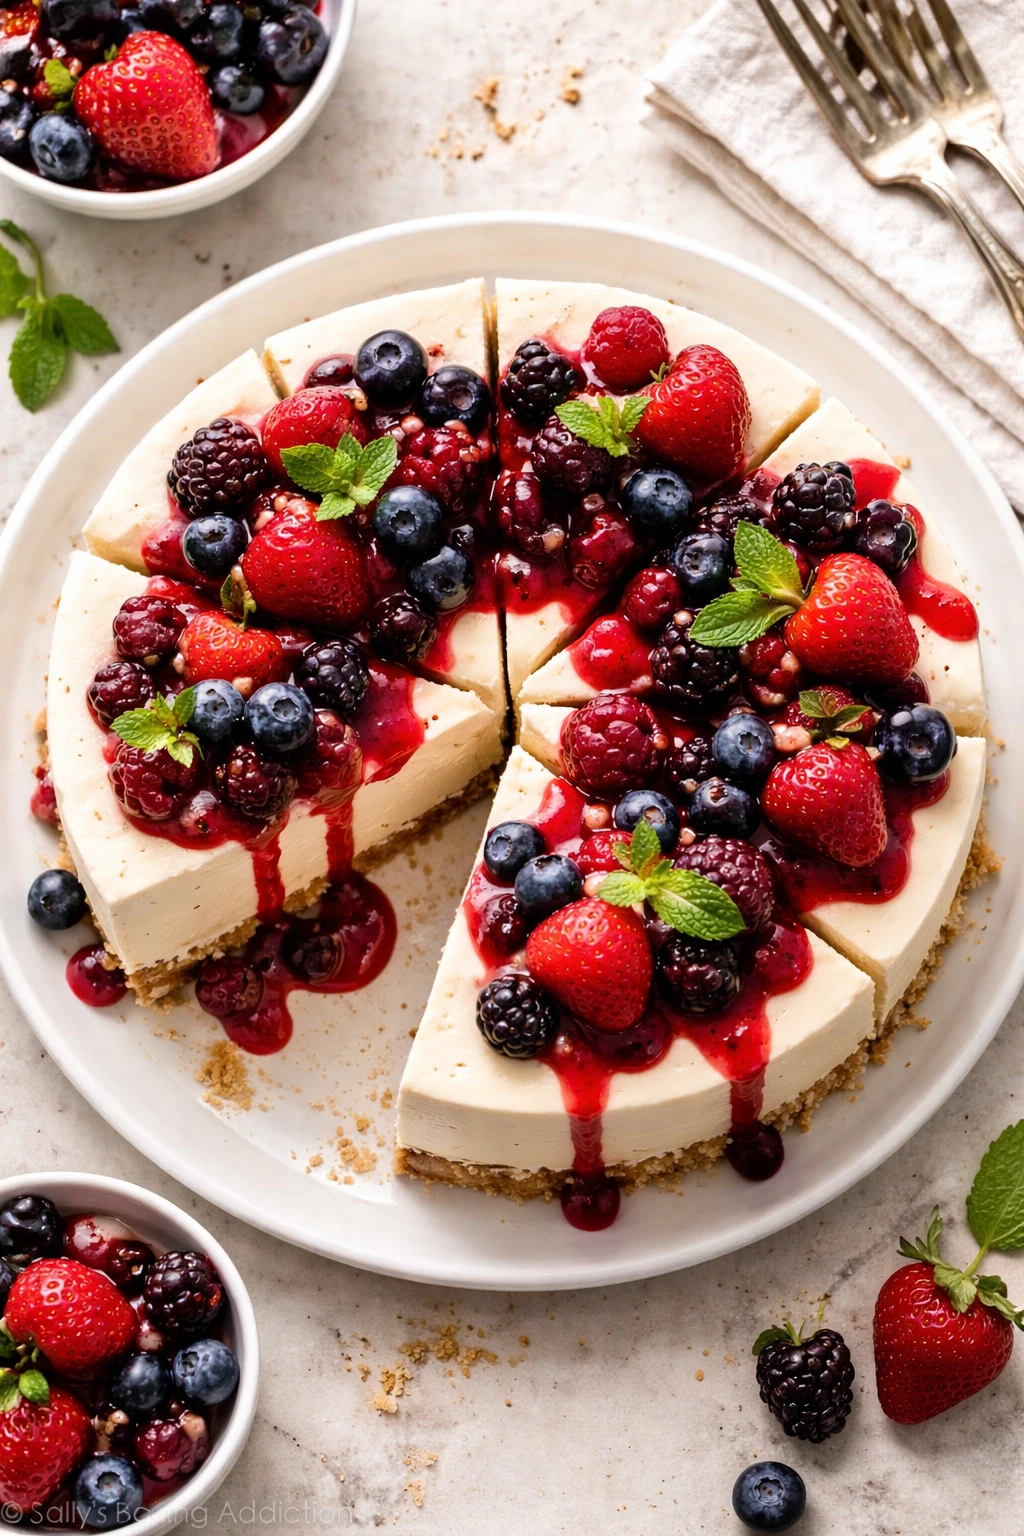
This no-bake cheesecake is smooth and creamy, with a tangy mixed berry sauce that brightens every bite. It’s a cool, refreshing dessert perfect for hot days when you want something sweet without heating up the kitchen.
Introduction
I first stumbled upon this no-bake cheesecake recipe during a scorching summer when turning on the oven felt unbearable. I was craving something creamy and sweet but didn’t want to heat up my entire kitchen. After a few trial runs and tweaking the berry sauce, this version became my absolute favorite. What sets it apart? The berry sauce is a fresh blend of tart and sweet, simmered just enough to thicken but still bursting with vibrant flavor. Plus, the cheesecake filling is ultra-smooth thanks to whipping the heavy cream separately before folding it in, which gives it a light yet rich texture. I’ve tried other no-bake cheesecakes that can feel heavy or too dense, but this one strikes that perfect balance. The crust is buttery and crisp without being soggy, and the berry topping adds a fresh zing that keeps each bite exciting. It’s the kind of dessert that feels indulgent but isn’t overwhelming, making it perfect for summer dinners, casual get-togethers, or whenever you want a fuss-free treat. I love how simple it is yet looks so elegant on the table, and I always get compliments when I bring it along.
What You'll Need
One 9-inch cheesecake, approximately 8 servings
- 2 cups graham cracker crumbs, finely crushed
- 1/2 cup unsalted butter, melted
- 16 oz (450 g) cream cheese, softened
- 1 cup powdered sugar
- 1 tsp vanilla extract
- 1 1/2 cups heavy cream, cold
- 2 cups mixed berries (blueberries, raspberries, strawberries)
- 1/4 cup granulated sugar
- 1 tbsp lemon juice
How To Do It
Step 1
Start by mixing the graham cracker crumbs with the melted butter until the mixture is evenly combined and looks like wet sand. This step is crucial because the butter binds the crumbs together, creating a crust that holds its shape without crumbling apart. Press the mixture firmly into the bottom of a 9-inch springform pan or pie dish using the back of a spoon or a flat-bottomed glass. Make sure to pack it tightly and evenly, especially around the edges, to avoid a crumbly crust later. Refrigerate the crust while you prepare the filling to let it set properly.
⏱ Time: 10 minutes
✓ Doneness: Crust feels firm and compact when pressed gently
Step 2
In a large bowl, beat the softened cream cheese with powdered sugar and vanilla extract until smooth and creamy. It’s important that the cream cheese is at room temperature to avoid lumps and achieve a silky texture. Scrape down the sides of the bowl frequently to ensure everything is evenly mixed. If you rush this step or use cold cream cheese, you’ll end up with a grainy filling that won’t be as pleasant.
⏱ Time: 5 minutes
✓ Doneness: Mixture is smooth, glossy, and lump-free
Step 3
In a separate chilled bowl, whip the cold heavy cream until it forms stiff peaks. This step is what makes the filling light and airy rather than dense. Make sure not to overwhip or it will turn buttery and separate, ruining the texture. Once whipped, gently fold the cream cheese mixture into the whipped cream in two additions, using a spatula and a gentle folding motion to keep as much air in as possible. Folding rather than stirring is key here to maintain that fluffy texture.
⏱ Time: 7 minutes
✓ Doneness: Filling is light, fluffy, and well combined without streaks
Step 4
Pour the filling over the chilled crust and smooth the top with a spatula. Cover the cheesecake with plastic wrap and refrigerate for at least 4 hours, preferably overnight. This chilling step lets the filling set firmly so the cheesecake slices cleanly and holds its shape. Avoid rushing this; if it’s not chilled enough, the filling will be too soft and may collapse when sliced.
⏱ Time: 4 hours or overnight
✓ Doneness: Filling is firm to the touch and slices cleanly
Step 5
While the cheesecake chills, prepare the mixed berry sauce. In a small saucepan, combine the mixed berries, granulated sugar, and lemon juice. Cook over medium heat, stirring occasionally, until the berries break down and the sauce thickens slightly, about 10 minutes. Be careful not to overcook; you want the sauce to be thick but still have some whole berries for texture and freshness.
⏱ Time: 10 minutes
✓ Doneness: Sauce is glossy, slightly thickened, with some whole berries intact
Step 6
Let the berry sauce cool completely before topping the chilled cheesecake. Pour it evenly over the surface, spreading gently with a spoon. The cool sauce helps keep the cheesecake filling firm and adds a beautiful color contrast. If you add the sauce while warm, it might soften the top layer of the cheesecake.
⏱ Time: 10 minutes
✓ Doneness: Sauce is cool and evenly spread without melting the cheesecake
Step 7
Once topped, return the cheesecake to the fridge for at least 30 minutes to let the sauce set slightly. This final chill helps everything meld together so every bite has that perfect balance of creamy filling and tangy berries. It also makes slicing easier without the sauce sliding off.
⏱ Time: 30 minutes
✓ Doneness: Sauce is set but still glossy and fresh
Step 8
When ready to serve, run a knife around the edges of the springform pan to loosen the cheesecake before removing the ring. This prevents cracking or breaking. Use a sharp knife dipped in hot water and wiped dry between slices for clean, pretty pieces. Serve chilled for the best texture and flavor.
⏱ Time: 5 minutes
✓ Doneness: Cheesecake slices cleanly with no crumbs or smudging
Step 9
Store any leftovers covered in the refrigerator. The flavors actually deepen after a day or two, but the crust may soften slightly over time. If you want to refresh the crust’s crispness, serve at room temperature or under a broiler for a minute (remove the berry topping first). Enjoy within 3-4 days for the best experience.
⏱ Time: N/A
✓ Doneness: Cheesecake remains firm and flavorful when stored properly
Variations
Chocolate Swirl No-Bake Cheesecake
Add melted dark chocolate to half of the cream cheese mixture and swirl it into the plain filling before chilling. This creates a pretty marbled effect and adds a rich chocolate flavor that pairs beautifully with the berry sauce.
Note: Be careful not to overmix when swirling to keep the marbled look. Chill as usual.
Lemon Zest Berry Cheesecake
Add 1 tablespoon of fresh lemon zest to the cream cheese mixture for a bright citrus note. The lemon zest enhances the berry sauce’s tang and adds a refreshing twist.
Note: Fold zest in with the cream cheese and sugar before adding whipped cream.
Gluten-Free Almond Crust
Swap the graham cracker crust for a mixture of finely ground almonds and melted butter for a gluten-free option. This crust adds a nutty flavor and slightly chewy texture that complements the creamy filling.
Note: Press the almond crust firmly and chill well to ensure it sets properly.
Tropical No-Bake Cheesecake
Replace mixed berries with diced mango and pineapple. Simmer the fruit with a splash of lime juice and sugar for a tropical sauce that’s sweet and tangy, perfect for summer gatherings.
Note: Tropical fruits release more juice, so cook sauce slightly longer to thicken.
Vegan Cashew No-Bake Cheesecake
Use soaked cashews blended with coconut cream and maple syrup to replace the cream cheese and heavy cream. The crust can be made with vegan cookies and coconut oil. This version is creamy and rich with a subtle coconut flavor.
Note: Chill longer (6-8 hours) for best firmness, and use a high-speed blender for smooth cashew cream.
Pro Tips
Always soften cream cheese before mixing.
Softened cream cheese blends more easily with sugar and vanilla, resulting in a smooth, lump-free filling. If it’s too cold, you risk ending up with a grainy texture, which can ruin the silky mouthfeel that this cheesecake is known for.
Chill your mixing bowl and beaters before whipping cream.
Cold equipment helps heavy cream whip faster and hold stiff peaks longer. This is essential for achieving that light, airy filling. Warm bowls or beaters can cause the cream to remain runny or overwhip into butter.
Press the crust firmly and evenly into the pan.
A tightly packed crust prevents crumbling when slicing and holds the cheesecake together. Uneven or loose crust leads to a messy base that falls apart, detracting from the presentation and eating experience.
Fold the whipped cream gently into the cream cheese mixture.
Folding preserves the air incorporated into the whipped cream, keeping the filling light and fluffy. Stirring vigorously would deflate the mixture, resulting in a dense, heavy cheesecake.
Cook the berry sauce just until thickened but still fresh.
Overcooking the berries can cause the sauce to become too thick and jammy, losing the fresh, vibrant flavor that complements the cheesecake’s creaminess. A quick simmer is enough to release juices and meld flavors.
Chill the assembled cheesecake overnight if possible.
Extended chilling allows the filling to fully set and flavors to meld, making slicing easier and the taste more balanced. Cutting too soon can lead to a runny filling that doesn’t hold shape.
Use a hot knife to slice the cheesecake cleanly.
Dipping the knife in hot water and wiping it dry between cuts prevents sticking and jagged edges, resulting in neat slices that look as good as they taste.
Common Mistakes to Avoid
Using cold cream cheese straight from the fridge
Why it happens Many home cooks forget to plan ahead or underestimate how long it takes to soften cream cheese, leading them to mix it cold.
Fix Always let cream cheese sit at room temperature for at least 30 minutes before mixing. If you’re in a hurry, microwave in 10-second bursts, stirring gently until smooth but not melted.
Overwhipping the heavy cream
Why it happens It’s easy to keep whipping past stiff peaks, especially if you’re new to whipping cream.
Fix Stop whipping as soon as stiff peaks form—when the cream holds its shape but still looks smooth. If you overwhip, it will turn grainy and buttery, ruining the filling’s texture.
Not pressing the crust firmly
Why it happens Sometimes people just sprinkle crumbs loosely without packing them down, thinking it’s enough.
Fix Use the back of a spoon or flat-bottomed glass to press the crust down tightly and evenly. This helps it set well and hold together when sliced.
Adding warm berry sauce on top of the cheesecake
Why it happens Impatience or lack of planning can cause the sauce to be poured hot, which softens the filling.
Fix Always cool the berry sauce completely before topping the cheesecake to keep the filling firm and maintain texture contrast.
Cutting the cheesecake too soon
Why it happens Excitement to eat the dessert often leads to slicing before it’s fully set.
Fix Chill the cheesecake for at least 4 hours, or ideally overnight, before slicing. This ensures the filling is firm and slices neatly.
Nutrition
Per Serving:
Nutritional values are estimates and may vary based on specific ingredients used.
Storage & Tips
Room Temperature
The cheesecake can safely stay at room temperature for up to 2 hours if covered, but it’s best kept chilled to maintain texture and food safety.
Refrigerator
Store in an airtight container or covered tightly with plastic wrap for up to 4 days. The crust may soften slightly over time, but the flavors will deepen. Serve chilled for best texture.
Freezer
Freeze the cheesecake (without the berry sauce) for up to 2 months. Wrap tightly in plastic wrap and then foil to prevent freezer burn. Thaw overnight in the fridge before serving. Add fresh berry sauce after thawing.
Reheating
No reheating needed. Serve chilled directly from the fridge. If crust feels too soft, let cheesecake sit at room temperature for 15 minutes before slicing.
Make Ahead
Prepare the crust and filling up to 2 days ahead. Assemble and chill overnight to set. Prepare the berry sauce on the day of serving for the freshest flavor and best texture.
FAQ
Can I use low-fat cream cheese for this recipe?
I don’t recommend low-fat cream cheese because it has more water and less fat, which can make the filling watery and less creamy. Full-fat cream cheese gives the best texture and flavor for that rich, silky cheesecake.
What can I substitute for graham cracker crumbs?
You can use digestive biscuits, vanilla wafers, or even crushed pretzels for a salty twist. Just make sure to finely crush them and mix well with melted butter so the crust holds together.
How long does the cheesecake need to chill?
At least 4 hours to set properly, but overnight chilling is ideal. This ensures the filling firms up and slices cleanly without being too soft or runny.
Can I make the berry sauce ahead of time?
Yes, you can make the berry sauce a day or two ahead. Store it in an airtight container in the fridge and bring it to room temperature before serving. Just stir well if it thickens too much.
Why is my cheesecake filling grainy?
Graininess usually happens if the cream cheese wasn’t softened enough or if the sugar didn’t dissolve fully. Make sure to beat the cream cheese well and use powdered sugar for a smooth texture.
Can I use frozen berries for the sauce?
Absolutely! Just thaw and drain excess juice before cooking the sauce to avoid it becoming too watery. Frozen berries work well and are often more affordable out of season.
How do I prevent the crust from getting soggy?
Chilling the crust before adding the filling helps it set and stay crunchy longer. Also, press the crust firmly so it binds well, and don’t pour warm filling or sauce directly on it.
Can I double this recipe for a larger crowd?
Yes, just double all ingredients and use a larger pan or two 9-inch pans. Keep chilling times the same, but make sure the filling is spread evenly so it sets properly.
Final Thoughts
Give this no-bake cheesecake a try—you’ll love how easy and delicious it is! Don’t forget to share your berry-topped creations with friends and family.