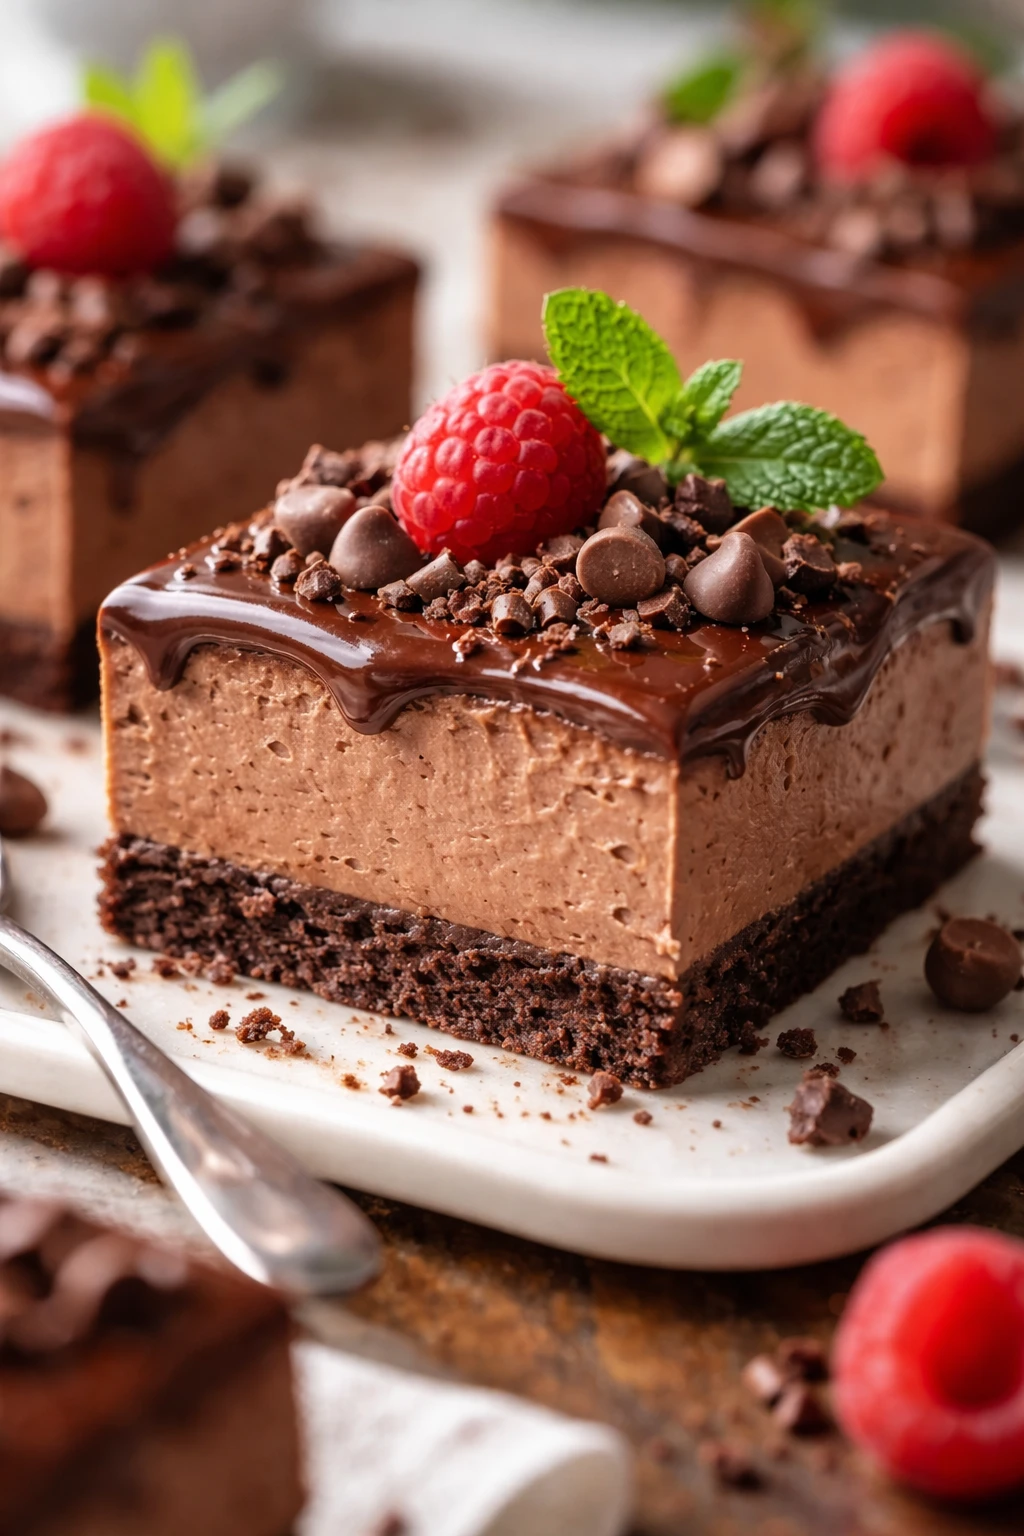
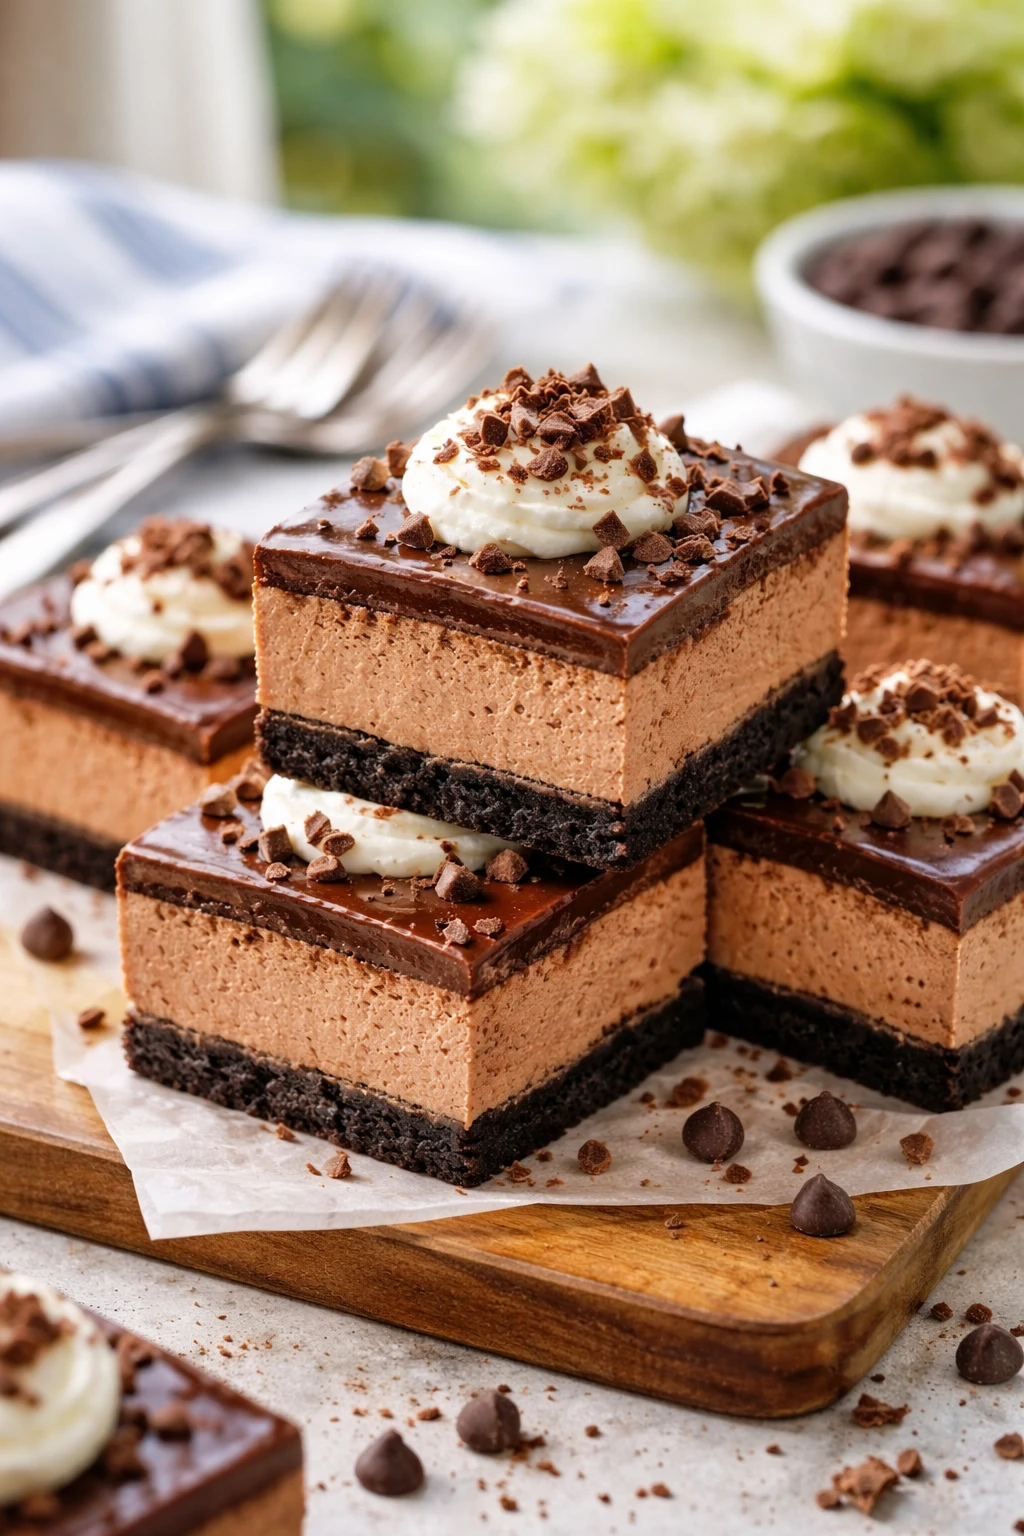
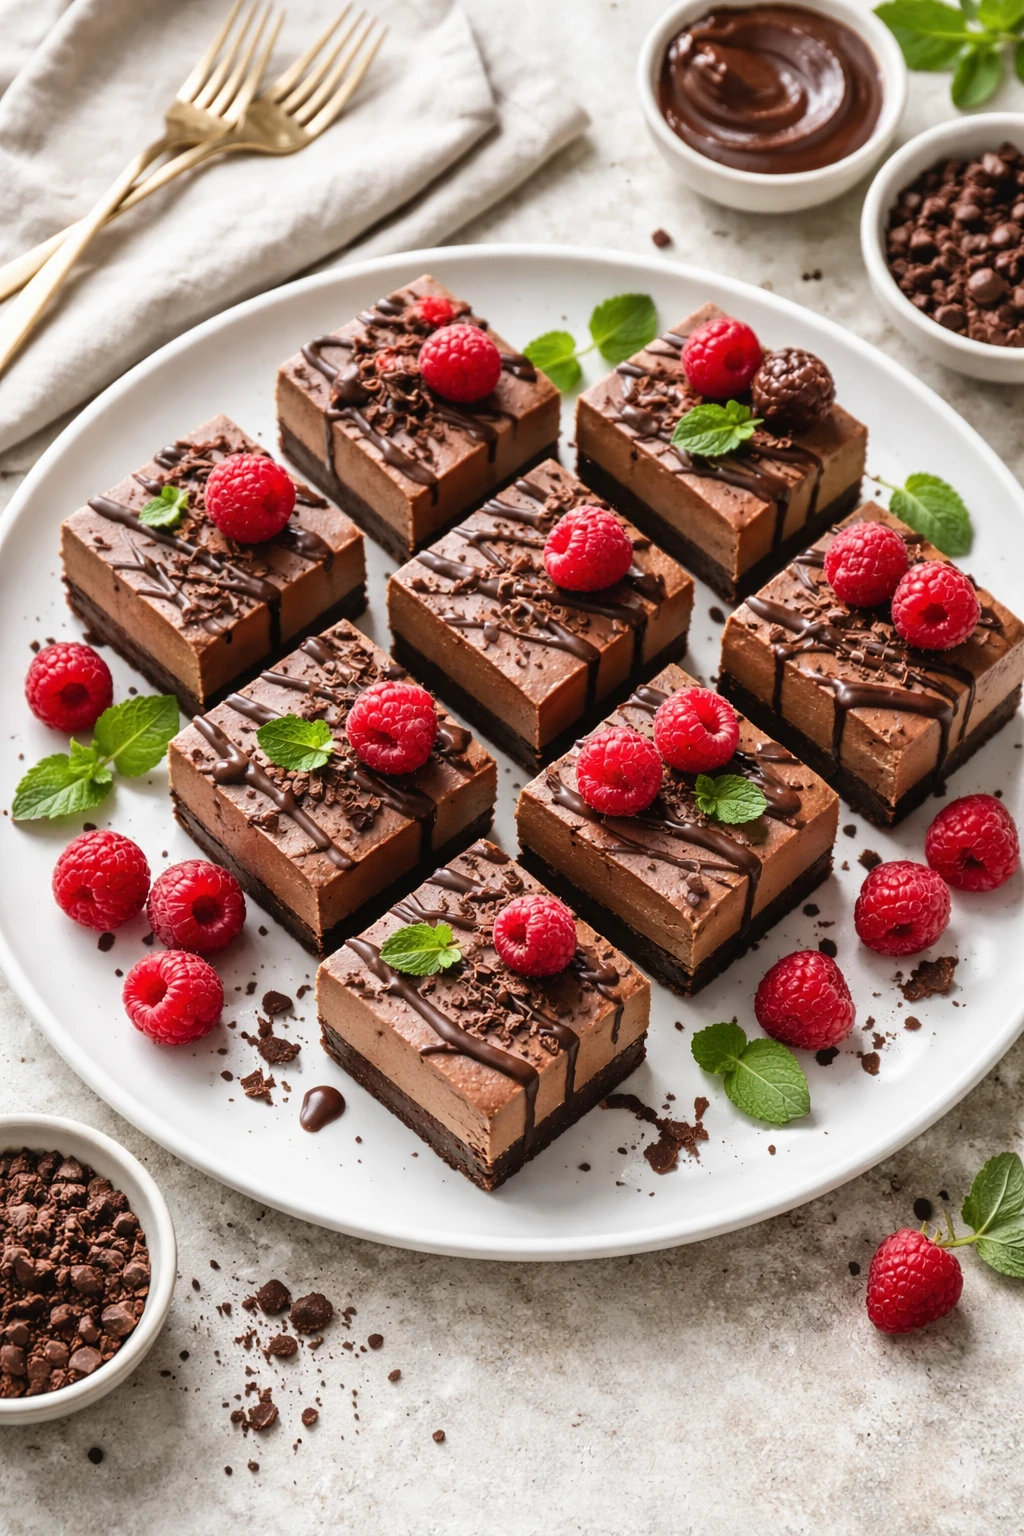
These no-bake cheesecake bars are creamy, chocolatey, and so easy to make. The melted chocolate folded into the cream cheese filling is my secret to rich flavor. Ideal for warm days when you want dessert without the oven on!
Introduction
I first made these no-bake chocolate cheesecake bars on a sweltering summer afternoon when the last thing I wanted was to turn on the oven. I’ve always loved cheesecake, but the baking and chilling time can be a hassle. Discovering this recipe was a game changer — it’s creamy, rich, and only takes about 15 minutes to prep. What sets this version apart is the technique of folding melted chocolate into the cream cheese filling, which creates a silky texture that’s just heavenly. Plus, whipping the cold heavy cream separately and folding it in gives the bars a light, mousse-like feel without sacrificing richness. I remember the first time I served these at a picnic — they disappeared so fast, everyone asked for the recipe! The crust is buttery and crumbly, perfectly balancing the luscious filling. These bars look elegant but are so simple to make, and they hold up well even on hot days. If you’re craving a chocolatey cheesecake without the fuss, this one’s for you!
What You'll Need
9 bars, approximately 3x3 inch pieces
- 1 1/2 cups graham cracker crumbs, finely crushed
- 6 tablespoons unsalted butter, melted
- 1/4 cup granulated sugar
- 16 ounces cream cheese, softened
- 1 cup powdered sugar
- 1 teaspoon vanilla extract
- 8 ounces semisweet chocolate, melted and slightly cooled
- 1 cup heavy cream, cold
How To Do It
Step 1
Start by making the crust: combine the graham cracker crumbs, melted butter, and granulated sugar in a bowl. Mix until the crumbs are evenly coated with butter, which helps the crust hold together firmly. Press this mixture firmly into an 8x8-inch pan lined with parchment paper. Use the bottom of a glass or measuring cup to compact the crust tightly — this prevents it from crumbling when you cut the bars later. Avoid pressing too lightly, or the crust might fall apart. Once pressed, set the pan in the fridge to chill while you prepare the filling.
⏱ Time: 10 minutes
✓ Doneness: Crust is firmly packed and even, with no loose crumbs
Step 2
In a large bowl, beat the softened cream cheese with powdered sugar and vanilla extract until smooth and creamy. This step is crucial to avoid lumps and to create a silky filling. Use room temperature cream cheese for the best results—cold cream cheese can result in a grainy texture. Once smooth, slowly fold in the melted chocolate, which should be slightly cooled so it doesn’t melt the cream cheese but still blends smoothly. The chocolate adds depth and richness, making the filling irresistibly decadent.
⏱ Time: 8 minutes
✓ Doneness: Filling is smooth, chocolate fully incorporated, no streaks
Step 3
In a separate chilled bowl, whip the cold heavy cream until stiff peaks form. This means when you lift the whisk, the cream holds its shape firmly without collapsing. Whipping cream separately and folding it in gently is what lightens the dense cream cheese mixture into a fluffy mousse-like filling. Be careful not to overwhip or it will turn grainy, and underwhipping will make the filling too dense.
⏱ Time: 5 minutes
✓ Doneness: Whipped cream forms stiff peaks, glossy and stable
Step 4
Gently fold the whipped cream into the cream cheese and chocolate mixture in batches. Use a spatula and fold carefully to keep the air in the whipped cream. This folding technique is key to maintaining the light texture of the filling. Rushing this step or stirring vigorously will deflate the mixture and result in a heavier, denser cheesecake bar.
⏱ Time: 5 minutes
✓ Doneness: Filling is light, airy, and homogenous without streaks
Step 5
Pour the filling over the chilled crust and smooth the top with a spatula. Try to create an even layer so the bars cut nicely and look attractive. Tap the pan gently on the counter to release any air bubbles trapped in the filling. This helps prevent holes and uneven texture in the final bars.
⏱ Time: 5 minutes
✓ Doneness: Filling surface is smooth and even
Step 6
Cover the pan tightly with plastic wrap and refrigerate for at least 4 hours, preferably overnight. This chilling step allows the filling to set firmly, making the bars easy to cut and enhancing the flavor melding. Don’t rush this step—cutting too soon will cause the bars to be too soft and messy.
⏱ Time: 4+ hours
✓ Doneness: Filling is firm to the touch and holds shape when sliced
Step 7
When ready to serve, remove the bars from the pan using the parchment paper edges. Use a sharp knife dipped in hot water and wiped dry to cut clean slices. Wiping the knife between cuts prevents sticking and messy edges. Serve chilled for the best texture and flavor.
⏱ Time: 10 minutes
✓ Doneness: Bars cut cleanly with smooth edges
Step 8
For an extra touch, you can drizzle melted chocolate or sprinkle some cocoa powder on top before serving. This adds a beautiful finish and intensifies the chocolate flavor. Just be sure to do this shortly before serving so toppings don’t melt or get soggy.
⏱ Time: Optional 5 minutes
✓ Doneness: Toppings look fresh and well-distributed
Step 9
Store leftover bars covered in the refrigerator. They’ll keep well for up to 4 days. Before serving again, let them sit a few minutes at room temperature so the texture softens slightly for the best eating experience.
⏱ Time: N/A
✓ Doneness: Bars remain firm but not too hard after chilling
Variations
Peanut Butter Swirl No-Bake Cheesecake Bars
Add 1/2 cup creamy peanut butter melted and swirled into the filling before chilling. This adds a salty-sweet twist and beautiful marbled effect. The texture stays creamy with a nutty flavor that pairs perfectly with chocolate.
Note: Swirl gently to avoid deflating the mixture. Peanut butter may slightly firm the filling, so chill a bit longer if needed.
Raspberry Chocolate No-Bake Cheesecake Bars
Fold in 1/2 cup fresh raspberries or swirl raspberry jam into the filling for a fruity contrast. The tartness brightens the rich chocolate and adds a lovely color pop. Perfect for summer dessert menus.
Note: If using fresh berries, fold carefully to avoid breaking them down too much. Jam swirled in before chilling creates pretty ribbons.
Mint Chocolate No-Bake Cheesecake Bars
Add 1/2 teaspoon peppermint extract to the filling and top with crushed peppermint candies for a refreshing holiday-inspired version. The mint complements the chocolate beautifully and adds a festive touch.
Note: Start with a small amount of extract and adjust to taste, as peppermint can be overpowering.
Salted Caramel No-Bake Cheesecake Bars
Drizzle salted caramel sauce over the top before chilling and sprinkle flaky sea salt for a decadent, sweet-salty flavor combo. This variation adds complexity and a gourmet finish without extra effort.
Note: Use store-bought or homemade caramel sauce at room temperature. Avoid adding too much salt to keep balance.
Vegan No-Bake Chocolate Cheesecake Bars
Substitute cream cheese with vegan cream cheese and use coconut cream whipped to stiff peaks instead of heavy cream. Use dairy-free chocolate to keep it fully vegan. Texture is similar, rich and creamy, but dairy-free.
Note: Chill longer to help the vegan filling set firmly, as plant-based creams can be softer.
Pro Tips
Always use room temperature cream cheese for a smooth filling.
Cold cream cheese doesn’t blend well and can cause lumps or a grainy texture. Softening it to room temperature allows it to whip smoothly with the sugar and chocolate, creating a creamy, luxurious filling.
Fold whipped cream gently into the cream cheese mixture.
Folding preserves the air bubbles in the whipped cream, keeping the filling light and airy. Stirring too vigorously will deflate the cream and make the bars dense and heavy, losing that mousse-like texture.
Chill the bars overnight before slicing.
Chilling allows the fats to solidify and the filling to set firmly. Cutting too soon will cause the bars to be soft and messy. A firm, cold filling slices cleanly and holds its shape perfectly.
Press the crust firmly into the pan.
A tightly packed crust means it won’t crumble when cutting or serving. Using the bottom of a glass to press evenly ensures a sturdy base that supports the creamy topping without falling apart.
Use a sharp knife dipped in hot water for cutting.
Wiping the knife between cuts prevents sticking and messy edges. The hot water slightly warms the blade, allowing for cleaner slices and a prettier presentation.
Melt chocolate gently over a double boiler or low heat.
High heat can burn chocolate, causing it to seize or become grainy. Gentle melting ensures smooth, glossy chocolate that blends well into the filling and enhances flavor.
Cover the bars tightly when chilling.
This prevents the bars from absorbing fridge odors and stops the filling from drying out or forming a crust on top, keeping them smooth and fresh.
Common Mistakes to Avoid
Using cold cream cheese without softening.
Why it happens People often rush and mix cream cheese straight from the fridge, thinking it saves time.
Fix Allow cream cheese to come to room temperature before mixing. If short on time, cut into small cubes and microwave for 10-15 seconds, then beat until smooth. This prevents lumps and graininess.
Overwhipping the heavy cream.
Why it happens Inexperienced cooks may whip cream too long, trying to get stiff peaks but ending up with butter.
Fix Watch the cream closely and stop whipping as soon as stiff peaks form—lifting the whisk should show firm peaks that hold shape. Overwhipped cream turns grainy and separates.
Not pressing the crust firmly enough.
Why it happens Sometimes people just sprinkle crumbs loosely or press unevenly.
Fix Use the bottom of a glass or measuring cup to press the crust evenly and tightly. This prevents crumbling and ensures a sturdy base for the filling.
Folding filling too roughly.
Why it happens In a hurry, some mix the whipped cream aggressively, deflating it.
Fix Use a gentle folding motion with a spatula, turning the bowl and lifting the mixture carefully to keep air bubbles intact for a light texture.
Cutting bars too soon before chilling.
Why it happens Impatience leads to slicing before the filling sets, making a mess.
Fix Chill the bars at least 4 hours or overnight to allow the filling to firm up. This makes cutting easier and cleaner.
Nutrition
Per Serving:
Nutritional values are estimates and may vary based on specific ingredients used.
Storage & Tips
Room Temperature
These bars can be kept at room temperature for up to 2 hours if covered. Beyond that, the filling may soften too much and lose shape, so refrigeration is recommended for longer storage.
Refrigerator
Store in an airtight container in the fridge for up to 4 days. The texture firms up nicely when cold, but you can let bars sit 10 minutes at room temperature before serving to soften slightly for the best mouthfeel.
Freezer
Freeze bars wrapped tightly in plastic wrap and foil for up to 2 months. Thaw overnight in the fridge before serving to maintain texture. Avoid thawing at room temperature as filling can become too soft.
Reheating
No reheating needed since this is a chilled dessert. Serve directly from fridge or after brief room temp rest. Avoid microwaving to prevent melting and texture loss.
Make Ahead
Make the crust and filling up to 1 day ahead. Assemble and chill overnight for best flavor and texture. This makes serving effortless when guests arrive.
FAQ
Can I use low-fat cream cheese or whipped topping instead of heavy cream?
Low-fat cream cheese lacks the fat needed for a creamy texture and can result in a grainy filling. Whipped topping doesn’t whip as firmly and can make the filling less stable. For best results, use full-fat cream cheese and heavy cream to achieve that rich, smooth texture.
How do I prevent the crust from becoming soggy?
Pressing the crust firmly and chilling it before adding the filling creates a solid barrier. Also, avoid letting the bars sit at room temperature for too long, as moisture can soften the crust. If you want extra protection, you can brush the crust with a thin layer of melted chocolate and chill before adding filling.
Can I make these bars gluten-free?
Absolutely! Use gluten-free graham cracker crumbs or substitute with gluten-free cookies like almond or oat-based options. Be sure to check all ingredients like chocolate for gluten-free certification to avoid cross-contamination.
What’s the best way to store leftover bars?
Store leftovers in an airtight container in the refrigerator for up to 4 days. Keep them covered to prevent drying out or absorbing fridge odors. Let them warm slightly at room temperature before serving for the best texture.
Can I add other flavors or mix-ins to the filling?
Yes! You can gently fold in things like chopped nuts, berries, or swirl in caramel or peanut butter. Just be careful not to overmix and deflate the whipped cream, which keeps the filling light and airy.
Why is my filling grainy or not smooth?
This usually happens if the cream cheese wasn’t softened enough or if the chocolate was too hot when added. Always use room temperature cream cheese and let melted chocolate cool slightly before folding in. Beat the cream cheese mixture thoroughly to ensure smoothness.
Can I use a different type of chocolate?
Yes, you can use bittersweet, dark, or milk chocolate depending on your preference. Keep in mind that sweeter chocolates will make the filling sweeter, so adjust powdered sugar accordingly. White chocolate isn’t recommended as it behaves differently and can affect texture.
How do I get clean slices when cutting the bars?
Use a sharp knife dipped in hot water and wiped dry between cuts. This warms the blade slightly and prevents sticking or tearing, giving you clean, beautiful slices every time.
Final Thoughts
I hope you give these no-bake chocolate cheesecake bars a try—they’re truly one of my favorite easy desserts. Let me know how yours turn out and enjoy every creamy, chocolatey bite!