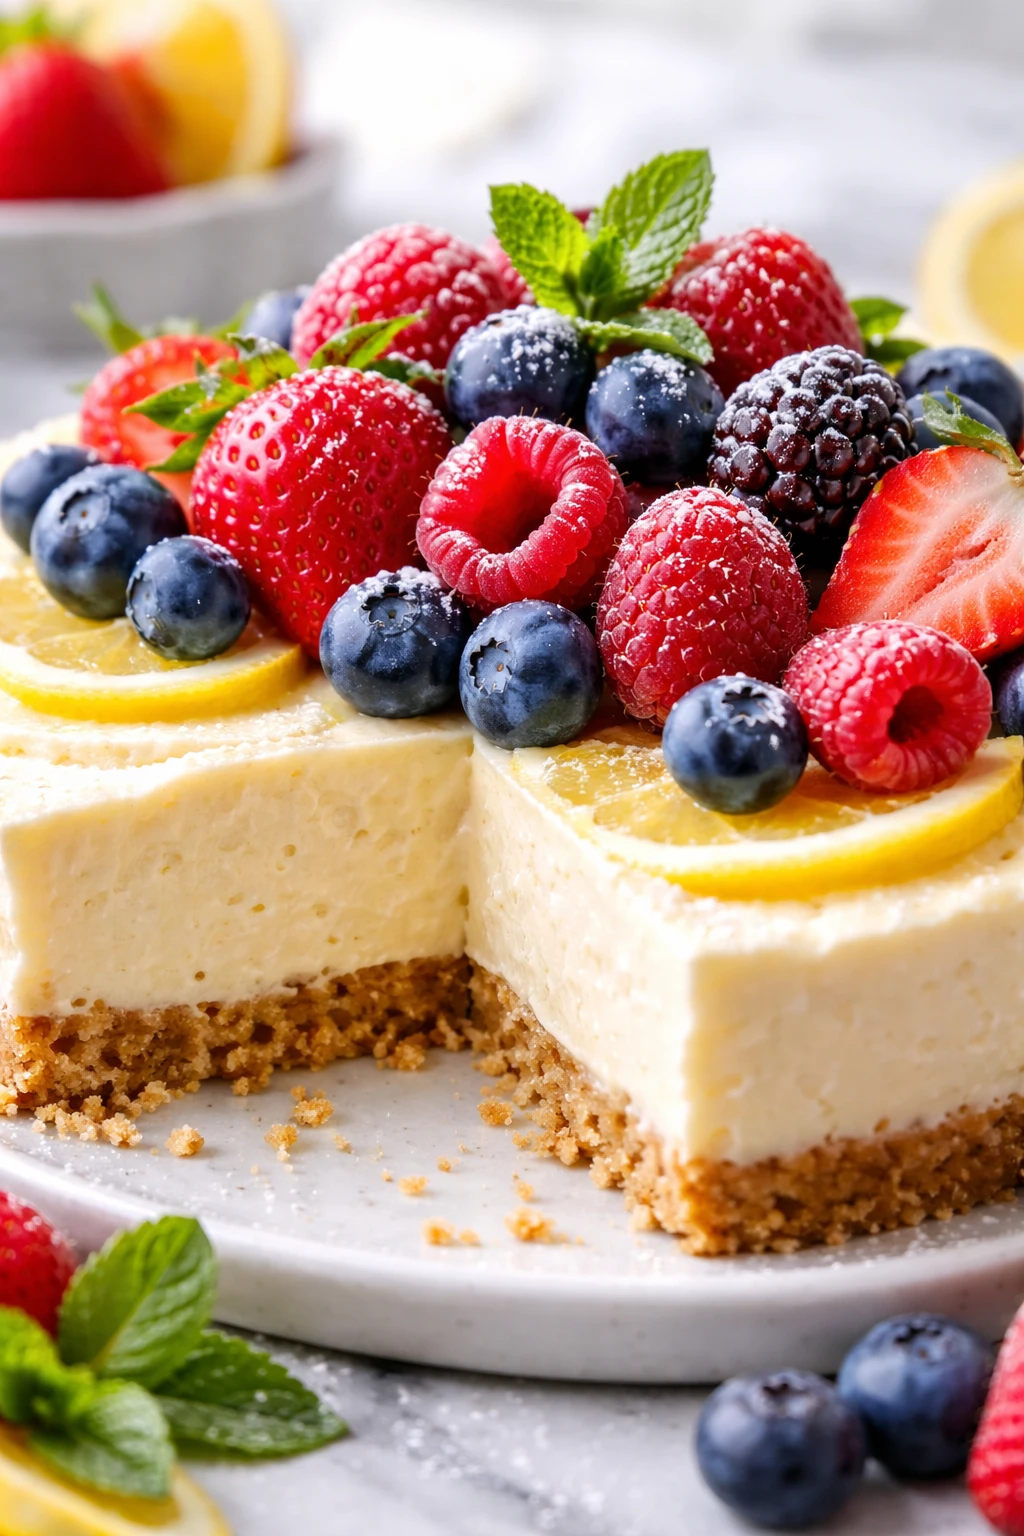
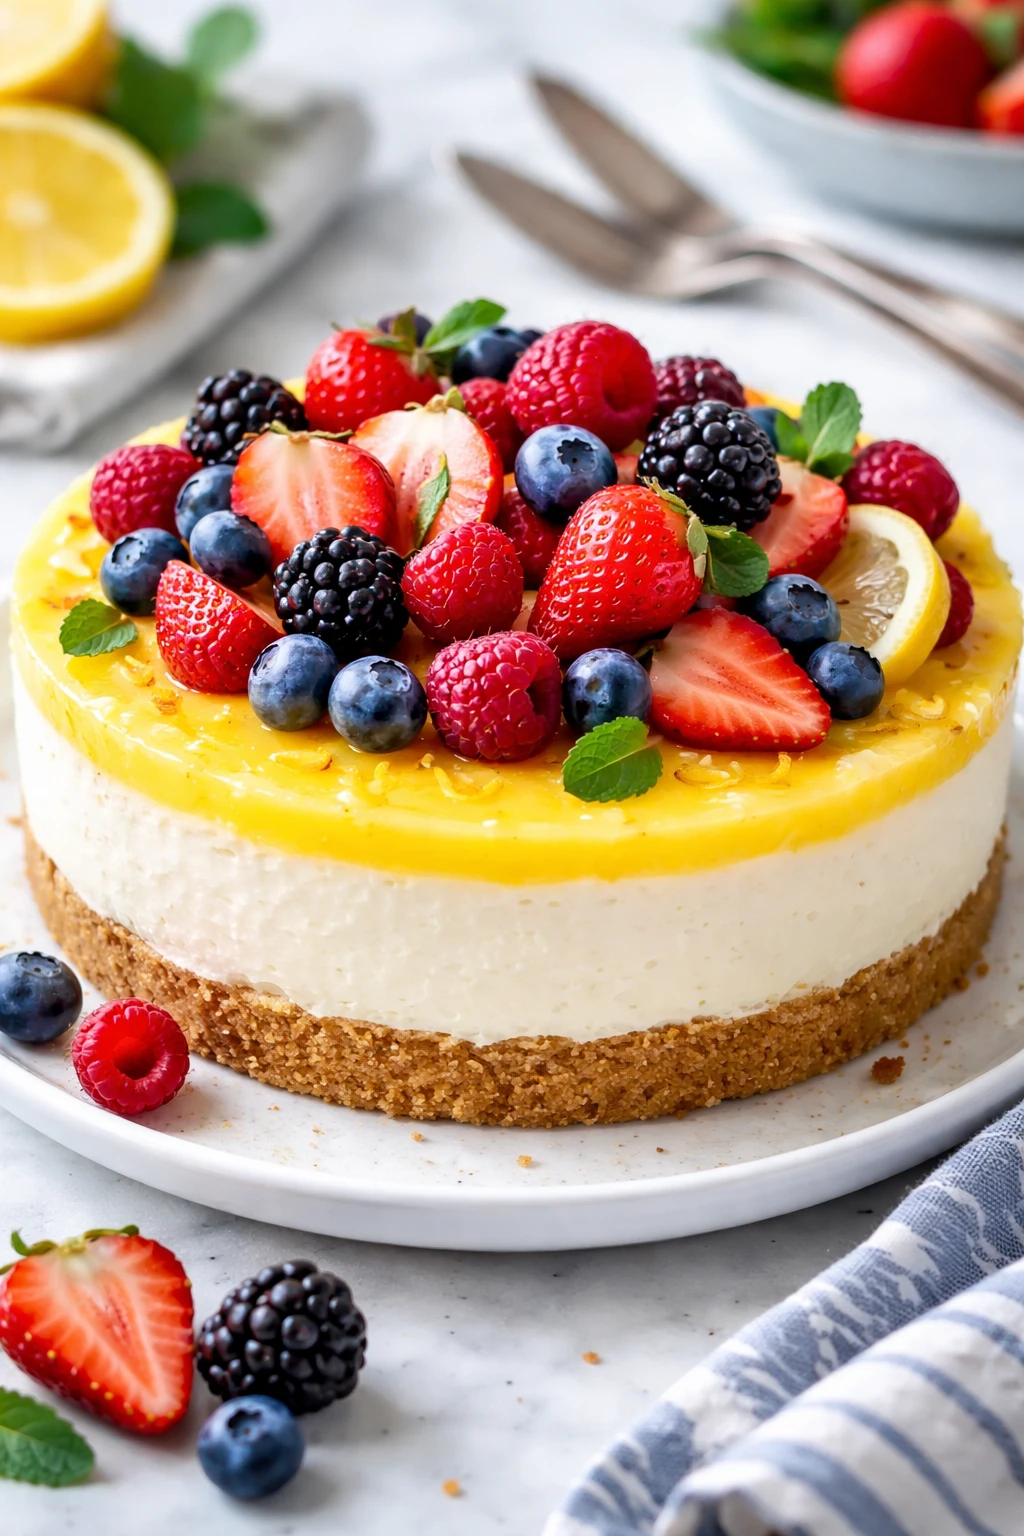
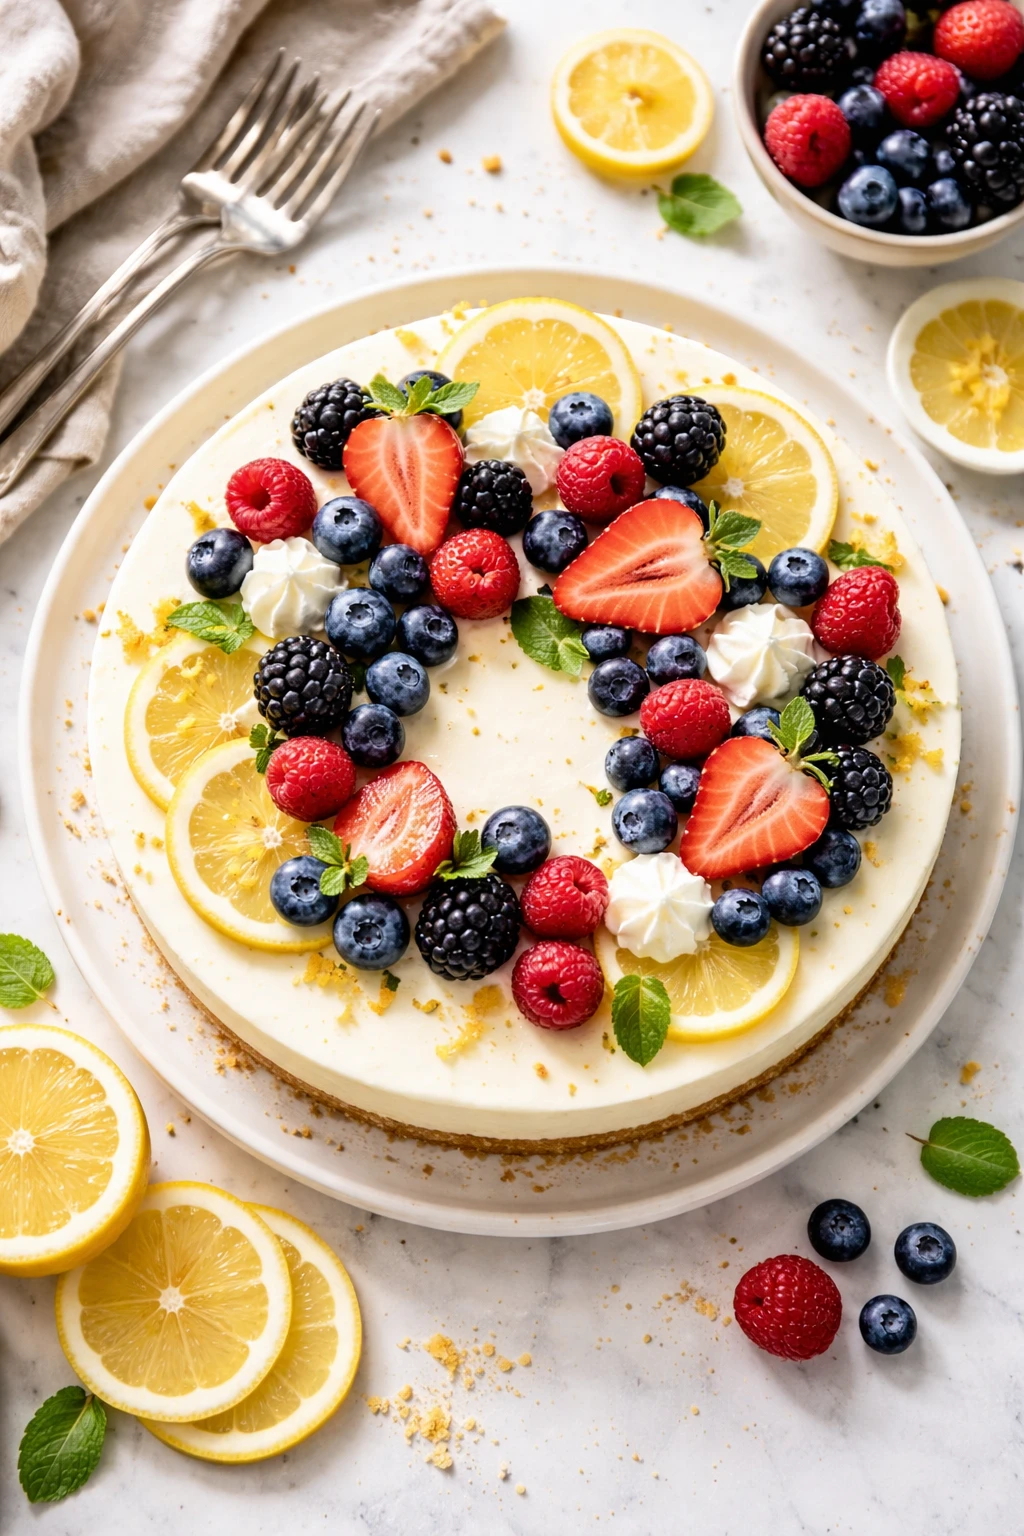
This no bake lemon cheesecake is creamy with a bright zing from fresh lemon juice, topped with colorful berries that add a natural sweetness. It’s a perfect cool treat for warm days or casual gatherings.
Introduction
I first stumbled upon this no bake lemon cheesecake recipe one summer when I was craving something sweet but didn’t want to turn on the oven in the heat. It quickly became a favorite in my family because it’s so creamy and fresh with that perfect zing of lemon. What makes this version stand out is using fresh lemon juice and zest, which gives it a bright, natural flavor that canned lemon just can’t match. Plus, whipping the cream separately and folding it in keeps the texture light and airy, avoiding that dense feel some cheesecakes get. The crust is buttery and crisp, but since it’s no bake, it’s super easy to pull together without fuss. When it’s all set, the cheesecake has a smooth, velvety texture that melts in your mouth, balanced by the tartness of the lemon and the sweet burst from fresh berries on top. Honestly, I’ve tried a few no bake cheesecakes before that ended up too runny or bland, but this one hits the sweet spot every time. It’s perfect for warm days or casual get-togethers when you want a dessert that feels special but doesn’t require hours of work. I hope you love it as much as I do!
How To Do It
Step 1
Start by making the crust. Combine the graham cracker crumbs with the melted butter in a mixing bowl. Stir until the crumbs are evenly coated with butter, which helps them stick together when pressed. Press the mixture firmly into the bottom of a 9-inch springform pan or a pie dish, making sure it is evenly distributed and compacted. This step is key because a well-packed crust prevents it from falling apart when you slice the cheesecake later. Avoid pressing too hard or the crust will become too dense and hard to cut. Chill the crust in the fridge while you prepare the filling to help it set.
⏱ Time: 10
✓ Doneness: Crust feels firm to the touch and holds together when pressed.
Step 2
In a large bowl, beat the softened cream cheese until smooth and creamy. Gradually add the powdered sugar and continue beating until fully incorporated and silky. The cream cheese needs to be room temperature for a smooth mixture without lumps. Next, add the fresh lemon juice, lemon zest, and vanilla extract. Mix until just combined; overmixing here can cause the filling to become runny later. The fresh lemon juice adds brightness and a slight tang that balances the richness of the cream cheese perfectly.
⏱ Time: 8
✓ Doneness: Filling is smooth with no lumps and has a glossy, thick texture.
Step 3
In a separate chilled bowl, whip the heavy cream with granulated sugar until stiff peaks form. This means when you lift the whisk, the peaks hold their shape without falling over. The cold cream whips better and creates a fluffy texture that lightens the cheesecake filling. Be careful not to overwhip, or the cream will start to turn buttery and grainy. Once whipped, gently fold the cream into the cream cheese mixture using a spatula. Fold slowly and carefully to keep the airiness intact, which results in a light, mousse-like filling.
⏱ Time: 7
✓ Doneness: Whipped cream is fluffy and holds shape; filling is airy and well combined.
Step 4
Pour the filling over the chilled crust and smooth the top with an offset spatula or the back of a spoon. Cover the cheesecake with plastic wrap and refrigerate for at least 4 hours, preferably overnight. This chilling step is crucial because it allows the filling to set and develop its creamy, firm texture. If you try to slice it too soon, the cheesecake will be too soft and may fall apart. Patience here pays off with perfect slices and a luscious mouthfeel.
⏱ Time: 240
✓ Doneness: Filling is firm to the touch and holds shape when sliced.
Step 5
Before serving, gently wash and dry the fresh berries. Arrange them on top of the cheesecake for a beautiful, colorful finish. The berries add a natural sweetness and a juicy contrast to the creamy lemon filling. You can use any combination you like—strawberries, blueberries, raspberries, or blackberries work wonderfully. This fresh fruit topping not only looks stunning but also adds a lovely textural contrast.
⏱ Time: 10
✓ Doneness: Berries look vibrant and fresh without moisture pooling.
Step 6
When slicing the cheesecake, use a sharp knife dipped in hot water and wiped dry before each cut. This technique helps create clean slices without dragging or tearing the creamy filling. Warm the knife between cuts for best results. It’s a small trick that makes serving much easier and keeps your cheesecake looking picture-perfect.
⏱ Time: 5
✓ Doneness: Slices come out smooth and clean without crumbling.
Step 7
If you want to add a little extra zing, sprinkle a tiny bit of lemon zest on top of the berries just before serving. It enhances the lemon flavor and gives a fresh aroma that’s so inviting. Just be careful not to overdo it, as too much zest can be bitter. A light dusting is perfect to brighten the presentation and flavor.
⏱ Time: 3
✓ Doneness: Zest evenly distributed with a fresh citrus scent.
Step 8
For an extra smooth texture, you can strain the lemon juice before adding it to the cream cheese mixture to remove any pulp or seeds. This step is optional but helps achieve that ultra-smooth, silky mouthfeel that makes this cheesecake so special.
⏱ Time: 5
✓ Doneness: Lemon juice is clear and pulp-free.
Step 9
If you like a firmer crust, you can bake the graham cracker crust for 8 minutes at 350°F before adding the filling. This step adds a slight crunch and deeper flavor but is not necessary for the no bake version. Just let it cool completely before adding the filling to avoid melting the cream cheese mixture.
⏱ Time: 8
✓ Doneness: Crust is golden brown and fragrant.
Variations
Blueberry Swirl No Bake Cheesecake
Fold in a blueberry compote swirl into the filling before chilling for a pretty marbled effect and an extra fruity punch. The blueberries add natural sweetness and a lovely color contrast.
Note: Be gentle when swirling to avoid deflating the whipped cream. Chill immediately after swirling to keep the pattern.
Ginger Graham Cracker Crust
Add ground ginger and cinnamon to the graham cracker crumbs for a warm, spicy twist on the crust. It pairs beautifully with the lemon filling and adds complexity.
Note: Mix spices evenly into crumbs before adding melted butter to ensure consistent flavor.
Vegan No Bake Lemon Cheesecake
Use vegan cream cheese and coconut cream whipped until fluffy. Substitute graham crackers with gluten-free vegan cookies. The lemon flavor remains bright and refreshing.
Note: Chill longer to firm up the filling as vegan creams can be softer than dairy versions.
Lemon Raspberry Cheesecake Bars
Spread the filling in a square pan and chill, then cut into bars. Top each bar with fresh raspberries and a drizzle of melted white chocolate for a fancy presentation.
Note: Use parchment paper lining for easy removal and neat bars.
Lavender Infused Lemon Cheesecake
Steep dried culinary lavender in warm lemon juice before adding it to the filling for a subtle floral note. It adds an elegant twist and pairs well with the berries on top.
Note: Strain lavender well to avoid gritty texture and overpowering flavor.
Pro Tips
Always soften cream cheese to room temperature before mixing.
Softened cream cheese blends more smoothly with other ingredients, preventing lumps and ensuring a velvety filling. If it’s too cold, you’ll get clumps that don’t fully incorporate, which affects the texture and appearance of your cheesecake.
Chill your mixing bowl and beaters before whipping cream.
Cold equipment helps the cream whip faster and hold its structure better. Warm bowls cause the fat to soften prematurely, resulting in a runnier whipped cream that won’t maintain stiff peaks needed for a light filling.
Use an offset spatula to smooth the cheesecake filling evenly.
An offset spatula helps spread the filling without disturbing the crust, creating a clean, even surface. This makes your cheesecake look professional and ensures even chilling and setting throughout.
Press the crust firmly and evenly into the pan.
A well-packed crust prevents crumbling when slicing and provides a solid base for the filling. Uneven or loose crust can fall apart, making serving messy and less enjoyable.
Refrigerate the cheesecake for at least 4 hours, preferably overnight.
Chilling allows the filling to firm up as the gelatin-like structure forms, making slicing easier and improving texture. Rushing this step results in a soft, unstable cheesecake that won’t hold its shape.
Use a hot, clean knife for slicing.
Warming the knife between slices melts the filling slightly, allowing for smooth, clean cuts without dragging or tearing. This simple trick keeps your presentation neat and appealing.
Gently fold whipped cream into the cream cheese mixture.
Folding preserves the air incorporated during whipping, keeping the filling light and fluffy. Stirring vigorously deflates the cream, resulting in a denser, less pleasant texture.
Common Mistakes to Avoid
Using cold cream cheese directly from the fridge.
Why it happens Many assume cream cheese can be mixed cold, but this causes lumps and uneven texture in the filling.
Fix Always let cream cheese sit at room temperature for at least 30 minutes before mixing. If short on time, microwave in 10-second bursts until soft but not melted.
Overwhipping the heavy cream.
Why it happens It’s easy to get carried away when whipping cream, thinking more stiff peaks are better.
Fix Stop whipping as soon as stiff peaks form. Overwhipping causes the cream to break down into butter and liquid, ruining the texture.
Skipping the chilling time.
Why it happens Impatience or lack of planning often leads to slicing the cheesecake too early.
Fix Plan ahead and chill the cheesecake for at least 4 hours, ideally overnight, to let it fully set for clean slices and perfect texture.
Using bottled lemon juice instead of fresh.
Why it happens Convenience or unawareness leads to using bottled juice, which lacks brightness.
Fix Always use freshly squeezed lemon juice for best flavor. It makes a noticeable difference in the cheesecake’s zing and freshness.
Not pressing the crust firmly enough.
Why it happens Rushing or underestimating the importance of crust packing can cause a crumbly base.
Fix Use the bottom of a glass or measuring cup to firmly press the crust evenly, ensuring it holds together when sliced.
Nutrition
Per Serving:
Nutritional values are estimates and may vary based on specific ingredients used.
Storage & Tips
Room Temperature
The cheesecake can safely sit at room temperature for up to 2 hours if covered to prevent drying out. Longer exposure may cause the filling to soften too much and spoil, especially in warm climates.
Refrigerator
Store the cheesecake covered with plastic wrap or in an airtight container for up to 4 days. The texture may firm slightly more when cold but tastes great either way. Serve chilled or bring to room temperature before slicing for best flavor.
Freezer
Freeze cheesecake wrapped tightly in plastic wrap and then aluminum foil for up to 2 months. To thaw, transfer to the refrigerator overnight to preserve texture. Avoid thawing at room temperature to prevent condensation and sogginess.
Reheating
No reheating needed as it’s a chilled dessert. If preferred, let sit at room temperature for 15-20 minutes before serving to soften slightly. Avoid microwaving, which can cause the filling to separate.
Make Ahead
Prepare the crust and filling up to 2 days ahead. Assemble and chill overnight to allow flavors to meld and the filling to set perfectly. Add fresh berries just before serving for the best look and taste.
FAQ
Can I use bottled lemon juice instead of fresh?
While you can use bottled lemon juice in a pinch, fresh lemon juice is strongly recommended for the best flavor and brightness. Bottled juice often has preservatives and a muted taste, which can make the cheesecake less vibrant. Fresh juice also contributes to the right acidity that helps balance the richness.
Why is my no bake cheesecake not setting properly?
If your cheesecake isn’t firming up, it could be due to insufficient chilling time or overwhipping the cream, which breaks down the structure. Make sure to chill it for at least 4 hours or overnight, and fold the whipped cream gently into the cream cheese mixture to keep the airiness that helps it set.
Can I make this cheesecake gluten-free?
Yes! Simply substitute the graham cracker crumbs with gluten-free cookies or almond flour. Make sure any additional ingredients you use are also gluten-free. The texture and taste will be very similar, and the crust will still provide a nice base.
How do I prevent lumps in the filling?
Lumps usually happen when the cream cheese is too cold or not beaten enough. Always use room temperature cream cheese and beat it thoroughly until smooth before adding other ingredients. Also, sift powdered sugar if it’s clumpy to ensure smooth mixing.
Can I freeze the cheesecake?
Yes, you can freeze it for up to 2 months. Wrap it tightly to prevent freezer burn. Thaw it in the refrigerator overnight before serving to maintain texture. Avoid thawing at room temperature which can cause condensation and make the crust soggy.
What can I substitute for heavy cream?
Heavy cream is important for whipping and lightening the filling. You can substitute with full-fat coconut cream if you want a dairy-free version, but the texture and flavor will change slightly. Avoid using milk or half-and-half as they don’t whip properly.
How do I get a clean slice when serving?
Use a sharp knife dipped in hot water and wiped dry before slicing. Warm the knife between cuts to glide smoothly through the creamy filling, preventing jagged edges or tearing. This simple trick makes your cheesecake look professional.
Can I make this cheesecake without gelatin or stabilizers?
Yes, this recipe relies on chilling and the whipped cream to set the filling instead of gelatin. It’s lighter and more natural but requires sufficient chilling time to hold its shape well.
Final Thoughts
Give this no bake lemon cheesecake a try – it’s a refreshing, easy dessert that always impresses. Let me know how it turns out and what your favorite berry topping is!