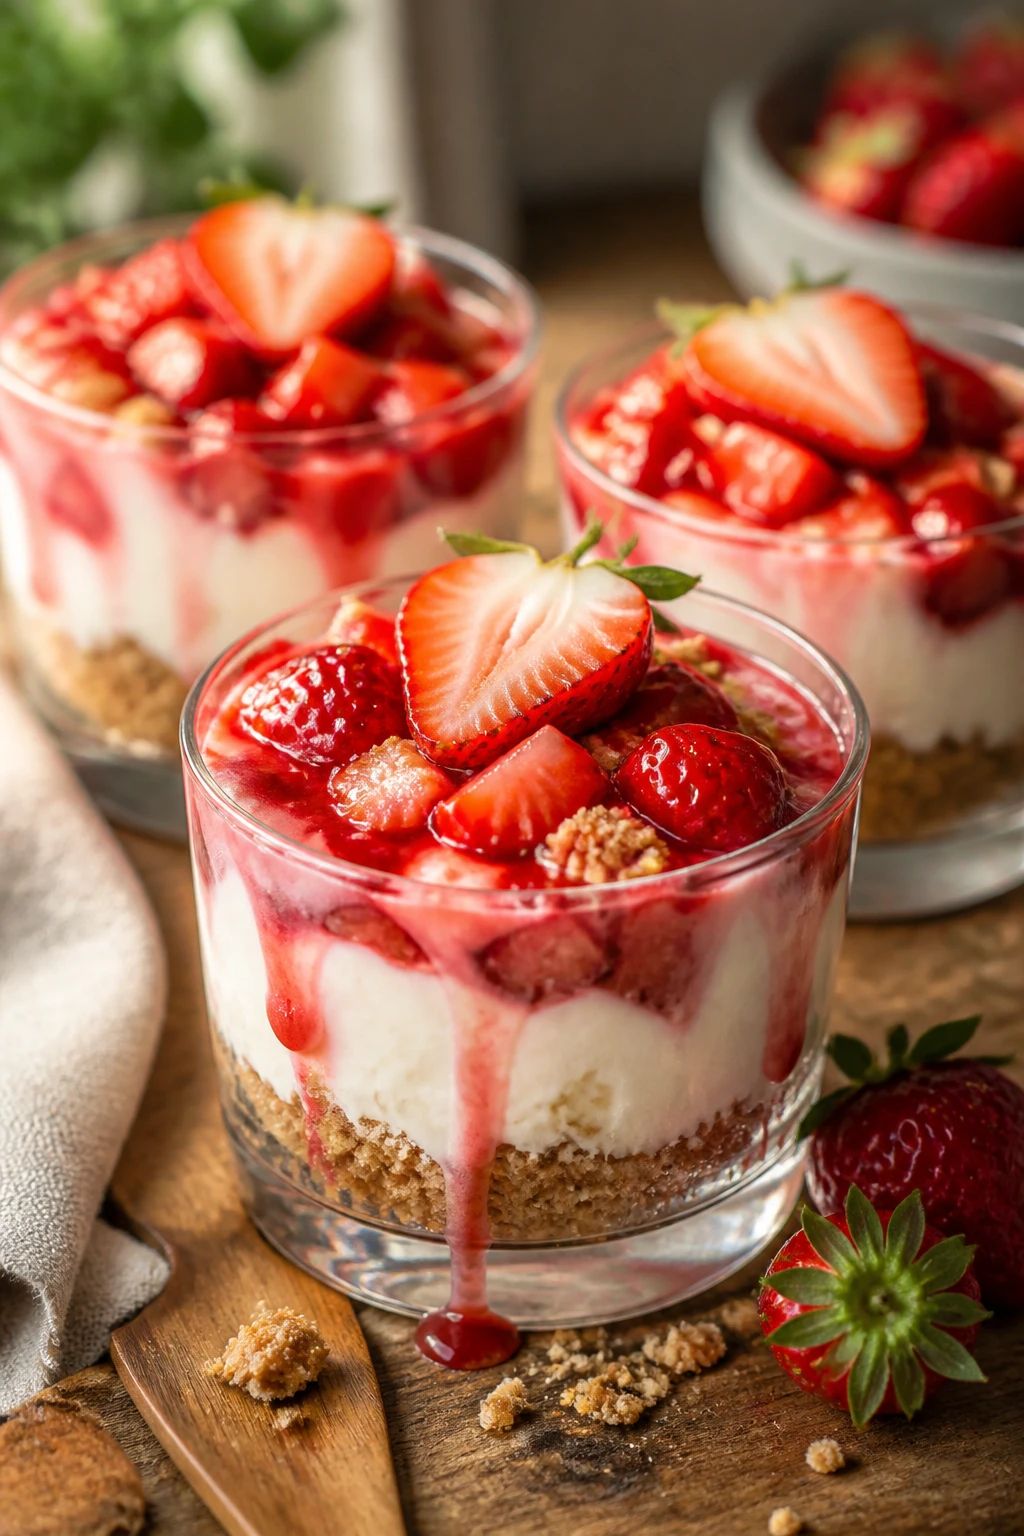
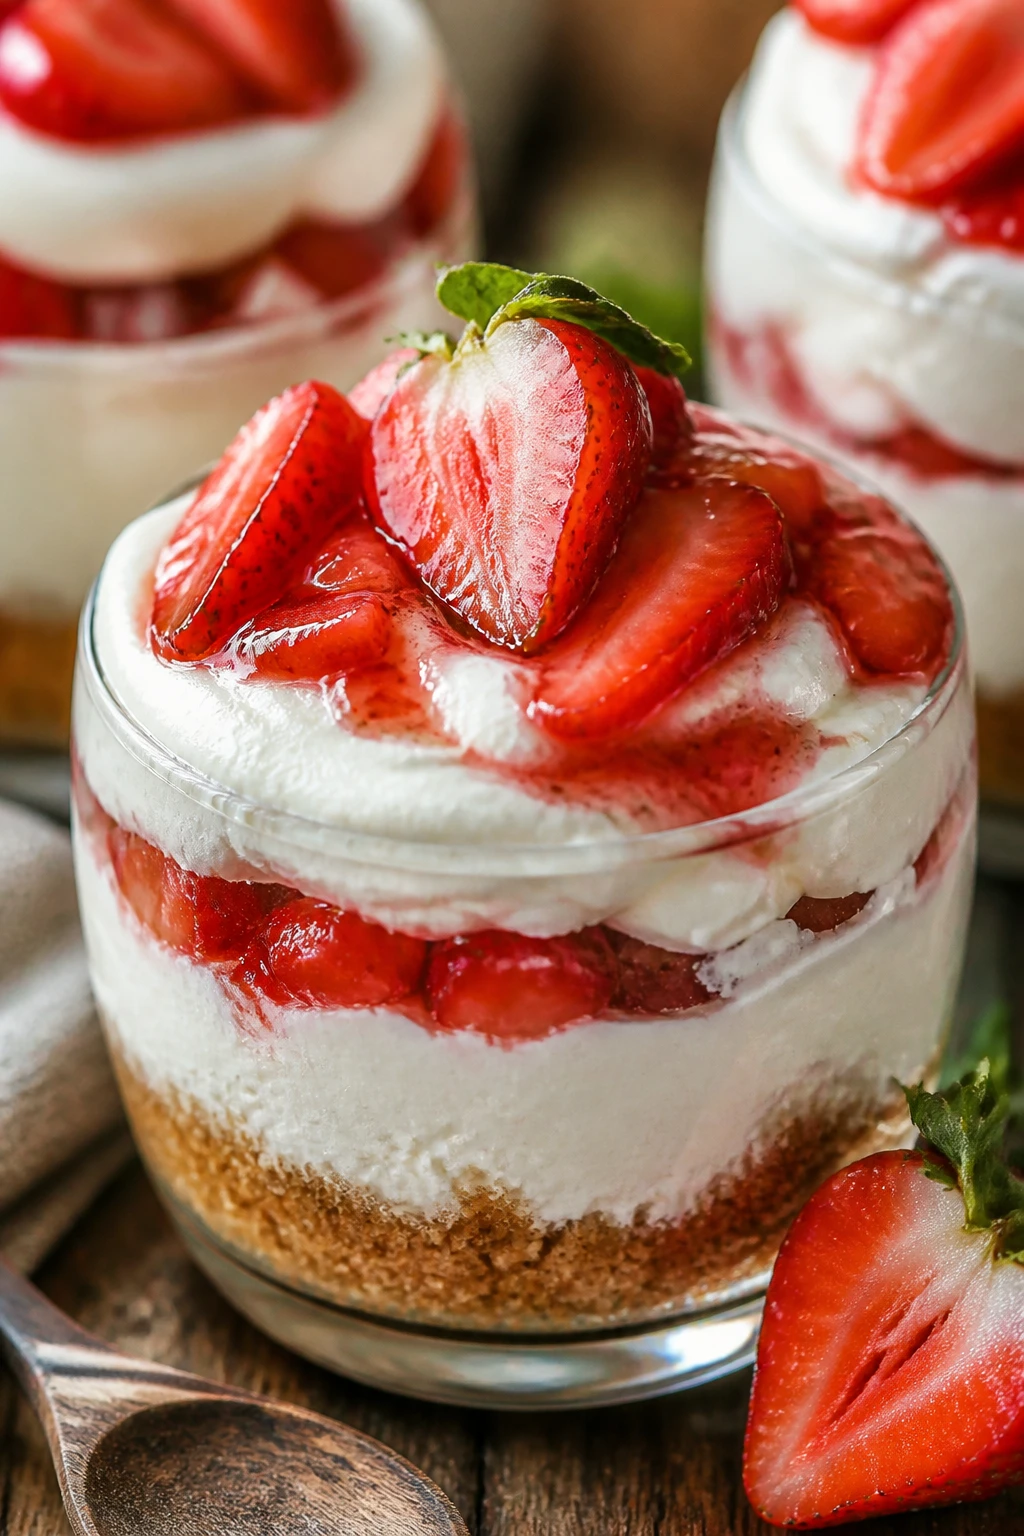
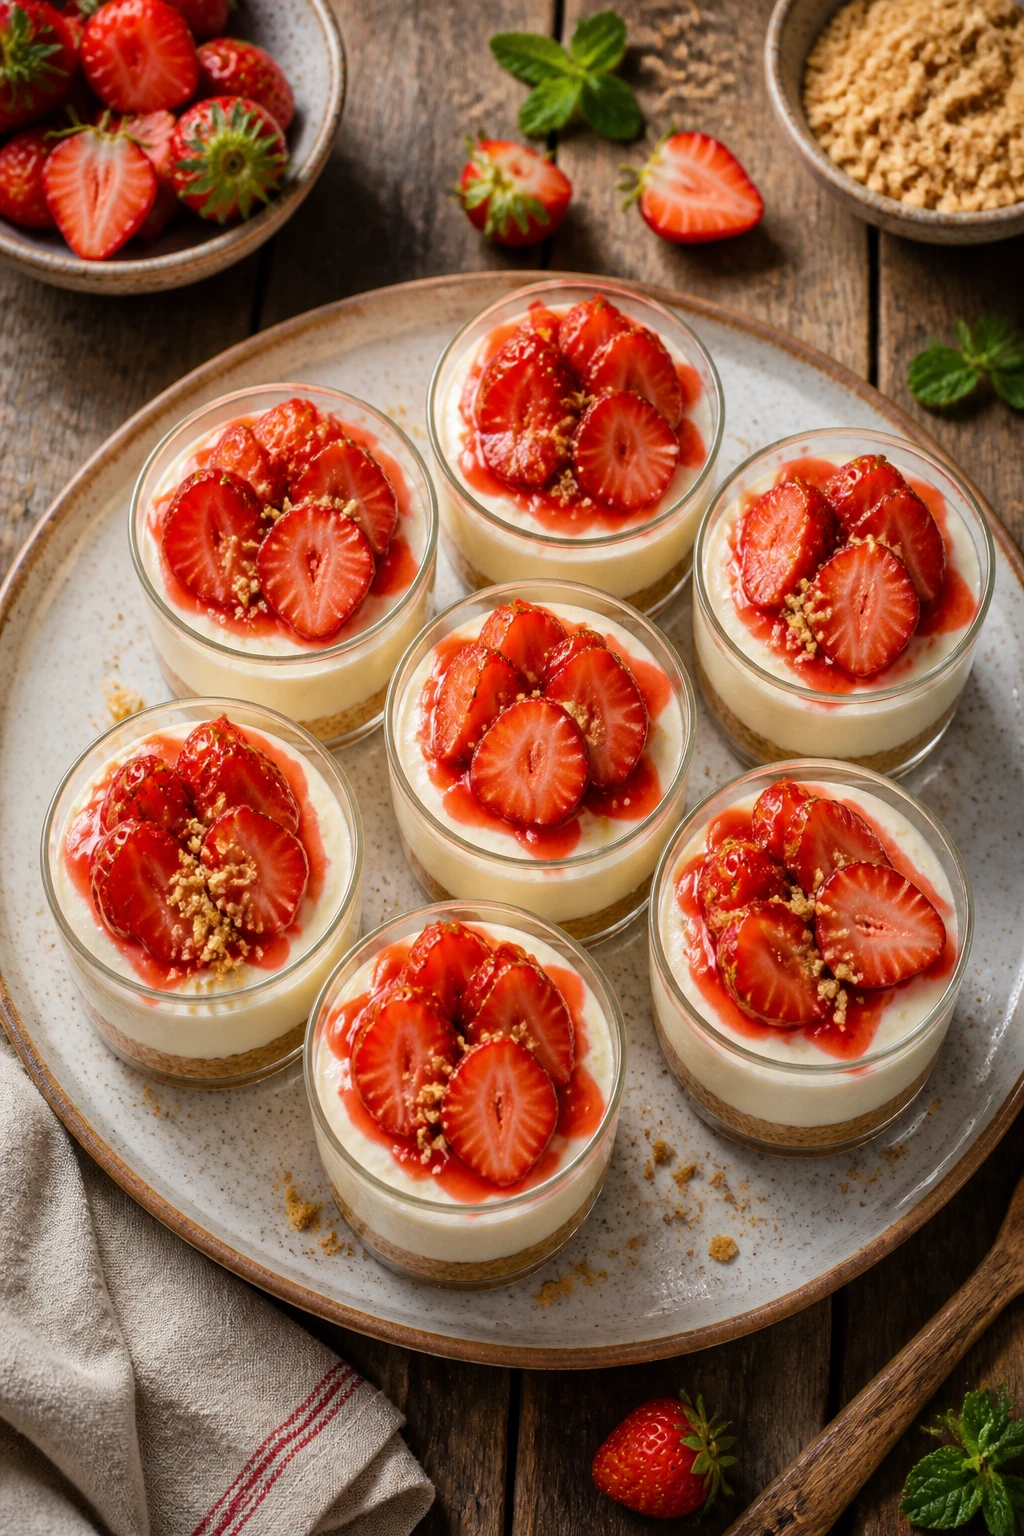
These no-bake cheesecake cups are a breeze to make and downright dreamy. The buttery graham cracker crust pairs perfectly with the fluffy cream cheese filling, topped with fresh strawberries. Ideal for warm days or casual get-togethers!
Introduction
I first made these no-bake strawberry cheesecake cups on a sweltering summer afternoon when I didn't want to turn on the oven but still craved something sweet and refreshing. What makes this recipe stand out is its simplicity combined with a light, fluffy cream cheese filling that isn’t too dense or overly sweet. Instead of baking a heavy cheesecake, these cups come together quickly and stay cool, making them perfect for warm weather or last-minute guests. The buttery graham cracker crust adds a delightful crunch that perfectly balances the smooth filling. I also love how the fresh strawberries on top add a pop of color and natural sweetness that feels like summer in every bite. One trick I learned is to whip the heavy cream just right so it folds into the cream cheese mixture without deflating, giving the filling that airy texture that’s irresistible. Plus, you can customize the toppings to your liking. I’ve tried blueberries and even a drizzle of chocolate, but the classic strawberry topping always wins in my book. These cheesecake cups look elegant but are so easy to make, and they disappear fast at any gathering. Trust me, once you try this recipe, it’ll become your go-to for a fuss-free dessert that never disappoints.
What You'll Need
6 individual cheesecake cups
- 1 1/2 cups graham cracker crumbs
- 1/3 cup unsalted butter, melted
- 1/4 cup granulated sugar
- 16 oz cream cheese, softened
- 1/2 cup powdered sugar
- 1 teaspoon vanilla extract
- 1 cup heavy whipping cream, cold
- 1 1/2 cups fresh strawberries, sliced
How To Do It
Step 1
Start by making the crust. In a medium bowl, combine the graham cracker crumbs, melted butter, and granulated sugar. Mix thoroughly until the crumbs are evenly coated and the mixture holds together when pressed. This step is crucial because the butter binds the crumbs to form a solid base that won’t fall apart when you scoop the filling on top. Avoid adding too much butter, or the crust will be soggy. Press the mixture firmly into the bottoms of your serving cups or jars to create an even layer. Using the back of a spoon or your fingers helps compact the crust tightly, so it stays intact when eating.
⏱ Time: 10 minutes
✓ Doneness: Crust holds shape firmly when pressed and feels slightly compacted but not greasy.
Step 2
Next, prepare the cream cheese filling. In a large bowl, beat the softened cream cheese with powdered sugar and vanilla extract until smooth and creamy. It’s important to start with softened cream cheese to avoid lumps and ensure a silky texture. If the cream cheese is too cold, it won’t mix well and the filling will be grainy. Use a hand mixer on medium speed and scrape down the sides as needed for an even consistency.
⏱ Time: 5 minutes
✓ Doneness: Mixture is smooth, creamy, and free of lumps.
Step 3
In a separate chilled bowl, whip the heavy cream until stiff peaks form. This means when you lift the whisk, the peaks hold their shape without drooping. Cold cream whips better and gives a fluffy, airy texture to your filling. Be careful not to overwhip, or it will turn grainy and start separating. Whipping the cream just right is key to achieving that luscious, light mouthfeel in the cheesecake cups.
⏱ Time: 5-7 minutes
✓ Doneness: Whipped cream forms stiff peaks that hold shape firmly.
Step 4
Gently fold the whipped cream into the cream cheese mixture using a spatula. Folding rather than stirring preserves the airiness of the whipped cream, which keeps the filling light and fluffy. Use slow, sweeping motions to combine the two mixtures thoroughly without deflating the whipped cream. If you mix too vigorously, the filling will become dense and lose its delicate texture.
⏱ Time: 3 minutes
✓ Doneness: Filling is smooth, airy, and homogenous with no streaks.
Step 5
Spoon the cream cheese filling over the prepared graham cracker crust in each cup. Fill them almost to the top, smoothing the surface with a spatula or back of a spoon. This layering is important to provide a nice contrast between the crunchy base and the creamy topping in every bite. Fill the cups evenly for a beautiful presentation.
⏱ Time: 5 minutes
✓ Doneness: Filling layer is smooth and even, covering the crust completely.
Step 6
Refrigerate the cheesecake cups for at least 2 hours, or until set. Chilling allows the crust to firm up and the filling to develop the perfect texture. If you skip this step or rush it, the filling will be too soft and may not hold shape when served. Overnight refrigeration works great if you want to prepare ahead.
⏱ Time: 120 minutes
✓ Doneness: Filling is firm to the touch but still creamy.
Step 7
Just before serving, top each cheesecake cup with fresh sliced strawberries. The fresh fruit adds brightness and a lovely natural sweetness that balances the richness of the filling. You can also add a sprig of mint or a drizzle of honey for extra flair. Make sure to slice the strawberries evenly for consistent bites and an attractive look.
⏱ Time: 5 minutes
✓ Doneness: Strawberries are fresh, vibrant, and evenly distributed on top.
Step 8
Serve the cheesecake cups chilled with a small spoon. These individual portions make for a charming presentation and are easy to serve at parties or family dinners. The contrast between the crunchy crust, fluffy filling, and juicy strawberries makes each bite delightful. If you want, sprinkle a little crushed graham cracker or powdered sugar on top for an extra touch.
⏱ Time: Immediate
✓ Doneness: Dessert is well chilled and visually appealing.
Step 9
Store any leftovers in the refrigerator in airtight containers. These cheesecake cups keep well for up to 3 days, but the crust may soften slightly over time. For best texture, enjoy them within the first day. Avoid freezing as the texture of the cream cheese filling can change and become grainy.
⏱ Time: N/A
✓ Doneness: Leftovers remain fresh and creamy when properly stored.
Variations
Blueberry No-Bake Cheesecake Cups
Swap the strawberries for fresh blueberries for a slightly tart and juicy topping. Blueberries pair wonderfully with the creamy filling and add a beautiful dark contrast. You can also mix blueberries into the filling for a burst of flavor throughout.
Note: No change in technique needed; just ensure blueberries are fresh and well washed.
Chocolate Swirl Cheesecake Cups
Add a swirl of melted dark chocolate into the cream cheese filling before folding in whipped cream. This creates a marbled effect and a rich chocolate flavor that complements the graham crust beautifully.
Note: Melt chocolate gently and cool slightly before swirling to prevent deflating the filling.
Lemon Zest Cheesecake Cups
Add 1 tablespoon of fresh lemon zest to the cream cheese mixture for a bright citrusy note that cuts through the richness. Lemon juice can also be added sparingly for more tang, but be careful not to curdle the filling.
Note: Fold in zest carefully and avoid adding too much lemon juice to maintain texture.
Vegan No-Bake Strawberry Cheesecake Cups
Use vegan cream cheese and coconut cream whipped until fluffy instead of heavy cream. The crust can be made with vegan butter or coconut oil. This version is dairy-free but still creamy and delicious.
Note: Whip coconut cream chilled and solid for best volume; texture will be slightly different but still pleasant.
Mini Cheesecake Bites with Mixed Berries
Make bite-sized versions in mini muffin tins and top with a mix of raspberries, blackberries, and strawberries for a colorful, fun presentation perfect for parties.
Note: Adjust crust pressing carefully for smaller molds to avoid too thick or thin bases.
Pro Tips
Make sure the cream cheese is fully softened before mixing.
Softened cream cheese blends smoothly with sugar and vanilla, preventing lumps in the filling. If it’s too cold, you’ll end up with a grainy texture, which affects the overall creaminess of the cheesecake cups.
Use cold heavy cream and chill your mixing bowl before whipping.
Cold cream whips up faster and holds air better, resulting in stiffer peaks that give the filling its light, fluffy texture. A chilled bowl also helps stabilize the cream, making whipping easier and more consistent.
Fold whipped cream gently into the cream cheese mixture.
Folding preserves the air bubbles in the whipped cream, keeping the filling airy and soft. Stirring or beating vigorously will deflate the cream, making the filling dense and heavy.
Press the crust firmly into the cups for a sturdy base.
Compact crust holds together when you scoop the cheesecake, preventing it from falling apart. A loose crust can crumble and make the dessert messy to eat.
Chill the assembled cheesecake cups for at least 2 hours.
Refrigeration allows the filling to set and the crust to firm up. Skipping this step leads to a runny filling that won’t hold its shape when served.
Slice strawberries evenly for a neat topping.
Even slices provide consistent texture and bite size, improving the overall eating experience and presentation.
Avoid freezing the cheesecake cups.
Freezing can cause the cream cheese filling to separate and become grainy upon thawing, ruining the smooth texture of the dessert.
Common Mistakes to Avoid
Using cold cream cheese instead of softened.
Why it happens Many cooks rush the process and try to mix cold cream cheese, leading to lumps and uneven texture.
Fix Allow the cream cheese to sit at room temperature for at least 30 minutes before mixing. If you’re short on time, microwave in short bursts of 10 seconds, stirring between, until softened but not melted.
Overwhipping the cream.
Why it happens It’s easy to keep whipping once stiff peaks form, but going too far causes the cream to break down and turn grainy.
Fix Stop whipping as soon as stiff peaks hold their shape. If you overwhip, you can try folding in a bit of fresh cream to soften the texture.
Not pressing the crust firmly enough.
Why it happens Some assume the crust will bind itself, but without firm pressing, it will crumble when serving.
Fix Use the back of a spoon or your fingers to firmly press the crust into the cups until compact and even.
Skipping the chilling step.
Why it happens Impatience or last-minute serving can lead to skipping refrigeration, resulting in a runny filling.
Fix Plan ahead to refrigerate the cheesecake cups for at least 2 hours to let the filling set properly.
Using bruised or underripe strawberries.
Why it happens In a hurry, some use imperfect fruit which affects flavor and appearance.
Fix Choose firm, ripe strawberries without blemishes for the best taste and visual appeal.
Nutrition
Per Serving:
Nutritional values are estimates and may vary based on specific ingredients used.
Storage & Tips
Room Temperature
These cheesecake cups can safely sit at room temperature for up to 2 hours, covered loosely to avoid drying out. Beyond that, the filling may soften too much and risk food safety issues.
Refrigerator
Store in airtight containers in the fridge for up to 3 days. The crust may soften slightly over time but the filling maintains its creamy texture. Serve chilled for best flavor and texture.
Freezer
Freezing is not recommended as the cream cheese filling can separate and become grainy. If you must freeze, wrap tightly and thaw overnight in the fridge, but texture may be compromised.
Reheating
No reheating is needed or recommended. Serve these cheesecake cups cold or chilled to preserve their texture and flavor.
Make Ahead
You can prepare the crust and filling up to a day in advance and store separately. Assemble the cups and add fresh strawberries just before serving to keep the fruit fresh and vibrant.
FAQ
Can I use low-fat cream cheese for this recipe?
You can, but the texture and richness will be less creamy and more tangy. Full-fat cream cheese provides the best smoothness and mouthfeel. Low-fat versions might lead to a slightly grainier filling.
How do I prevent the crust from becoming soggy?
Press the crust firmly into the cups and avoid adding the filling while it’s too wet. Chilling the dessert helps the crust stay firm. Using melted butter properly binds the crumbs to repel moisture.
Can I substitute the graham cracker crust with something else?
Yes, digestive biscuits or crushed vanilla wafers work well. Just ensure they are finely crushed and mixed with enough melted butter to bind properly for a solid crust.
How long do these cheesecake cups keep in the fridge?
They keep well for up to 3 days in airtight containers. After that, the crust may soften and the filling texture can change, so it’s best to enjoy them sooner.
Can I make these ahead for a party?
Absolutely! Prepare the crust and filling ahead of time, assemble the cups, and refrigerate. Add fresh strawberries just before serving to keep them looking fresh.
What’s the best way to whip the cream for this recipe?
Use cold heavy cream and a chilled bowl. Whip at medium-high speed until stiff peaks form. Avoid overwhipping to prevent grainy texture and underwhipping to keep the filling fluffy.
Can I use frozen strawberries as a topping?
Frozen strawberries release extra moisture and can make the topping soggy. It’s best to use fresh strawberries or thaw and drain frozen ones thoroughly before topping.
Why is folding the whipped cream important?
Folding gently combines the whipped cream with the cream cheese mixture without deflating the air bubbles, maintaining a light and fluffy texture. Stirring vigorously will make the filling dense.
Final Thoughts
I hope you enjoy making and sharing these no-bake strawberry cheesecake cups as much as I do! They’re a simple yet impressive treat that always gets compliments—give it a try and let me know how they turn out!