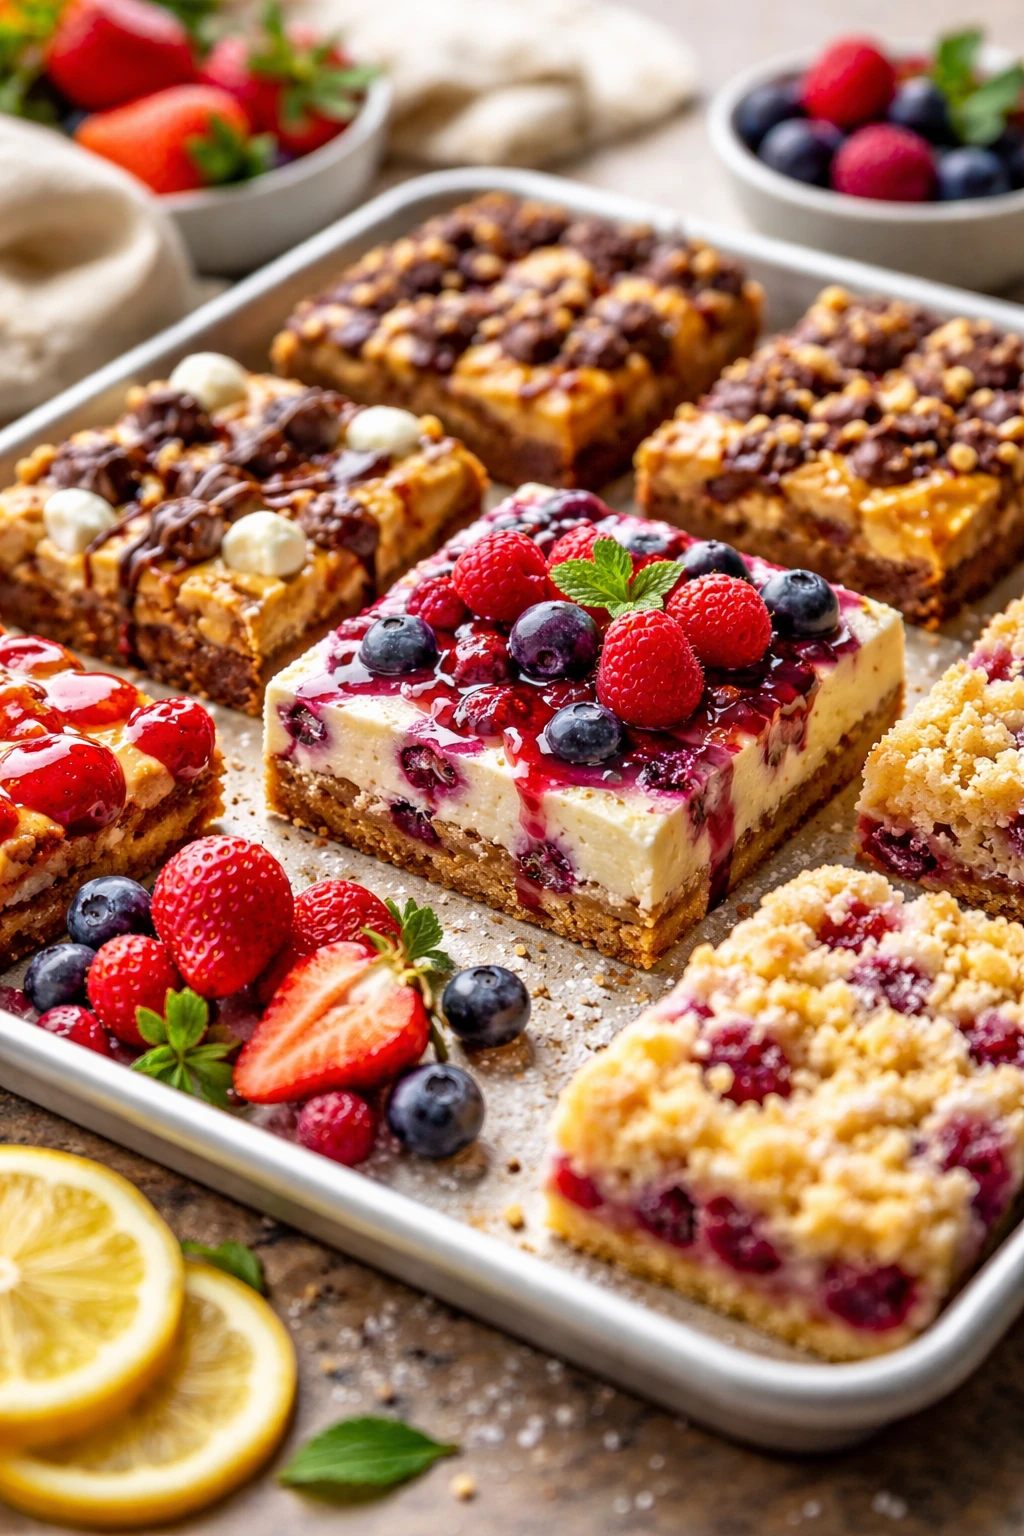
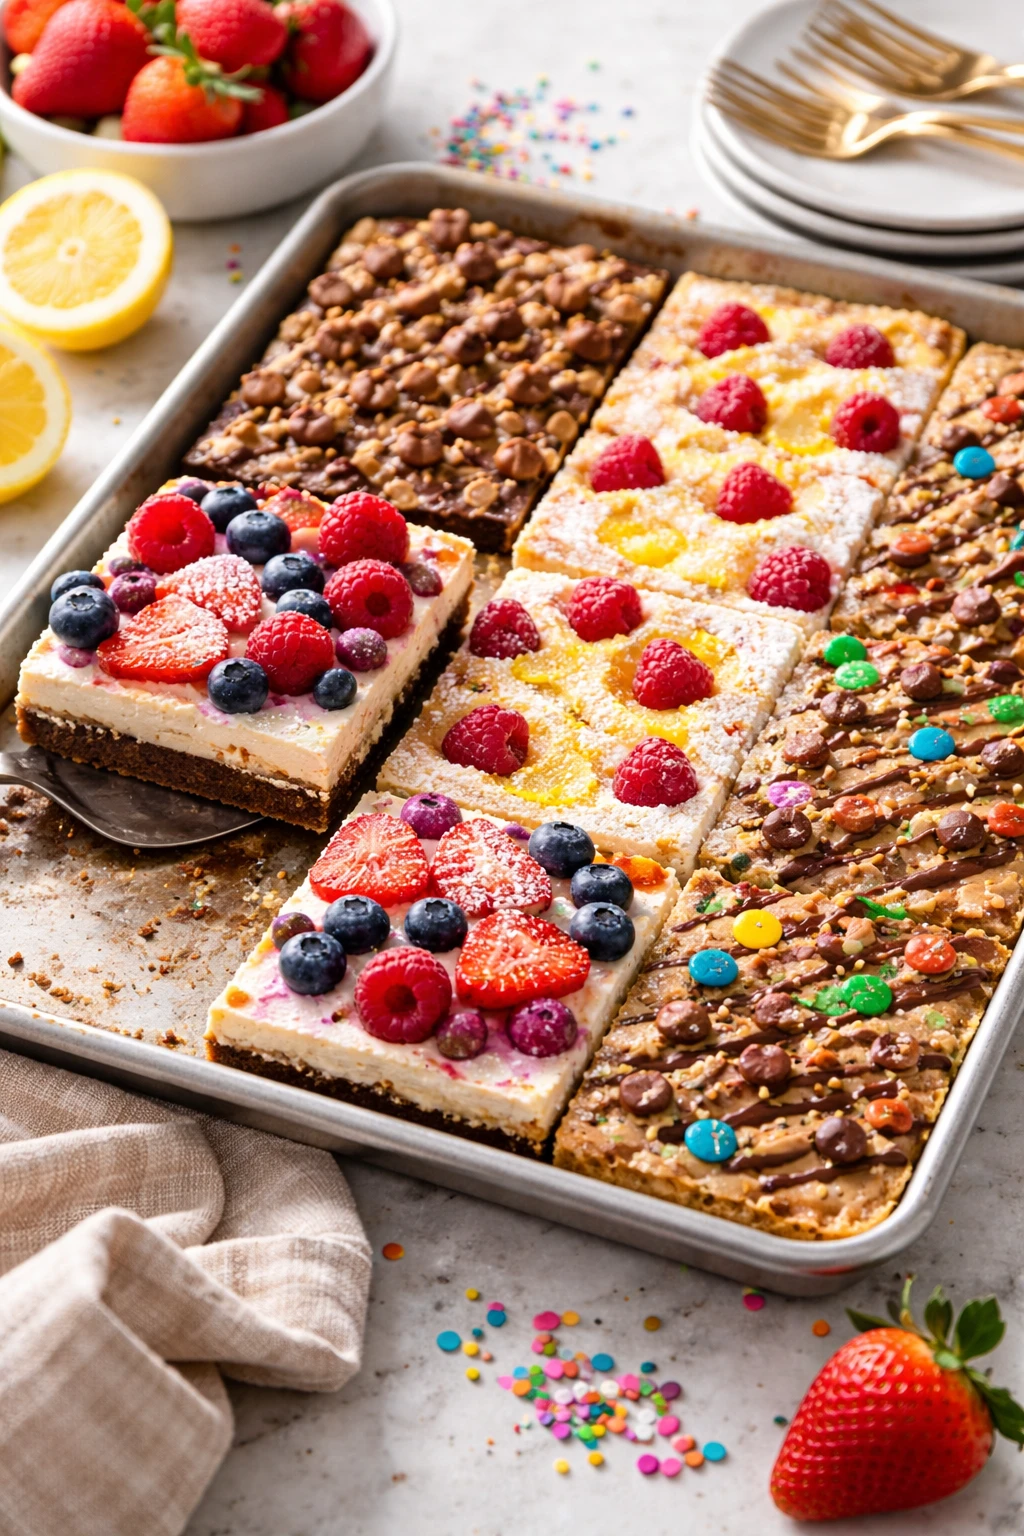
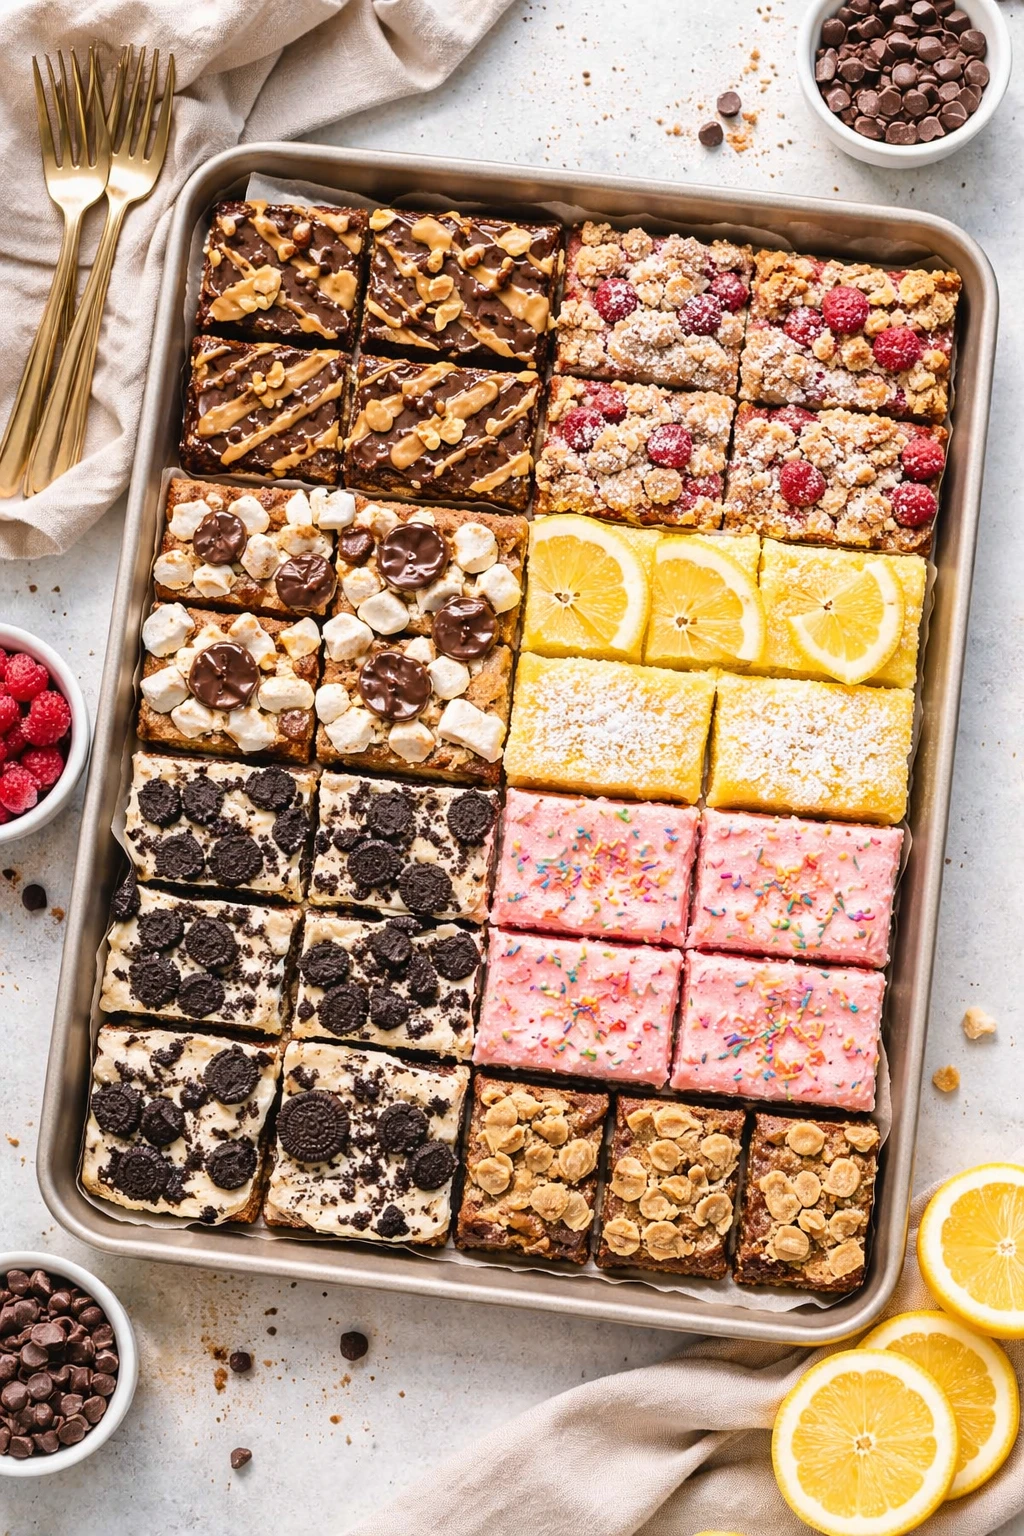
These chocolate cookie bars are pure magic—crispy edges with a melty chocolate center. I love how it all bakes together on one sheet pan, making it super easy to whip up for any gathering. Perfect for potlucks or cozy family nights!
Introduction
I first made these gooey chocolate cookie bars a few years ago when I needed an easy dessert for a family potluck. Honestly, I was a bit skeptical that something baked in one pan could taste this good, but these bars blew me away. What makes this recipe special is the balance between the crisp cookie edges and that irresistibly melty chocolate center. The trick I learned is melting the butter first, which helps the sugars dissolve and creates a tender, chewy texture rather than a cakey one. Also, pressing the dough evenly across the pan ensures it bakes uniformly, giving you those perfect golden edges and a soft middle. I’ve tried many cookie bar recipes, but this one stands out for how simple it is and how reliably delicious it turns out every time. When you slice into these, you get that satisfying snap from the edges and a gooey, chocolatey bite that’s just pure comfort. Whether you’re serving it at a casual get-together or just craving a sweet treat after dinner, these bars never disappoint. I love that it all comes together in one pan, which means less mess and more time enjoying the dessert. Give it a shot—I think you’ll be hooked too!
What You'll Need
Approximately 12 bars, 12 servings
- 2 1/4 cups all-purpose flour, sifted
- 1 teaspoon baking soda
- 1/2 teaspoon salt
- 1 cup unsalted butter, melted and slightly cooled
- 1 cup packed brown sugar
- 1/2 cup granulated sugar
- 2 large eggs, room temperature
- 2 teaspoons pure vanilla extract
- 2 cups semi-sweet chocolate chips
How To Do It
Step 1
Preheat your oven to 350°F (175°C) and grease or line a half sheet pan with parchment paper. This step is crucial because even baking depends on the pan being properly prepared to prevent sticking. Using parchment also makes cleanup a breeze and helps you lift the bars out easily once baked. Don’t skip this, or you might end up with a sticky mess that's tough to serve.
⏱ Time: 10 minutes
✓ Doneness: Oven preheated to 350°F and pan fully prepared with parchment or greased surface
Step 2
In a medium bowl, whisk together the sifted flour, baking soda, and salt. Mixing the dry ingredients separately ensures even distribution of the leavening agent and salt, which is key for consistent texture and flavor throughout the bars. Avoid overmixing here to keep the final texture tender.
⏱ Time: 5 minutes
✓ Doneness: Dry ingredients fully combined with no lumps
Step 3
In a large bowl, combine the melted butter with brown sugar and granulated sugar. Stir until smooth and glossy. The melted butter helps the sugars dissolve, giving these bars their chewy texture instead of a cakey crumb. If the butter is too hot, it can cook the eggs later, so let it cool slightly before adding the eggs.
⏱ Time: 5 minutes
✓ Doneness: Smooth, glossy sugar and butter mixture with no graininess
Step 4
Add the eggs one at a time to the butter-sugar mixture, beating well after each addition. Then stir in the vanilla extract. This gradual incorporation helps emulsify the mixture, creating a smooth batter that traps air for a lighter texture. Using room temperature eggs prevents the batter from curdling.
⏱ Time: 5 minutes
✓ Doneness: Batter is smooth, slightly thick, and homogeneous
Step 5
Gradually add the dry ingredients to the wet mixture, folding gently until just combined. Overmixing here can develop gluten and lead to tough bars, so mix until you don’t see any dry flour patches but the batter is still soft. This ensures a tender, chewy texture.
⏱ Time: 5 minutes
✓ Doneness: No visible flour streaks but batter remains soft and slightly sticky
Step 6
Fold in 1 1/2 cups of the chocolate chips evenly through the dough. The chips melt during baking, creating gooey pockets of chocolate. Reserving some chips for topping adds a lovely look and extra melty texture on top.
⏱ Time: 3 minutes
✓ Doneness: Chocolate chips evenly distributed without breaking the dough texture
Step 7
Spread the dough evenly into the prepared half sheet pan, pressing gently with your hands or a spatula. Make sure the thickness is uniform to avoid uneven baking — thinner edges will crisp up while thicker centers stay gooey. This evenness is key to getting that perfect balance of textures.
⏱ Time: 5 minutes
✓ Doneness: Smooth, even layer of dough covering the entire pan
Step 8
Sprinkle the remaining 1/2 cup of chocolate chips evenly over the top of the dough. This creates a visually appealing chocolatey crust and extra melty bites on top. It also helps signal when the bars are done as the chips soften and lose their shape slightly.
⏱ Time: 2 minutes
✓ Doneness: Chocolate chips are evenly scattered on top and slightly pressed into dough
Step 9
Bake the bars for 28-32 minutes, rotating the pan halfway for even heat distribution. The edges should be golden brown and set while the center remains slightly soft and gooey. Don’t overbake or the bars will lose that luscious melting center. A toothpick inserted near the center should come out with a few moist crumbs but not wet batter.
⏱ Time: 30 minutes
✓ Doneness: Golden brown edges with a soft but set center, toothpick with moist crumbs
Step 10
Allow the bars to cool completely in the pan before slicing. Cooling lets the bars firm up, making them easier to cut without crumbling. If you cut them warm, they may fall apart or be too gooey to handle. Patience here makes a big difference in presentation and texture.
⏱ Time: 45 minutes
✓ Doneness: Bars are firm to the touch and slices hold their shape
Variations
Peanut Butter Swirl Chocolate Cookie Bars
Add dollops of creamy peanut butter on top of the dough before baking, then swirl gently with a knife. This adds a salty, nutty twist that pairs perfectly with the chocolate. Expect a marbled look and a richer flavor profile.
Note: Swirling too aggressively can deflate the dough, so use a light hand to maintain texture.
Double Chocolate Cookie Bars
Replace 1/2 cup of the flour with unsweetened cocoa powder and use dark chocolate chips for an intense chocolate experience. The bars will be fudgier and darker in color with a deeper chocolate flavor.
Note: Cocoa powder can dry out the dough, so monitor baking time carefully to avoid overbaking.
Oatmeal Chocolate Cookie Bars
Stir in 1 cup of old-fashioned oats for a heartier texture and subtle chewiness. Oats add fiber and a rustic touch without overpowering the chocolate goodness.
Note: Since oats absorb moisture, you might need to add an extra tablespoon of melted butter to keep bars moist.
Salted Caramel Chocolate Bars
Drizzle salted caramel sauce over the dough before baking or swirl it on top with the chocolate chips. The sweet-salty combo elevates these bars to a decadent treat.
Note: Caramel can make the batter wetter; bake a few minutes longer if needed to set the center.
Nutty Chocolate Cookie Bars
Mix in 1/2 cup chopped walnuts or pecans for crunch and a toasty flavor contrast. Nuts add texture and richness that pairs beautifully with the chocolate chips.
Note: Toast nuts lightly before adding to enhance their flavor and prevent sogginess in the bars.
Pro Tips
Use room temperature eggs for easier mixing and better emulsification.
Room temperature eggs blend more smoothly into the batter, preventing curdling and ensuring an even texture. Cold eggs can cause the melted butter to seize, resulting in uneven mixing and a grainy batter. This affects the final chewiness and rise.
Press the dough evenly in the pan for consistent baking.
Uneven dough thickness leads to some parts overbaking while others stay undercooked. Even pressing ensures uniform heat exposure, giving you those crispy edges and gooey centers throughout the entire pan.
Rotate the pan halfway through baking for even color and texture.
Most ovens have hot spots, so rotating the pan prevents uneven browning or undercooked spots. This simple step results in a uniformly baked batch with perfect texture and appearance.
Let the bars cool completely before slicing.
Cooling allows the melted chocolate and cookie base to set properly. Cutting too soon causes crumbling or sticky slices. Patience here improves both texture and presentation.
Use parchment paper to line your pan for easy removal and cleanup.
Parchment prevents sticking and lets you lift the bars out in one piece, preserving their shape. It also makes cleanup faster, so you can enjoy your dessert without extra hassle.
Don’t overbake—watch for golden edges and a soft center.
Overbaking dries out the bars, losing that gooey magic. The center should look slightly underdone but will firm up as it cools. This keeps the bars tender and moist.
Reserve some chocolate chips to sprinkle on top before baking.
Adding chips on top creates a beautiful, melty chocolate crust that’s visually appealing and adds texture contrast. It also helps signal doneness as the chips soften and spread.
Common Mistakes to Avoid
Using cold butter instead of melted butter
Why it happens Many recipes call for creaming cold butter and sugar, so it’s easy to assume the same here. Also, some cooks prefer the traditional method and forget this recipe relies on melted butter for texture.
Fix Melt the butter gently and let it cool slightly before combining with sugar and eggs. This allows the sugars to dissolve fully and prevents curdling when adding eggs, producing a tender, chewy bar rather than a cakey one.
Overmixing the batter after adding flour
Why it happens It’s natural to want to mix until perfectly smooth, but overdoing it develops gluten and toughens the bars.
Fix Fold the flour in gently just until no flour streaks remain. Stop mixing as soon as combined to keep the texture tender and chewy.
Not pressing the dough evenly in the pan
Why it happens Rushing or being careless can lead to uneven thickness.
Fix Use your hands or a spatula to spread and press the dough evenly. This ensures consistent baking and texture across all bars.
Cutting the bars before they’ve cooled completely
Why it happens Impatience or wanting to dig in right away leads to crumbling or sticky slices.
Fix Wait at least 45 minutes for the bars to cool and set. This helps them slice cleanly and hold their shape.
Overbaking the bars
Why it happens Trying to be sure they’re done can push baking time too far.
Fix Check for golden edges and a slightly soft center around 28 minutes, then remove from oven. The bars will firm up as they cool, preserving gooeyness.
Nutrition
Per Serving:
Nutritional values are estimates and may vary based on specific ingredients used.
Storage & Tips
Room Temperature
These bars keep well at room temperature for up to 2 days when stored in an airtight container. Keep them covered to prevent drying out. They maintain their gooey texture best within this time frame.
Refrigerator
Store in an airtight container in the fridge for up to 5 days. The bars will firm up and become less gooey but still delicious. You can enjoy them cold or warm them slightly before serving.
Freezer
Freeze bars wrapped tightly in plastic wrap and then foil or in a freezer-safe container for up to 3 months. To thaw, place them in the fridge overnight. Reheat gently to restore softness and gooey texture.
Reheating
Warm bars in a microwave for 15-20 seconds or in a preheated oven at 300°F for 5-7 minutes. Add a small splash of milk if they feel dry. Avoid overheating to keep gooeyness intact.
Make Ahead
You can prepare the dough up to 24 hours ahead and keep it refrigerated in the pan covered tightly with plastic wrap. Bake fresh when ready to serve for best texture and flavor.
FAQ
Can I use salted butter instead of unsalted?
Yes, but reduce or omit any added salt in the recipe to avoid oversalting. Unsalted butter gives you more control over seasoning, but salted butter works fine if you adjust accordingly.
What’s the best way to melt butter for this recipe?
Melt butter gently in a saucepan over low heat or in short bursts in the microwave, stirring frequently. Avoid overheating or boiling, which can affect texture and flavor.
Can I substitute chocolate chips with chunks or other types of chocolate?
Absolutely! Chocolate chunks or chopped bars work well and create larger melty pockets. Just be mindful that different chocolates have varying melting points and sweetness.
How do I know when the bars are perfectly baked?
Look for golden-brown edges and a center that’s set but still soft. A toothpick inserted near the middle should come out with moist crumbs, not wet batter. Overbaking will dry them out.
Can I make this gluten-free?
Yes, substitute the all-purpose flour with a gluten-free blend designed for baking. You may need to add a binding agent like xanthan gum if your blend doesn’t include it, to keep structure.
Why do my bars come out cakey instead of chewy?
This usually happens if the butter isn’t melted or if you overmix after adding flour. Follow the melted butter method and fold gently to keep the texture chewy and tender.
Can I double this recipe for a larger pan?
Yes, just double the ingredients and use a larger sheet pan. Adjust baking time slightly—start checking a few minutes earlier to avoid overbaking.
How do I store leftover bars to keep them fresh?
Store them in an airtight container at room temperature for 2 days or in the fridge for up to 5 days. Freezing is also a great option for longer storage.
Final Thoughts
Give these gooey chocolate cookie bars a try—you’ll love how easy and delicious they are! Don’t forget to share your baking wins with friends and family.