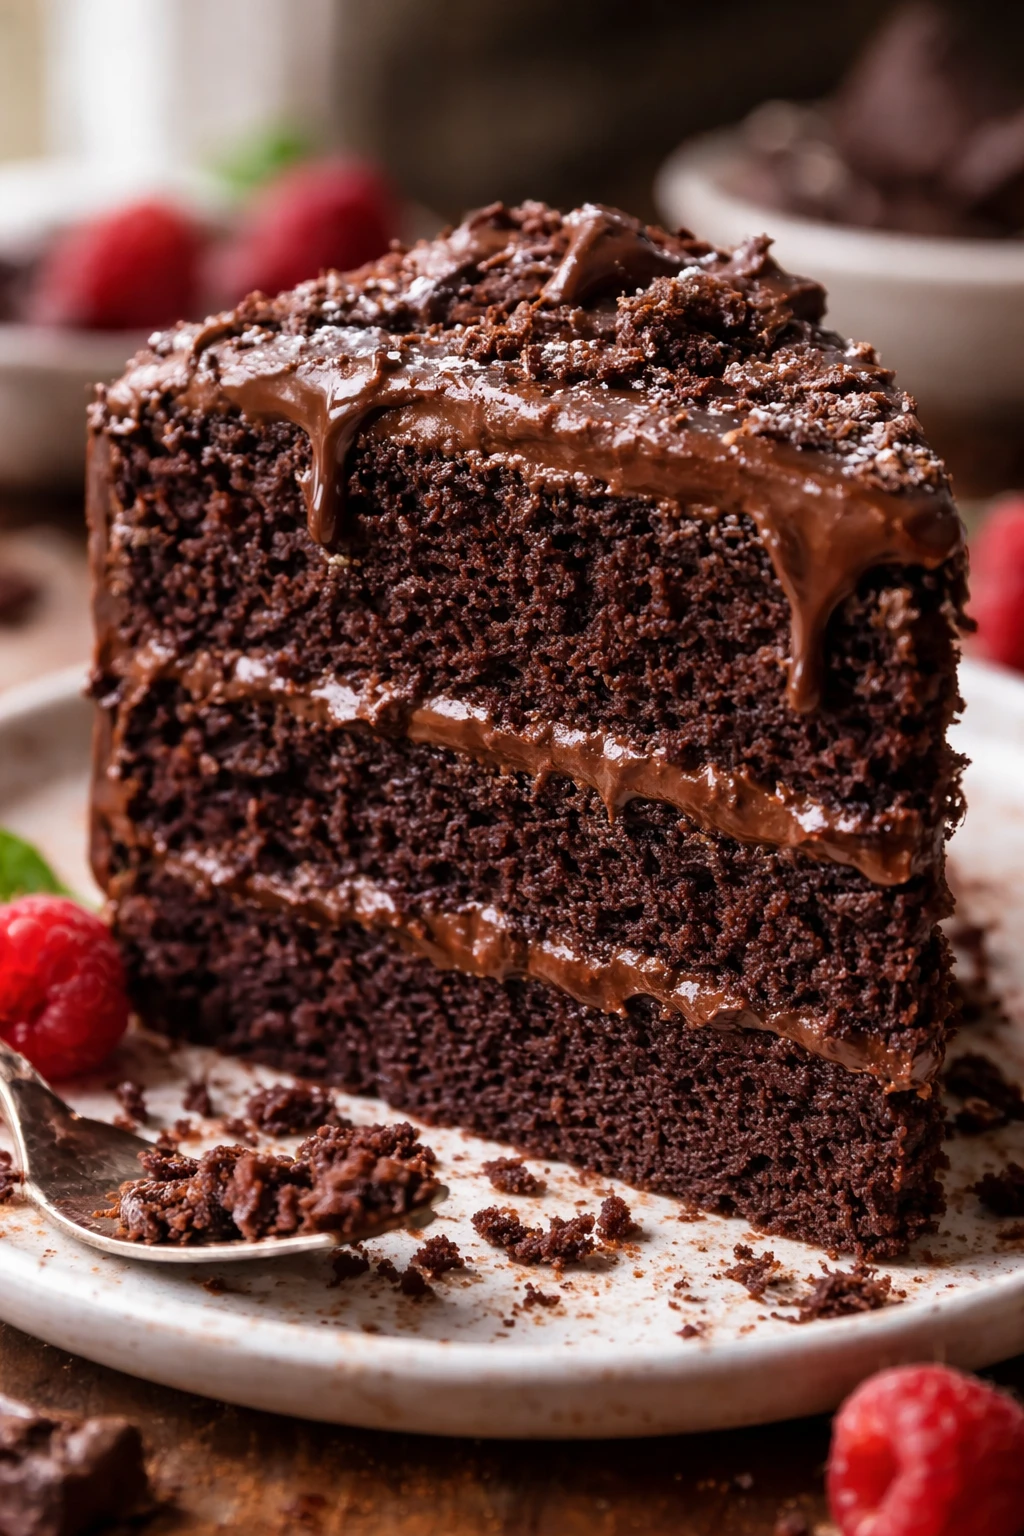
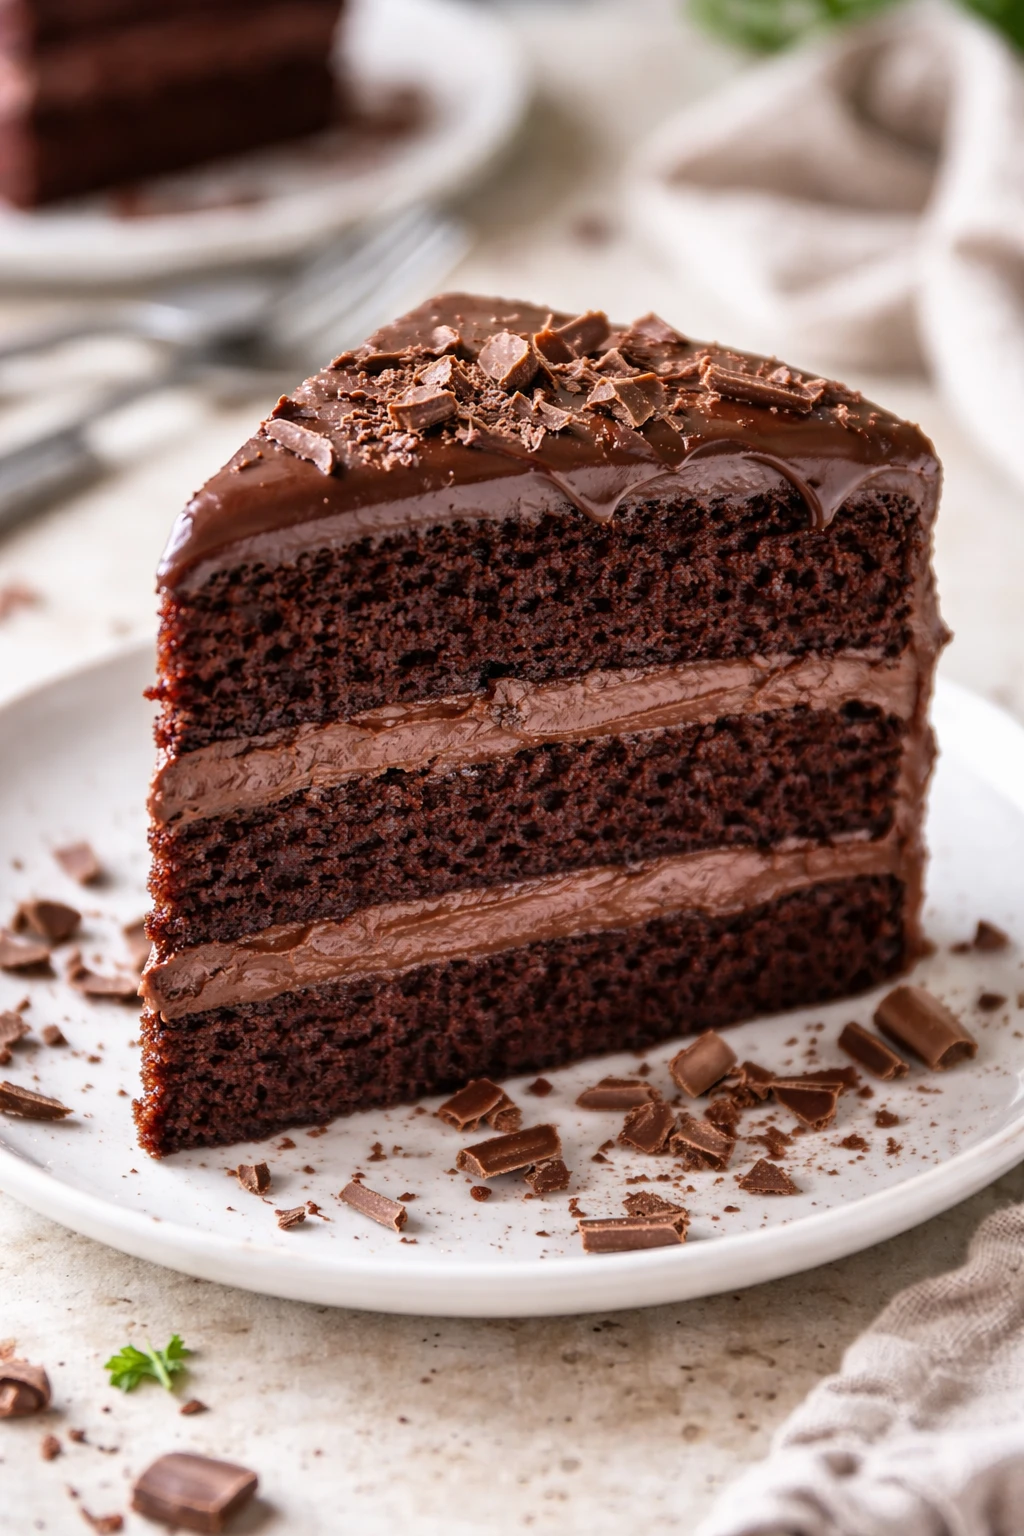
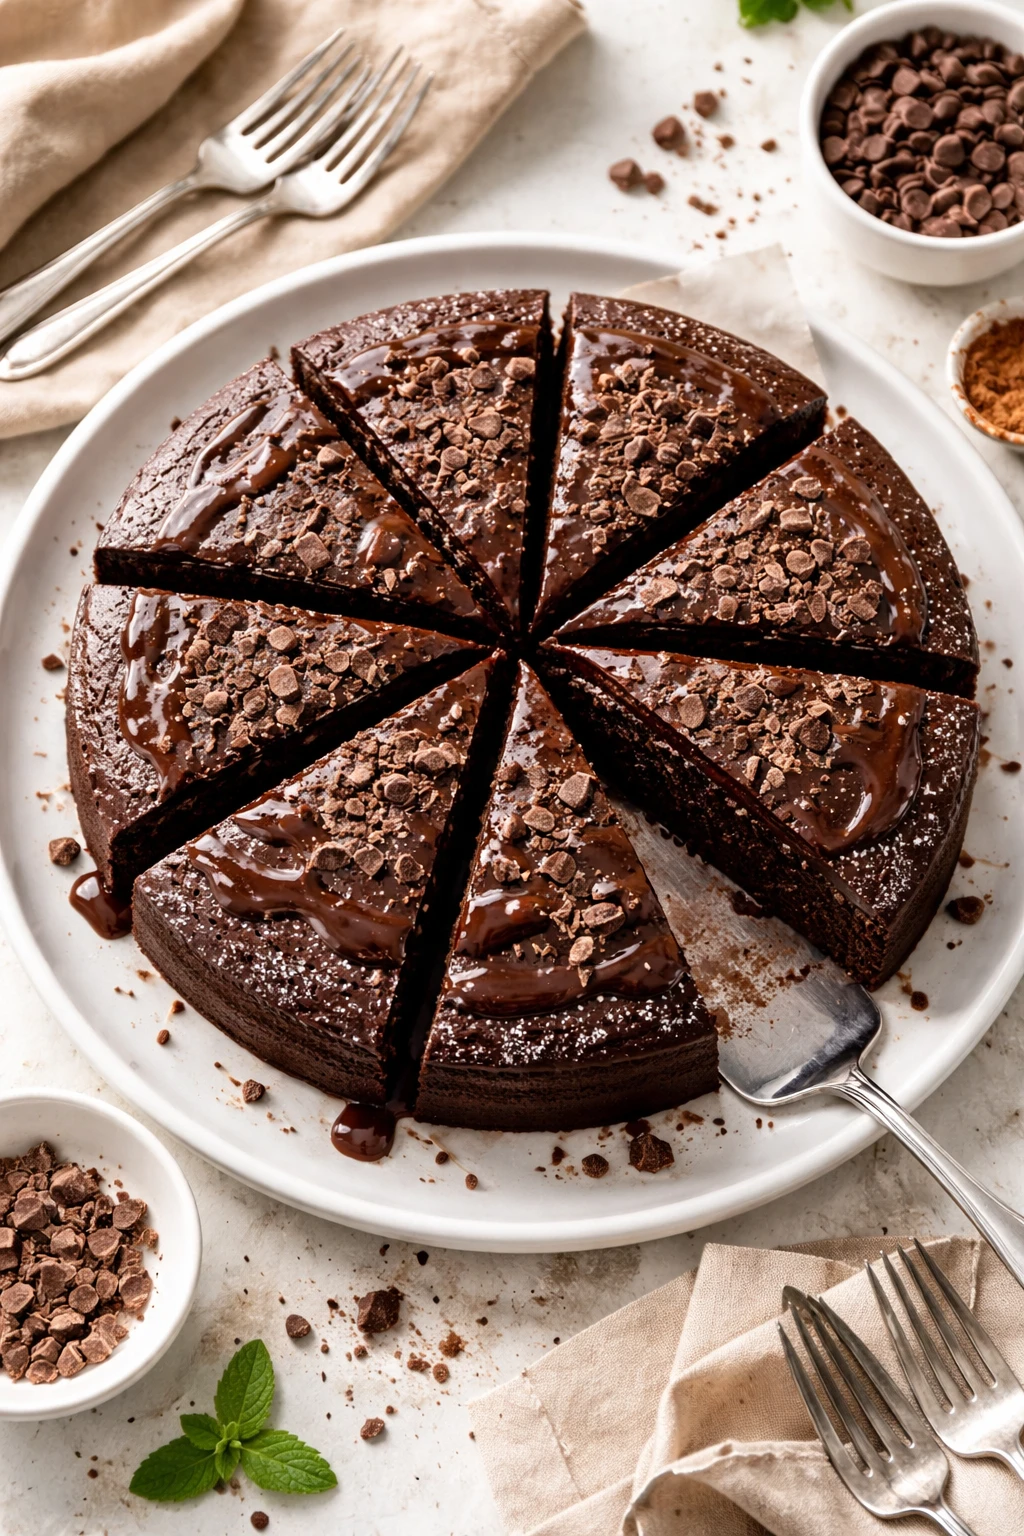
This chocolate cake is super moist and rich thanks to a little sour cream magic. Only five simple ingredients make it easy to whip up anytime you want a comforting dessert. Perfect for casual get-togethers or a quick sweet fix!
Introduction
I first stumbled upon this chocolate cake recipe on a rainy afternoon when I needed something comforting but quick. What caught my attention was the use of sour cream—it sounded unusual at first, but it totally transforms the cake’s texture. Unlike other cakes that can be dry or too dense, this one stays incredibly moist and tender, thanks to that secret ingredient. I’ve made this cake countless times now, and every batch comes out with a soft crumb and rich chocolate flavor that my family adores. The trick I learned is to mix the boiling water in at the very end; it helps bloom the cocoa powder, intensifying the chocolate taste without making the batter runny. Also, using oil instead of butter keeps the cake moist longer, which is great if you want leftovers (not that they usually last!). The finished cake has a deep chocolate richness with a velvety texture that’s perfect for casual get-togethers or just a cozy night in. I love how easy it is—no fancy ingredients or complicated steps, just straightforward baking that always impresses. If you’re looking for a reliable chocolate cake recipe that’s both simple and indulgent, this one’s it.
What You'll Need
One 9-inch round cake, 8 servings
- 1 cup all-purpose flour, sifted
- 1 cup granulated sugar
- 1/2 cup unsweetened cocoa powder
- 1 teaspoon baking soda
- 1/2 teaspoon salt
- 1/2 cup sour cream, full fat
- 1/2 cup vegetable oil
- 2 large eggs
- 1 teaspoon vanilla extract
- 1/2 cup boiling water
How To Do It
Step 1
Preheat your oven to 350°F (175°C) and grease a 9-inch round cake pan. This helps the cake release easily once baked. Greasing thoroughly and optionally lining the pan with parchment paper ensures the cake doesn’t stick, which can ruin the edges. Don’t skip this step—it’s simple but crucial for a perfect cake shape and texture.
⏱ Time: 10 minutes
✓ Doneness: Pan evenly greased with no dry spots visible
Step 2
In a large bowl, sift together the flour, cocoa powder, baking soda, and salt. Sifting helps remove lumps and aerates the dry ingredients, which leads to a lighter cake crumb. Mixing these dry ingredients evenly ensures the cake rises uniformly and the chocolate flavor is balanced.
⏱ Time: 5 minutes
✓ Doneness: Dry ingredients combined with no visible clumps
Step 3
In a separate bowl, whisk together the sugar, sour cream, vegetable oil, eggs, and vanilla extract until smooth. This wet mixture is the base of moisture and richness. Whisking well incorporates air and blends the ingredients into a silky batter, which helps with the cake’s tenderness.
⏱ Time: 5 minutes
✓ Doneness: Smooth, glossy wet mixture with no streaks
Step 4
Gradually add the dry ingredients to the wet mixture, stirring gently until just combined. Overmixing here can develop gluten and make the cake tough, so mix until you no longer see dry flour but avoid beating. The batter will be thick but smooth.
⏱ Time: 3 minutes
✓ Doneness: Batter combined with no flour patches, but still slightly thick
Step 5
Carefully pour in the boiling water and mix slowly until smooth. The hot water blooms the cocoa powder, unlocking a deeper chocolate flavor and making the batter thinner and easier to pour. Be gentle to avoid splashing, and don’t skip this step—it’s key to the cake’s moist texture.
⏱ Time: 2 minutes
✓ Doneness: Batter smooth, thin, and pourable
Step 6
Pour the batter into the prepared pan and smooth the top with a spatula. Even spreading helps the cake bake uniformly and rise evenly. Tap the pan on the counter a couple of times to release any large air bubbles, preventing holes in the final crumb.
⏱ Time: 3 minutes
✓ Doneness: Batter level and free of large air pockets
Step 7
Bake in the preheated oven for 30 to 35 minutes. Avoid opening the oven door early, as this can cause the cake to sink. Start checking at 30 minutes by inserting a toothpick in the center; it should come out with a few moist crumbs but no raw batter.
⏱ Time: 30-35 minutes
✓ Doneness: Toothpick inserted in center comes out nearly clean
Step 8
Let the cake cool in the pan for 15 minutes, then run a knife around the edges and invert it onto a wire rack to cool completely. Cooling in the pan too long can cause sogginess, so transferring to a rack prevents condensation and keeps the crumb light.
⏱ Time: 20 minutes
✓ Doneness: Cake cools to touch and releases cleanly from pan
Step 9
Once fully cooled, frost or dust with powdered sugar as desired. I love serving this cake simply dusted with powdered sugar or with a dollop of whipped cream to let the chocolate flavor shine. If frosting, use a smooth chocolate ganache or cream cheese frosting for extra indulgence.
⏱ Time: Optional, 10 minutes
✓ Doneness: Frosting smooth and evenly spread or light dusting applied
Variations
Chocolate Cake with Espresso
Add 1 teaspoon of instant espresso powder to the dry ingredients to enhance the chocolate flavor with a subtle coffee note. This deepens the richness without overpowering the cake. Great for coffee lovers wanting an adult twist.
Note: Espresso powder dissolves easily in the batter; no extra liquid needed. The baking time remains the same.
Gluten-Free Chocolate Cake
Substitute all-purpose flour with a gluten-free baking blend that includes xanthan gum. This keeps the structure intact and produces a moist crumb, suitable for gluten intolerant friends.
Note: Gluten-free flours absorb liquids differently, so watch for batter consistency and avoid overmixing to prevent crumbliness.
Vegan Chocolate Cake
Replace eggs with flax eggs (1 tablespoon ground flaxseed + 3 tablespoons water per egg) and use a nondairy sour cream alternative. This version is moist and rich while being plant-based.
Note: Flax eggs need a few minutes to gel before mixing. Expect slightly denser texture but still very tasty.
Chocolate Cake with Chocolate Chips
Fold in 1 cup of semi-sweet chocolate chips into the batter before pouring it into the pan. This adds pockets of melty chocolate for extra indulgence.
Note: Gently fold chips to avoid overmixing. Baking time remains similar but watch for chip melting.
Spiced Chocolate Cake
Add 1 teaspoon cinnamon and 1/4 teaspoon cayenne pepper to the dry ingredients for a warm, spicy kick. Perfect for fall or holiday desserts.
Note: Spices blend well with cocoa powder; no changes to mixing or baking times.
Pro Tips
Always sift your dry ingredients before mixing.
Sifting aerates the flour and cocoa powder, removing lumps and ensuring even mixing. This leads to a lighter texture and prevents pockets of dry ingredients, which can cause uneven baking or gritty spots in the cake.
Use room temperature eggs and sour cream.
Room temperature ingredients mix more evenly and trap air better, which helps the cake rise and creates a tender crumb. Cold ingredients can cause the batter to curdle or mix unevenly, leading to dense spots.
Don’t skip the boiling water step.
The hot water blooms the cocoa powder, unlocking deeper chocolate flavor and producing a smooth, pourable batter. Skipping this will result in a less intense chocolate taste and a thicker batter that may bake unevenly.
Mix the batter just until combined.
Overmixing develops gluten, which toughens the cake. Mixing until no dry streaks remain ensures a tender crumb without sacrificing structure.
Grease your pan well and consider lining it with parchment paper.
Proper greasing prevents sticking and tearing of the cake when removing it from the pan, preserving the cake’s shape and texture.
Test doneness with a toothpick starting at 30 minutes baking time.
Overbaking dries out the cake, while underbaking leaves it gooey. The toothpick test ensures you get a perfectly baked cake with a moist crumb.
Cool the cake on a wire rack after removing from the pan.
Cooling on a rack prevents condensation from making the cake soggy, preserving the ideal texture.
Common Mistakes to Avoid
Overmixing the batter
Why it happens Many cooks think mixing longer makes the batter smoother, but this actually develops gluten, causing a tough cake.
Fix Mix just until ingredients are combined with no dry spots. Stop as soon as the batter looks uniform to keep the crumb tender.
Skipping the boiling water
Why it happens Some assume water isn’t needed or can be replaced with cold water, missing its role in blooming cocoa.
Fix Always add boiling water at the end; it intensifies chocolate flavor and thins batter for even baking.
Using expired baking soda
Why it happens Baking soda loses potency over time, so some don’t realize their leavening agent is ineffective.
Fix Test baking soda by mixing a small amount with vinegar; it should fizz vigorously. Replace if inactive.
Not properly greasing the pan
Why it happens Rushing or skipping this step leads to sticking and cake tearing when removed.
Fix Grease pan thoroughly and consider lining with parchment paper for easy release.
Opening oven door too early
Why it happens Impatience or curiosity can cause temperature drops, making the cake sink.
Fix Wait at least 25 minutes before checking; open door gently and quickly to maintain heat.
Nutrition
Per Serving:
Nutritional values are estimates and may vary based on specific ingredients used.
Storage & Tips
Room Temperature
The cake keeps well at room temperature for up to 2 days if covered tightly with plastic wrap or stored in an airtight container, which prevents drying out. Avoid leaving it uncovered, as it will become stale quickly.
Refrigerator
Store in an airtight container for up to 5 days. The cake may firm up in the fridge, so bring it to room temperature or warm slightly before serving for the best texture and flavor.
Freezer
Wrap the cooled cake tightly in plastic wrap and then in foil or place in a freezer-safe container. Freeze for up to 3 months. To thaw, transfer to the refrigerator overnight and then bring to room temperature before serving to restore softness.
Reheating
Warm slices gently in the microwave for 15-20 seconds or in a low oven (300°F) for 10 minutes. Adding a small dab of butter or a splash of milk before warming helps maintain moisture. Avoid overheating as it can dry out the cake.
Make Ahead
You can prepare the batter a day ahead and keep it refrigerated, but bring it to room temperature before baking for even cooking. Alternatively, bake the cake a day ahead and store it covered at room temperature or refrigerated, then frost or dust just before serving.
FAQ
Can I substitute sour cream with yogurt?
Yes, full-fat plain yogurt can be used as a substitute for sour cream in equal amounts. It provides similar acidity and moisture, though the texture might be slightly less rich. Greek yogurt works well but may thicken the batter a bit, so adjust liquids if needed.
Why is my cake dense and not fluffy?
Dense cake usually results from overmixing the batter or expired leavening agents. Mix only until combined to avoid tough gluten development, and ensure your baking soda is fresh to get proper rise.
Can I use Dutch-processed cocoa instead of natural cocoa?
You can, but Dutch-processed cocoa is less acidic and won’t react with baking soda the same way. To compensate, swap baking soda for baking powder or add a small amount of acid like cream of tartar.
How do I know when the cake is done?
Insert a toothpick into the center at 30 minutes baking time; it should come out with a few moist crumbs but no wet batter. Avoid waiting until it’s completely dry, as that can mean overbaking and dryness.
Can I freeze the cake after frosting?
Yes, but make sure to use a frosting that freezes well, like buttercream. Wrap the cake tightly to prevent freezer burn. Thaw in the fridge overnight and bring to room temperature before serving for best texture.
Why is my cake sticking to the pan?
Insufficient greasing or not lining the pan can cause sticking. Use a generous layer of butter or oil and dust with flour, or line with parchment paper for easy release.
Can I make this cake in a different pan shape?
Absolutely. Adjust the baking time accordingly; thinner cakes bake faster, so start checking earlier. Deep pans may require longer baking.
Is this recipe suitable for high altitude baking?
At high altitudes, reduce baking soda slightly and increase flour by a tablespoon or two to prevent collapse. You might also need to increase oven temperature by 15-25°F.
Final Thoughts
I hope you enjoy baking and sharing this moist, rich chocolate cake as much as I do. Let me know how it turns out—or better yet, share your photos!