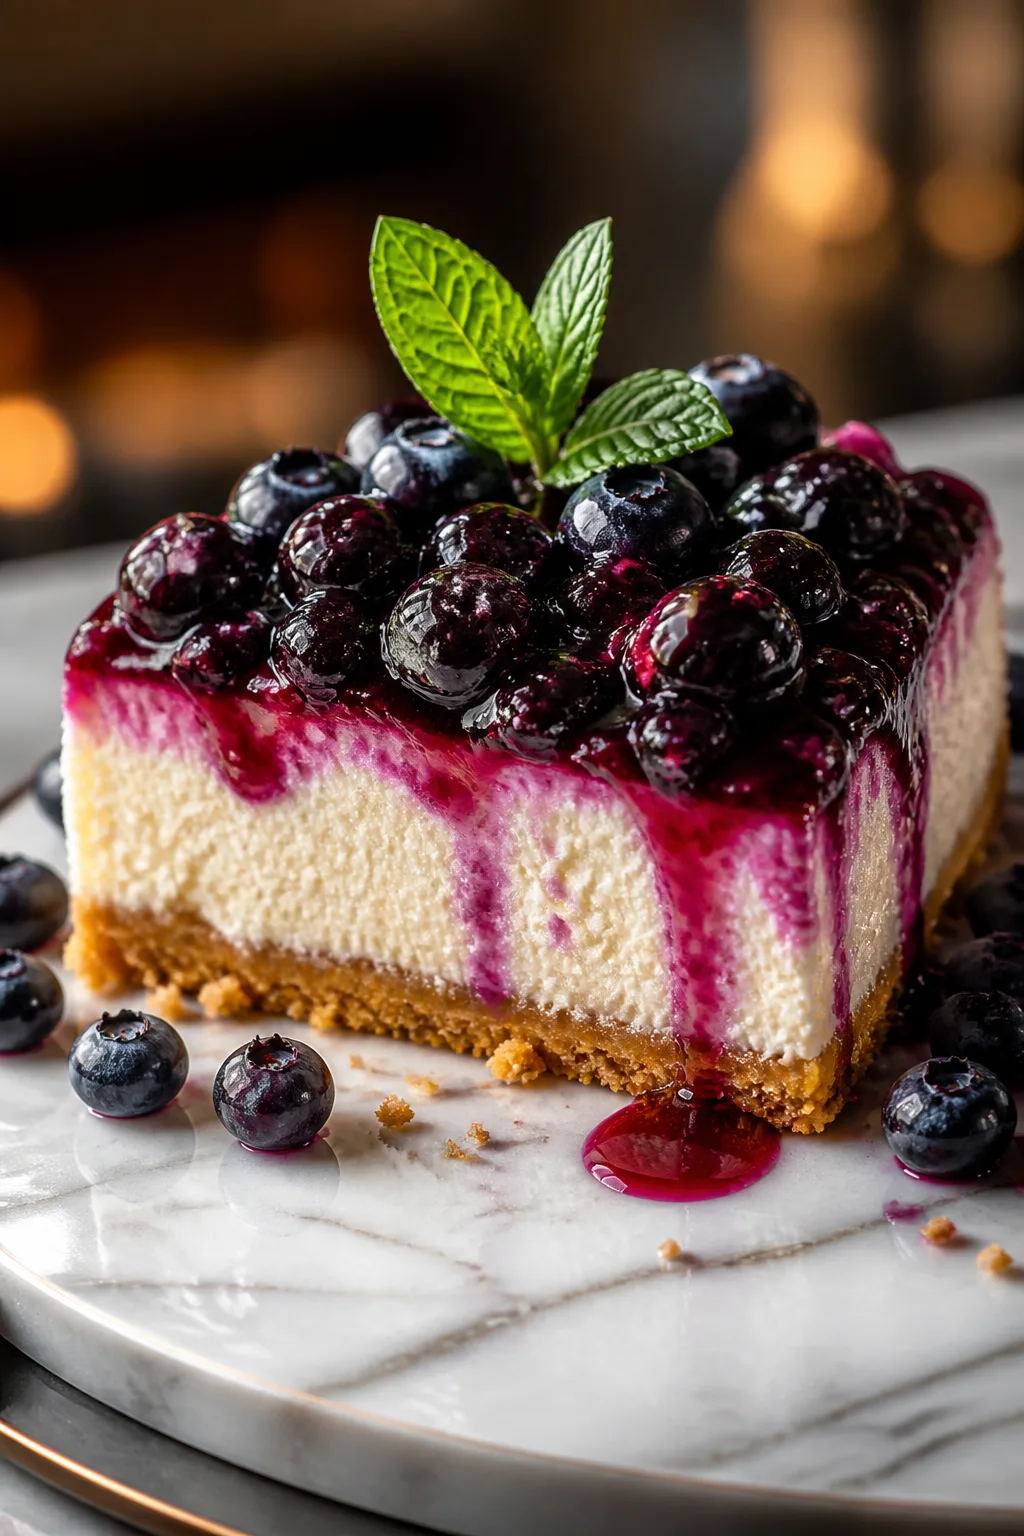
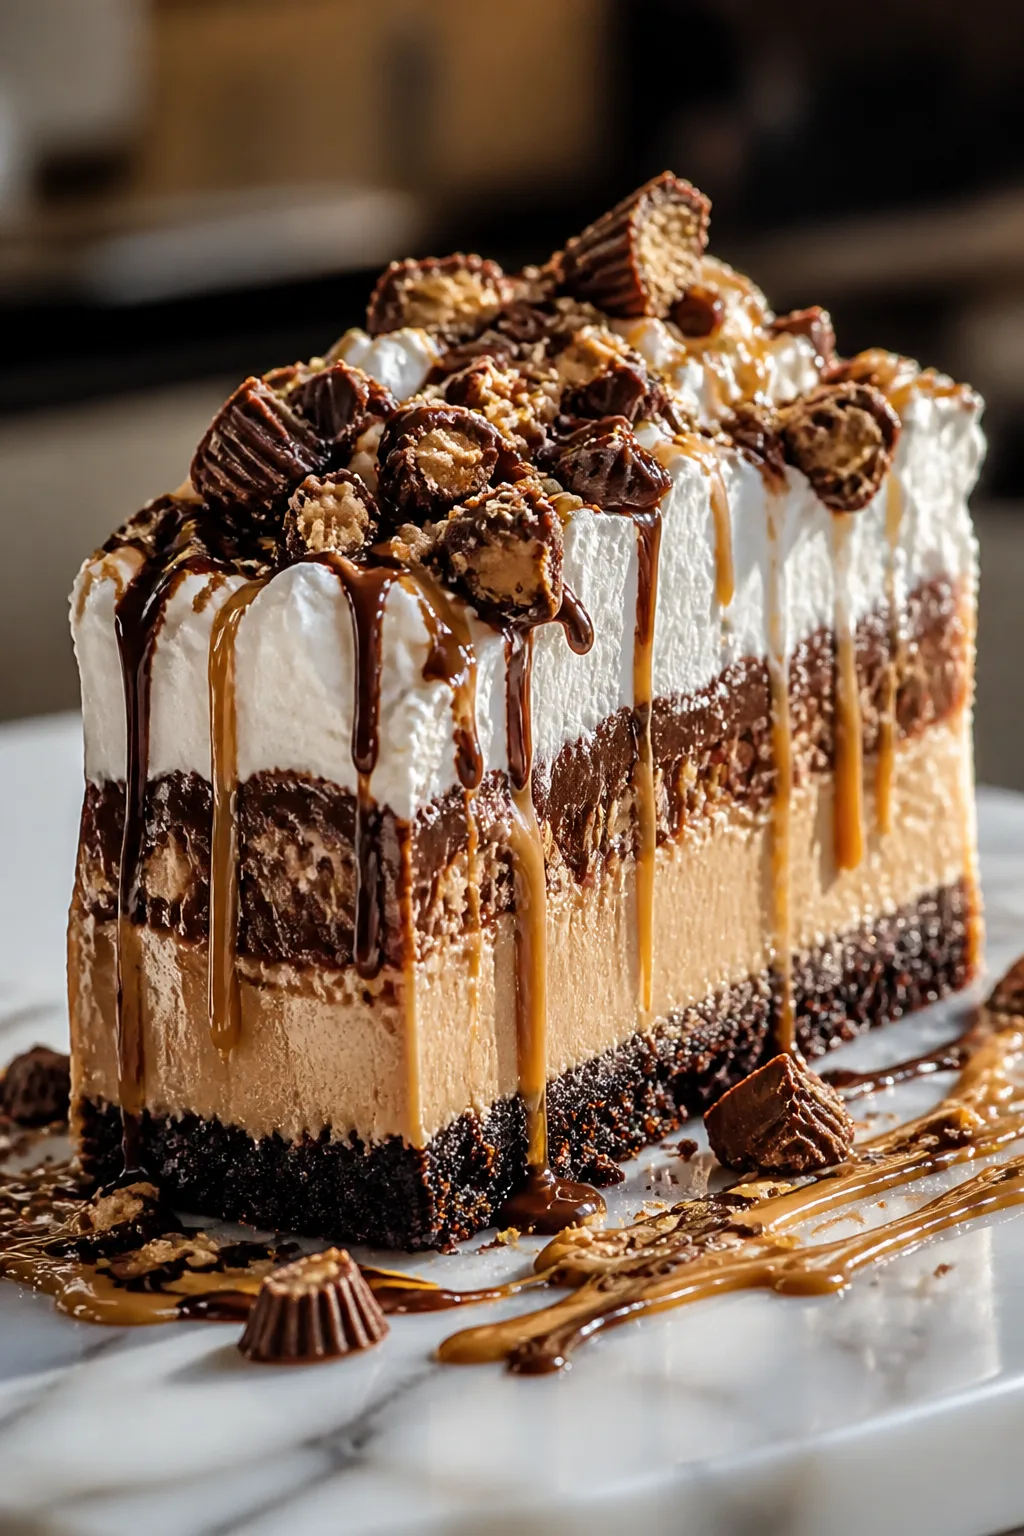
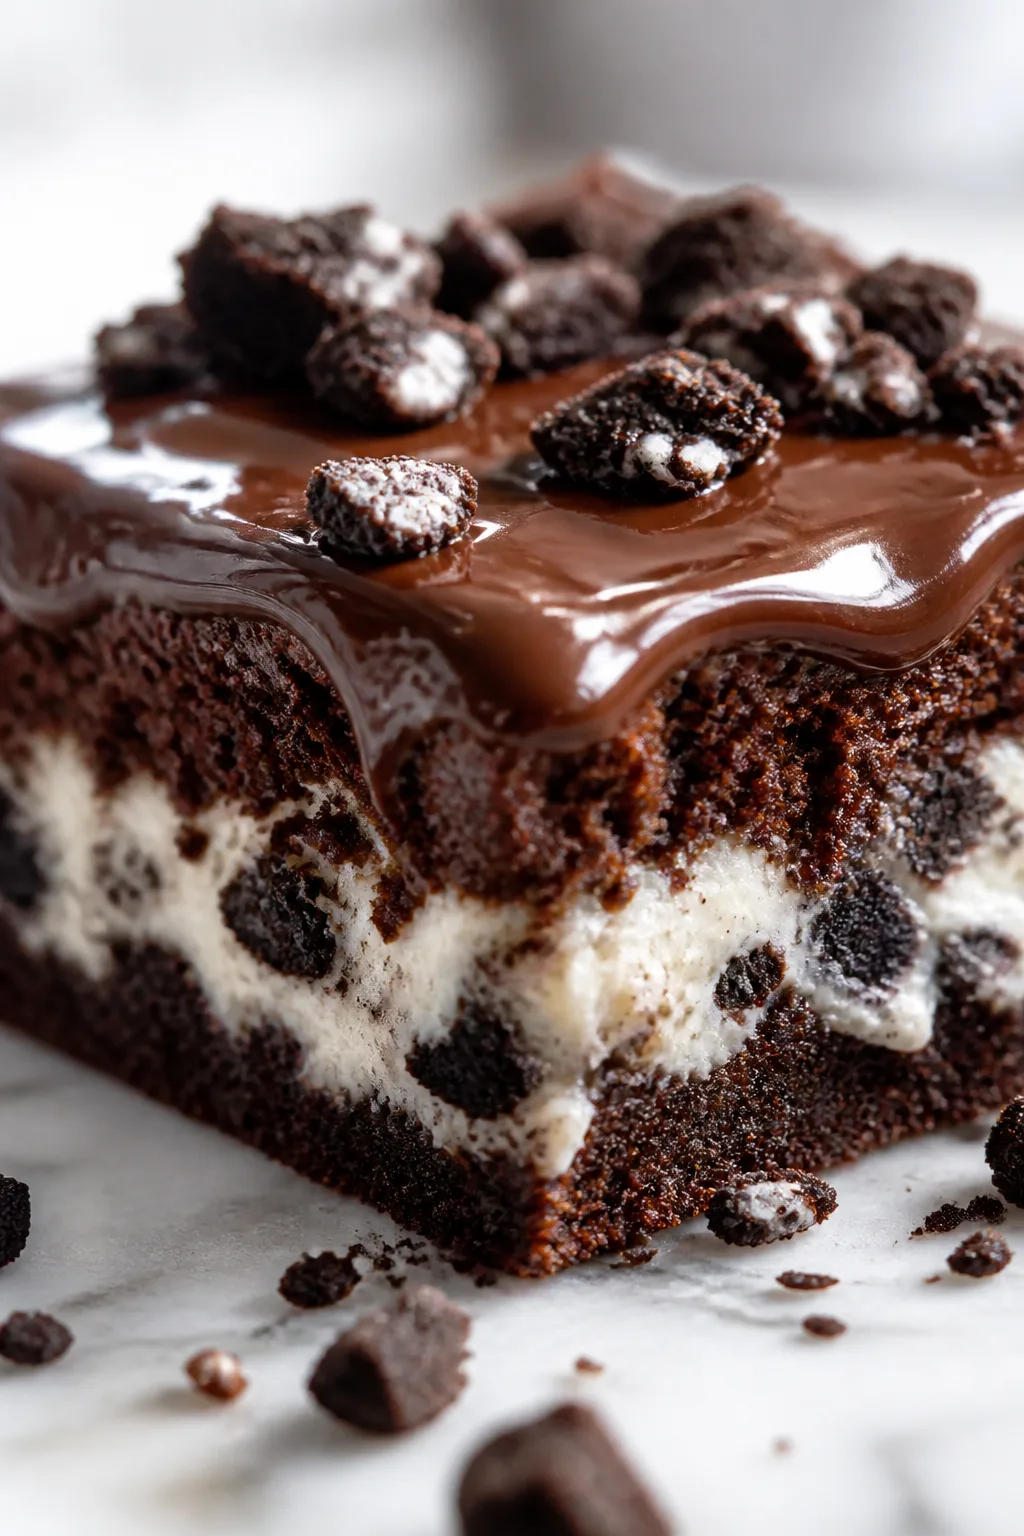
These no-bake bars combine rich chocolate and creamy peanut butter for a sweet treat that’s ready in no time. They’re super simple, perfect for last-minute cravings or casual get-togethers.
Introduction
I first stumbled upon this no-bake chocolate peanut butter bars recipe on a hectic weeknight when I desperately wanted something sweet but had zero energy to bake. I was skeptical at first—no baking? Would it taste good? Turns out, it’s a total game-changer! What makes this version stand out is the balance between the rich peanut butter base and the silky chocolate topping. The secret is melting the butter and peanut butter together so the sugar and crumbs bind perfectly, giving the bars a dense, fudgy texture that’s not too dry or crumbly. Then, topping it off with a glossy chocolate layer adds that satisfying snap and sweetness. I love how quick it comes together—no oven needed—and it’s always a hit when I bring it to potlucks or just want an easy treat at home. These bars are decadent but simple, and you can customize the chocolate layer if you want to get creative. When finished, they slice cleanly, look polished, and taste like you spent way more time on them than you actually did. Definitely one of my go-to recipes when I need dessert fast but crave something homemade.
How To Do It
Step 1
In a medium bowl, combine the creamy peanut butter and melted unsalted butter. Stir them together until completely smooth and well blended. This step is crucial because melting the butter helps the powdered sugar and graham cracker crumbs bind evenly, creating a fudgy, cohesive base. If you skip melting or don’t mix thoroughly, the texture can be grainy or crumbly. Make sure the butter is warm but not hot to avoid melting the sugar prematurely.
⏱ Time: 5 minutes
✓ Doneness: Smooth, glossy peanut butter-butter mixture with no lumps
Step 2
Gradually add the sifted powdered sugar to the peanut butter mixture, stirring after each addition. Then fold in the graham cracker crumbs gently until fully incorporated. The powdered sugar sweetens and thickens the mixture, while the crumbs add structure and a slight crunch. Be careful not to overmix, or the base can become too dense. The goal is a thick dough that holds together but isn’t dry.
⏱ Time: 5 minutes
✓ Doneness: Thick, slightly crumbly dough that sticks together when pressed
Step 3
Line an 8x8 inch pan with parchment paper or lightly grease it. Press the peanut butter mixture firmly and evenly into the bottom of the pan with your hands or a spatula. Applying firm pressure here ensures the bars hold their shape when cut. If the base is pressed lightly, the bars might crumble apart later. Use a flat-bottomed glass or measuring cup to smooth the surface for a professional look.
⏱ Time: 5 minutes
✓ Doneness: Even, compact layer with smooth surface covering the pan bottom
Step 4
In a microwave-safe bowl, combine the semi-sweet chocolate chips and vegetable oil. Microwave in 30-second bursts, stirring between each, until the chocolate is melted and silky smooth. The oil thins the chocolate slightly, making it easier to spread and giving a shiny finish. Avoid overheating the chocolate or it may seize. Stir gently to combine.
⏱ Time: 3 minutes
✓ Doneness: Glossy, fully melted chocolate with no lumps
Step 5
Pour the melted chocolate mixture evenly over the peanut butter base. Use a spatula to spread it into an even layer, covering the entire surface. This chocolate topping adds a rich contrast and a satisfying bite. Make sure the layer is smooth and not too thick to avoid cracking when cut.
⏱ Time: 5 minutes
✓ Doneness: Smooth, shiny chocolate layer fully covering the base
Step 6
Place the pan in the refrigerator for at least 30 minutes or until the chocolate is set and the bars are firm. Chilling solidifies the layers and makes cutting easier. If you skip this step, the bars will be too soft and messy to slice cleanly. Patience here really pays off!
⏱ Time: 30 minutes
✓ Doneness: Firm, set chocolate topping and solid peanut butter base
Step 7
Once set, lift the bars out of the pan using the parchment paper edges. Place on a cutting board and slice into 12 equal bars using a sharp knife. Wiping the knife clean between cuts helps keep edges neat and prevents crumbling. These bars should hold together well with clean edges if chilled properly.
⏱ Time: 5 minutes
✓ Doneness: Cleanly cut bars with smooth sides and no falling apart
Step 8
Serve the bars chilled or at room temperature. They’re perfect for snack time, dessert, or even a quick energy boost. If you want a softer texture, let them sit out for 10 minutes before serving. Store leftovers in an airtight container in the fridge.
⏱ Time: 0 minutes
✓ Doneness: Bars firm but slightly yielding when touched at room temp
Step 9
Optional: For extra flair, sprinkle chopped peanuts or sea salt flakes on top of the chocolate before chilling. This adds texture and a salty contrast that complements the sweet peanut butter and chocolate beautifully.
⏱ Time: 2 minutes
✓ Doneness: Toppings evenly distributed and adhered to chocolate surface
Variations
Almond Butter No-Bake Bars
Swap peanut butter for almond butter for a slightly nutty, less sweet flavor. The texture stays creamy but with a different nutty profile that’s great if you want a peanut-free option.
Note: Almond butter is usually thinner than peanut butter, so you may need to reduce the melted butter slightly to keep the base firm.
Dark Chocolate and Sea Salt Bars
Use dark chocolate chips instead of semi-sweet for a more intense chocolate flavor. Sprinkle flaky sea salt on top before chilling to add a gourmet touch and elevate the taste.
Note: Dark chocolate sets firmer and can be slightly more bitter, so balance with a bit more powdered sugar if desired.
Vegan No-Bake Chocolate Peanut Butter Bars
Replace butter with coconut oil and use dairy-free chocolate chips to make this recipe vegan-friendly. The coconut oil adds a subtle tropical note and keeps the bars firm when chilled.
Note: Coconut oil solidifies at cooler temps, so keep bars refrigerated until serving to maintain structure.
Crunchy Peanut Butter Bars
Add chopped roasted peanuts into the base mixture for extra crunch and texture contrast. This variation is perfect if you love a bit of nutty bite in every bar.
Note: Chop peanuts finely to avoid making the base too crumbly and press mixture firmly to hold shape.
Chocolate Hazelnut No-Bake Bars
Replace peanut butter with chocolate hazelnut spread (like Nutella) for a sweet, nutty twist. The bars become richer and more dessert-like, perfect for chocolate lovers.
Note: Because hazelnut spread is sweeter and softer, reduce powdered sugar slightly and chill longer for firm bars.
Pro Tips
Press the base firmly into the pan using a flat-bottomed glass for an even layer.
Firmly compressing the base helps the crumbs and sugar bind tightly with the fats, preventing crumbly bars. It also creates a smooth surface for the chocolate layer, improving the final presentation.
Use room temperature peanut butter to blend smoothly with melted butter.
Cold peanut butter can cause lumps or uneven mixing, which affects the texture of the base. Softening it beforehand allows for a homogenous mixture, ensuring the bars hold together well.
Microwave chocolate in short bursts, stirring often to avoid overheating.
Chocolate can seize or burn if microwaved too long at once. Stirring between short bursts distributes heat evenly, resulting in a silky smooth melt perfect for spreading.
Chill the bars for at least 30 minutes before slicing.
Cooling solidifies the fats and chocolate, making the bars firm enough to cut cleanly. Without chilling, the bars will be soft and messy, losing their shape.
Wipe your knife clean between cuts for neat slices.
Chocolate and peanut butter can stick to the knife, causing ragged edges. Cleaning the blade prevents buildup and ensures each bar looks as good as it tastes.
Add a pinch of sea salt on top of the chocolate for flavor contrast.
Salt enhances the sweetness and depth of both chocolate and peanut butter, balancing flavors and making the dessert more complex and satisfying.
Use parchment paper to line your pan for easy removal.
Parchment lets you lift the entire block out effortlessly, preventing breakage and making slicing easier. It also reduces cleanup time.
Common Mistakes to Avoid
Not melting the butter and peanut butter properly.
Why it happens Sometimes in a rush, people try to mix cold peanut butter with melted butter or don’t melt the butter fully, assuming it will blend later.
Fix Take the time to gently melt the butter and then mix it thoroughly with room temperature peanut butter until smooth. This ensures the sugar and crumbs bind properly, giving the bars a firm, fudgy texture.
Skipping the chilling step before cutting.
Why it happens Impatience or underestimating the importance of chilling can lead to messy bars that don’t hold their shape.
Fix Place the bars in the refrigerator for at least 30 minutes or until the chocolate topping is set and the base is firm. This step is crucial for clean slicing and proper texture.
Overmixing the base mixture.
Why it happens Some think mixing longer improves texture, but it can compact the crumbs too much, making the base dense and tough.
Fix Mix just until ingredients come together evenly and the dough holds when pressed. Gentle folding preserves a tender crumb structure.
Using chunky peanut butter instead of creamy.
Why it happens Chunky peanut butter is delicious but can interfere with the smooth texture needed for the base to press evenly.
Fix Stick to creamy peanut butter in this recipe for a smooth, cohesive base. If you prefer crunch, add chopped peanuts as a topping instead.
Burning the chocolate while melting.
Why it happens Microwaving chocolate without stirring or using high power can cause it to seize or burn quickly.
Fix Melt chocolate in 20-30 second bursts, stirring thoroughly between each. Use low power settings and remove from heat as soon as fully melted for silky smooth chocolate.
Nutrition
Per Serving:
Nutritional values are estimates and may vary based on specific ingredients used.
Storage & Tips
Room Temperature
These bars can safely sit at room temperature for up to 2 hours if covered. Beyond that, the chocolate topping may soften and the bars can become too sticky to handle, so refrigeration is best for longer storage.
Refrigerator
Store bars in an airtight container in the fridge for up to 5 days. They keep their texture well but can firm up more when cold. Let them sit at room temperature for 10 minutes before serving if you prefer a softer bite.
Freezer
Freeze bars tightly wrapped in plastic wrap and stored in a freezer-safe container for up to 2 months. To thaw, place in the fridge overnight. Avoid thawing at room temperature to prevent condensation and sogginess.
Reheating
No reheating needed—these bars are best served chilled or at room temperature. If you want a softer texture, leave them out for 10 minutes before eating. Avoid microwaving as it melts the chocolate topping.
Make Ahead
Prepare the base and chocolate topping separately a day ahead. Store the base in the fridge and melt/spread the chocolate just before assembling and chilling. This keeps the chocolate fresh and shiny when served.
FAQ
Can I use crunchy peanut butter instead of creamy?
Crunchy peanut butter can be used but may make the base less smooth and harder to press evenly. For best results, use creamy peanut butter and add chopped peanuts on top if you want crunch.
What if my chocolate seizes while melting?
Chocolate seizing happens when moisture gets in or it’s overheated. To fix, add a small amount of vegetable oil or butter and stir gently until smooth. Always melt chocolate in short bursts and stir often to avoid this.
Can I make these bars gluten-free?
Yes, substitute graham cracker crumbs with gluten-free alternatives like crushed gluten-free cookies or oats. Make sure all other ingredients are certified gluten-free to avoid contamination.
How long do these bars last in the fridge?
Stored in an airtight container, these bars stay fresh for up to 5 days in the refrigerator. The texture may firm up but the flavors remain delicious. Bring to room temperature before serving for best texture.
Can I double this recipe?
Absolutely! Just double all ingredients and use a larger pan or two pans. The chilling time might be a bit longer depending on thickness, so keep an eye on the firmness before cutting.
Is there a way to make these bars less sweet?
You can reduce the powdered sugar slightly or use dark chocolate instead of semi-sweet. Keep in mind that too little sugar may affect the texture and binding of the base.
Can I substitute butter with margarine or oil?
Butter offers flavor and structure that margarine or oil can’t fully replicate. If needed, use a firm margarine, but avoid liquid oils as they won’t solidify properly and can make the bars greasy.
How do I get clean slices without crumbling?
Chill the bars thoroughly before slicing and use a sharp knife wiped clean between cuts. Press the base firmly when assembling to ensure it holds together well.
Final Thoughts
I hope you love these no-bake chocolate peanut butter bars as much as I do! Give them a try and let me know how they turn out—sharing is caring!