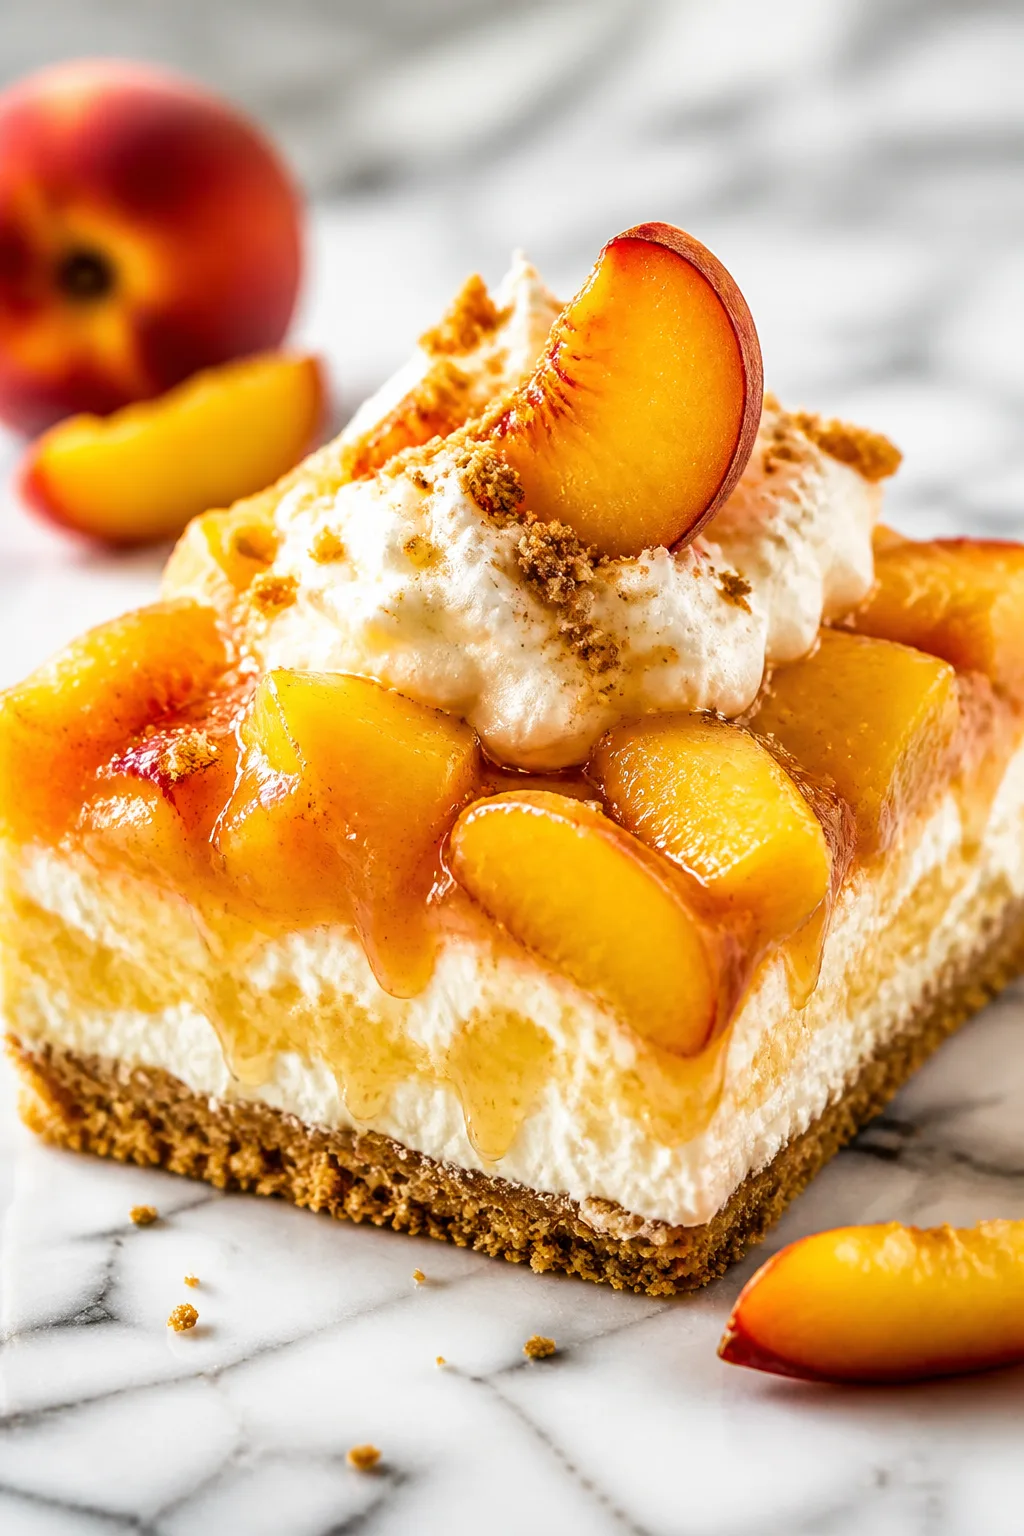
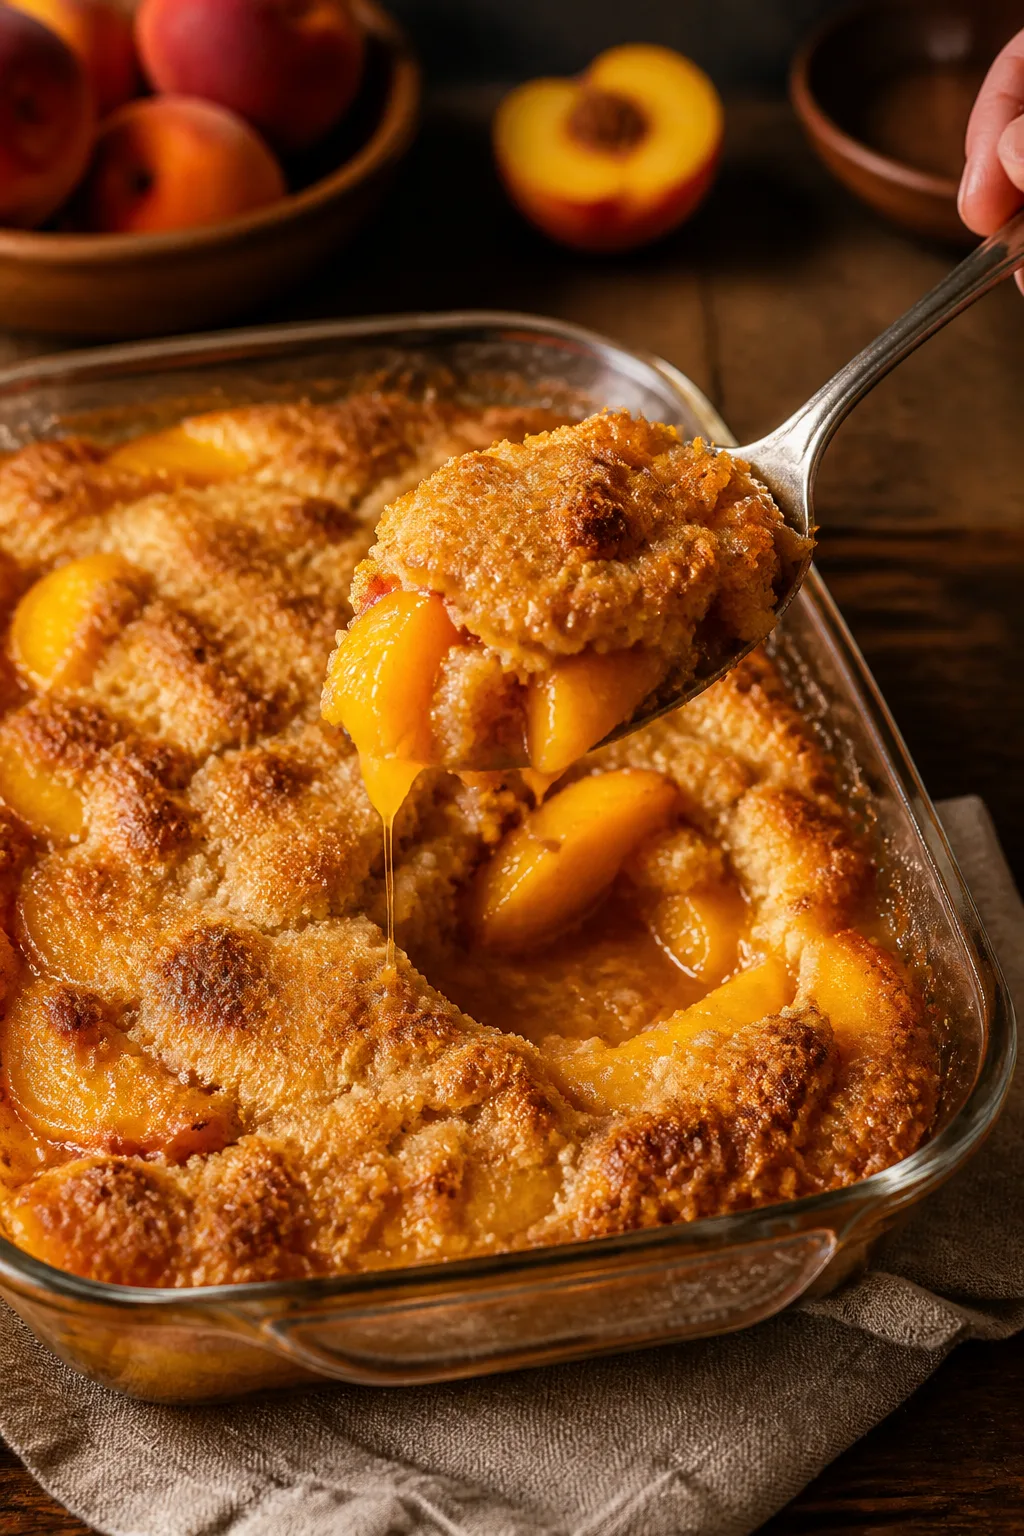
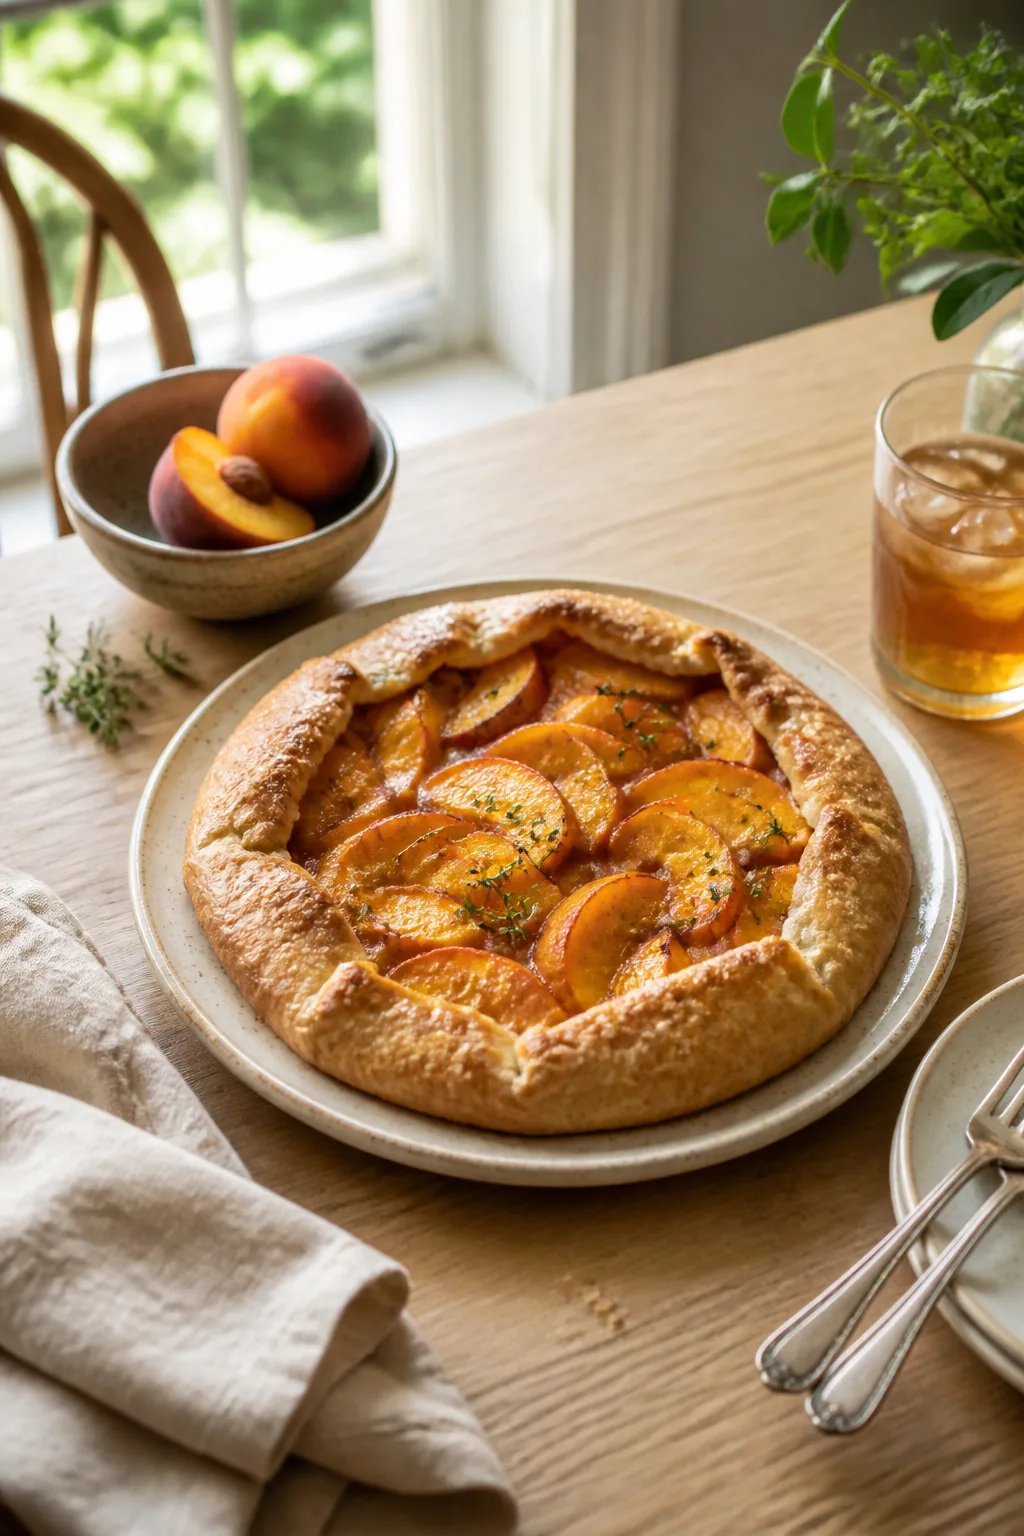
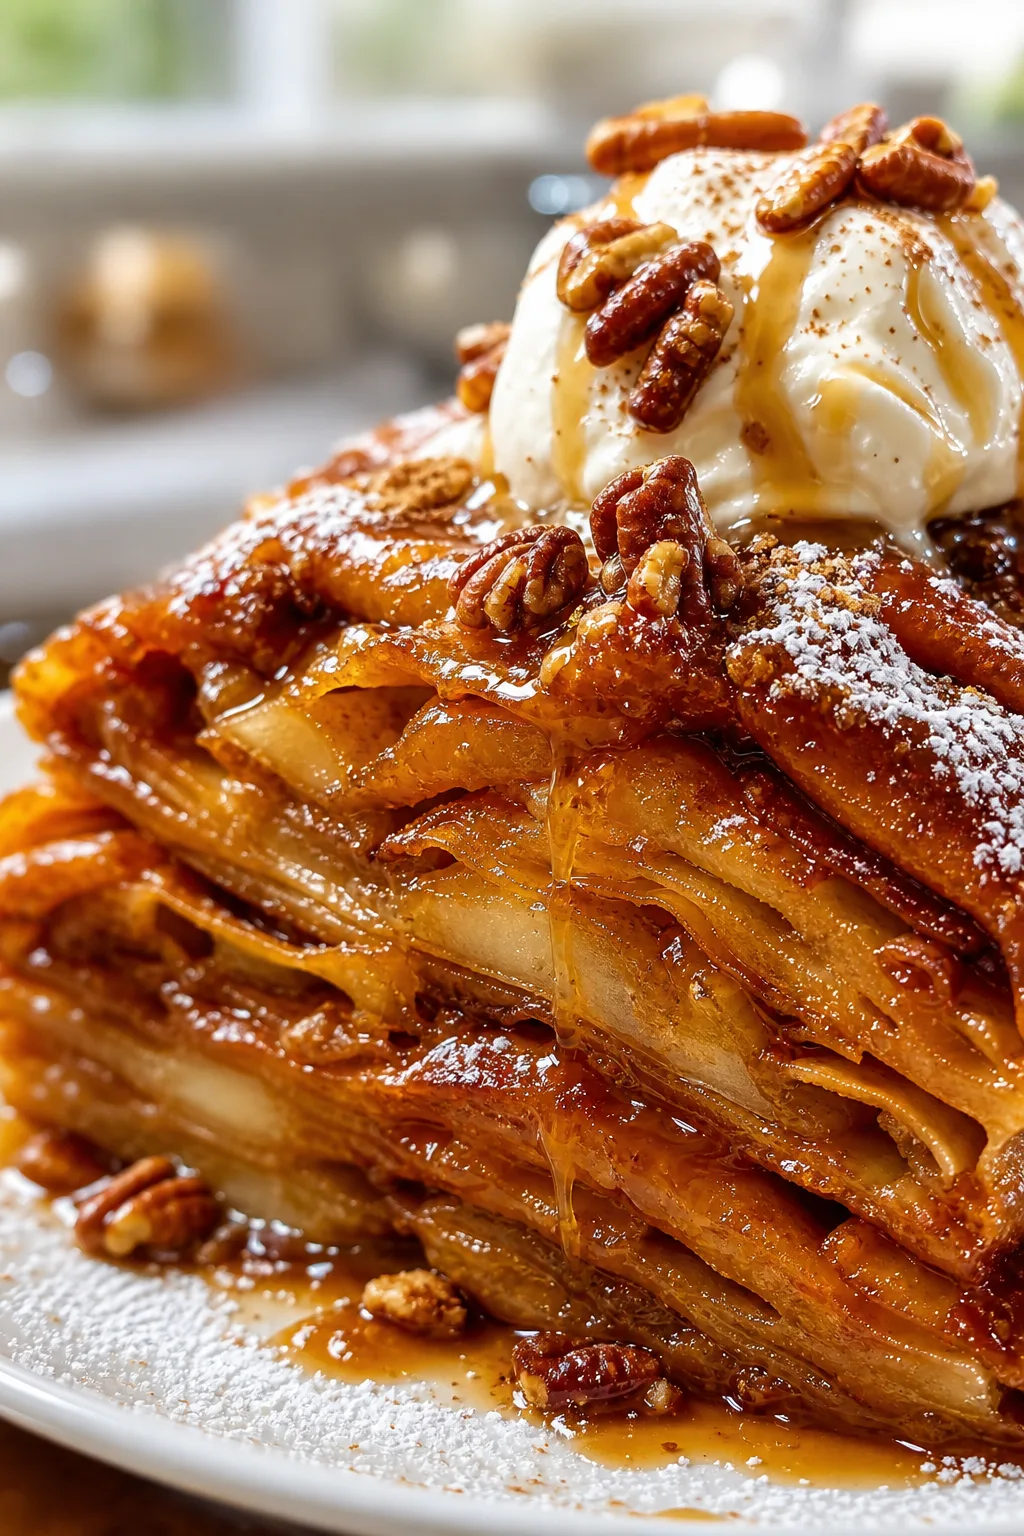
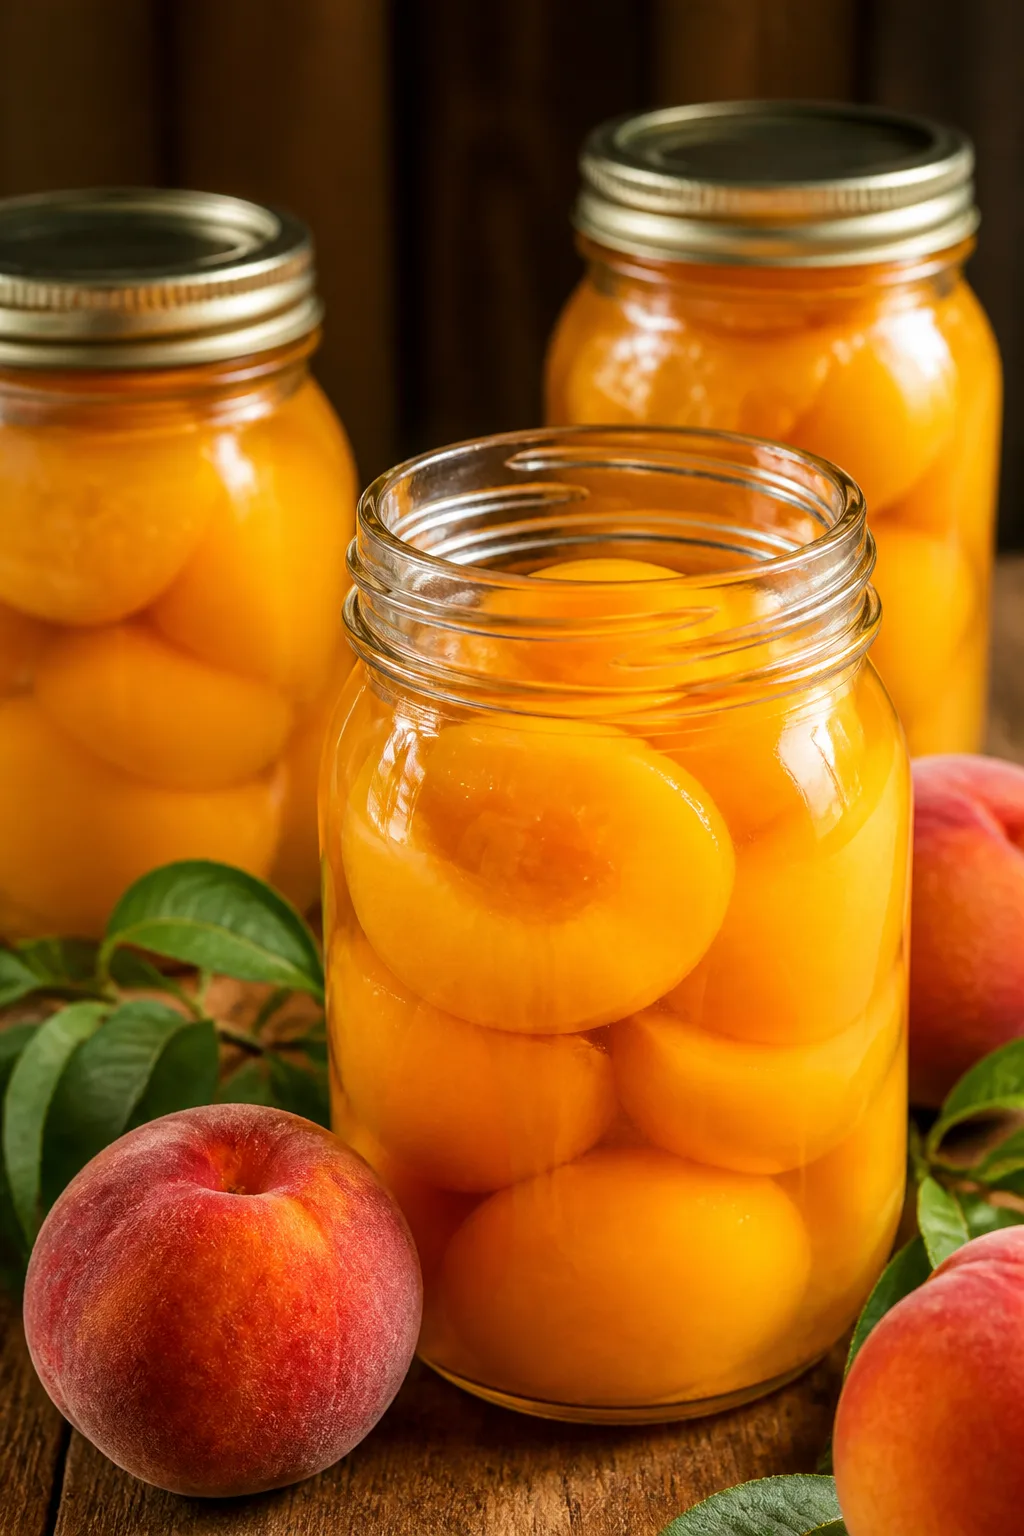
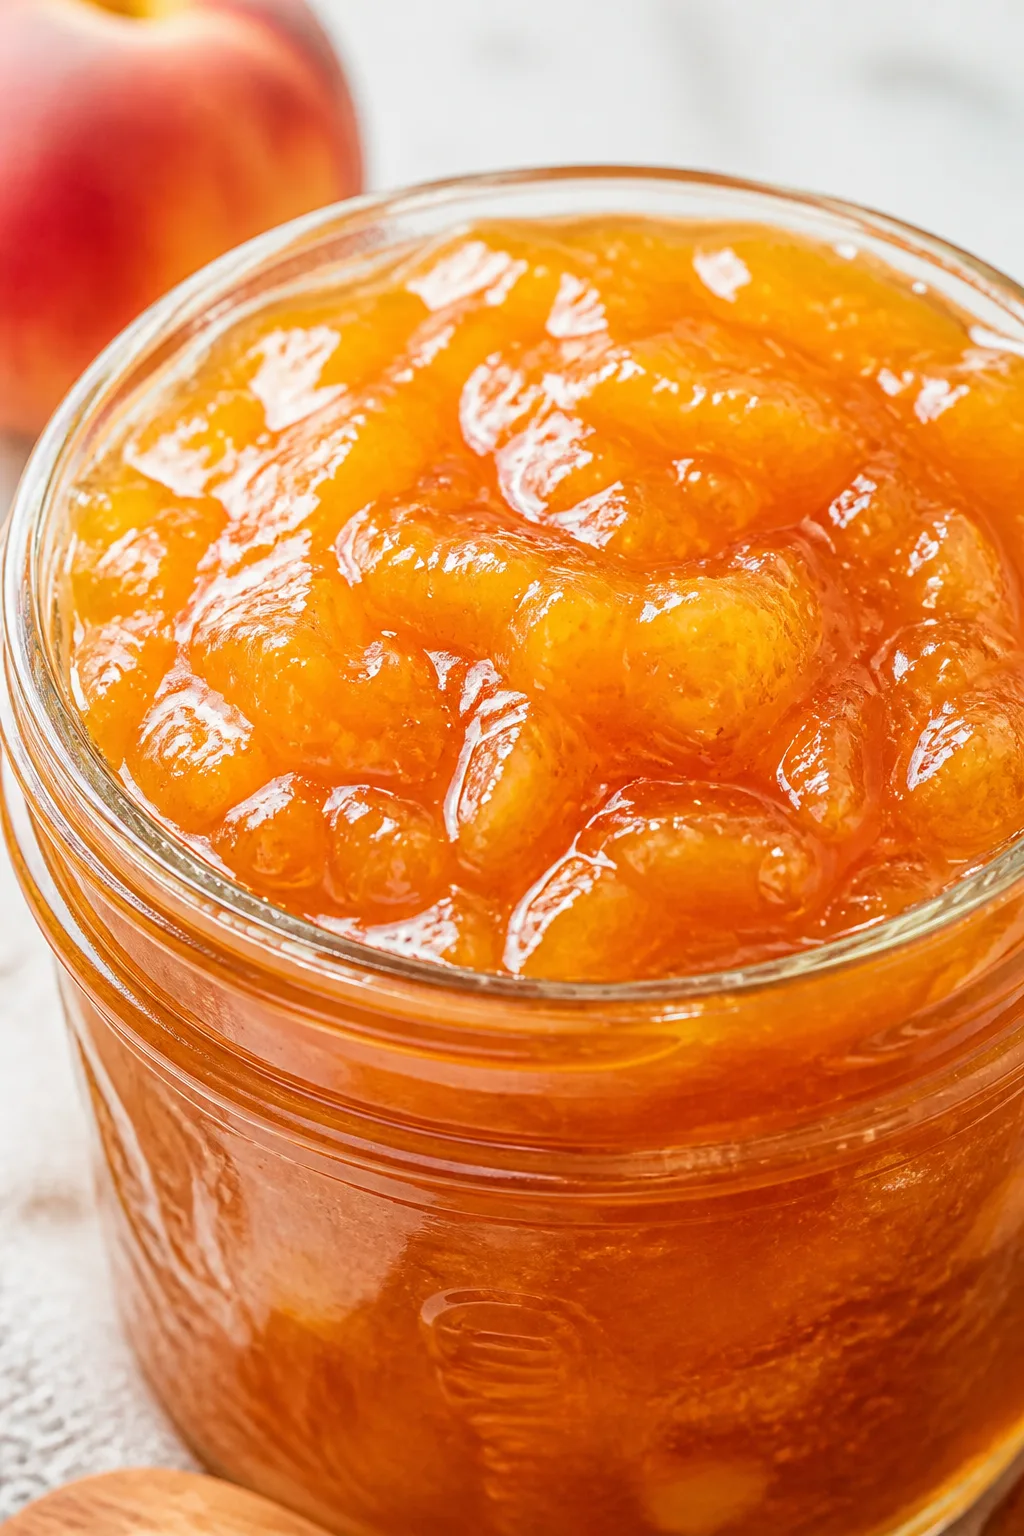
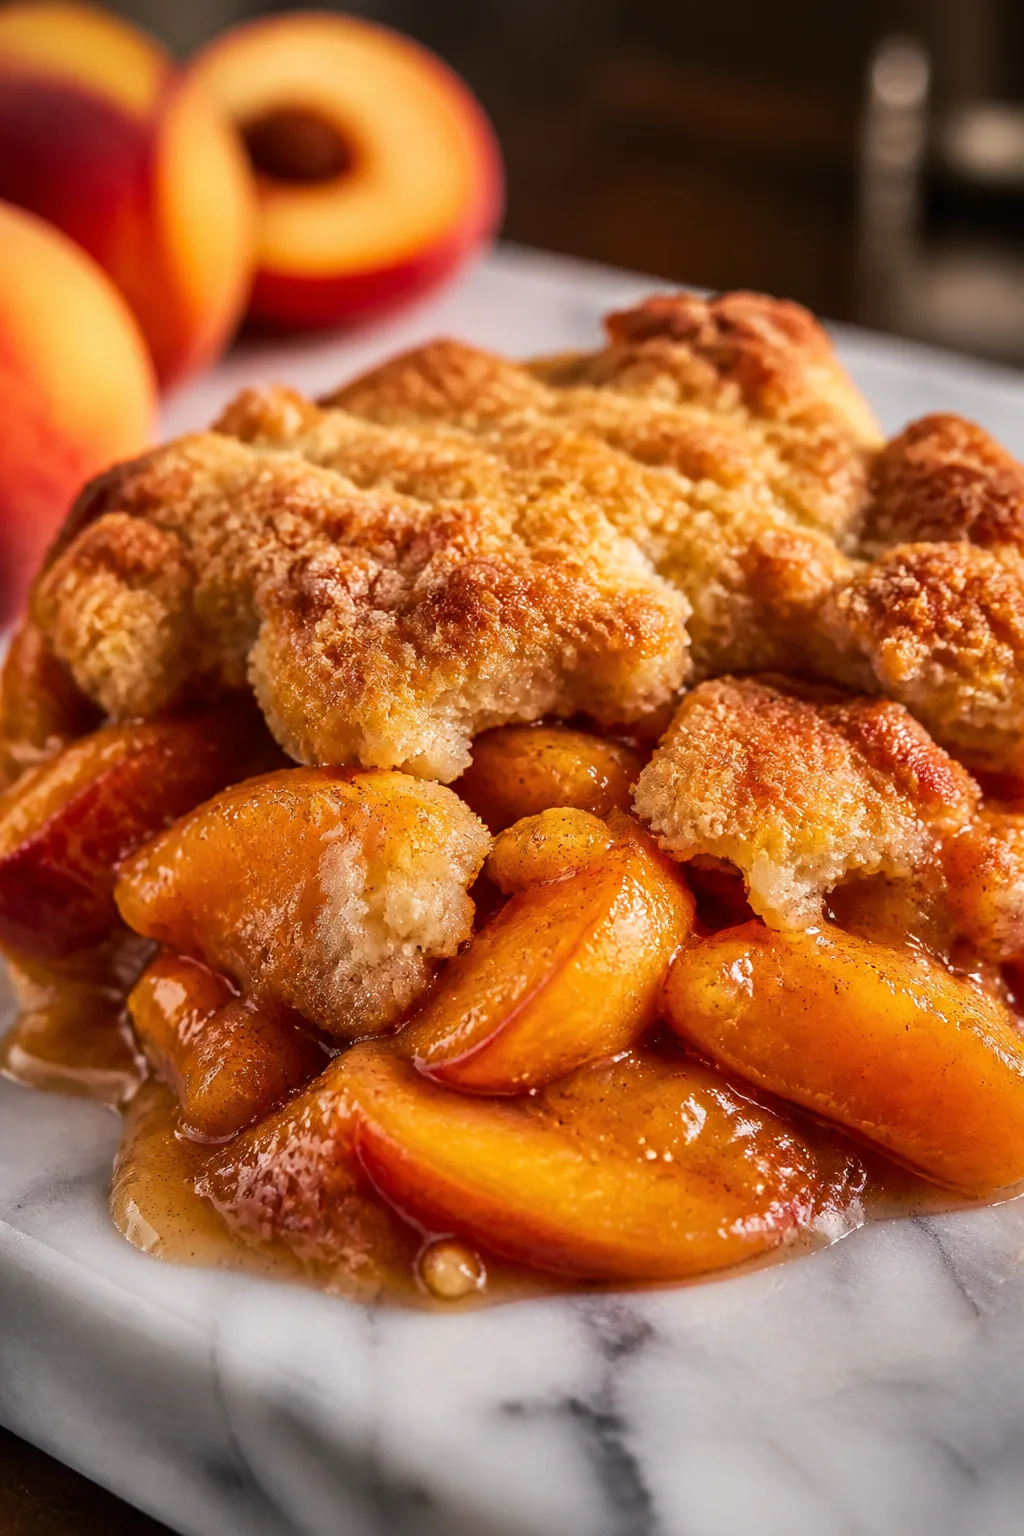
This peach crisp celebrates the natural sweetness of ripe peaches with a crunchy oat topping. It’s super simple to make and perfect for lazy weekend afternoons or casual dinners. The secret? A pinch of cinnamon that just lifts the whole dish!
Introduction
I first made this peach crisp a few summers ago when I had an abundance of ripe peaches from a local farmer’s market. I wanted something easy and fuss-free but still bursting with fresh peach flavor. After a few trials, I found this version that balances juicy peaches with a crunchy, buttery oat topping perfectly. What sets this recipe apart is using old-fashioned rolled oats for that hearty texture and a touch of cinnamon in both the filling and topping to add warmth without overpowering the peaches. I also like to add a splash of lemon juice to brighten the fruit’s natural sweetness. The finished crisp is golden on top with bubbling peach juices underneath — juicy, sweet, and just a little tart. It’s great warm from the oven with a scoop of vanilla ice cream or just on its own for a light dessert. I’ve made it for casual get-togethers and quiet Sunday afternoons, and it always feels like a little celebration of summer. Honestly, the first time I rushed peeling the peaches, the texture was off, so take your time there — it really makes a difference. This crisp is one of those recipes that feels like a hug in dessert form, and I’m excited for you to try it!
How To Do It
Step 1
Start by peeling and slicing your fresh peaches. Peeling is important because the skin can get tough and detract from the soft, juicy texture we want in the filling. Use a paring knife or blanch peaches briefly in boiling water to loosen the skins. Slice them evenly to ensure they cook uniformly, which helps the filling become tender but not mushy.
⏱ Time: 15
✓ Doneness: Peach slices should be tender but still hold their shape after cooking.
Step 2
In a large bowl, toss the sliced peaches with granulated sugar, brown sugar, lemon juice, cinnamon, and vanilla extract. This mixture sweetens and flavors the peaches while the lemon juice brightens the natural fruit flavors and prevents browning. Stir gently to coat all slices evenly without bruising them.
⏱ Time: 5
✓ Doneness: Peaches should be evenly coated, and the mixture should look juicy and fragrant.
Step 3
Preheat your oven to 350°F (175°C). While it heats, grease a 9-inch baking dish with butter or nonstick spray to prevent sticking and help the topping brown nicely.
⏱ Time: 5
✓ Doneness: Oven fully preheated and baking dish ready for filling.
Step 4
Pour the peach mixture into the prepared baking dish, spreading it out evenly so every bite has fruit. The even layer ensures the topping cooks consistently and the peaches bake through properly.
⏱ Time: 3
✓ Doneness: Peach layer is level and evenly distributed in the dish.
Step 5
In a separate bowl, combine the oats, flour, brown sugar, cinnamon, and salt for the topping. Mix these dry ingredients well to distribute flavors and ensure the topping bakes evenly.
⏱ Time: 5
✓ Doneness: Dry topping ingredients are thoroughly combined with no clumps.
Step 6
Add the cold cubed butter to the dry topping mixture. Use a pastry cutter or your fingers to work the butter into the oats and flour until the mixture resembles coarse crumbs. This step creates that crumbly, buttery texture that crisps up beautifully in the oven. Avoid melting the butter by working quickly.
⏱ Time: 8
✓ Doneness: Topping has a crumbly texture with visible small butter bits.
Step 7
Sprinkle the oat topping evenly over the peach filling, covering the fruit completely. This layer will bake up crispy and golden, contrasting the soft peaches underneath.
⏱ Time: 2
✓ Doneness: Topping fully covers the peach layer with no gaps.
Step 8
Bake the crisp in the preheated oven for about 35-40 minutes. The topping should turn golden brown and the peach juices will bubble around the edges. This bubbling signals the filling is cooked and thickened nicely.
⏱ Time: 40
✓ Doneness: Topping is golden and crisp; peach juices are bubbling.
Step 9
Remove the crisp from the oven and let it cool for at least 10 minutes before serving. This resting time allows the filling to set slightly, making it easier to serve and enhancing the flavors.
⏱ Time: 10
✓ Doneness: Filling is slightly thickened and not too runny when scooped.
Variations
Add a Nutty Twist with Chopped Pecans
Mix chopped pecans into the oat topping for extra crunch and a toasty flavor. This adds a lovely texture contrast and a rich nutty note that pairs beautifully with peaches.
Note: Add 1/3 cup chopped pecans to the topping mixture before cutting in the butter. Bake as directed, watching the topping so nuts don’t burn.
Gluten-Free Peach Crisp
Swap all-purpose flour for almond flour or a gluten-free baking blend and use certified gluten-free oats. This keeps the topping crumbly and delicious without gluten.
Note: Almond flour may brown faster, so check the topping around 30 minutes to avoid burning.
Spiced Peach Crisp with Ginger and Nutmeg
Add 1/2 teaspoon freshly grated ginger and 1/4 teaspoon nutmeg to the peach filling for a warm, aromatic flavor twist that feels cozy and festive.
Note: Incorporate spices with the cinnamon in the filling step for even flavor distribution.
Peach Crisp with a Hint of Bourbon
Stir in 1 tablespoon of bourbon into the peach mixture for a subtle boozy depth that enhances the natural sweetness and adds complexity.
Note: Add bourbon with the vanilla extract and lemon juice. Bake as usual.
Vegan Peach Crisp
Use coconut oil in place of butter and maple syrup instead of brown sugar to make a dairy-free and vegan-friendly version that’s just as tasty.
Note: Chill coconut oil before mixing to mimic cold butter texture for the topping.
Pro Tips
Take your time peeling the peaches carefully.
The peach skin can become tough and detract from the soft texture you want in the filling. Blanching peaches in boiling water for 30 seconds loosens the skins, making peeling much easier and preserving the fruit’s delicate texture.
Use cold butter for the topping and work quickly.
Cold butter creates small pockets of fat that melt during baking, producing a crisp and flaky topping. If the butter warms up too much, the topping can become greasy and dense instead of crumbly and light.
Don’t skip the lemon juice in the filling.
Lemon juice brightens the natural sweetness of the peaches and prevents them from turning brown while prepping. It also adds a subtle acidity that balances the sugar, making the dessert taste fresher and more vibrant.
Let the crisp rest after baking before serving.
Resting allows the peach juices to thicken and settle, making it easier to scoop and enhancing the flavor. Serving immediately can result in a runny filling that doesn’t hold together well.
Use old-fashioned rolled oats instead of quick oats.
Rolled oats maintain a chewy texture after baking, adding a pleasant contrast to the soft peaches. Quick oats tend to break down too much and can create a mushy topping.
Adjust sugar levels based on peach sweetness.
Peach sweetness varies by season and variety. Taste your peaches and reduce sugar if they’re very sweet or increase slightly if they’re tart to keep the balance just right.
Bake until the topping is deep golden brown.
A golden brown topping indicates the Maillard reaction has taken place, creating rich flavors and a satisfying crunch. Baking less will leave the topping pale and soft.
Common Mistakes to Avoid
Skipping the peeling step
Why it happens Many assume peach skins will soften enough during baking, but they often remain tough and chewy, ruining the texture.
Fix Always peel your peaches either by blanching or careful knife work to ensure a smooth, tender filling.
Using melted or warm butter for the topping
Why it happens Rushing or softening butter makes it blend too much with dry ingredients, losing the crumbly texture.
Fix Keep butter cold and cut into small cubes. Work quickly to combine it with oats and flour to maintain the right texture.
Not letting the crisp rest before serving
Why it happens Impatience leads to serving immediately, resulting in a runny filling that doesn’t hold shape.
Fix Allow at least 10 minutes cooling time so the juices thicken and flavors meld.
Overloading the topping
Why it happens Adding too much topping can overwhelm the fruit and prevent even baking.
Fix Use the amount specified to balance fruit and topping layers for perfect texture.
Ignoring peach ripeness
Why it happens Using underripe or overripe peaches affects sweetness and texture negatively.
Fix Select peaches that are ripe but firm for the best results.
Nutrition
Per Serving:
Nutritional values are estimates and may vary based on specific ingredients used.
Storage & Tips
Room Temperature
This peach crisp can be kept at room temperature for up to 2 hours covered loosely with foil or a clean towel. Longer than that risks spoilage due to the fresh fruit filling.
Refrigerator
Store leftovers in an airtight container for up to 4 days. The topping may soften slightly, but reheating in the oven restores crispness nicely. It can be eaten cold but tastes best warm.
Freezer
Freeze the crisp in an airtight container or wrapped tightly with plastic wrap and foil for up to 3 months. Thaw overnight in the fridge before reheating. Freezing may soften the topping slightly but flavor remains great.
Reheating
Reheat in a 350°F oven for 15-20 minutes until warmed through and topping is crisp again. Avoid microwaving if possible, as it can make the topping soggy. Add a splash of water or lemon juice if filling seems dry.
Make Ahead
You can prepare the peach filling and topping separately 1-2 days ahead. Store filling in the fridge and topping in an airtight container. Assemble and bake fresh on the day you want to serve for best texture.
FAQ
Can I use frozen peaches for this recipe?
Yes, you can use frozen peaches if fresh aren’t available, but thaw them completely and drain excess liquid well before assembling. Frozen peaches release more water, so draining helps prevent a soggy crisp.
Do I have to peel the peaches?
Peeling is recommended because peach skins can be tough and chewy after baking, which affects the texture of the filling. Blanching peaches in hot water for 30 seconds makes peeling easier and keeps the filling tender.
Can I make this crisp gluten-free?
Absolutely! Substitute the all-purpose flour with almond flour or a gluten-free baking mix, and make sure to use certified gluten-free rolled oats. The topping will still crisp nicely with these swaps.
How do I store leftover peach crisp?
Store leftovers in an airtight container in the fridge for up to 4 days. Reheat in the oven to regain the crisp topping. Avoid leaving it at room temperature for more than 2 hours due to the fresh fruit.
What’s the best way to reheat peach crisp?
Reheat in a 350°F oven for about 15-20 minutes until warmed through and the topping crisps back up. Microwaving is quicker but can make the topping soggy, so oven reheating is preferred.
Can I add nuts to the topping?
Yes! Chopped pecans or walnuts add a lovely crunch and flavor. Mix them into the oat topping before cutting in the butter for even distribution.
Why is my peach crisp watery?
Watery filling usually means the peaches released too much juice or weren’t thickened properly. Tossing peaches with sugar and lemon juice helps draw out moisture, but letting the crisp rest after baking also allows juices to thicken.
Can I make this recipe vegan?
Yes, swap butter for cold coconut oil and use maple syrup or coconut sugar instead of brown sugar. Chill the coconut oil before mixing to mimic the butter’s texture for a crumbly topping.
Final Thoughts
I hope you love this peach crisp as much as my family does! It’s a simple way to enjoy fresh peaches, so give it a try and let me know how it turns out.