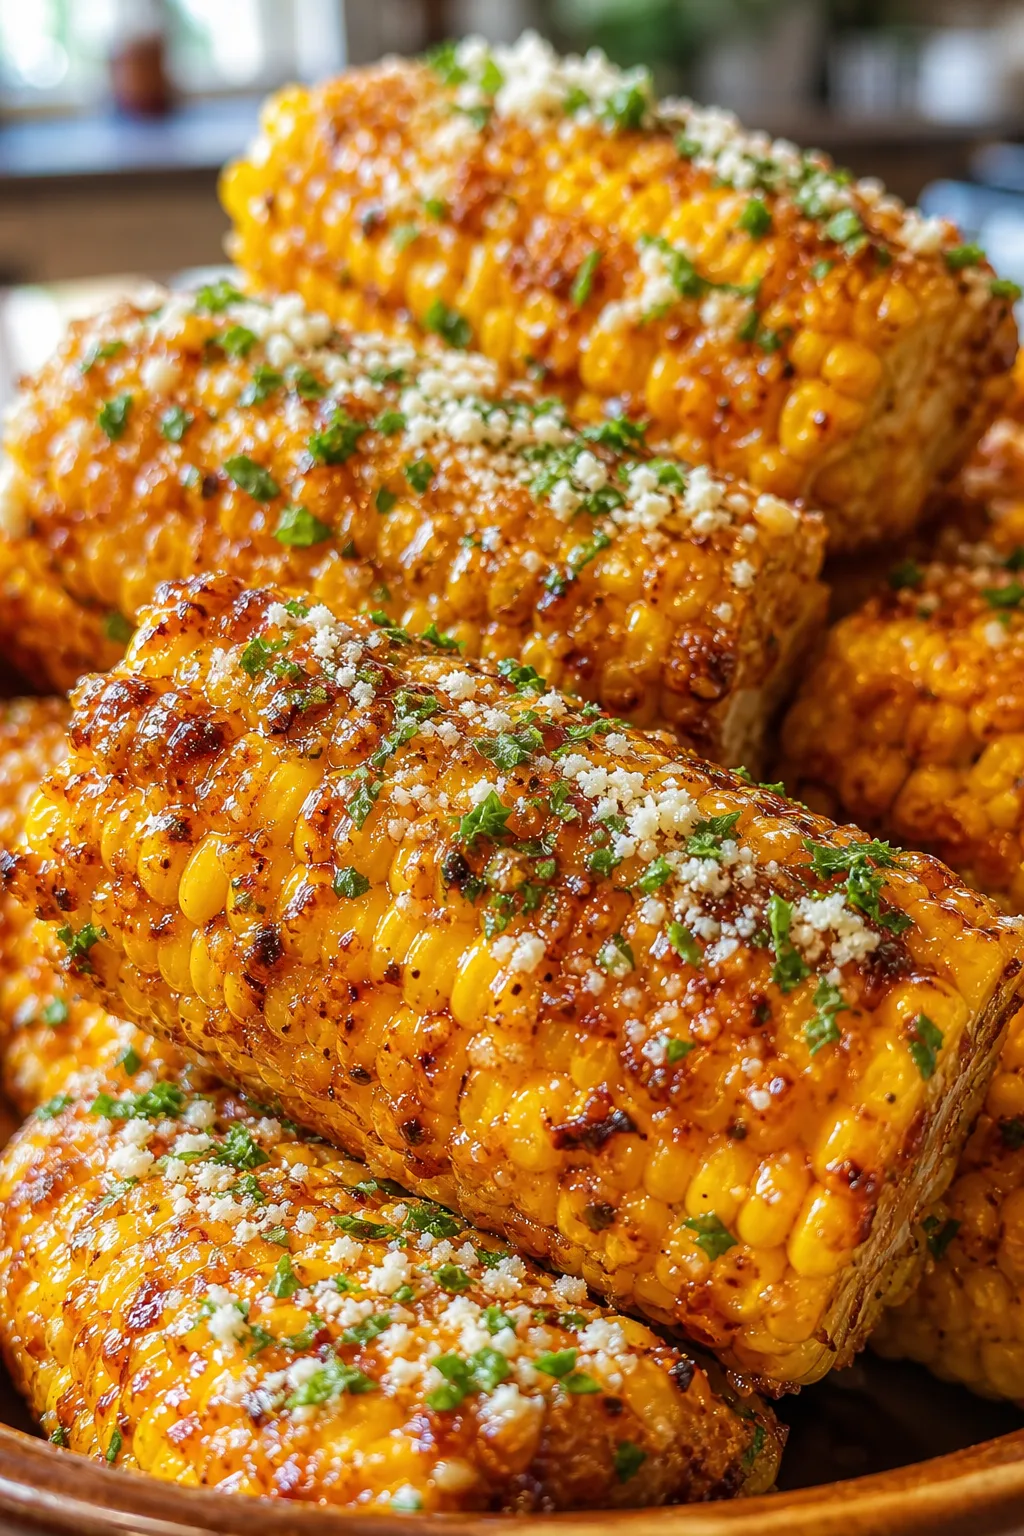
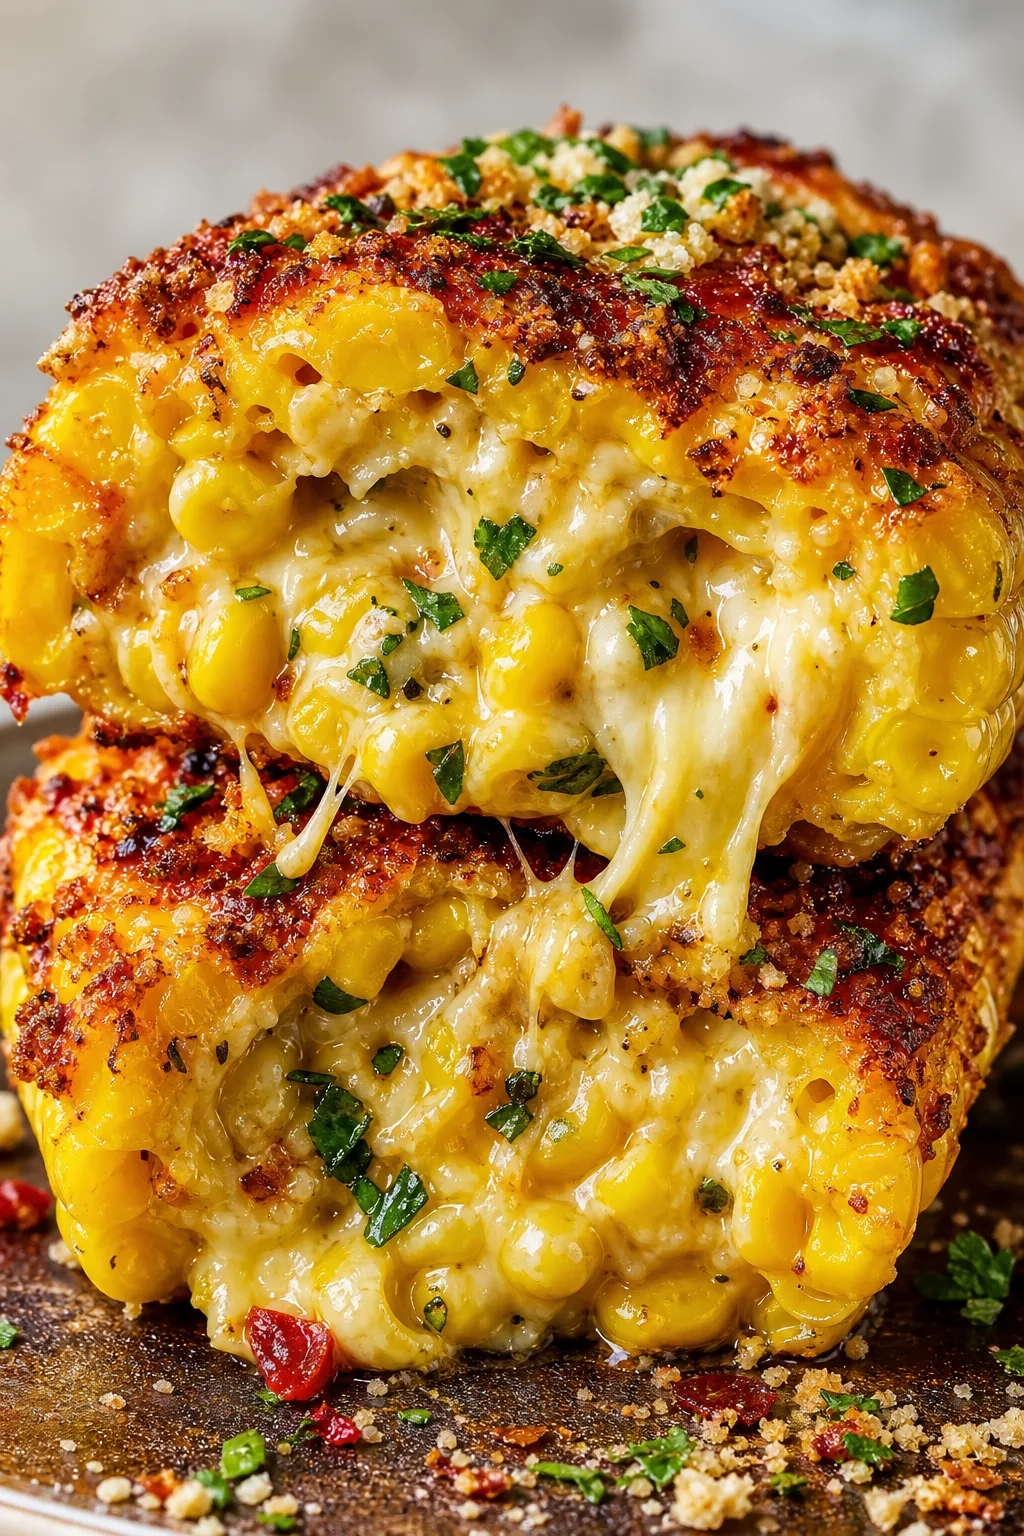
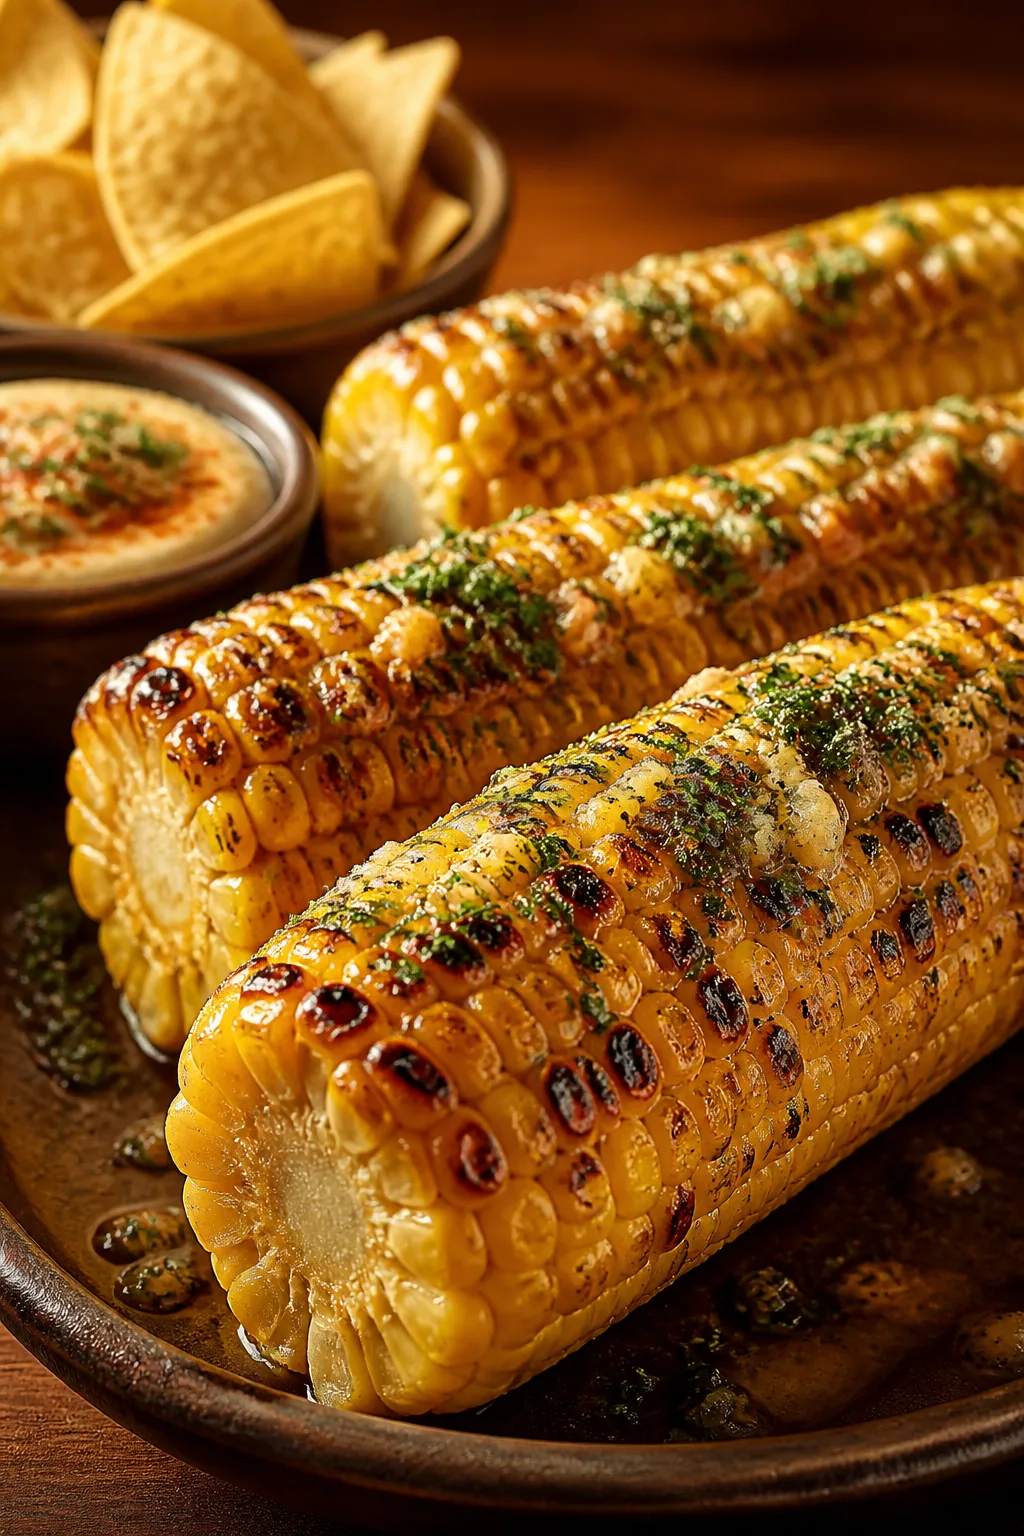
This baked corn on the cob is a game-changer—sweet, buttery, and garlicky with a caramelized finish. The garlic butter glaze seeps into every kernel, making it perfect for summer barbecues or cozy family dinners.
Introduction
I first tried baked corn on the cob with garlic butter glaze a few summers ago at a friend's backyard dinner, and it instantly became a favorite. Unlike boiling or grilling, baking the corn slowly caramelizes the natural sugars in the kernels, giving a subtle sweetness that pairs beautifully with the savory garlic butter. I love that this recipe is fuss-free but delivers big flavor—perfect for busy evenings when you want something delicious without much effort. The trick I learned is to baste the corn generously with garlic butter before baking and halfway through, which keeps the corn moist and infuses it with flavor. The finished dish is juicy, tender, and has that irresistible golden glaze that makes everyone ask for seconds. Plus, it’s easy to customize with spices or fresh herbs. This is my go-to side for summer dinners and holiday feasts alike—because who doesn’t love buttery, garlicky corn that’s just a bit caramelized?
How To Do It
Step 1
Preheat your oven to 400°F (200°C). While it warms up, remove the husks and silk from the corn. This step is crucial because it exposes the kernels to the heat evenly, allowing them to roast and caramelize rather than steam. Make sure to clean off all the silk strands, or they’ll burn and affect the flavor.
⏱ Time: 10 minutes
✓ Doneness: Clean, silk-free ears ready for seasoning
Step 2
In a small bowl, combine melted butter, minced garlic, smoked paprika, salt, and pepper. Mixing these ingredients now lets the flavors meld and ensures the garlic infuses the butter evenly. The smoked paprika adds a subtle depth that complements the sweetness of the corn.
⏱ Time: 5 minutes
✓ Doneness: Smooth, well-blended garlic butter mixture
Step 3
Place the corn on a baking sheet lined with foil or parchment for easy cleanup. Use a brush or spoon to generously coat each ear with the garlic butter mixture, making sure to get in between the kernels. This coating is what seals in moisture and creates that luscious glaze as it bakes.
⏱ Time: 5 minutes
✓ Doneness: Corn fully coated and glistening with butter
Step 4
Bake the corn in the preheated oven for 15 minutes. Halfway through, pull the tray out and brush the corn again with the remaining garlic butter. This second basting step ensures the flavor penetrates deeply and the kernels develop a gorgeous caramelized color without drying out.
⏱ Time: 15 minutes
✓ Doneness: Golden, lightly caramelized kernels with a buttery sheen
Step 5
After baking, let the corn rest for a couple of minutes before serving. This helps the butter set slightly and the flavors to meld. You can sprinkle chopped fresh parsley on top for a pop of color and fresh herbiness that brightens the rich garlic butter.
⏱ Time: 5 minutes
✓ Doneness: Corn slightly cooled, ready to serve with garnish
Step 6
Serve the corn hot with extra garlic butter on the side if desired. The warm, buttery glaze clinging to the sweet kernels is irresistible and pairs well with grilled meats or fresh salads. Don’t skip the extra butter—it’s what makes this dish so indulgent!
⏱ Time: 5 minutes
✓ Doneness: Corn served steaming with visible butter glaze
Step 7
If you want to add a little heat, sprinkle some chili flakes or cayenne pepper over the corn just before serving. The spicy kick contrasts beautifully with the sweetness and richness, making it a more dynamic side dish.
⏱ Time: 2 minutes
✓ Doneness: Spicy flakes evenly sprinkled, adding color and flavor
Step 8
For a smoky twist, try finishing the baked corn under the broiler for 2-3 minutes. Watch closely so it doesn’t burn, but this will add a fantastic charred flavor that mimics grilled corn.
⏱ Time: 3 minutes
✓ Doneness: Lightly charred spots appear on the kernels
Step 9
Clean up by wrapping leftover corn tightly in foil and refrigerating. This simple storage method keeps the corn moist and flavorful for reheating later. When reheating, add a splash of butter or water to keep it juicy.
⏱ Time: 2 minutes
✓ Doneness: Corn securely wrapped and ready for storage
Variations
Spicy Chili Garlic Butter Corn
Add 1/2 teaspoon cayenne pepper or chili flakes to the garlic butter for a spicy kick. This variation balances buttery sweetness with heat and is perfect for those who love a little fire. The texture remains tender while the flavor profile becomes bolder and more exciting.
Note: Monitor spice levels carefully to avoid overpowering the corn’s natural sweetness.
Herb-Infused Butter Corn
Mix chopped fresh rosemary, thyme, or basil into the garlic butter before baking. This adds fresh, aromatic notes that complement the caramelized corn beautifully. Expect a more complex herbal flavor and a slightly earthier aroma.
Note: Use fresh herbs and add them right before baking to preserve their brightness.
Parmesan Garlic Butter Corn
Sprinkle grated Parmesan cheese over the corn during the last 5 minutes of baking. The cheese melts and creates a savory, nutty crust that pairs wonderfully with the garlic butter glaze. This adds a richer, umami-packed dimension.
Note: Watch closely to prevent cheese from burning under the broiler.
Lime and Cilantro Butter Corn
Add fresh lime zest and chopped cilantro to the garlic butter for a zesty, fresh twist. This brightens the dish and adds a citrusy aroma that pairs well with summer meals. The texture stays tender and juicy but with an uplifting flavor profile.
Note: Add lime zest just before baking to preserve its vibrant flavor.
Smoky Chipotle Butter Corn
Incorporate chipotle powder or chipotle in adobo sauce into the butter for a smoky, spicy punch. This variation adds depth and warmth, perfect for fans of southwestern flavors. The corn remains sweet but gains a smoky heat that’s irresistible.
Note: Adjust chipotle quantity carefully to avoid overwhelming the corn.
Pro Tips
Always remove all silk strands before baking to avoid bitter burnt bits.
Silk burns easily in the oven, creating an unpleasant bitter taste and affecting the overall flavor. Carefully removing silk ensures a clean, sweet bite and prevents textural distractions.
Brush butter mixture twice during baking for maximum flavor penetration.
Applying the garlic butter twice keeps the corn moist and allows the flavors to build up gradually. This prevents drying and ensures each kernel is evenly coated and flavorful.
Use a baking sheet lined with foil or parchment for easy cleanup.
Butter and caramelized sugars can create sticky messes. Lining the tray simplifies cleanup and prevents burnt drips that could smoke or ruin oven flavor.
Let the corn rest a few minutes after baking before serving.
Resting allows the butter to slightly solidify and flavors to meld. Serving immediately can cause the butter to run off, losing flavor and moisture.
Try finishing under the broiler for a few minutes for a smoky char.
Broiling mimics grilling by adding charred spots and smoky flavor. Watching closely prevents burning while adding a delicious layer of texture and taste.
Add fresh herbs like parsley or chives just before serving for brightness.
Herbs add fresh aroma and color contrast, balancing the richness of butter and garlic. Adding them too early causes wilting and flavor loss.
Use unsalted butter to better control seasoning levels.
Salted butter varies in salt content, which can make the dish too salty or bland. Unsalted butter lets you season precisely for balanced flavor.
Common Mistakes to Avoid
Skipping the second butter basting during baking
Why it happens Many cooks rush the process or underestimate the importance of moisture retention, thinking one coating is enough.
Fix Make sure to pause baking halfway and brush the corn again with garlic butter. This step keeps kernels juicy, enhances flavor, and promotes even caramelization.
Not cleaning corn silk thoroughly
Why it happens It’s easy to overlook fine silk strands, especially when in a hurry.
Fix Use a soft brush or damp paper towel to remove all silk before baking. This prevents burnt bits and improves taste and texture.
Using old or low-quality paprika
Why it happens Paprika loses flavor quickly and some may use whatever is on hand without checking freshness.
Fix Choose bright, fragrant smoked paprika and store it in a cool, dark place. Fresh paprika gives vibrant color and smoky depth.
Baking at too low a temperature
Why it happens Some think slow baking at low heat is gentler, but it prevents caramelization.
Fix Bake at 400°F to encourage Maillard reactions and get that golden, sweet finish. Lower temps yield pale, less flavorful corn.
Overcooking corn until dry
Why it happens Leaving corn in too long or baking uncovered can dry kernels out.
Fix Watch baking time carefully and baste butter twice. Remove corn when golden but still plump and juicy.
Nutrition
Per Serving:
Nutritional values are estimates and may vary based on specific ingredients used.
Storage & Tips
Room Temperature
Baked corn on the cob can be safely left at room temperature for up to 2 hours if covered loosely with foil or a clean towel. Beyond that, moisture and butter can spoil, so refrigeration is best for longer storage.
Refrigerator
Store leftover corn in an airtight container or tightly wrapped in foil for up to 3 days. The flavor mellows slightly, and kernels may firm up. Reheat gently to avoid drying out, adding a splash of water or butter.
Freezer
Corn on the cob freezes well for up to 2 months. Wrap each ear tightly in plastic wrap, then foil, to prevent freezer burn. Thaw overnight in the fridge before reheating to maintain texture and moisture.
Reheating
Reheat baked corn on the stovetop over low heat with a little butter or water, or microwave covered for 1-2 minutes. Avoid high heat or prolonged reheating to keep kernels juicy and prevent drying.
Make Ahead
You can prepare the garlic butter mixture and husk the corn 1 day ahead. Store butter mixture refrigerated and corn wrapped separately. On serving day, brush and bake as directed for fresh, flavorful corn.
FAQ
Can I use frozen corn on the cob for this recipe?
Frozen corn on the cob can be used, but it won’t caramelize the same way since it contains more moisture. Thaw completely and pat dry before baking. You might want to reduce baking time slightly to avoid drying out.
What if I don’t have smoked paprika?
You can substitute with regular paprika or a pinch of chili powder for some heat. Smoked paprika adds a unique smoky flavor, so using regular paprika will still give color but less depth.
Is it necessary to baste the corn twice?
Basting twice helps keep the corn moist and intensifies the garlic butter flavor. Skipping the second brush can lead to drier kernels and less glaze, so I recommend not skipping it.
How do I store leftover baked corn?
Wrap leftovers tightly in foil or place in an airtight container and refrigerate for up to 3 days. Reheat gently to maintain texture and add a bit of butter or water to keep it moist.
Can I make this recipe vegan?
Yes! Substitute the butter with a plant-based vegan butter or olive oil. The flavor will be slightly different but still delicious and moist with the garlic and spices.
What’s the best way to reheat without drying out the corn?
Reheat on the stovetop over low heat with a splash of water or butter, or microwave covered for short bursts. Avoid high heat or long reheating times, which dry the kernels.
Can I grill the corn instead of baking?
Absolutely! Grilling adds a smoky char and is great for summer. Just apply the garlic butter before and during grilling to keep it flavorful and moist.
How do I make the corn spicier?
Add chili flakes, cayenne pepper, or chipotle powder to the garlic butter. Start with small amounts and adjust to your heat preference to avoid overpowering the corn’s sweetness.
Final Thoughts
Give this baked garlic butter corn on the cob a try—it's simple, flavorful, and a guaranteed crowd-pleaser. I’d love to hear how it turns out for you!