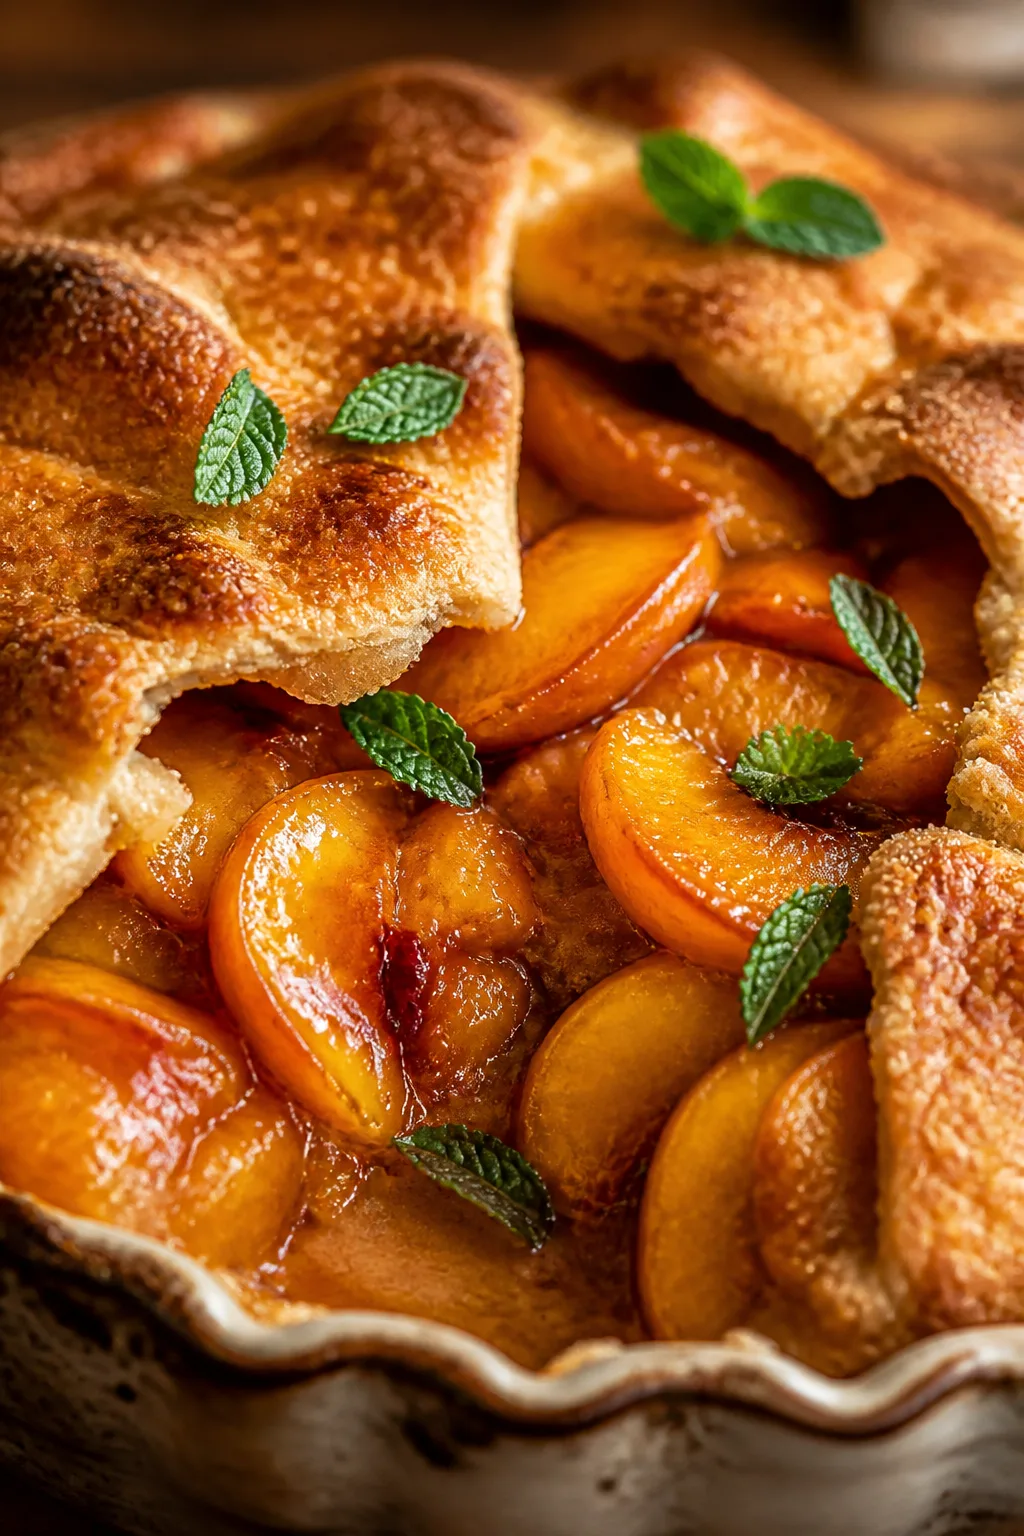
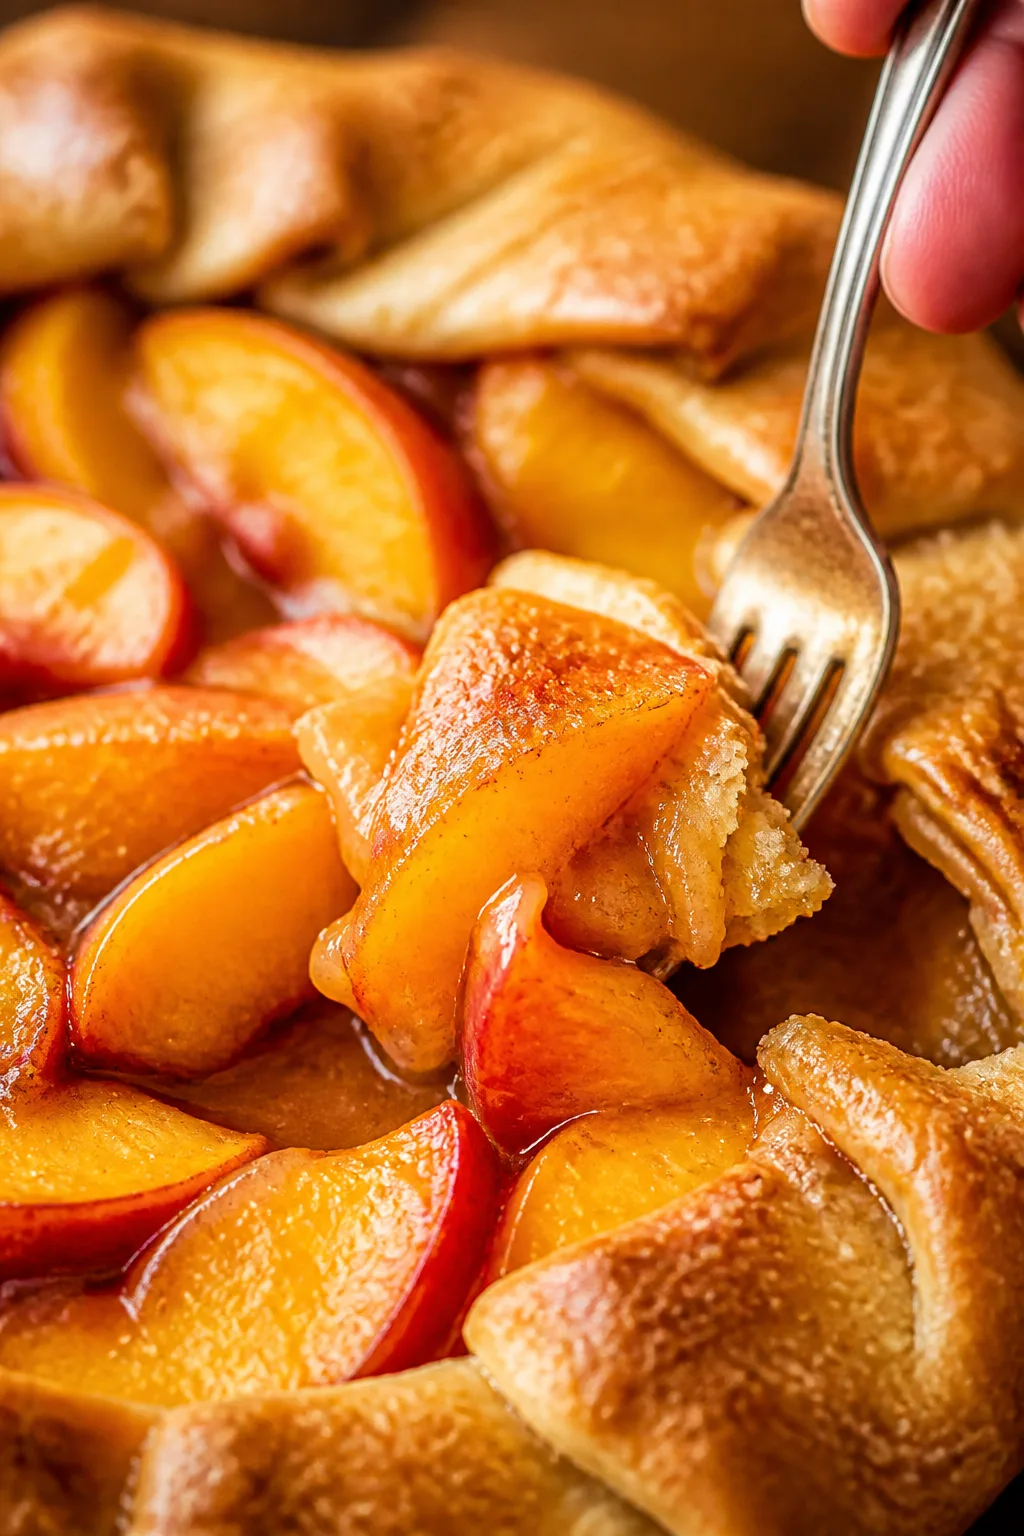
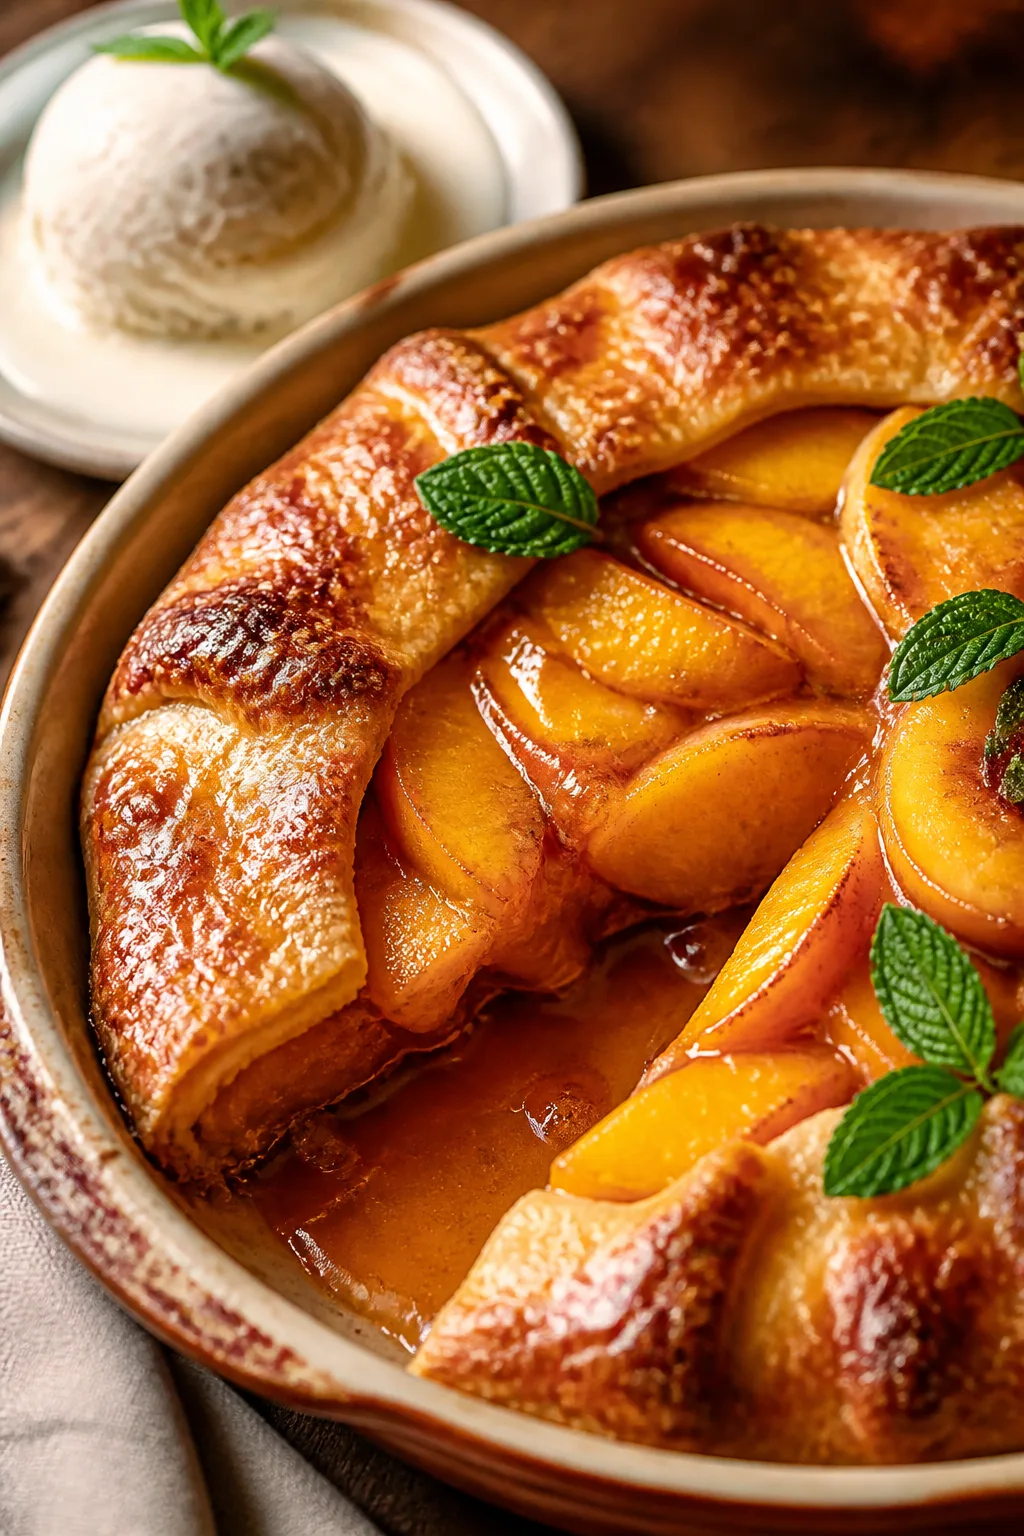
This peach galette is my favorite simple dessert when peaches are in season. The buttery flaky crust and juicy peaches make it perfect for weekend treats or casual get-togethers. No fuss, just pure homey goodness!
Introduction
I first made this peach galette a few summers ago when I stumbled upon a basket of perfectly ripe peaches at the farmer’s market. I wanted a dessert that felt homemade but wasn’t too complicated or intimidating — this galette hit the spot perfectly. What I love about this recipe is how the flaky, buttery crust complements the juicy sweetness of the peaches without overpowering them. It’s a rustic kind of dessert that doesn’t need to be perfect or fancy, which takes the pressure off baking days. Plus, the technique I use for the crust — chilling the butter and handling the dough gently — is a little trick I learned from my grandma and it really makes the difference in getting that tender, flaky texture. The peaches get just a touch of sugar and vanilla, so the fruit shines through. When it’s baked, the edges are golden and crisp, and the filling bubbles lightly, making it irresistible. It’s become my go-to for weekend baking when I want something comforting and fresh. Honestly, I’ve tried more complicated peach desserts, but this simple galette always wins my heart (and my family’s too). I think you’ll enjoy how easy it is and how naturally delicious it tastes.
What You'll Need
One 9-inch galette, serves 6
- 1 1/4 cups all-purpose flour, chilled
- 1/2 teaspoon salt
- 1 tablespoon granulated sugar
- 8 tablespoons unsalted butter, cold and cut into cubes
- 3-4 tablespoons ice water
- 4 large ripe peaches, sliced
- 1/4 cup granulated sugar
- 1 teaspoon vanilla extract
- 1 tablespoon cornstarch
- 1 egg, beaten (for egg wash)
- 1 tablespoon coarse sugar (optional, for sprinkling)
How To Do It
Step 1
Start by making the crust. In a large bowl, whisk together the flour, salt, and sugar to evenly distribute the ingredients. Then add the cold, cubed butter. Using a pastry cutter or your fingertips, quickly cut the butter into the flour until the mixture resembles coarse crumbs with some pea-sized bits of butter remaining. This texture is key because those butter bits melt during baking and create flakiness. Avoid overworking the dough to keep it tender. Once combined, slowly add the ice water, one tablespoon at a time, mixing gently until the dough just holds together. Too much water can make the dough tough, so add carefully. Form the dough into a disk, wrap it in plastic, and chill for at least 30 minutes to firm up the butter and relax the gluten.
⏱ Time: 15 minutes
✓ Doneness: Dough should hold together without being sticky or crumbly and feel firm when pressed.
Step 2
While the dough chills, prepare the peach filling. In a large bowl, toss the sliced peaches with sugar, vanilla extract, and cornstarch. The sugar sweetens the fruit, while the cornstarch helps absorb excess juices during baking to prevent a soggy crust. Toss gently to coat all the slices evenly. Let the mixture sit for 10-15 minutes to macerate, which enhances the peach’s natural juices and flavor. This step is important because it softens the peaches slightly and ensures the filling thickens nicely in the oven.
⏱ Time: 15 minutes
✓ Doneness: Peach slices will look glossy and slightly softened but not mushy.
Step 3
Preheat your oven to 400°F (200°C). On a lightly floured surface, roll out the chilled dough into a roughly 12-inch circle about 1/8 inch thick. Don’t worry about making it perfectly round — the rustic shape adds charm. Carefully transfer the dough to a parchment-lined baking sheet. If the dough feels too soft or sticky while rolling, pop it back in the fridge for 10 minutes to firm up. This helps prevent shrinkage during baking.
⏱ Time: 10 minutes
✓ Doneness: Dough is rolled thinly and evenly with a rough circular shape.
Step 4
Spoon the peach filling into the center of the dough, leaving a 2-inch border all around. Use a slotted spoon if possible to avoid too much liquid. This border is what you’ll fold over the peaches to create the galette’s signature rustic edge. Folding the edges inward not only frames the fruit but also helps keep the juices contained during baking.
⏱ Time: 5 minutes
✓ Doneness: Peach filling is piled in the center with a clean border of dough all around.
Step 5
Fold the dough edges over the peaches in sections, pleating as you go to create a gathered look. This step is about embracing imperfection — the folds add rustic character and keep the filling snug. Make sure the dough edge is sealed well enough so it doesn’t unravel while baking but don’t press too hard or you’ll lose the flakiness. If any juice leaks out, that’s okay; it caramelizes and adds flavor.
⏱ Time: 5 minutes
✓ Doneness: Edges are neatly folded over the peaches with visible pleats.
Step 6
Brush the exposed dough edges with the beaten egg to give the crust a beautiful golden color and slight sheen when baked. If you like a little extra crunch and sparkle, sprinkle coarse sugar over the crust after the egg wash. This finishing touch makes the galette feel special and adds texture contrast.
⏱ Time: 3 minutes
✓ Doneness: Dough edges are evenly coated with egg wash and sprinkled with sugar if desired.
Step 7
Place the galette in the preheated oven and bake for 30-35 minutes. The high temperature helps the crust crisp up nicely while the peaches soften and bubble. Keep an eye on the crust color — if it’s browning too quickly, you can loosely tent it with foil partway through baking. You want a golden, flaky crust and juicy, bubbling filling. The aroma of baked peaches and butter will fill your kitchen, signaling it's almost ready.
⏱ Time: 30-35 minutes
✓ Doneness: Crust is golden brown, and peach juices are bubbling around the edges.
Step 8
Once baked, remove the galette from the oven and let it cool on the baking sheet for at least 15 minutes. Cooling allows the filling to thicken slightly and makes it easier to slice. Serving it warm or at room temperature is best, but it also tastes great cold. This rest time is key for the best texture and flavor balance.
⏱ Time: 15 minutes
✓ Doneness: Galette is warm to the touch and filling is set but still juicy.
Step 9
Slice the galette into wedges and serve as is or with a scoop of vanilla ice cream or dollop of whipped cream. The contrast of the cold cream with the warm, flaky crust and sweet peaches is pure comfort. Enjoy immediately for the best taste and texture.
⏱ Time: 5 minutes
✓ Doneness: Slices hold together well and cream melts slightly when added.
Variations
Berry Peach Galette
Add a mix of fresh berries like blueberries or raspberries to the peach filling for a colorful burst of flavor. The tart berries complement the sweetness of the peaches and add extra juiciness. Adjust sugar slightly if berries are very tart.
Note: Berries release more juice, so increase cornstarch by 1 teaspoon to avoid sogginess and watch baking time to prevent burning.
Almond Peach Galette
Sprinkle sliced almonds over the peach filling before folding the crust. The nuts add a lovely crunch and nutty aroma that pairs beautifully with peaches. You can also add a teaspoon of almond extract to the filling for extra depth.
Note: To prevent almonds from burning, sprinkle them on top halfway through baking or toast lightly before adding.
Gluten-Free Peach Galette
Use a gluten-free all-purpose flour blend to make the crust suitable for gluten-sensitive diets. The texture will be slightly different but still flaky and delicious. Chill the dough well and handle gently to avoid crumbling.
Note: Gluten-free dough can be more fragile; adding a tablespoon of xanthan gum to the flour blend helps improve elasticity.
Spiced Peach Galette
Add warm spices like cinnamon, nutmeg, and a pinch of ground ginger to the peach filling for a cozy, autumnal twist. This variation works great when peaches are less sweet or if you want a deeper flavor profile.
Note: Use about 1 teaspoon total of mixed spices and reduce sugar slightly to balance the warmth.
Honey Peach Galette
Replace granulated sugar in the filling with honey for a floral sweetness that complements the peaches beautifully. Honey also adds moisture and a richer flavor. Drizzle a little honey over the baked galette before serving for an extra touch.
Note: Honey browns faster than sugar, so watch the crust carefully during baking to avoid over-darkening.
Pro Tips
Keep your butter and water ice cold when making the dough.
Cold butter stays solid longer during mixing, which is crucial for forming flaky layers. Warm butter blends too much into the flour, resulting in a denser crust. Cold water helps maintain the dough temperature and prevents gluten from developing too quickly.
Don’t overmix the dough when adding water.
Overmixing activates gluten strands excessively, making the crust tough. Mixing just until the dough comes together ensures tenderness. It’s okay if the dough looks a bit shaggy before chilling — it will come together as it rests.
Use a slotted spoon to transfer peach slices to the crust.
Removing excess liquid before filling keeps the crust from getting soggy. The juices left behind can be saved and reduced into a syrup or drizzled over the baked galette for extra flavor.
Chill the dough after rolling it out if it feels too soft.
Chilling firms up the butter again, preventing the dough from shrinking or tearing when folded and baked. It also makes handling easier and improves flakiness.
Use an egg wash on the crust edges for a golden finish.
Egg wash promotes browning through the Maillard reaction and adds a subtle sheen that makes the galette look more appetizing. Skip it if you prefer a rustic matte look.
Bake at a high temperature to crisp the crust quickly.
High heat causes steam to escape rapidly from the butter layers, creating flakiness. It also caramelizes the fruit sugars nicely without overcooking the peaches.
Let the galette cool before slicing.
Cooling allows the filling to set slightly, making slicing cleaner and preventing the juices from running everywhere. It also improves flavor melding.
Common Mistakes to Avoid
Using warm butter when making the dough
Why it happens Many home cooks don’t chill butter long enough or handle it too much, causing it to soften or melt before baking.
Fix Always keep butter cold and work quickly. Chill the dough if it becomes too soft during mixing or rolling. This prevents a greasy, dense crust.
Adding too much water to the dough
Why it happens Rushing the mixing process or mismeasuring liquid leads to sticky dough that’s hard to handle.
Fix Add water gradually, mixing gently until the dough holds together but isn’t wet or sticky. You can add a teaspoon at a time if needed.
Skipping the cornstarch in the filling
Why it happens Some think sugar alone will thicken the juices, but it doesn’t prevent a soggy crust.
Fix Always toss peaches with cornstarch before filling. This absorbs excess liquid and keeps the crust crisp.
Not letting the filling macerate
Why it happens Impatience or skipping this step misses out on flavor development and juice extraction.
Fix Allow the peach mixture to rest for 10-15 minutes before assembling. This enhances sweetness and texture.
Baking at too low a temperature
Why it happens Low oven heat causes the crust to cook slowly and become soggy, and the fruit to overcook.
Fix Preheat oven fully to 400°F and bake at this temperature for crisp crust and nicely cooked peaches.
Nutrition
Per Serving:
Nutritional values are estimates and may vary based on specific ingredients used.
Storage & Tips
Room Temperature
The galette can be kept covered at room temperature for up to 2 days. Keeping it covered with a clean cloth or loosely wrapped prevents the crust from drying out. However, best enjoyed within the first day for optimal flakiness.
Refrigerator
Store leftover galette in an airtight container in the fridge for up to 4 days. The crust may lose some crispness but the flavor remains delicious. Reheat gently in a low oven to revive the crust or enjoy cold with cream.
Freezer
Freeze the baked galette wrapped tightly in plastic wrap and aluminum foil for up to 2 months. To thaw, place in the refrigerator overnight. Reheat in a 350°F oven until warmed through and crust is crisp again, about 10-15 minutes.
Reheating
Reheat slices in a preheated 350°F oven on a baking sheet for 10-15 minutes. Avoid the microwave if possible as it softens the crust. If needed, add a splash of cream or honey when serving to enhance moisture and flavor.
Make Ahead
You can prepare the dough and peach filling separately up to 2 days ahead. Keep the dough wrapped and chilled, and store the filling covered in the fridge. Assemble and bake the galette on the day you want to serve for the freshest crust and best texture.
FAQ
Can I use frozen peaches for this galette?
Frozen peaches can be used but they release more water, which may make the crust soggy. Thaw them completely and drain excess juice before tossing with sugar and cornstarch. You might also want to increase the cornstarch slightly to help thicken the filling during baking.
What if my dough cracks when rolling it out?
Cracking usually means the dough is too cold or dry. Let it sit at room temperature for 5-10 minutes to soften slightly, then gently press the cracks together with your fingers. If it’s still too dry, sprinkle a tiny bit of water and knead lightly before rolling again.
How do I prevent the crust from getting soggy?
Using cornstarch in the filling to absorb juices is key. Also, avoid piling too much liquid onto the dough by draining the fruit well. Baking at a high temperature helps crisp the crust quickly before juices soak in.
Can I make the galette vegan?
Yes! Substitute the butter with a cold vegan butter or coconut oil and use a plant-based milk or aquafaba for the egg wash. The texture might be slightly different but still delicious.
How do I store leftover galette?
Store galette in an airtight container in the fridge for up to 4 days. The crust will soften but reheating in the oven helps restore crispness. You can also freeze baked galette for longer storage.
Can I add other fruits to this galette?
Absolutely! Mixed berries, plums, or nectarines all work beautifully. Just adjust sugar and cornstarch amounts based on the juiciness and sweetness of the fruits you use.
Why is my crust tough instead of flaky?
This usually happens when the dough is overworked or the butter was too warm. Handle the dough gently and keep ingredients cold. Also, don’t skip chilling the dough before rolling it out.
Can I prepare the galette a day ahead?
You can assemble the galette and keep it refrigerated overnight before baking. Let it sit at room temperature for 15 minutes before baking to ensure even cooking. This is great for planning ahead.
Final Thoughts
I hope you enjoy making this peach galette as much as I do! It’s a simple way to celebrate summer’s best fruit — don’t forget to share your baking adventures with me!