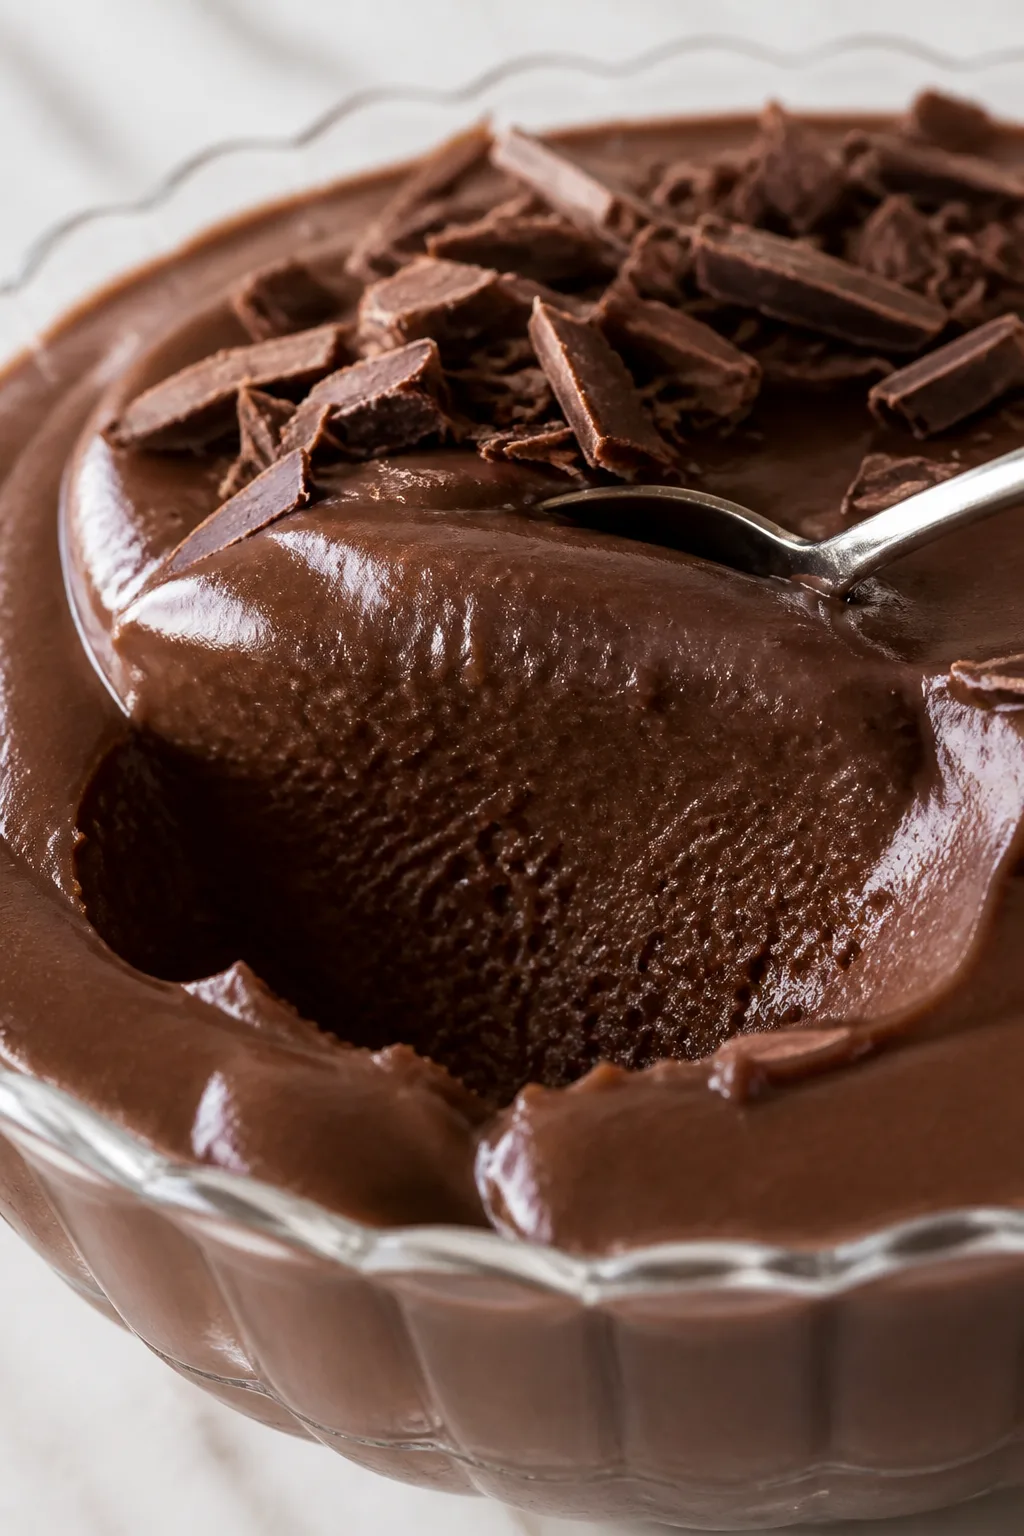
This chocolate pudding is smooth, creamy, and just sweet enough to satisfy your sweet tooth without being overpowering. The secret? Using real cocoa powder and a slow, gentle cook to get that perfect silky texture. Great for a cozy night or casual dessert with family.
Introduction
I first stumbled upon this chocolate pudding recipe on a chilly evening when I craved something comforting but quick. The classic instant puddings never quite hit the mark for me—they’re often too sweet or grainy. So I set out to create a homemade version that’s silky smooth and perfectly chocolatey without any weird additives. What sets this pudding apart is the gentle cooking method and the use of real egg yolks, which give it a luxuriously creamy texture that you just can’t get from boxed mixes. The trick I learned was to whisk the cornstarch and cocoa powder together before adding the milk, which prevents lumps and ensures a perfectly smooth finish. Plus, stirring constantly while it thickens is key to avoiding any scorching or clumps. When it’s done, the pudding has this rich, deep chocolate flavor with just the right balance of sweetness, making it a cozy treat any time you want a little indulgence without a fuss. I’ve made this for family dinners, casual weekend desserts, and even for friends who say they don’t usually like pudding! It’s always a hit and feels like a warm hug in a bowl—just what you want on a relaxing night in.
What You'll Need
About 4 servings, approximately 4 cups
- 2 cups whole milk, cold
- 1/2 cup granulated sugar
- 1/4 cup unsweetened cocoa powder, sifted
- 3 tablespoons cornstarch
- 1/4 teaspoon salt
- 3 large egg yolks
- 2 tablespoons unsalted butter, cut into small pieces
- 1 teaspoon pure vanilla extract
How To Do It
Step 1
In a medium bowl, whisk together the sugar, cocoa powder, cornstarch, and salt until well combined and smooth. This step is important because it evenly distributes the dry ingredients, which helps prevent lumps later. Make sure to sift the cocoa powder beforehand to avoid clumps. If you skip this, your pudding might have gritty spots, which nobody wants.
⏱ Time: 5 minutes
✓ Doneness: Dry ingredients are uniformly mixed with no visible lumps or clumps.
Step 2
Gradually pour in 1 1/2 cups of the cold milk into the dry mixture while whisking vigorously. This slow incorporation allows the cornstarch to hydrate properly and prevents lumps from forming. Rushing this can lead to a grainy pudding texture. Once combined, the mixture should be smooth and slightly thickened.
⏱ Time: 5 minutes
✓ Doneness: Mixture looks smooth and slightly thick, no lumps.
Step 3
In a small saucepan, heat the remaining 1/2 cup of milk over medium heat until it’s warm but not boiling—about 110°F (43°C). This helps temper the eggs later without scrambling them. Pour the warm milk slowly into the egg yolks while whisking constantly to gently raise their temperature. This step is crucial for a silky custard base.
⏱ Time: 5 minutes
✓ Doneness: Egg yolk mixture is warm and slightly thickened but not curdled.
Step 4
Pour the tempered egg yolk mixture back into the saucepan with the cocoa mixture. Cook over medium-low heat, stirring constantly with a wooden spoon or silicone spatula. This slow cooking activates the cornstarch and cooks the eggs, thickening the pudding. Don’t rush or stop stirring, or you risk lumps or curdling.
⏱ Time: 8-10 minutes
✓ Doneness: Pudding thickens to coat the back of a spoon smoothly.
Step 5
Remove the saucepan from heat and immediately whisk in the butter and vanilla extract. The butter adds richness and a glossy finish, while vanilla brightens the chocolate flavor. Stir until the butter is fully melted and incorporated for that perfect silky texture.
⏱ Time: 2 minutes
✓ Doneness: Pudding is smooth, glossy, and shiny.
Step 6
Pour the pudding into individual serving dishes or a large bowl. To prevent a skin from forming on top, press a piece of plastic wrap directly onto the surface while it cools. This keeps the texture creamy and skin-free. Let it cool at room temperature for about 15 minutes before refrigerating.
⏱ Time: 5 minutes
✓ Doneness: Surface is covered completely with plastic wrap with no air bubbles.
Step 7
Refrigerate the pudding for at least 2 hours or until fully chilled and set. The chilling allows the pudding to firm up to the ideal creamy consistency. If you’re in a hurry, you can pop it in the freezer for 30-40 minutes but watch closely to avoid freezing.
⏱ Time: 120 minutes
✓ Doneness: Pudding is cold, thick, and holds its shape when spooned.
Step 8
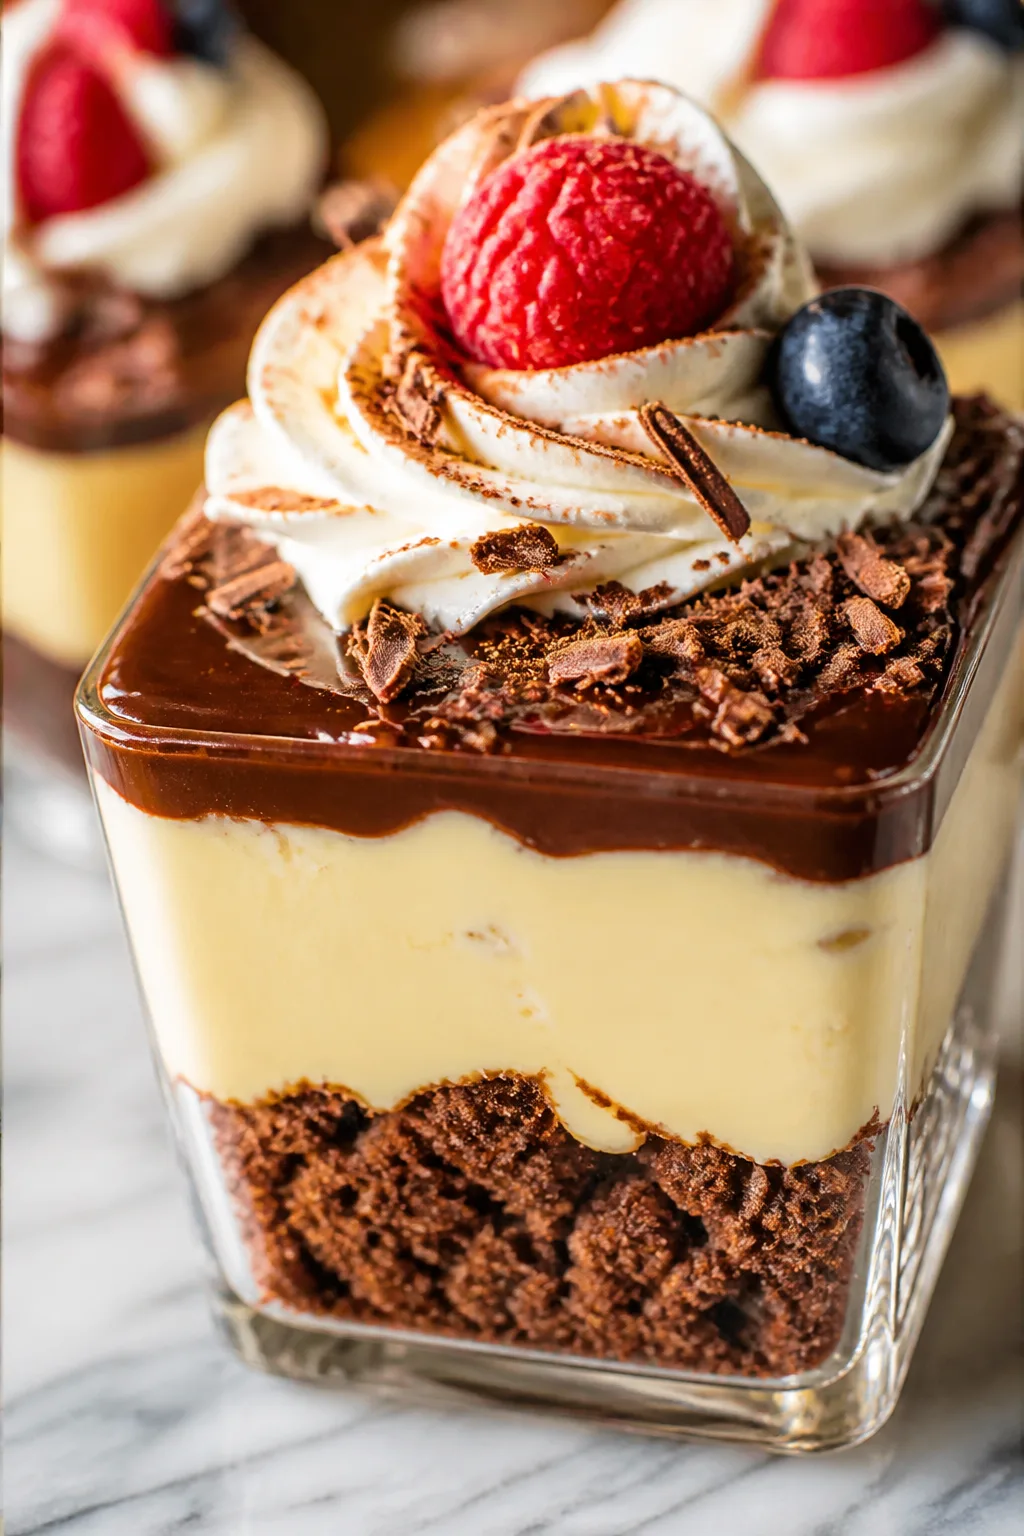
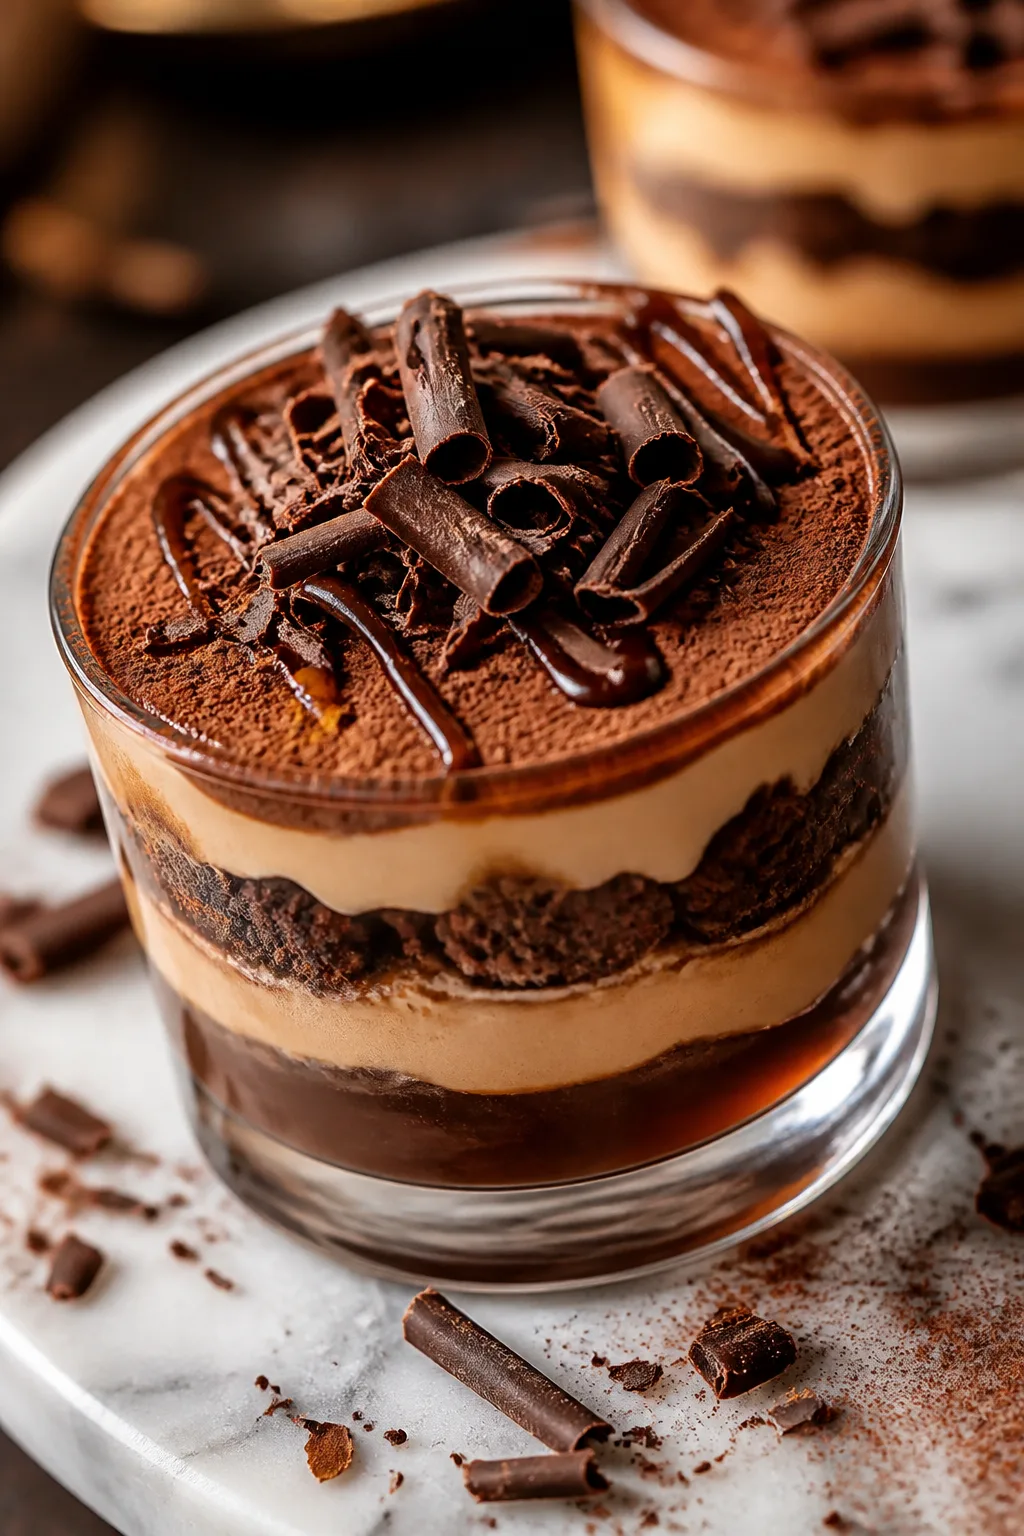
Before serving, stir the pudding gently to soften it slightly and restore creaminess. You can top it with whipped cream, fresh berries, or a sprinkle of shaved chocolate for extra flair. This final touch elevates the dessert and adds texture contrast.
⏱ Time: 2 minutes
✓ Doneness: Pudding is smooth and creamy, ready to enjoy.
Step 9
Enjoy your homemade chocolate pudding chilled for the best flavor and texture. Store leftovers covered in the fridge and consume within 3 days for optimal freshness. This pudding tastes even better the next day as flavors meld.
⏱ Time: N/A
✓ Doneness: Pudding remains smooth and delicious after storage.
Variations
Vegan Chocolate Pudding
Swap out the milk for coconut or almond milk and replace egg yolks with cornstarch and a bit of turmeric for color. Use coconut oil instead of butter. Texture will be slightly lighter but still creamy and delicious.
Note: Cook similarly but watch for different thickening time due to plant milk and no eggs.
Spiced Chocolate Pudding
Add a pinch of cinnamon and cayenne pepper to the dry mix for a subtle warming kick. This gives the pudding a cozy, slightly spicy twist that’s great for fall or winter evenings.
Note: Add spices with the dry ingredients to ensure even flavor distribution.
Mocha Chocolate Pudding
Stir in a teaspoon of instant espresso powder with the cocoa for a rich mocha flavor. It pairs beautifully with the deep chocolate notes and adds a sophisticated touch.
Note: Dissolve espresso powder in a little warm milk before adding to avoid clumps.
Peanut Butter Chocolate Pudding
Swirl in two tablespoons of creamy peanut butter after removing from heat for a nutty, decadent flavor. This variation adds depth and richness that peanut butter lovers will adore.
Note: Add peanut butter off heat and stir until fully incorporated for smoothness.
Salted Caramel Chocolate Pudding
Drizzle homemade or store-bought salted caramel sauce over the pudding before serving. The sweet-salty combo elevates the dessert to another level.
Note: Add caramel just before serving to maintain texture contrast.
Pro Tips
Whisk dry ingredients thoroughly before adding liquid.
This ensures the cocoa powder, sugar, and cornstarch are evenly distributed, preventing lumps and gritty spots in the pudding. Proper mixing allows the starch to hydrate uniformly during cooking, yielding a smooth texture.
Temper the egg yolks slowly with warm milk.
Gradually raising the temperature of the yolks prevents them from cooking too quickly and scrambling. This step is crucial for a silky custard base and avoids curdling, which would ruin the pudding’s texture.
Cook pudding over medium-low heat, stirring constantly.
Slow, gentle cooking activates the thickening agents without scorching or clumping. Stirring distributes heat evenly and prevents the bottom from burning, which can cause bitter flavors and uneven texture.
Press plastic wrap onto the pudding’s surface while cooling.
This prevents a skin from forming on top, which can be unpleasantly chewy. It keeps the pudding surface moist and smooth, maintaining that luscious mouthfeel everyone loves.
Use whole milk for best richness and texture.
Whole milk provides the right fat content to balance the starch and eggs, resulting in a creamy, full-bodied pudding. Skimming milk or using low-fat alternatives can yield a thinner, less satisfying texture.
Don’t rush the cooling process; chill pudding fully.
Proper chilling allows the pudding to set firmly and the flavors to develop fully. Serving it too warm can make the texture runny and flavors muted, diminishing the dessert’s appeal.
Add butter off the heat for a glossy finish.
Adding butter after cooking enriches the pudding without breaking the emulsion. This step enhances mouthfeel and gives the pudding an inviting, shiny appearance.
Common Mistakes to Avoid
Skipping the tempering step for egg yolks
Why it happens Sometimes cooks rush and add cold eggs directly to hot milk, assuming it’s faster. This causes the eggs to scramble and ruin the pudding’s texture.
Fix Always warm the yolks gradually by whisking in warm milk slowly. This careful temperature increase prevents curdling and keeps the pudding silky.
Not whisking dry ingredients well
Why it happens It’s easy to overlook sifting or thorough mixing, especially when in a hurry, leading to clumps of cocoa or cornstarch.
Fix Take the extra minute to sift cocoa and whisk dry ingredients thoroughly. This prevents lumps and ensures a smooth pudding.
Cooking the pudding on too high heat
Why it happens Trying to speed up cooking by increasing heat often causes scorching or lumps.
Fix Use medium-low heat and stir constantly. It takes longer but yields better texture and flavor.
Not covering the pudding surface while cooling
Why it happens Neglecting this results in an unpleasant skin forming on top, which many find off-putting.
Fix Press plastic wrap directly on the pudding’s surface while it cools to keep it creamy.
Using low-fat or skim milk
Why it happens Some try to make it lighter, but this affects creaminess and mouthfeel negatively.
Fix Stick to whole milk for the best balance of richness and texture.
Nutrition
Per Serving:
Nutritional values are estimates and may vary based on specific ingredients used.
Storage & Tips
Room Temperature
Pudding can safely sit at room temperature for up to 2 hours if covered to avoid contamination. Longer exposure risks bacterial growth, so refrigerate promptly.
Refrigerator
Store pudding in airtight containers or covered with plastic wrap pressed on the surface for up to 3 days. Texture may firm up further in the fridge; stir gently before serving to restore creaminess.
Freezer
Freezing pudding is not recommended as it can develop grainy texture upon thawing. If freezing, use airtight containers and thaw slowly in the refrigerator overnight to minimize texture changes.
Reheating
Pudding is best served chilled, but if preferred warm, gently reheat on the stovetop over low heat with a splash of milk, stirring constantly to avoid curdling. Avoid microwaving as it can heat unevenly.
Make Ahead
You can prepare the pudding base and cook it up to 2 days in advance, storing it covered in the fridge. Add butter and vanilla just before chilling to keep flavors fresh, then chill fully before serving.
FAQ
Can I use milk alternatives like almond or soy milk?
Yes, you can substitute whole milk with almond, soy, or oat milk, but expect a slightly different texture and flavor. These alternatives often produce a thinner pudding, so you might need to increase cornstarch slightly to achieve the same thickness.
What if my pudding is lumpy?
Lumps usually form when the cornstarch isn’t fully dissolved or if the mixture wasn’t whisked constantly during cooking. To fix, strain the pudding through a fine mesh sieve while hot. To avoid lumps, whisk dry ingredients well and stir continuously while cooking.
Can I make this pudding ahead of time?
Absolutely! The pudding tastes even better after chilling for a few hours or overnight. Just be sure to cover it with plastic wrap pressed onto the surface to prevent skin formation.
Is it necessary to use egg yolks?
Egg yolks contribute richness and a creamy texture, but you can omit them for a simpler version. Without yolks, the pudding will rely solely on cornstarch and will be less rich but still tasty.
How do I prevent a skin from forming on top?
Pressing plastic wrap directly onto the pudding surface while it cools traps moisture and prevents a skin from forming. If you skip this, a thin, leathery layer can develop, which many find unappealing.
Can I use Dutch-processed cocoa instead of natural?
Dutch-processed cocoa has a neutral pH and doesn’t react the same way with cornstarch, which might affect thickening and flavor. Natural cocoa powder is preferred for this recipe’s authentic chocolate taste and texture.
Why is my pudding too thin?
This usually happens if the pudding wasn’t cooked long enough for the cornstarch to fully gelatinize or if the cornstarch amount was insufficient. Make sure to cook until the pudding thickly coats the back of a spoon.
Can I add mix-ins like chocolate chips or nuts?
Sure! Stir in chocolate chips or chopped nuts after cooking and just before chilling. They add texture and flavor contrast, but avoid adding them during cooking to prevent melting or sogginess.
Final Thoughts
I hope you enjoy making and savoring this chocolate pudding as much as I do. It’s a simple, comforting dessert that always feels like a little celebration—don’t forget to share your results!