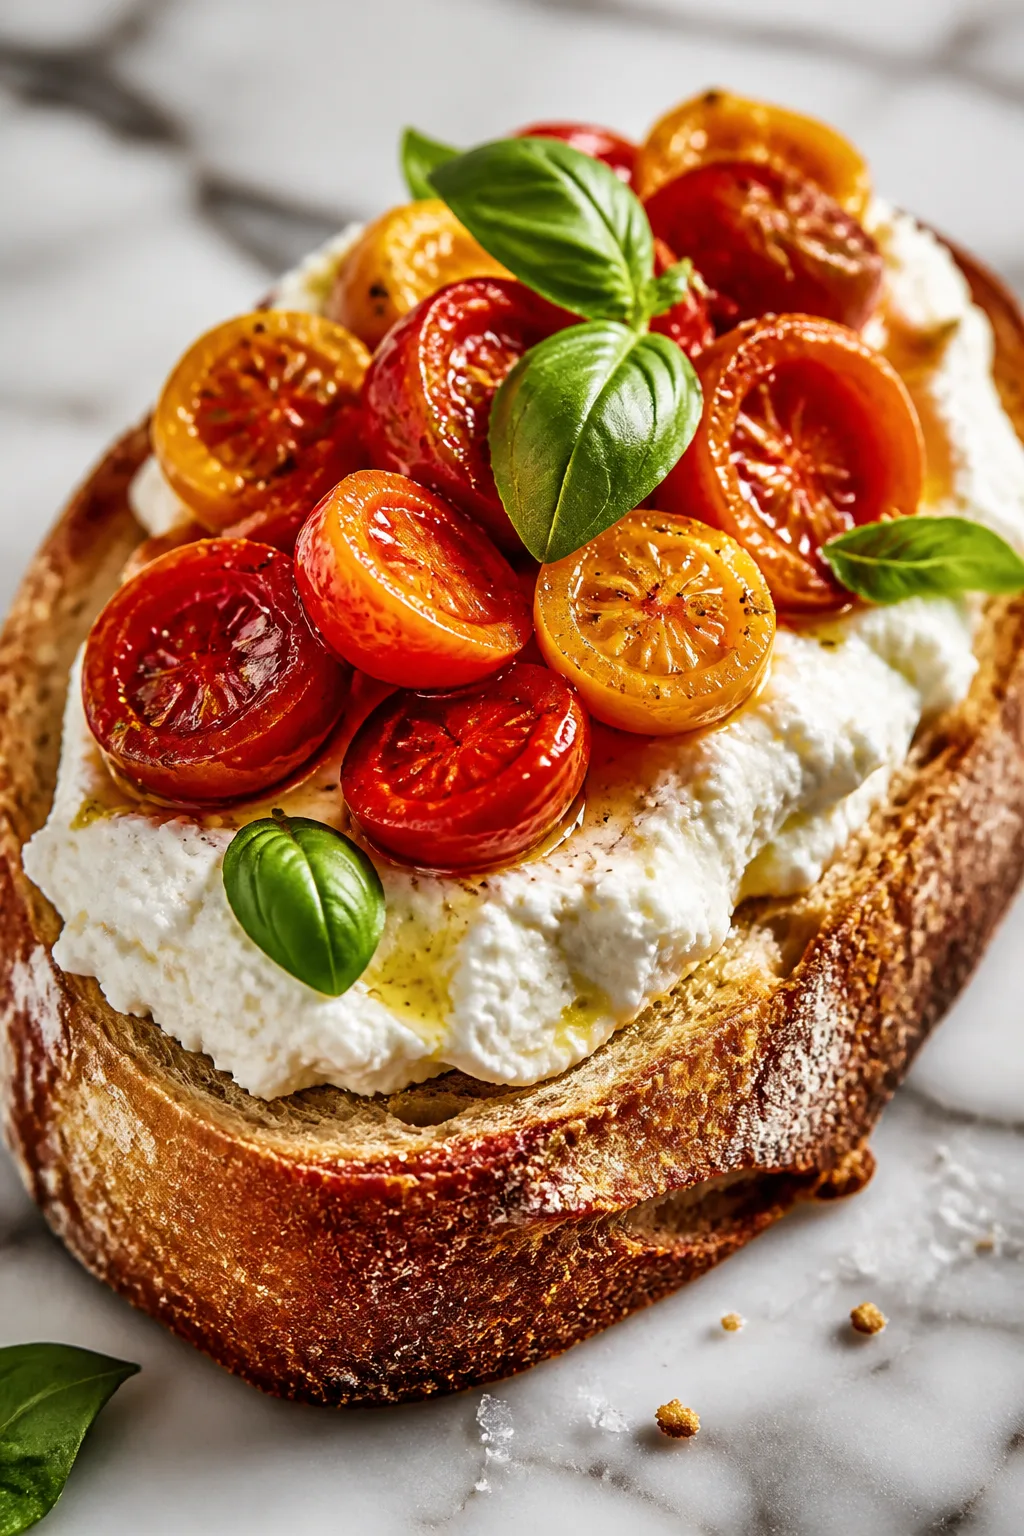
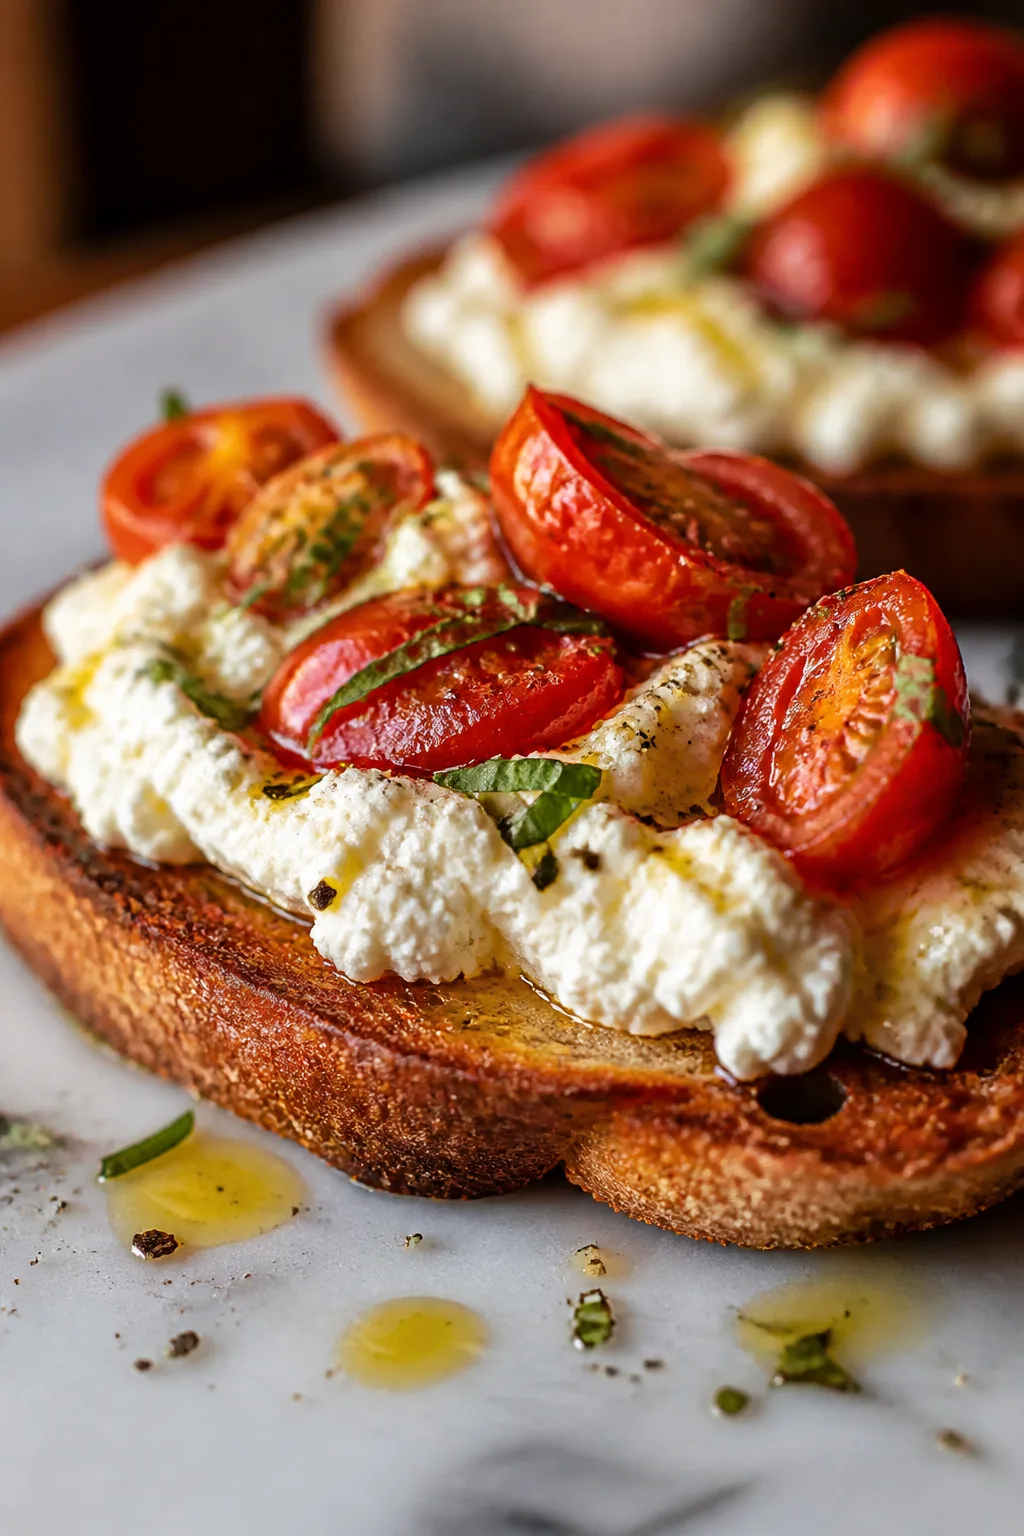
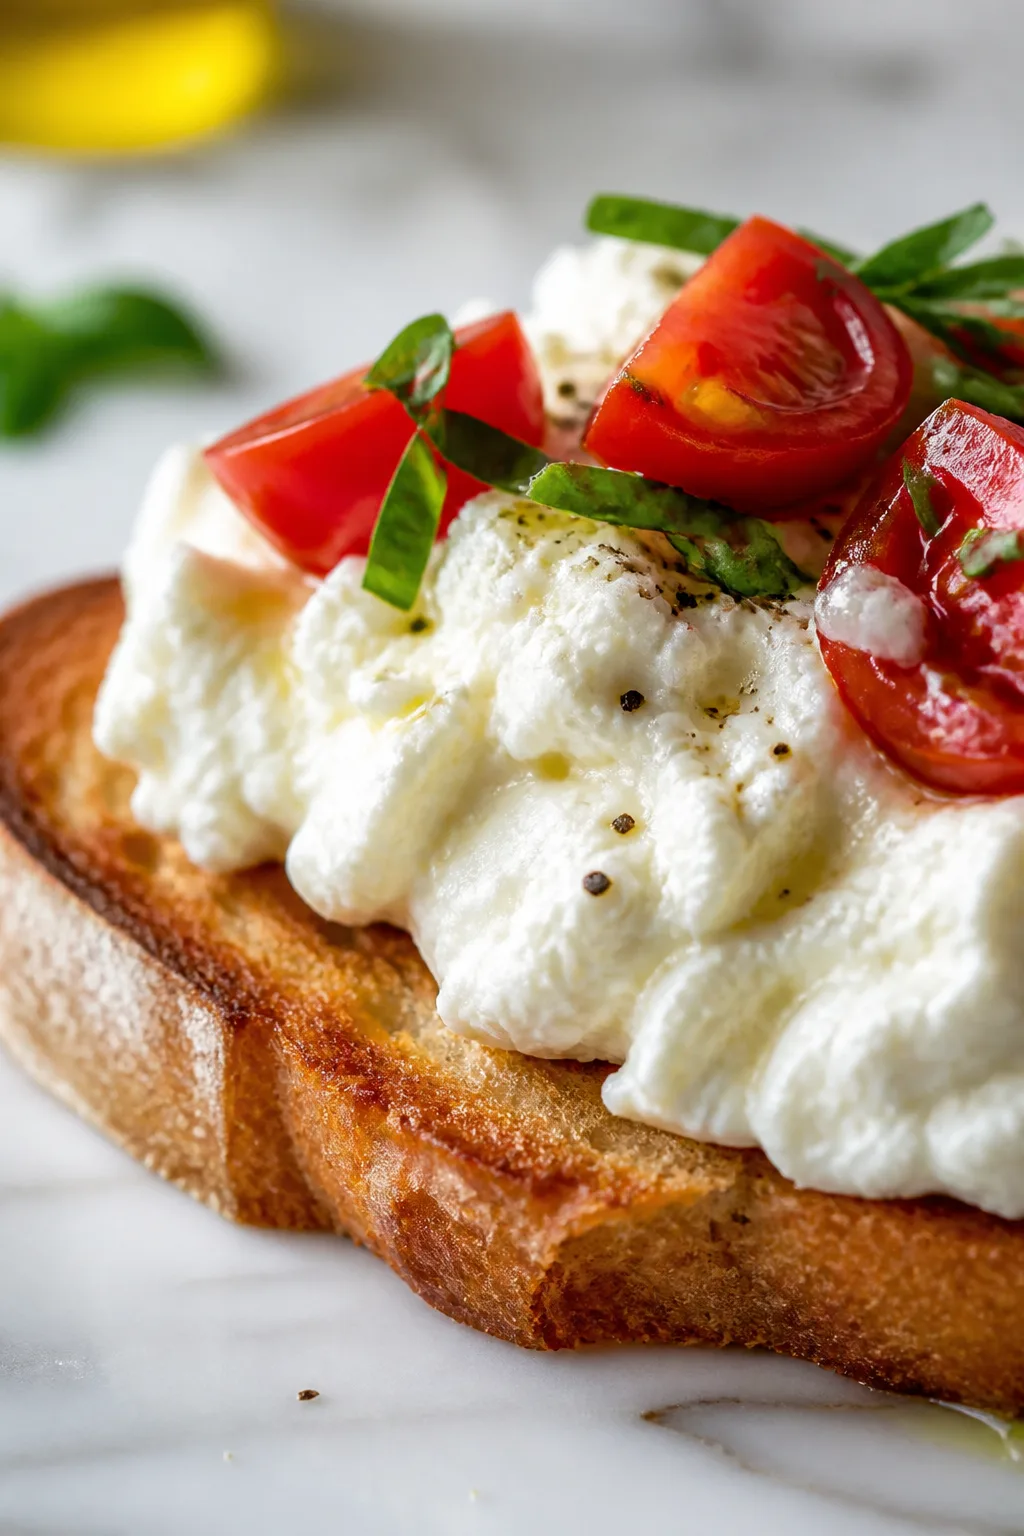
If you’re into fresh, creamy cheese, homemade ricotta is a game changer. It’s silky smooth and versatile—perfect in pasta dishes or even desserts. I love making it for cozy weekend meals or casual family dinners.
Introduction
I still remember the first time I made ricotta cheese at home—it was surprisingly simple and so much better than anything I’d bought from the store. There’s something special about that fresh, silky texture that just can’t be matched. Over time, I tweaked the recipe to balance creaminess with a light tang, using a mix of whole milk and cream for richness. One trick I learned is to heat the milk gently and add the acid slowly, which helps create those perfect soft curds without bitterness. This homemade ricotta feels luxurious but is incredibly approachable, perfect for everything from spooning over pasta to blending into desserts. I love making it on weekends when I have a little extra time because it fills the kitchen with a warm, comforting vibe. Plus, it’s so versatile that my family always finds a way to enjoy it, whether in a savory dish or a sweet treat. If you’ve never tried making ricotta yourself, I promise this recipe will make you want to toss the store-bought stuff forever.
What You'll Need
Approximately 2 cups fresh ricotta, 4 servings
- 4 cups whole milk, cold
- 1 cup heavy cream, cold
- 1/2 teaspoon fine sea salt
- 3 tablespoons white vinegar or lemon juice, room temperature
How To Do It
Step 1
Pour the cold whole milk and heavy cream into a large, heavy-bottomed pot. Add the sea salt and gently stir to combine. Slowly heat the mixture over medium heat, stirring occasionally to prevent scorching. The goal is to warm the milk to about 190°F (just before it boils). Heating slowly helps to develop the right texture in the curds, so don’t rush this step. Watch closely because milk can foam up and spill over quickly once it nears boiling.
⏱ Time: 15
✓ Doneness: Milk is steaming and small bubbles form on the sides, but it hasn’t boiled yet.
Step 2
Once the milk reaches 190°F, remove the pot from heat. Slowly pour in the vinegar or lemon juice while gently stirring. You’ll notice the milk start to curdle almost immediately as the curds separate from the whey. If the curds don’t form well, add a little more acid, but don’t overdo it or the ricotta can turn grainy. Let the mixture sit undisturbed for 10 minutes to allow the curds to fully develop and firm up.
⏱ Time: 10
✓ Doneness: Clear separation of white curds and translucent yellowish whey.
Step 3
Line a fine-mesh sieve or colander with a double layer of cheesecloth and set it over a large bowl. Carefully ladle the curds into the lined sieve, allowing the whey to drain. For creamier ricotta, drain for about 15-20 minutes; for firmer ricotta, let it drain longer. Avoid pressing the curds, as this can squeeze out moisture and make the texture dry.
⏱ Time: 20
✓ Doneness: Ricotta feels soft and creamy but holds together when scooped.
Step 4
Transfer the drained ricotta to a clean bowl. If you like, you can stir in a pinch more salt to taste. The ricotta is ready to use immediately or can be refrigerated for later. Fresh ricotta has a delicate tang and creamy texture that brightens any dish, so taste it before adding more salt or seasoning.
⏱ Time: 5
✓ Doneness: Smooth, creamy texture with a mild, fresh flavor.
Step 5
To store, place the ricotta in an airtight container and refrigerate. It’s best used within 3 days for optimal freshness. Before using leftovers, give it a gentle stir to restore creaminess. If it thickens too much, stir in a teaspoon of milk or cream to loosen it up.
⏱ Time: 5
✓ Doneness: Ricotta remains creamy and fresh-smelling after refrigeration.
Step 6
Use your homemade ricotta in your favorite recipes like creamy pasta sauces, lasagna, or dolloped on grilled bread with a drizzle of olive oil. It also shines in desserts like cheesecake or mixed with honey and fresh fruit. Because it’s so fresh and mild, it pairs well with both sweet and savory flavors.
⏱ Time: 0
✓ Doneness: Ricotta blends smoothly into dishes without graininess.
Step 7
If you want a lighter ricotta, you can substitute half the cream with milk, but keep in mind the texture will be less rich. Experiment a bit to find your favorite balance. Also, always use fresh, whole milk for the best curd formation; ultra-pasteurized milk doesn’t set as well.
⏱ Time: 0
✓ Doneness: Ricotta texture varies according to cream content.
Step 8
For a subtle flavor twist, try adding a splash of fresh lemon zest or a pinch of fresh herbs to your ricotta before serving. This adds brightness and complexity without overpowering the delicate cheese. Be gentle when folding in additions to keep the ricotta fluffy.
⏱ Time: 0
✓ Doneness: Ricotta remains fluffy with a hint of added flavor.
Step 9
Clean all your utensils and containers thoroughly before starting to avoid unwanted bacteria that can spoil the ricotta. Also, keep everything cold before heating to control the curd formation better. These small hygiene and temperature tips make a big difference in the final product’s freshness and safety.
⏱ Time: 0
✓ Doneness: Ricotta smells fresh and looks pure white without discoloration.
Variations
Herbed Ricotta
Add finely chopped fresh herbs like basil, thyme, or chives to your ricotta for a fragrant, savory twist. This works great as a spread or mixed into pasta. The herbs brighten the cheese’s mild flavor and add fresh color.
Note: Fold herbs in gently after draining to preserve ricotta’s texture and avoid breaking curds.
Lemon Zest Ricotta
Stir in a teaspoon of fresh lemon zest for a subtle citrus note that pairs beautifully with desserts or light pasta dishes. It adds brightness without overpowering the creamy base.
Note: Add zest after draining to keep flavors fresh and vibrant.
Low-Fat Ricotta
Use skim or 1% milk instead of whole milk and skip the cream for a lighter version. The texture will be less rich but still creamy and fresh, perfect for healthier recipes.
Note: Expect a slightly less smooth texture and adjust draining time to avoid too dry cheese.
Ricotta with Honey and Cinnamon
Sweeten your ricotta with a drizzle of honey and a sprinkle of cinnamon for a quick dessert or breakfast topping. This variation highlights ricotta’s natural mild sweetness.
Note: Mix after draining and serve chilled for best flavor.
Smoked Ricotta
Gently smoke your homemade ricotta using a stovetop smoker or smoked salt for a unique savory flavor. This pairs well with grilled vegetables or charcuterie boards.
Note: Smoke after draining and refrigerate before serving to let flavors meld.
Pro Tips
Heat the milk slowly to avoid scorching and uneven curd formation.
Slow heating ensures the milk proteins denature gently, which helps form soft, uniform curds. If the milk heats too quickly or burns on the bottom, it can cause bitter flavors and uneven texture. Stirring occasionally prevents hot spots and promotes even temperature distribution.
Add acid gradually and stir gently to get smooth curds.
Pouring the vinegar or lemon juice slowly allows the milk proteins to coagulate evenly, preventing clumping or graininess. Gentle stirring helps distribute acid without breaking curds apart, resulting in a silky texture. Rushing this step can cause uneven curd formation or bitterness.
Use fresh, cold milk and cream for best curd quality.
Cold dairy slows the initial reaction, giving you more control during heating. Fresh milk contains active proteins and enzymes essential for proper coagulation. Using ultra-pasteurized or old milk can lead to poor curd formation and off-flavors.
Don’t press the curds during draining to keep ricotta creamy.
Pressing squeezes out moisture and compacts the curds, resulting in a dry, crumbly cheese. Letting whey drain naturally keeps the ricotta soft and fluffy, which is key to its signature texture. Patience during draining makes a big difference.
Use a double layer of cheesecloth for perfect straining.
A fine mesh holds delicate curds while allowing whey to drain efficiently. Single or coarse cloths can let curds slip through or cause uneven draining. Double layering ensures you keep all that creamy goodness while removing excess liquid.
Taste and adjust salt after draining for balanced flavor.
Salt added too early seasons the milk but final seasoning can be adjusted after draining to suit your taste. Ricotta’s mild flavor benefits from a pinch more salt if needed, but avoid oversalting which masks freshness.
Store ricotta in an airtight container and use within 3 days.
Fresh ricotta is delicate and can spoil quickly if exposed to air. Proper storage preserves flavor and texture. Using it within a few days ensures you enjoy it at peak freshness before it loses moisture or develops off-flavors.
Common Mistakes to Avoid
Heating milk too fast
Why it happens Many home cooks try to speed up the process by turning the heat to high, thinking it will save time. This causes milk to scorch or boil over quickly.
Fix Use medium heat and stir regularly. Watch the milk carefully as it approaches 190°F, removing it promptly before boiling to avoid burnt flavor and uneven curds.
Adding acid all at once
Why it happens In a rush, some add all the vinegar or lemon juice immediately, causing curds to form unevenly or become grainy.
Fix Slowly pour acid in while stirring gently to promote even curd formation and prevent bitterness or clumping.
Pressing curds during draining
Why it happens Thinking it will speed up draining, cooks press the curds, squeezing out moisture.
Fix Let the ricotta drain naturally without pressing to keep it soft and creamy.
Using ultra-pasteurized milk
Why it happens Ultra-pasteurized milk is convenient but alters protein structure, preventing proper curd formation.
Fix Use fresh, cold whole milk from the dairy section for best results.
Not cleaning equipment thoroughly
Why it happens Residual odors or bacteria from dirty utensils can spoil the ricotta or cause off-flavors.
Fix Wash all pots, spoons, and cloths thoroughly before use to ensure fresh, clean cheese.
Nutrition
Per Serving:
Nutritional values are estimates and may vary based on specific ingredients and portion sizes.
Storage & Tips
Room Temperature
Fresh ricotta should not be left at room temperature for more than 2 hours as it’s highly perishable. Keep it covered loosely if serving immediately to avoid drying out.
Refrigerator
Store ricotta in an airtight container in the fridge for up to 3 days. Flavor and texture remain best if used fresh, but it can be gently stirred before serving if it thickens.
Freezer
Ricotta can be frozen for up to 2 months. Freeze in a sealed container or freezer bag, removing excess air to prevent freezer burn. Thaw overnight in the fridge and stir gently to restore some creaminess, though texture may be slightly grainy.
Reheating
Ricotta is best enjoyed cold or at room temperature. If using in cooked dishes, add it towards the end of cooking to prevent curdling. Avoid high direct heat that breaks down texture.
Make Ahead
You can prepare ricotta cheese 1-2 days ahead and store it refrigerated. For dishes like lasagna, assemble the dish with ricotta the day before and bake fresh for best results.
FAQ
Can I use low-fat milk instead of whole milk?
Yes, but the ricotta will be less creamy and more crumbly. Whole milk and cream provide the fat needed for that silky texture. If using low-fat milk, expect a lighter but less rich cheese.
Why did my ricotta turn out grainy?
Grainy texture often results from adding too much acid at once or overheating the milk. Add acid slowly and heat milk gently to just below boiling. Using ultra-pasteurized milk can also cause graininess.
How long does homemade ricotta last?
Refrigerated ricotta lasts about 3 days. It’s best eaten fresh for optimal flavor and texture. Always store in an airtight container and check for sour smell or discoloration before using.
Can I use lemon juice instead of vinegar?
Absolutely! Lemon juice works well and adds a subtle citrus flavor. Use the same amount as vinegar and add slowly to avoid bitterness.
Is it necessary to use cream in the recipe?
Cream adds richness and smoothness, but you can omit it for a lighter ricotta. The texture will be less creamy but still fresh and delicious.
Can I freeze homemade ricotta?
Yes, you can freeze it for up to 2 months. The texture may become slightly grainy after thawing, but it’s still great for cooking and baking.
What type of salt should I use?
Fine sea salt or kosher salt works best. Avoid iodized table salt as it can impart off-flavors. Salt helps with flavor and curd formation.
How do I know when the milk is the right temperature?
Use a kitchen thermometer to heat milk to about 190°F (just before boiling). The milk should steam and have bubbles forming on the sides but not be boiling.
Final Thoughts
Give this homemade ricotta a try—you’ll be amazed at how simple and rewarding it is. Share your ricotta creations with friends and enjoy the fresh, creamy goodness!