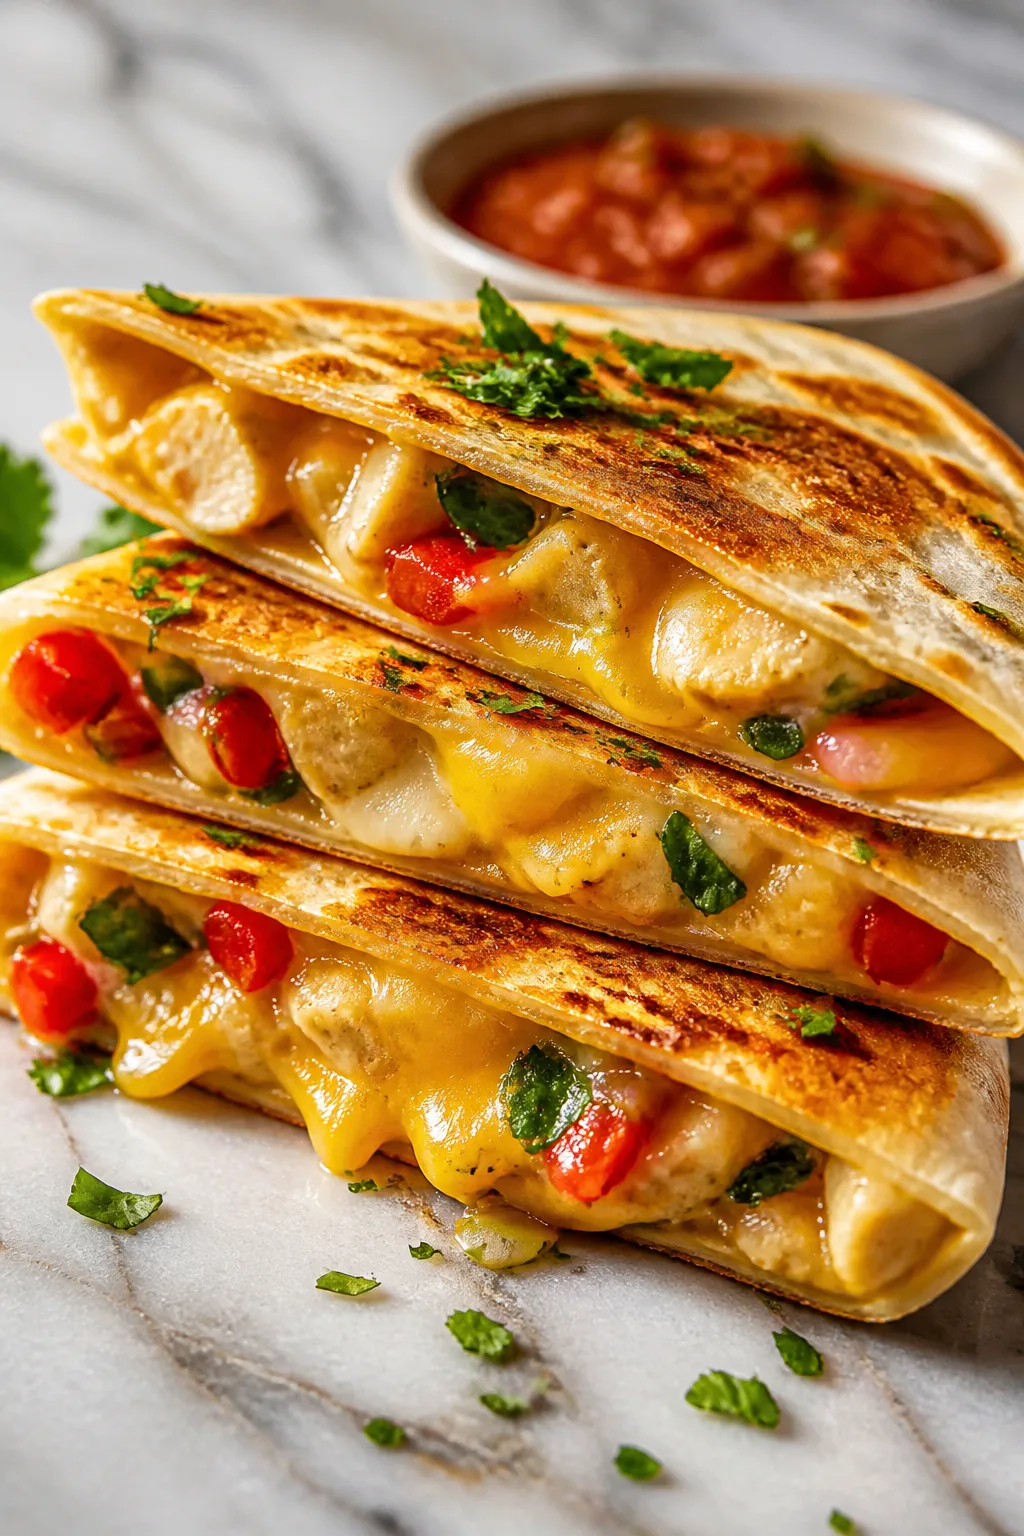
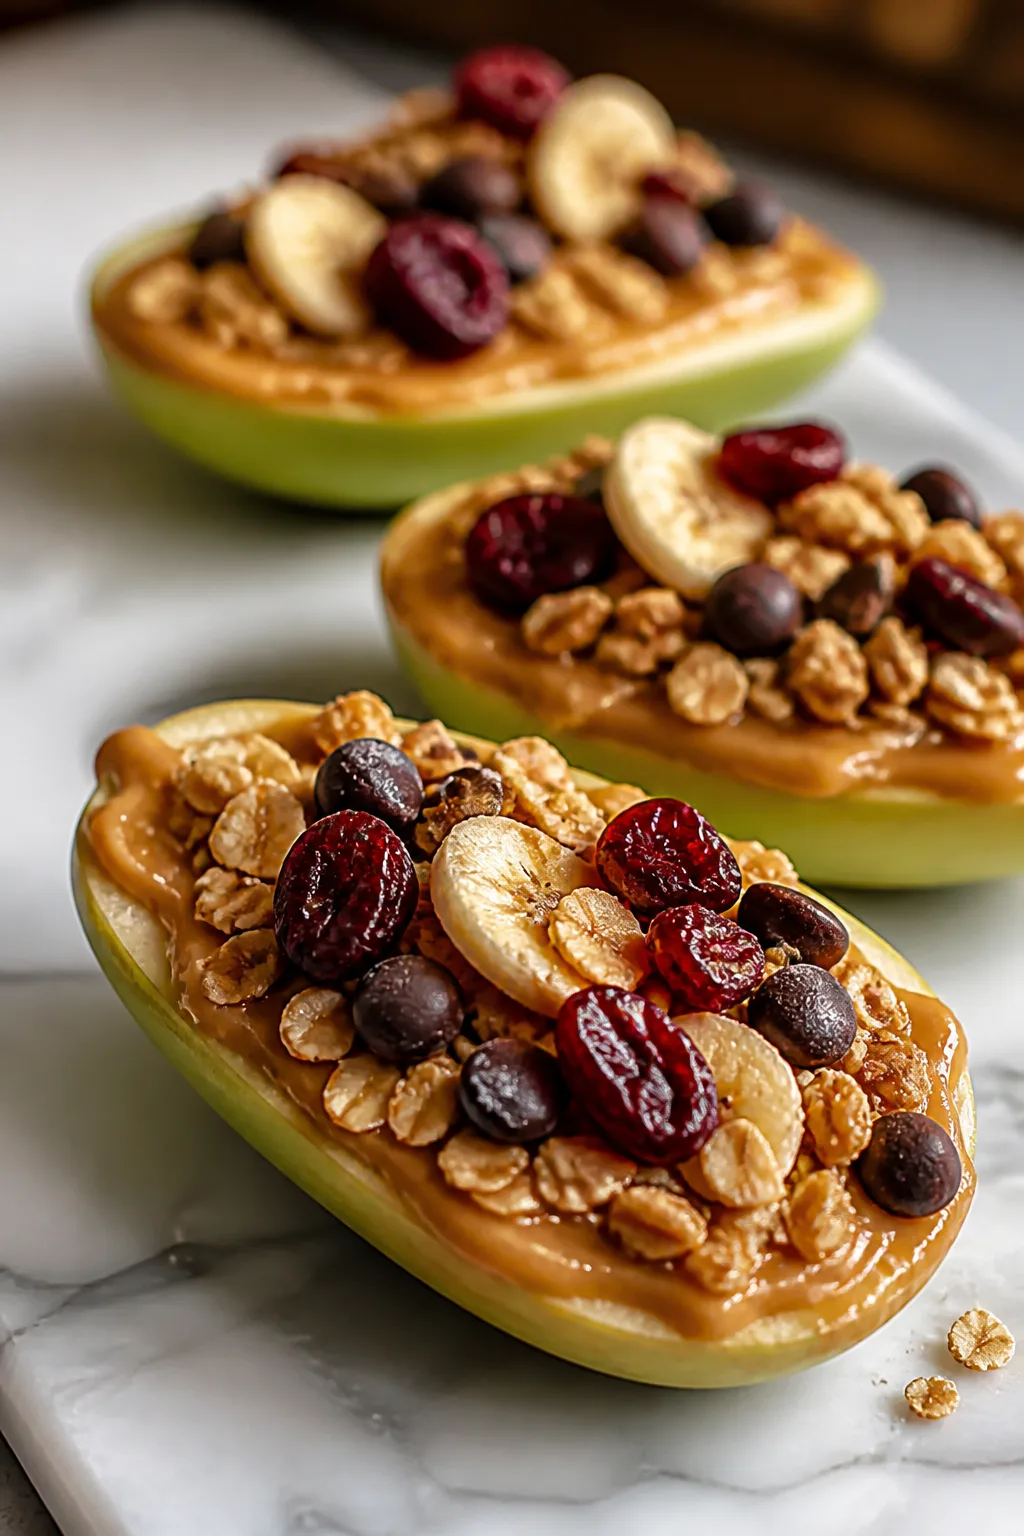
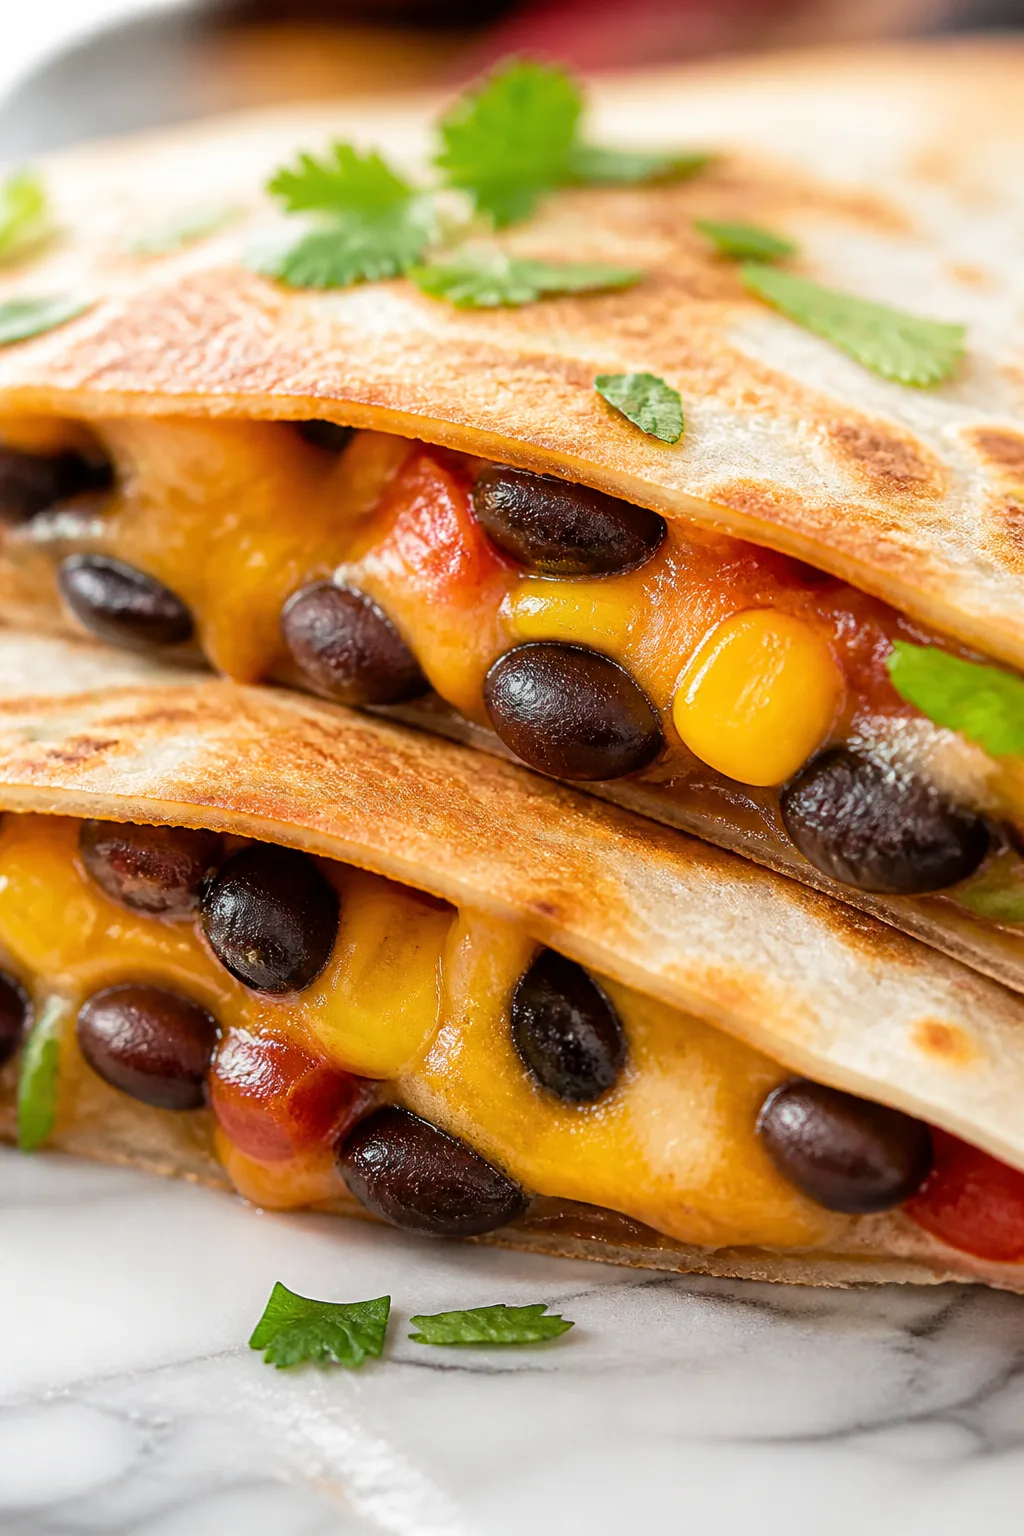
These easy homemade snacks are a lifesaver for busy moms! Made with simple ingredients and shaped fun, they’re both nutritious and a hit with the kids. Perfect for after school or anytime munching.
Introduction
I first made these homemade snacks when my kids were constantly asking for something tasty but healthy between meals. I was tired of the usual store-bought options loaded with sugar and preservatives, so I decided to create something simple yet delicious. What makes this recipe different is how easy it is to customize with whatever dried fruits or nuts you have on hand. Plus, shaping the mixture into fun little bites really gets the kids involved and excited about snack time. The trick I learned early on is to use just the right amount of peanut butter and honey to hold everything together without making it sticky or dry. The result is a chewy, naturally sweet snack that’s packed with energy and perfect for after school or quick grab-and-go moments. I love that I can prepare a batch in minutes, and they store well in the fridge for days, making my life easier and my kids happier. Honestly, I’ve tried a few variations over time, and this balance of oats, peanut butter, and dried fruit always wins. It’s become a staple in our house, and I think you’ll love it too!
What You'll Need
Approximately 20 snack bites, 4 servings
- 1 cup rolled oats, dry
- 1/2 cup natural peanut butter, smooth
- 1/4 cup honey or maple syrup
- 1/2 cup finely chopped dried fruits (e.g., raisins, apricots)
- 1/4 cup mini dark chocolate chips
- 1 teaspoon vanilla extract
- Pinch of salt
How To Do It
Step 1
Start by measuring out your rolled oats and placing them in a large mixing bowl. Oats act as the base and provide a hearty texture. Make sure to use rolled oats, not instant or steel-cut, as they help bind the snack with just the right chewiness. Mixing the oats first ensures even distribution of all ingredients later.
⏱ Time: 5 minutes
✓ Doneness: Oats are evenly spread and ready for mixing with wet ingredients.
Step 2
Add the natural peanut butter and honey (or maple syrup) to the oats. Stir thoroughly to combine. The peanut butter is key because it acts as the binder while adding healthy fats and flavor. Honey adds natural sweetness and helps hold the mixture together. Make sure to mix until the oats are fully coated, but don’t overmix to avoid a sticky mess.
⏱ Time: 5 minutes
✓ Doneness: Mixture holds together when pressed but is not overly sticky.
Step 3
Stir in the finely chopped dried fruits and mini dark chocolate chips. These add bursts of sweetness and texture that make the snacks more exciting. Using small pieces ensures they distribute evenly and don’t overpower the bite. Fold gently to avoid breaking the chocolate chips.
⏱ Time: 3 minutes
✓ Doneness: All mix-ins are evenly spread throughout the base mixture.
Step 4
Add vanilla extract and a pinch of salt to the mixture. The vanilla adds depth of flavor, while the salt balances the sweetness and enhances the overall taste. Stir well to incorporate these subtle but important flavor boosters.
⏱ Time: 2 minutes
✓ Doneness: Mixture smells aromatic and balanced.
Step 5
Line a baking sheet or tray with parchment paper to prevent sticking. Using your hands or a small cookie scoop, shape the mixture into bite-sized balls or fun shapes. Press firmly so they hold together but avoid compressing too much to keep a chewy texture. If the mixture feels too crumbly, add a little more peanut butter or honey.
⏱ Time: 5 minutes
✓ Doneness: Snacks hold their shape and feel firm but pliable.
Step 6
Place the shaped snacks on the parchment and refrigerate for at least 30 minutes. Chilling helps the peanut butter firm up and solidify the snacks so they don’t fall apart when handled. Don’t skip this step, as it’s crucial for texture and ease of eating.
⏱ Time: 30 minutes
✓ Doneness: Snacks feel firm and hold shape when touched.
Step 7
Once chilled, transfer the snacks to an airtight container. Store in the refrigerator to keep them fresh and chewy. These snacks don’t require baking, so refrigeration is the only preservation method needed. They’re great for packing in lunches or quick bites at home.
⏱ Time: 5 minutes
✓ Doneness: Snacks are cool and ready for storage or serving.
Step 8
If you want to mix it up, try adding chopped nuts or seeds like chia or flax for extra crunch and nutrition. Just fold them in with the dried fruits. Keep in mind this might change the texture slightly, making it crunchier but still chewy.
⏱ Time: 3 minutes
✓ Doneness: Additional mix-ins are evenly distributed without clumping.
Step 9
Serve these snacks chilled or at room temperature. They pair great with a glass of milk or a fresh fruit smoothie for a balanced mini-meal. Watch how quickly they disappear once your kids get a taste!
⏱ Time: 0 minutes
✓ Doneness: Snacks are ready to enjoy and look appealing on a plate.
Variations
Nut-Free Sunflower Butter Snacks
Swap peanut butter for sunflower seed butter to make this recipe safe for nut allergies. The texture remains creamy and the flavor slightly earthier. You may want to add a little extra honey to compensate for sunflower butter’s consistency.
Note: Sunflower butter is less sticky than peanut butter, so adjust binder amounts slightly to maintain shape.
Chocolate Banana Bites
Add mashed ripe banana to the mix for natural sweetness and moisture, and increase oats slightly to balance. Omit dried fruits and add cocoa powder for a chocolaty twist kids will love.
Note: Banana increases moisture, so more oats or chilling time are needed to firm up the snacks.
Seed-Loaded Energy Bites
Incorporate chia, flax, and pumpkin seeds for an extra nutrient boost. This variation adds crunch and omega-3s, perfect for active kids needing more energy.
Note: Seeds absorb moisture; add a bit more honey or peanut butter to keep the mixture cohesive.
Tropical Coconut Treats
Mix in shredded unsweetened coconut and chopped dried pineapple for a tropical flavor. These snacks taste like a mini vacation and are great for summer snacks or lunchboxes.
Note: Coconut can dry out the mixture, so balance with a little extra peanut butter or honey.
Spiced Pumpkin Snacks
Add pumpkin puree and pumpkin pie spices to the base. This seasonal twist is moist and fragrant, perfect for fall. Reduce honey slightly to account for pumpkin’s natural sweetness.
Note: Pumpkin puree adds moisture, so increase oats or chill longer for firmness.
Pro Tips
Use room temperature peanut butter for easier mixing.
Cold peanut butter is stiff and difficult to stir evenly, which can lead to uneven texture in the snacks. Letting it soften slightly ensures it mixes smoothly with the oats and honey, creating a uniform, cohesive batter that holds together well.
Press snacks firmly when shaping to improve binding.
Applying pressure when forming the bites compacts the mixture, minimizing air pockets that cause crumbling. This helps the natural binders like peanut butter and honey work effectively, resulting in a sturdy, chewy snack that won’t fall apart during handling.
Don’t skip the chilling step.
Chilling solidifies the fats and thickens the syrup, which is critical for maintaining shape and texture. Skipping this step will lead to soft, sticky snacks that are hard to eat and store. Refrigeration also helps flavors meld for a tastier bite.
Use parchment paper to prevent sticking.
The mixture can be sticky, so lining your tray with parchment paper prevents the snacks from adhering to surfaces. This makes cleanup easier and keeps the snacks intact when removing them from the tray.
Experiment with mix-ins like seeds or nuts.
Adding chia seeds or chopped nuts boosts nutrition and adds interesting textures. However, be mindful of how much you add; too many can alter the binding properties and change the final texture, making the snacks crumbly or too crunchy.
Store snacks in an airtight container in the fridge.
Exposure to air can dry out these snacks, making them tough and less enjoyable. Airtight storage preserves moisture and freshness, keeping the snacks soft and chewy for several days.
Use a cookie scoop for uniform sizes.
Consistent sizing ensures even chilling and portion control, making the snacks look professional and easier to serve. It also helps kids know how many bites they’re getting, which can be handy for packing lunches.
Common Mistakes to Avoid
Using crunchy peanut butter instead of smooth.
Why it happens Some cooks assume crunchy peanut butter adds texture, but it interferes with the binding process.
Fix Stick to smooth peanut butter to ensure the mixture holds together well. If you want crunch, add chopped nuts separately.
Skipping the chilling step.
Why it happens Impatience or time constraints lead to skipping refrigeration.
Fix Always chill the snacks at least 30 minutes. This step solidifies the fats and syrup, giving the snacks structure and making them easier to handle.
Using instant oats or steel-cut oats.
Why it happens Confusion about oat types or grabbing what’s on hand.
Fix Use rolled oats for the right texture and binding. Instant oats become mushy, steel-cut are too hard.
Adding too much honey or peanut butter.
Why it happens Trying to make the mixture sweeter or stickier without measuring.
Fix Follow the recipe amounts closely. Excess liquid makes the mixture too sticky and hard to shape.
Not chopping dried fruits finely enough.
Why it happens Underestimating how big pieces affect texture.
Fix Chop dried fruits into small pieces to ensure even distribution and prevent the snacks from falling apart.
Nutrition
Per Serving:
Nutritional values are estimates and may vary based on specific ingredients used.
Storage & Tips
Room Temperature
These snacks can be kept at room temperature for up to 4 hours if covered in an airtight container. Beyond that, they may become soft or sticky due to ambient heat and humidity.
Refrigerator
Store in an airtight container in the fridge for up to 5 days. The snacks maintain their chewy texture but may firm up slightly. Serve chilled or let sit at room temperature for 10 minutes before eating for softer bites.
Freezer
Freeze for up to 2 months. Wrap tightly in plastic wrap and place in a freezer-safe container to prevent freezer burn. Thaw overnight in the fridge before serving. Texture remains good but may be slightly denser.
Reheating
No reheating needed. If desired, let the snacks warm to room temperature or microwave for 10-15 seconds to soften. Avoid overheating or they may become too sticky.
Make Ahead
Prepare the mixture and shape the snacks 1-2 days ahead. Store them in the fridge on parchment-lined trays. Finish chilling fully before packing or serving to ensure shape and texture.
FAQ
Can I substitute peanut butter with almond or cashew butter?
Yes, you can substitute almond or cashew butter in equal amounts. Keep in mind the flavor will change slightly, and texture might be less sticky depending on the nut butter’s consistency. Choose natural, smooth versions without added oils for best results.
What if the mixture is too dry or crumbly?
If your mixture feels crumbly and doesn’t hold together, add a little more peanut butter or honey, one teaspoon at a time. Mix well after each addition until the mixture sticks when pressed but isn’t overly sticky.
Can I bake these snacks instead of chilling?
This recipe is designed to be no-bake to keep things simple and preserve nutrients. Baking would change the texture, making them drier and harder. Chilling is the best way to set them while maintaining chewiness.
Are these snacks suitable for toddlers?
They’re generally safe for toddlers but be cautious with choking hazards like nuts or large dried fruit pieces. Chop ingredients finely and supervise eating. Also, check for any allergies before serving.
How long do these snacks last in the fridge?
Stored properly in an airtight container, they last about 5 days refrigerated. After that, they may dry out or lose their chewy texture. For longer storage, freezing is recommended.
Can I add protein powder to boost nutrition?
Yes, adding a tablespoon or two of protein powder can increase protein content. Use a neutral flavor powder and adjust the wet ingredients slightly to maintain the right consistency.
What’s the best way to keep snacks from sticking to my hands?
Lightly wet or oil your hands before shaping the snacks. This prevents the mixture from sticking and makes it easier to form uniform bites.
Can I use fresh fruit instead of dried?
Fresh fruit adds too much moisture and will make the mixture soggy. It’s best to stick with dried fruit or add fresh fruit as a side snack instead.
Final Thoughts
I hope you enjoy making these easy, healthy snacks as much as my family does. Give them a try and let me know how your kids like them!