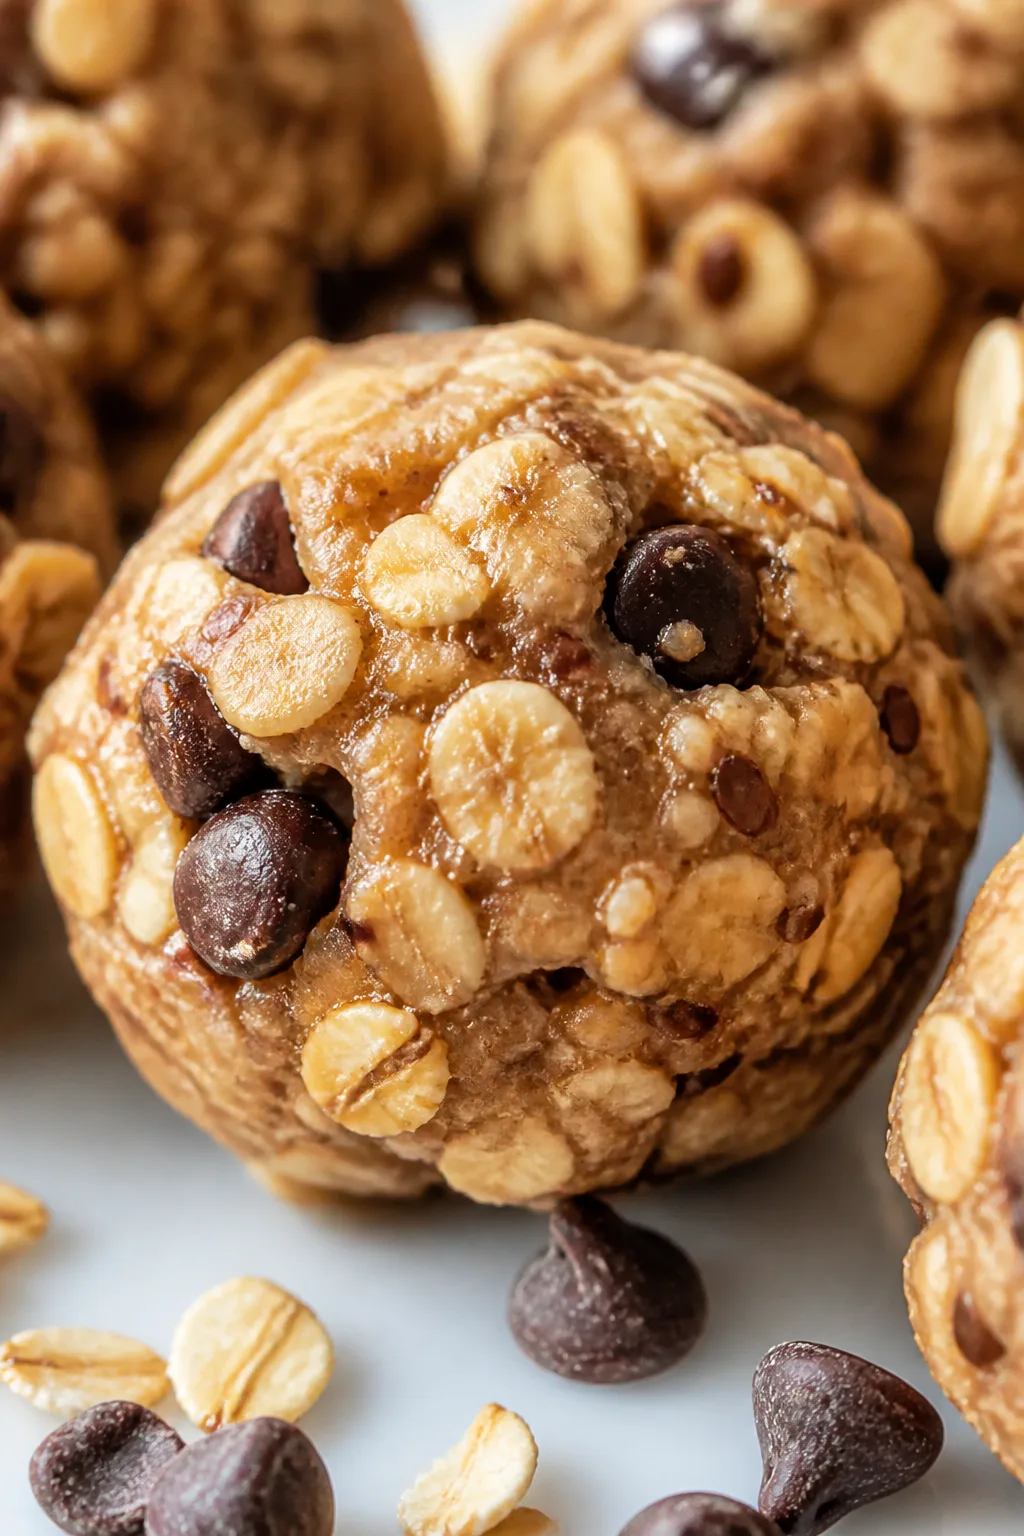
These homemade toddler snacks are simple and wholesome, with a cozy hint of cinnamon that kids love. Perfect for afternoon munchies or packing in lunchboxes for a nutritious boost.
Introduction
I first made these toddler snacks when my little one started reaching for anything sweet but I wanted to keep treats wholesome and homemade. The touch of cinnamon adds a subtle warmth that makes these bites feel cozy without overwhelming young taste buds. What sets this recipe apart is how soft and easy to hold the snacks are, perfect for tiny hands still mastering coordination. I've tried recipes that were too dry or crumbly, but this one stays tender thanks to the applesauce and yogurt combo. Plus, the honey adds just a hint of natural sweetness, which you can skip for babies under one. These snacks have become a staple in our house, great for afternoon munchies or packed in lunchboxes. They’re simple, quick to whip up, and the cinnamon gives them that little extra something that keeps my toddler coming back for more. If you want a snack that’s both nutritious and loved by kids, give this a try—you might just find it becoming your go-to too!
What You'll Need
Approximately 16 small snacks, 8 servings
- 1 cup whole wheat flour
- 1/2 teaspoon ground cinnamon
- 1/4 teaspoon baking powder
- 1/4 teaspoon baking soda
- 1/4 teaspoon salt
- 1/2 cup unsweetened applesauce
- 1/4 cup plain yogurt
- 1 tablespoon honey (omit if under 1 year)
- 1 teaspoon vanilla extract
How To Do It
Step 1
Preheat your oven to 350°F (175°C) and line a baking sheet with parchment paper or a silicone mat. This step ensures your snacks bake evenly and don’t stick, making cleanup easier. Proper oven temperature is key here; too hot and they’ll brown too fast on the outside while staying raw inside. Take your time to set this right before moving on.
⏱ Time: 10 minutes
✓ Doneness: Oven fully preheated and baking sheet prepared with parchment or mat
Step 2
In a medium bowl, whisk together the whole wheat flour, ground cinnamon, baking powder, baking soda, and salt. Mixing these dry ingredients well is important to distribute the leavening agents evenly, which helps the snacks rise uniformly and develop a consistent texture. If you skip thorough mixing, you might end up with spots that are denser or don’t rise properly.
⏱ Time: 5 minutes
✓ Doneness: Dry ingredients combined and smooth with no clumps
Step 3
In a separate bowl, combine the applesauce, yogurt, honey (if using), and vanilla extract. Stir until smooth. This wet mixture adds moisture and tenderness to the snacks. The yogurt’s acidity also reacts with the baking soda to help lift the dough. Make sure the honey is fully incorporated for even sweetness—this avoids sticky patches in the final product.
⏱ Time: 5 minutes
✓ Doneness: Wet ingredients fully blended into a smooth mixture
Step 4
Pour the wet ingredients into the bowl with the dry ingredients and gently fold together with a spatula until just combined. Avoid overmixing here; too much stirring can develop gluten in the flour, making the snacks tough instead of soft. The batter should be thick but soft enough to scoop easily.
⏱ Time: 3 minutes
✓ Doneness: Batter combined with no large flour pockets, slightly thick and smooth
Step 5
Scoop tablespoon-sized portions of batter onto the prepared baking sheet, spacing them about 1 inch apart. This size is perfect for little hands and ensures even baking. Don’t crowd the pan or they may bake unevenly or stick together. If you want smaller or larger snacks, adjust spacing accordingly.
⏱ Time: 5 minutes
✓ Doneness: Batter scooped evenly spaced on baking sheet
Step 6
Bake in the preheated oven for 15-20 minutes. Check around 15 minutes by inserting a toothpick into the center of a snack; it should come out clean or with a few moist crumbs. The snacks will be lightly golden and spring back when touched gently. Overbaking leads to dryness, so keep a close eye near the end.
⏱ Time: 15-20 minutes
✓ Doneness: Light golden color with clean toothpick test and springy texture
Step 7
Remove the snacks from the oven and let them cool on the baking sheet for 5 minutes before transferring to a wire rack. Cooling on the sheet allows them to firm up slightly, making them easier to handle. Moving them too soon can cause breakage. The wire rack finish prevents sogginess by letting air circulate.
⏱ Time: 10 minutes
✓ Doneness: Snacks firm enough to pick up without crumbling but still soft
Step 8
Once completely cooled, store the snacks in an airtight container. This keeps them fresh and soft for several days. If you notice any moisture build-up, place a paper towel inside the container to absorb excess humidity. These snacks are best enjoyed within 3 days for optimal texture.
⏱ Time: 5 minutes
✓ Doneness: Snacks stored at room temperature in sealed container
Step 9
For freezing, place cooled snacks in a single layer on a baking sheet and freeze until solid, about 1 hour. Then transfer to a freezer-safe bag or container. This prevents them from sticking together. Thaw at room temperature before serving, or warm slightly in the microwave for a soft, fresh-baked feel.
⏱ Time: 1 hour freezing plus thaw time
✓ Doneness: Snacks frozen solid individually, thawed or warmed before eating
Variations
Banana Cinnamon Toddler Snacks
Swap applesauce for mashed ripe banana for a sweeter, fruitier flavor. The banana adds moisture and natural sweetness, making snacks extra tender. Great for toddlers who love banana! Expect a slightly denser texture.
Note: Banana increases moisture, so reduce yogurt by 1-2 tablespoons to avoid overly wet batter.
Pumpkin Spice Toddler Bites
Replace applesauce with canned pumpkin and add a pinch of nutmeg and cloves for a cozy fall flavor. These snacks are rich in vitamins and have a lovely autumnal aroma kids adore.
Note: Pumpkin is wetter than applesauce; reduce yogurt slightly and monitor batter thickness.
Oatmeal Cinnamon Snacks
Add 1/2 cup finely ground oats or oat flour to the dry ingredients for extra fiber and chewiness. This variation adds texture and keeps toddlers fuller longer.
Note: Oats absorb more moisture; increase wet ingredients by 1-2 tablespoons if batter feels dry.
Apple Raisin Toddler Treats
Fold in 1/4 cup finely chopped raisins and 1/4 cup grated apple for added sweetness and chew. Raisins provide iron and natural sugars for energy.
Note: Add raisins and apple after mixing wet and dry ingredients to avoid overmixing.
Gluten-Free Cinnamon Snacks
Use a gluten-free flour blend in place of whole wheat flour to accommodate allergies. The texture will be slightly different but still soft and tasty for toddlers sensitive to gluten.
Note: Gluten-free flour may need an extra binding agent like 1 teaspoon xanthan gum for structure.
Pro Tips
Use room temperature wet ingredients for better mixing.
Bringing applesauce and yogurt to room temperature helps them blend smoothly with dry ingredients, preventing lumps and ensuring even distribution. Cold ingredients can cause uneven texture and inconsistent rising, leading to dense or uneven snacks.
Don’t overmix the batter after combining wet and dry ingredients.
Overmixing develops gluten in the flour, which toughens the snacks rather than keeping them soft and tender. Stir just until no dry flour remains to maintain the ideal delicate crumb for toddlers.
Line your baking sheet with parchment paper or a silicone mat.
This prevents sticking and helps snacks bake evenly on the bottom without burning. It also makes cleanup easier and preserves the shape of the snacks when removing them from the pan.
Let snacks cool on the baking sheet before transferring to a wire rack.
This step allows the snacks to firm up slightly, reducing the chance of breakage. Transferring too soon can cause them to crumble or fall apart, especially when they’re still warm and fragile.
Use a small cookie scoop for uniform snack sizes.
Consistent sizing ensures even baking so all snacks cook through at the same rate. It also makes portions toddler-friendly and easier for little hands to manage.
Store snacks in an airtight container with a paper towel inside.
The paper towel absorbs excess moisture, preventing sogginess and keeping snacks soft but not wet. This simple trick extends freshness for several days.
Freeze snacks individually before storing in a bag.
Freezing in a single layer prevents snacks from sticking together, making it easy to thaw just what you need without a mess. It also preserves texture and flavor better than freezing in a clump.
Common Mistakes to Avoid
Overbaking the snacks
Why it happens Many cooks leave snacks in the oven too long thinking they need to be fully browned or firm.
Fix Watch the snacks closely starting at 15 minutes and perform the toothpick test early. Remove them once they’re lightly golden and springy to the touch to avoid dryness.
Skipping the parchment or silicone mat
Why it happens Some assume a greased pan is enough to prevent sticking.
Fix Use parchment paper or a silicone mat to ensure easy removal and prevent breaking. This also helps snacks bake evenly on the bottom.
Overmixing the batter
Why it happens Trying to get a perfectly smooth batter can lead to excessive stirring.
Fix Mix just until combined with no visible dry flour. This keeps the texture tender and soft for toddlers.
Using expired leavening agents
Why it happens Leavening powders can be forgotten in the pantry and lose potency.
Fix Test baking powder and soda freshness before baking by mixing with vinegar or warm water. Replace if no bubbles form to ensure proper rising.
Adding too much cinnamon
Why it happens Thinking more spice equals better flavor.
Fix Stick to the recipe amount; too much cinnamon can overpower toddlers’ sensitive palates and make snacks bitter.
Nutrition
Per Serving:
Nutritional values are estimates and may vary based on specific ingredients used.
Storage & Tips
Room Temperature
Keep snacks in an airtight container at room temperature for up to 2 days. Avoid leaving them uncovered to prevent drying out. Best eaten fresh for softness.
Refrigerator
Store in an airtight container for up to 5 days. Refrigeration can firm them up; warming slightly before serving helps restore softness.
Freezer
Freeze snacks in a single layer until solid, then transfer to a freezer-safe bag for up to 2 months. Thaw at room temperature or warm gently in the microwave to refresh texture.
Reheating
Warm snacks in the microwave for 10-15 seconds or in a low oven (300°F) for 5 minutes. Avoid overheating which can dry them out. Adding a splash of water before microwaving helps maintain moisture.
Make Ahead
Prepare the batter up to 24 hours ahead and store tightly covered in the fridge. Scoop and bake fresh on the day you plan to serve for best texture and flavor.
FAQ
Can I make these snacks without honey for babies under 1 year?
Absolutely! You can omit the honey entirely or substitute it with a little extra applesauce or mashed banana for sweetness. The texture and moisture will remain similar, making it safe and tasty for younger babies.
How do I know when the snacks are fully baked?
The best test is the toothpick method: insert a toothpick into the center of a snack; if it comes out clean or with a few moist crumbs, they're done. They should also be lightly golden and spring back when pressed gently.
Can I freeze these toddler snacks?
Yes! Cool them completely, freeze in a single layer until solid, then transfer to a freezer bag or container. This prevents them from sticking together. Thaw at room temperature or warm briefly before serving.
What if my batter is too dry or too wet?
If too dry, add a tablespoon more yogurt or applesauce gradually until the batter is thick but scoopable. If too wet, add a bit more flour, a tablespoon at a time, to reach the right consistency.
Can I use all-purpose flour instead of whole wheat?
You can substitute all-purpose flour for a lighter texture and milder flavor, but you'll lose some fiber and nutrients. The snacks will be softer but less filling.
Why do my snacks sometimes crumble when cooled?
This often happens if you remove them from the pan too soon or overbake. Let them cool on the baking sheet for a few minutes before moving to a wire rack, and watch baking time closely.
Can I add other spices or flavors?
Definitely! Mild spices like nutmeg or a dash of vanilla work well. Just keep flavors subtle to suit toddlers’ palates and avoid anything too strong or spicy.
My toddler has nut allergies; is this recipe safe?
Yes, this recipe contains no nuts. Just be sure to use nut-free ingredients and check labels on baking powder and other packaged items to avoid cross-contamination.
Final Thoughts
I hope you and your little ones enjoy these cozy cinnamon snacks as much as we do! Don’t forget to share how they turned out — I’d love to hear your tweaks and favorites.