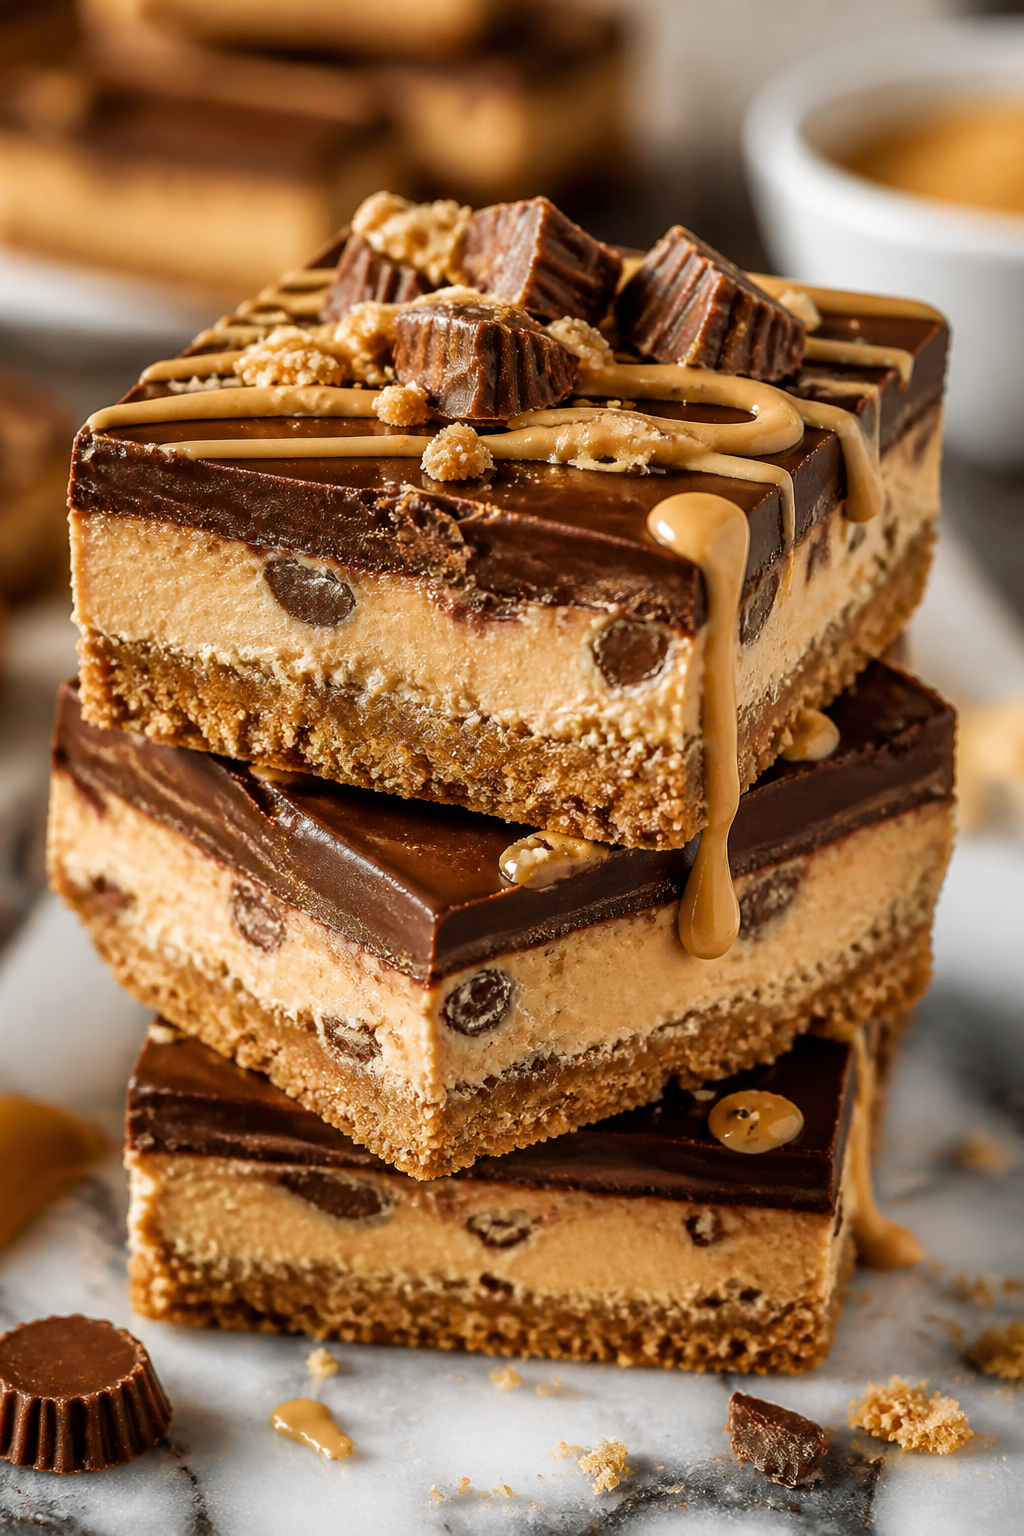
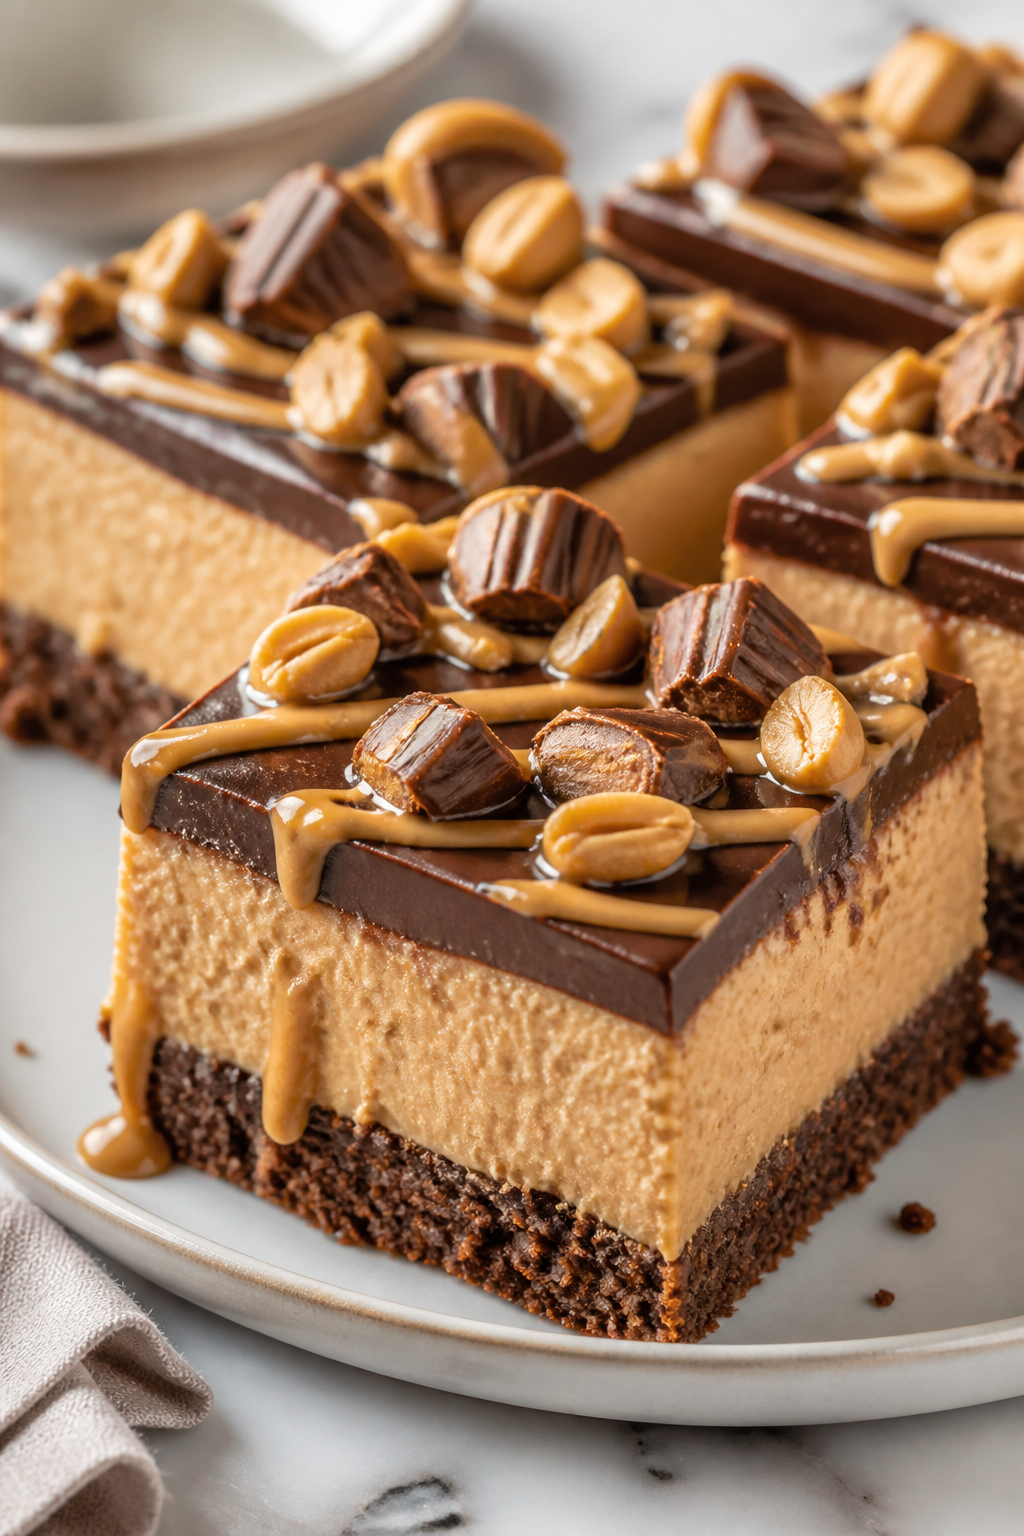
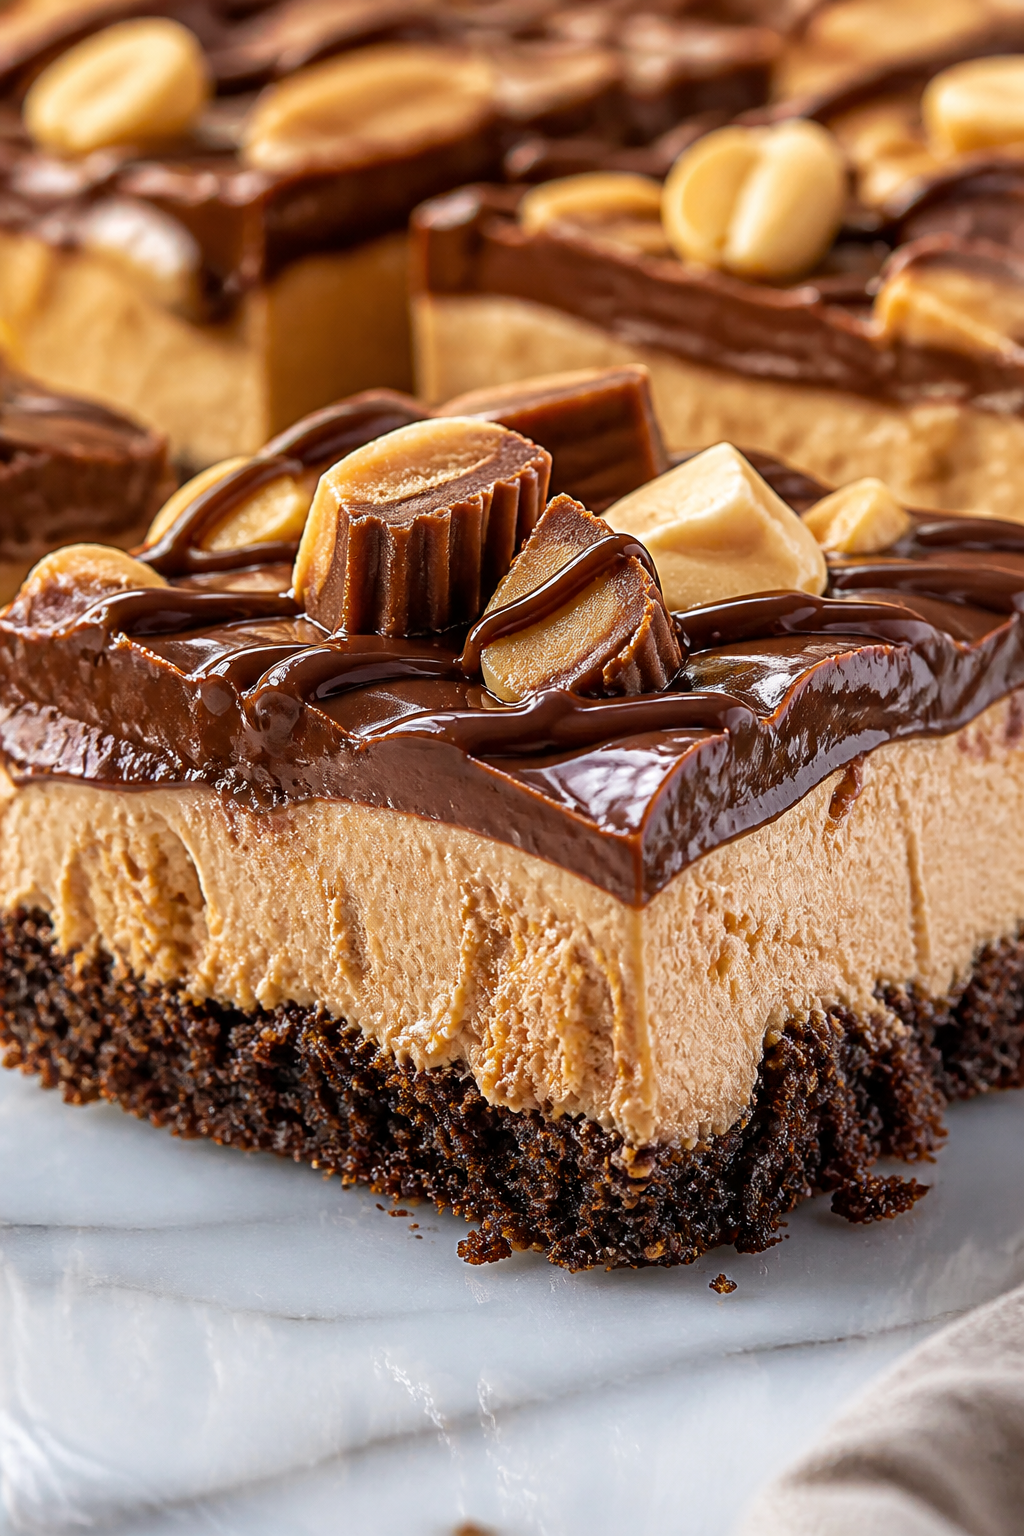
These no-bake cheesecake bars layer creamy peanut butter and rich chocolate for an indulgent, silky treat. Super quick to whip up, they’re perfect for weekend dessert cravings or last-minute guests!
Introduction
I first stumbled upon no-bake cheesecake bars during a summer potluck when I desperately wanted a dessert that didn’t require heating up the kitchen. Since then, I’ve tweaked this recipe to balance the rich peanut butter with smooth cream cheese and a decadent chocolate topping. What makes this version special is how silky and dreamy the filling turns out — thanks to whipping the heavy cream just right and folding it gently into the peanut butter mixture. I’ve had my share of failed attempts where the texture was too dense or the chocolate topping cracked, but learning to melt the chocolate slowly and cool it before spreading fixed that. The final bars are luscious, creamy, and just sweet enough without being overpowering. They slice beautifully and set up in the fridge quickly, making them perfect for last-minute guests or a weekend treat to share with family. I love how this recipe feels fancy but is surprisingly simple — no oven, no fuss, just pure indulgence.
How To Do It
Step 1
Start by preparing the crust: combine the graham cracker crumbs with the melted butter in a medium bowl. Stir until the crumbs are evenly coated and hold together when pressed. Press this mixture firmly into an 8x8 inch baking pan lined with parchment paper. This crust sets the base and adds a nice crunch contrast to the creamy filling. Make sure to press it tightly so it doesn’t crumble when slicing later. Avoid pressing too hard to keep the crust from becoming too dense.
⏱ Time: 10 minutes
✓ Doneness: Crust should be evenly compacted and hold its shape when pressed.
Step 2
In a large mixing bowl, beat the softened cream cheese and peanut butter together until smooth and creamy. Add the powdered sugar and vanilla extract, continuing to beat until fully combined and silky. This mixture forms the rich and flavorful cheesecake base. Be careful not to overbeat, or the filling might become too loose. Achieving a smooth, lump-free texture here is key for a velvety finish.
⏱ Time: 5 minutes
✓ Doneness: Mixture should be smooth, creamy, and free of lumps.
Step 3
In a separate chilled bowl, whip the heavy cream until stiff peaks form. This means when you lift the whisk, the cream holds its shape firmly without wobbling. Whipping the cream properly is crucial for the airy, light texture in the filling. If underwhipped, the bars will be dense; if overwhipped, the cream can turn grainy or butter-like.
⏱ Time: 5 minutes
✓ Doneness: Stiff peaks that hold shape and don’t collapse.
Step 4
Gently fold the whipped cream into the peanut butter and cream cheese mixture with a spatula. Use slow, sweeping motions to keep as much air as possible in the filling. This folding technique ensures the filling stays light and fluffy rather than dense and heavy. Be patient and don’t rush this step to preserve texture.
⏱ Time: 3 minutes
✓ Doneness: Filling is homogeneous, airy, and smooth without streaks.
Step 5
Pour the cheesecake filling evenly over the prepared crust and smooth the top with an offset spatula or the back of a spoon. This layer should be level to ensure even setting and clean slices later. Tap the pan gently on the counter to release any air bubbles trapped in the filling.
⏱ Time: 5 minutes
✓ Doneness: Filling is spread evenly and surface looks smooth.
Step 6
Melt the chocolate chips in a microwave-safe bowl in 30-second bursts, stirring after each, until smooth. Cool the melted chocolate slightly so it’s warm but not hot—this prevents it from melting into the filling when spread. Pour the chocolate over the cheesecake layer and spread evenly for a glossy top. This topping adds richness and a beautiful finish.
⏱ Time: 7 minutes
✓ Doneness: Chocolate is smooth, glossy, and evenly spread without streaks.
Step 7
Refrigerate the assembled bars for at least 4 hours, preferably overnight. This chilling time lets the filling firm up and the flavors meld together. Resist the urge to slice too soon or the bars might be too soft and fall apart. Patience here really pays off in texture and taste.
⏱ Time: 240+ minutes
✓ Doneness: Filling is firm to the touch and chocolate topping is set.
Step 8
Once chilled, use a sharp knife to cut the bars into 9 even squares. To get clean edges, wipe the knife with a warm damp cloth between cuts. This prevents the filling from sticking and tearing the bars. Serve chilled for the best texture and flavor experience.
⏱ Time: 5 minutes
✓ Doneness: Bars hold shape when sliced, clean edges without crumbling.
Step 9
Store any leftovers in an airtight container in the fridge. These bars keep well for up to 4 days and actually taste better after a day as the flavors deepen. You can also freeze them for longer storage—just thaw in the fridge overnight before serving.
⏱ Time: N/A
✓ Doneness: Bars remain firm and creamy after storage and reheating.
Variations
Swap Peanut Butter for Almond Butter
For a different nutty twist, replace peanut butter with almond butter. The flavor will be milder and slightly sweeter, but the texture remains just as creamy. This swap is great for those with peanut allergies or who want a lighter nut flavor.
Note: Almond butter may be a bit thinner, so ensure it’s creamy and not too runny to maintain filling consistency.
Add a Layer of Crushed Pretzels
Before adding the filling, sprinkle a thin layer of crushed pretzels over the crust for a salty crunch contrast. This adds texture and balances the sweetness beautifully, giving the bars a sweet-and-salty flavor profile.
Note: Press pretzels gently onto the crust to keep them in place but avoid crushing them into powder.
Use White Chocolate Instead of Semi-Sweet
Switch out the semi-sweet chocolate topping for white chocolate for a sweeter, creamier finish. This pairs nicely with peanut butter and adds a pretty visual contrast. It’s a great option if you prefer a sweeter topping.
Note: White chocolate can be more delicate to melt; use low heat and stir constantly to avoid burning.
Make Mini Cheesecake Cups
Instead of a slab, layer the crust, filling, and chocolate topping in individual mini jars or cups. This is perfect for parties or portion control and looks adorable served in glassware.
Note: Adjust chilling time to about 2-3 hours since the smaller portions set faster.
Add a Swirl of Salted Caramel
Drizzle salted caramel sauce over the filling before adding the chocolate topping. This adds a rich, buttery sweetness with a hint of salt that complements the peanut butter wonderfully.
Note: Swirl gently with a toothpick or knife to create a marbled effect without mixing it fully into the filling.
Pro Tips
Use room temperature cream cheese and peanut butter before mixing.
Softened ingredients blend smoothly without lumps, creating a uniform, creamy filling. Cold cream cheese or peanut butter can cause uneven texture and make mixing more difficult, resulting in a less silky cheesecake layer.
Chill the mixing bowl and beaters before whipping the cream.
Cold equipment helps whip the cream faster and achieve stiff peaks more reliably. Warm bowls or beaters slow down the process and can cause the cream to become too soft or not hold shape well, affecting the lightness of the filling.
Press the crust firmly but gently into the pan.
Firm pressing ensures the crust holds together when slicing and eating, but pressing too hard compacts it, making it dense and hard. The right pressure keeps a pleasant crumbly texture that contrasts nicely with the creamy filling.
Fold whipped cream into the filling gently with a spatula.
Folding preserves the air incorporated in the whipped cream, which keeps the filling light and fluffy. Stirring or beating vigorously deflates the mixture, resulting in a dense, heavy texture rather than a silky cheesecake.
Melt the chocolate slowly in short bursts and stir often.
Slow melting prevents the chocolate from burning or seizing, which would ruin the smooth texture. Stirring frequently distributes heat evenly, ensuring a glossy, pourable chocolate topping that sets properly on the cheesecake.
Let the chocolate cool slightly before spreading over the filling.
Warm chocolate can melt the cheesecake layer underneath, making the topping runny and uneven. Cooling it to a warm but not hot temperature helps it spread smoothly and set with a nice firm finish.
Refrigerate the bars overnight before slicing.
Chilling allows the filling to firm up fully, making slicing clean and easy. Cutting too soon results in soft, crumbly bars that lose their shape and look messy. Overnight rest also improves flavor melding.
Common Mistakes to Avoid
Using cold cream cheese and peanut butter.
Why it happens Many assume mixing cold ingredients is fine, but this leads to lumps and uneven texture.
Fix Always leave cream cheese and peanut butter out for at least 30 minutes to soften before mixing. This ensures a smooth, creamy filling without lumps.
Overwhipping or underwhipping the heavy cream.
Why it happens It’s easy to misjudge peak stages; beginners might stop too early or whip too long.
Fix Stop whipping when stiff peaks form—lift the whisk and the cream should hold a firm point without collapsing. This gives the best light texture.
Mixing whipped cream vigorously into the filling.
Why it happens Some think beating everything together is best, but this deflates the air whipped into the cream.
Fix Use gentle folding motions with a spatula to preserve the airiness, keeping the filling light and fluffy.
Spreading hot chocolate topping immediately.
Why it happens Rushing to top the bars while chocolate is hot causes it to melt the filling.
Fix Allow the melted chocolate to cool slightly until warm but not hot before spreading for a smooth, settable top.
Cutting bars before they are fully chilled.
Why it happens Impatience leads to slicing too soon, causing the bars to crumble or lose shape.
Fix Refrigerate the bars at least 4 hours, preferably overnight, for firm, clean slices.
Nutrition
Per Serving:
Nutritional values are estimates and may vary based on specific ingredients used.
Storage & Tips
Room Temperature
These bars should not be kept at room temperature for more than 2 hours as the filling is dairy-based and softens quickly. Cover with plastic wrap or store in an airtight container if left out briefly.
Refrigerator
Store in an airtight container in the refrigerator for up to 4 days. The bars will stay firm and creamy when chilled. Serving them cold enhances texture, but if preferred, let sit 10 minutes at room temperature before eating.
Freezer
Freeze bars wrapped tightly in plastic wrap and placed in a freezer-safe container for up to 2 months. To thaw, move to the refrigerator overnight. Avoid thawing at room temperature to maintain texture and prevent sogginess.
Reheating
No reheating needed; these bars are best enjoyed cold. If desired, allow to sit at room temperature for 10-15 minutes to soften slightly. Avoid microwaving as it melts the chocolate topping and alters texture.
Make Ahead
Prepare the crust and filling up to 2 days ahead and refrigerate covered. Add the chocolate topping just before serving to keep it glossy and prevent melting. This saves time on the day of your event.
FAQ
Can I use natural peanut butter instead of creamy?
Natural peanut butter tends to be oilier and less smooth, which can affect the texture of the filling. If you use it, stir well to recombine the oil and consider reducing any additional butter slightly. The flavor will be more intense but the filling might be less creamy.
What can I substitute for graham cracker crumbs?
You can use digestive biscuits, vanilla wafers, or even crushed pretzels for a salty twist. Just ensure the crumbs are finely crushed and mix well with melted butter to form a sturdy crust.
Why is my filling too runny?
If the cream cheese or peanut butter was too warm or the cream underwhipped, the filling may not set properly. Make sure to whip the cream to stiff peaks and fold gently. Also, chilling the bars long enough is essential for firming up.
Can I make this gluten-free?
Yes! Use gluten-free graham cracker crumbs or substitute with gluten-free cookies. Just verify all ingredients are gluten-free to keep the recipe safe.
How do I store leftovers?
Store bars in an airtight container in the fridge for up to 4 days. They keep well chilled and can be frozen for longer storage. Avoid leaving them out too long as the filling is dairy-based.
Can I use low-fat cream cheese or peanut butter?
Low-fat versions lack the richness and creaminess needed for this recipe, which can affect texture and flavor. Full-fat ingredients produce the best results for smooth, indulgent bars.
What if my chocolate topping cracks?
Chocolate can crack if it cools too rapidly or is spread too thickly. Spread a thin, even layer and allow it to set gradually in the fridge. If cracking occurs, gently warm the surface with your hand or a warm cloth to soften.
Can I add chopped peanuts or chocolate chips inside?
Absolutely! Adding chopped peanuts or mini chocolate chips to the filling adds texture and bursts of flavor. Fold them in gently after mixing the filling to avoid deflating the whipped cream.
Final Thoughts
Give these no-bake peanut butter chocolate cheesecake bars a try—you won't regret the silky, rich indulgence. I’d love to hear how yours turn out!