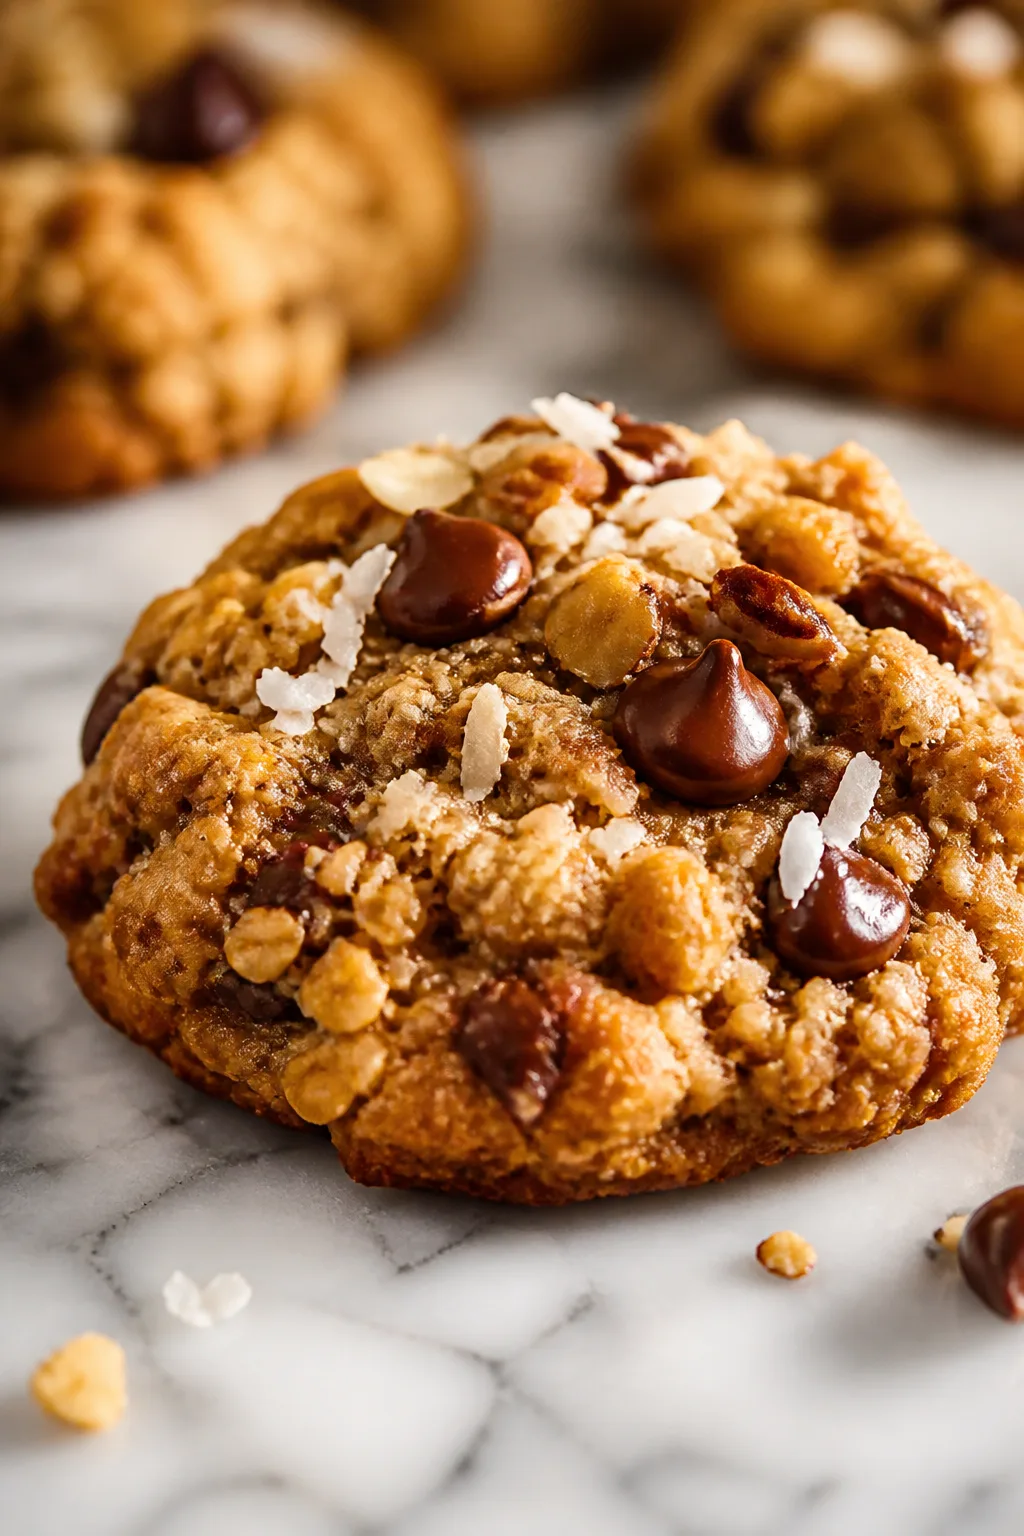
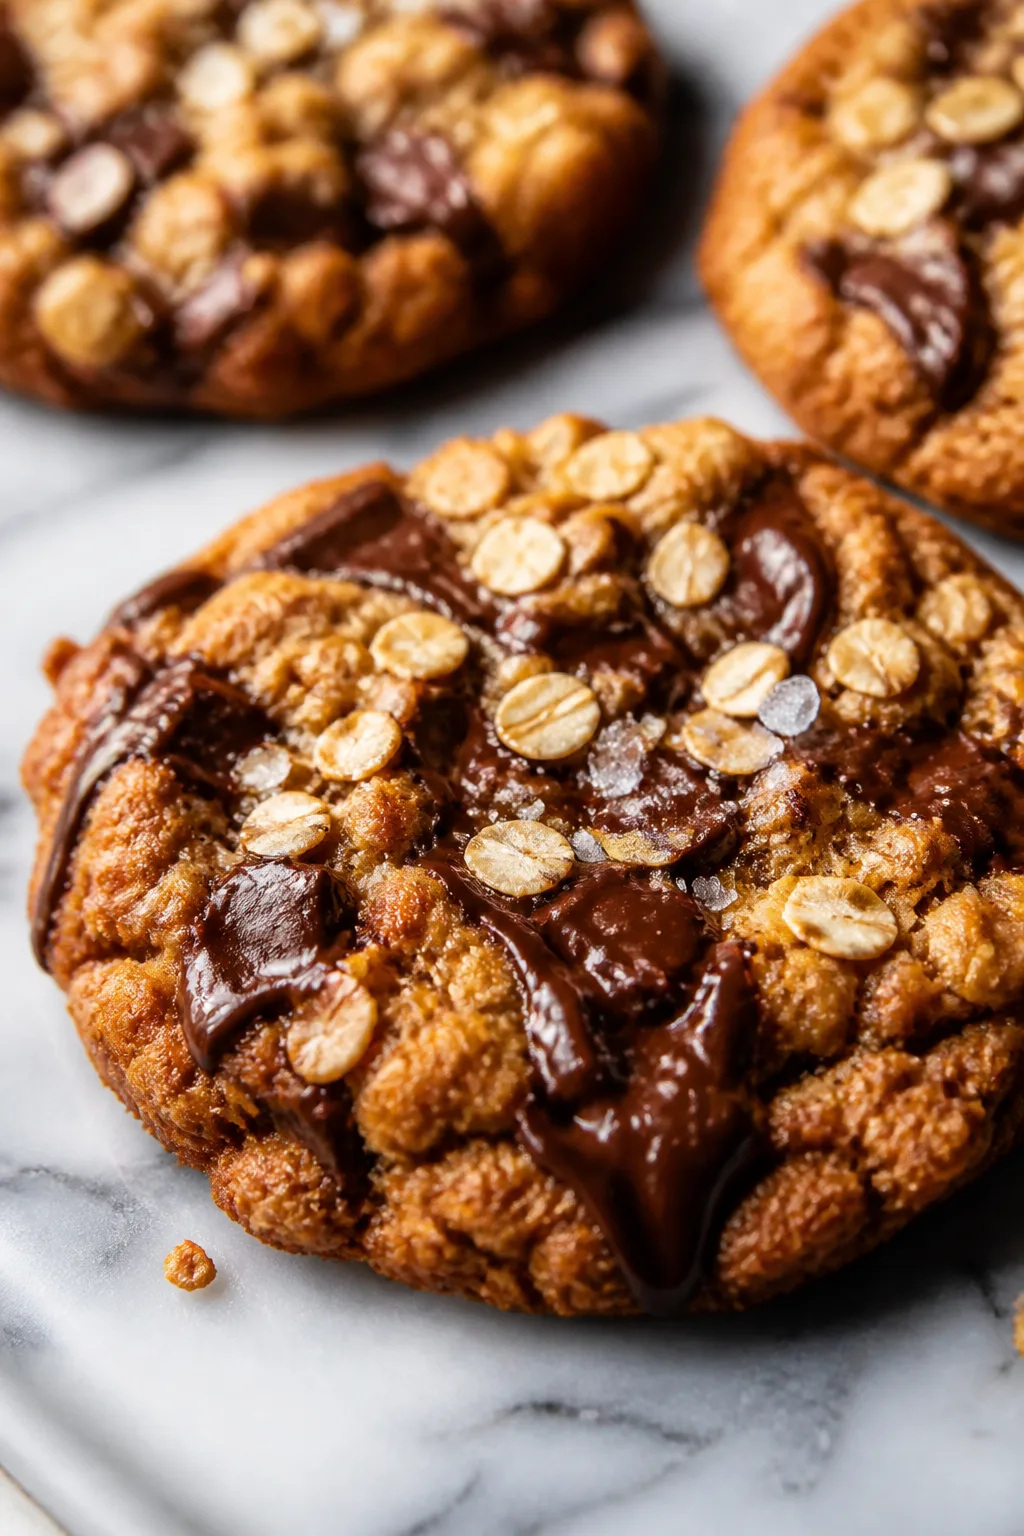
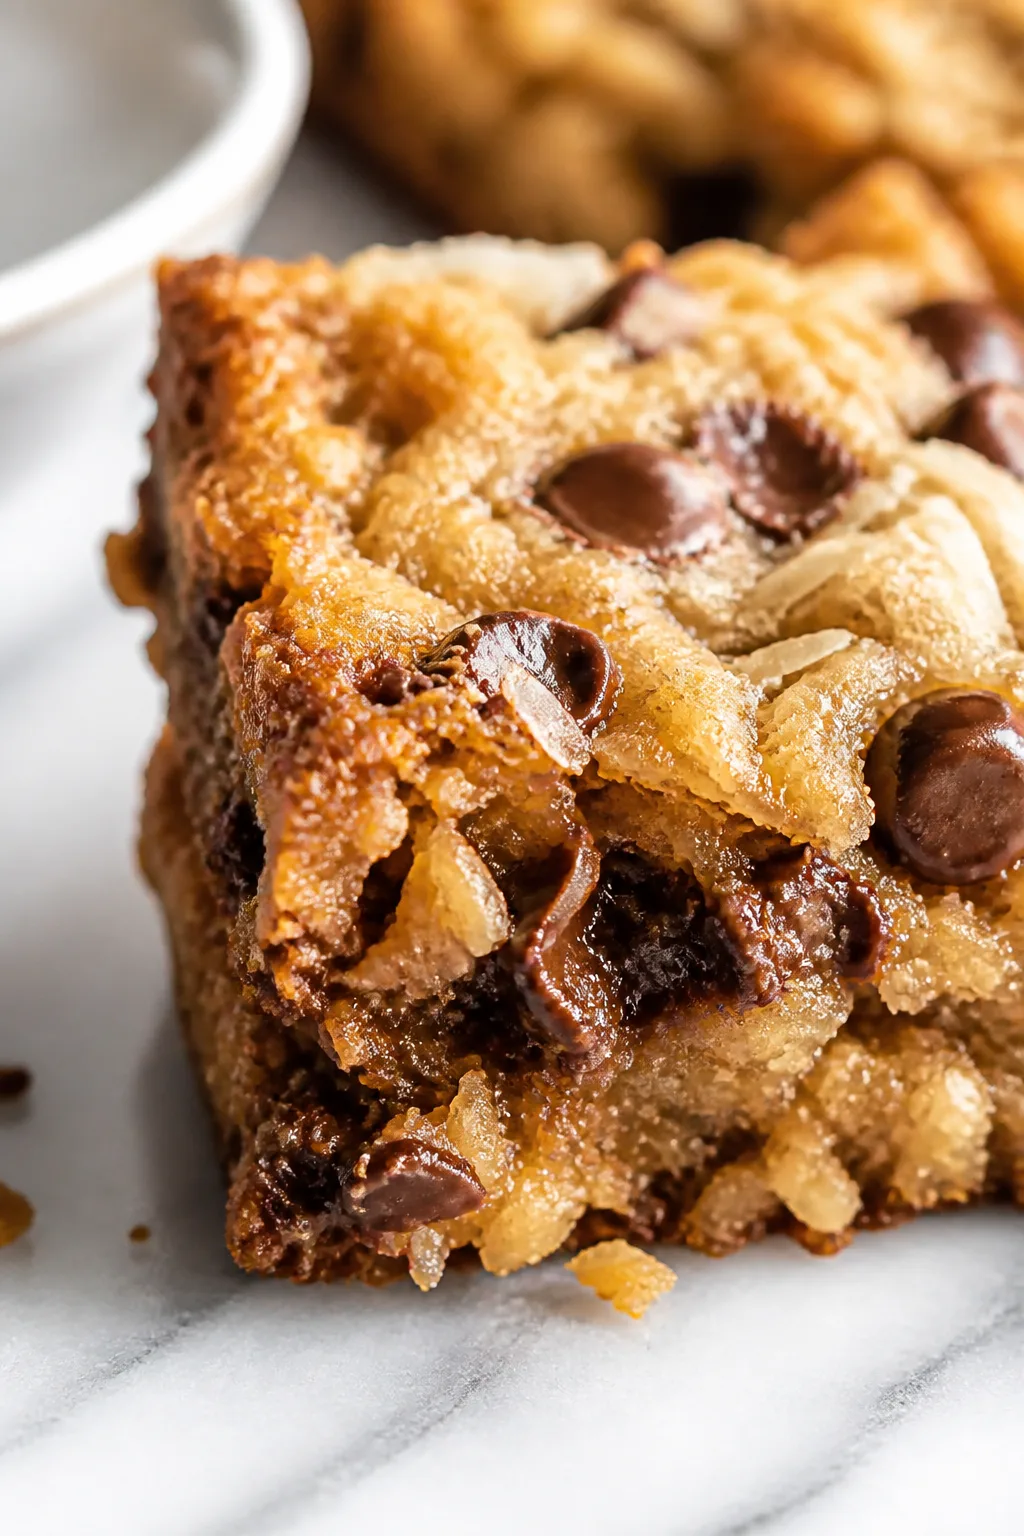
These one bowl magic cookies are super easy and packed with chocolate, coconut, and nuts. They’re perfect when you want a quick, no-fuss treat that still feels homemade and special.
Introduction
I first stumbled upon this one bowl magic cookie recipe years ago when I needed a quick dessert that didn’t involve a ton of mess or complicated steps. What I love most is how everything gets tossed into one bowl—no mixer, no multiple bowls—just simple layering that yields these beautifully chewy, chocolatey, and nutty cookies. Over time, I tweaked the nut selection and coconut amount to get the perfect balance of texture and flavor. The trick I learned is to melt the butter just right and spread the layers evenly so each bite has that classic magic cookie bar vibe. When they come out of the oven, you get this gorgeous golden crust with gooey chocolate and coconut inside. It’s like magic in every bite, perfect for an afternoon snack or a last-minute dessert for guests. Honestly, the first time I made these, I rushed the layering and ended up with a soggy mess, but once I took my time, the results were amazing. I think you’ll love how easy and satisfying this recipe is, plus it’s a fun one to share with friends or family because it feels a little nostalgic but still fresh.
How To Do It
Step 1
Preheat your oven to 350°F (175°C). This step is crucial because a properly heated oven ensures even baking and the perfect golden crust on your cookies. If the oven isn’t hot enough, the bars might turn out soggy or undercooked. While it heats, line an 8x8 inch baking pan with parchment paper or lightly grease it to prevent sticking. This prep helps you lift the bars out easily once cooled.
⏱ Time: 10 minutes
✓ Doneness: Oven reaches 350°F and pan is ready for batter
Step 2
In a large mixing bowl, melt 1 cup of unsalted butter until fully liquid but not browned. Pour the melted butter into the prepared pan, spreading it evenly across the bottom. This layer acts as the rich, buttery base that holds all the toppings together and gives that tender texture. Make sure the butter is evenly distributed so your bars don’t bake unevenly or develop dry spots.
⏱ Time: 5 minutes
✓ Doneness: Butter covers pan bottom in an even, glossy layer
Step 3
Sprinkle 1 1/2 cups of graham cracker crumbs evenly over the melted butter. This crumb layer provides a sturdy yet crumbly crust that contrasts nicely with the gooey toppings. Avoid clumping the crumbs in one spot; even coverage is key for consistent texture throughout.
⏱ Time: 3 minutes
✓ Doneness: Graham cracker crumbs form a uniform layer over butter
Step 4
Next, sprinkle 1 cup of shredded sweetened coconut evenly over the graham cracker crumbs. The coconut adds a chewy sweetness and a hint of tropical flavor that makes these cookies stand out. Be sure to spread the coconut gently so it doesn’t sink into the crumbs but stays as a distinct layer.
⏱ Time: 2 minutes
✓ Doneness: Coconut layer visible and evenly distributed
Step 5
Add 1 cup of chopped walnuts or pecans on top of the coconut layer. The nuts bring crunch and a toasty flavor that pairs perfectly with the sweetness of the other ingredients. Chop them roughly so you get nice bites but avoid pieces that are too large, which could make the bars uneven to cut.
⏱ Time: 3 minutes
✓ Doneness: Nut layer spread evenly over coconut
Step 6
Sprinkle 1 cup of semisweet chocolate chips over the nut layer. These will melt slightly during baking and create gooey pockets of chocolate throughout the bars. Don’t skip this step or substitute with something that won’t melt well, as the chocolate chips are essential for that signature magic cookie texture.
⏱ Time: 2 minutes
✓ Doneness: Chocolate chips evenly scattered on top
Step 7
Pour 1 (14 oz) can of sweetened condensed milk evenly over all the layers. This is the magic binder that holds everything together and adds creamy sweetness. Pour slowly and try to cover every part of the surface so the condensed milk seeps into all layers as it bakes, creating that luscious texture.
⏱ Time: 3 minutes
✓ Doneness: Condensed milk covers layers in a shiny, even coat
Step 8
Place the pan in the preheated oven and bake for 25-30 minutes. Keep an eye on the edges—they should turn golden brown and the top should look set but slightly gooey. Avoid overbaking, which can dry out the bars and make them crumbly instead of chewy.
⏱ Time: 25-30 minutes
✓ Doneness: Edges golden brown and top set but still slightly soft
Step 9
Remove the pan from the oven and let it cool completely on a wire rack before cutting. Cooling lets the bars firm up and makes slicing easier without crumbling. If you cut too soon, the bars will be too soft and sticky.
⏱ Time: 30-40 minutes
✓ Doneness: Bars are firm to the touch and cool to room temperature
Variations
Add a Layer of Peanut Butter
Spread a thin layer of creamy peanut butter over the melted butter before adding graham cracker crumbs. This adds a rich, nutty flavor and a slightly different texture that pairs amazingly with chocolate and coconut.
Note: Make sure the peanut butter layer is thin and even to avoid sogginess; it should be slightly firm but spreadable.
Use Dark Chocolate Chips Instead of Semisweet
Swap semisweet chocolate chips for dark chocolate to deepen the chocolate flavor and add a slight bitterness that balances the sweetness. Great if you want a more grown-up taste.
Note: Dark chocolate chips melt similarly but may bake a bit faster; watch your baking time closely.
Add Dried Cherries or Cranberries
Scatter 1/2 cup dried cherries or cranberries with the nuts for a tart contrast that brightens the rich flavors. It adds a pop of color and a chewy bite.
Note: Make sure the dried fruit is not too moist to avoid sogginess; toss in a little flour if very sticky.
Use Almonds and White Chocolate Chips
Replace walnuts with slivered almonds and semisweet chocolate chips with white chocolate for a lighter, sweeter variation. This makes the bars taste a bit more delicate and nutty.
Note: White chocolate melts differently and can brown quickly; keep an eye on baking to prevent burning.
Make it Vegan with Coconut Oil and Vegan Chocolate
Use melted coconut oil instead of butter, vegan sweetened condensed milk alternative, and dairy-free chocolate chips. This makes the recipe plant-based while keeping similar flavors and textures.
Note: Vegan condensed milk alternatives may be thinner; monitor baking time and texture closely.
Pro Tips
Use room temperature butter before melting for even melting.
Butter that’s too cold can clump or take longer to melt unevenly, leading to uneven spreading in the pan. Room temperature butter melts faster and smoother, ensuring a consistent base layer for the crumbs.
Press the graham cracker crumbs gently but firmly into the butter.
Pressing compacts the crumbs, creating a sturdy, cohesive crust that won’t crumble when cutting. If you just sprinkle them loosely, the crust might fall apart after baking.
Don’t rush pouring the condensed milk—pour slowly and evenly.
Even coverage ensures the milk seeps into all layers, binding them properly. Pouring too quickly can cause uneven distribution, leaving some parts dry or crumbly.
Let the bars cool completely before slicing.
Cutting while warm causes the bars to fall apart or become sticky messes. Cooling allows the sugars and fats to set, resulting in clean, neat slices.
Use parchment paper to line your pan for easy removal.
Parchment paper prevents sticking and makes it easy to lift the entire batch out for cutting. Without it, bars can stick to the pan and break when removed.
Toast nuts lightly before chopping and adding.
Toasting brings out their natural oils and flavor, adding depth to the bars. Raw nuts can taste bland and won’t have the same crunch or aroma.
Store the bars in an airtight container at room temperature.
This keeps them chewy and fresh. Refrigeration can dry them out and change the texture, so only refrigerate if your kitchen is very warm.
Common Mistakes to Avoid
Pouring condensed milk too quickly and unevenly.
Why it happens It’s easy to rush this step because it looks simple, but uneven pouring causes some parts to stay dry or crumbly.
Fix Pour the condensed milk slowly and move the can around the pan so it covers every spot evenly. Use the back of a spoon to gently spread it if needed.
Not preheating the oven fully before baking.
Why it happens Sometimes we get impatient and put the pan in too early, which affects baking time and texture.
Fix Always wait until the oven reaches 350°F before putting the bars in. Use an oven thermometer if you’re unsure your oven’s temperature is accurate.
Cutting the bars before they cool completely.
Why it happens It’s tempting to dig in right away, but warm bars are too soft and sticky.
Fix Let the pan cool on a wire rack for at least 30-40 minutes until bars are firm. You can chill them briefly if needed to speed up setting.
Using salted butter without adjusting other ingredients.
Why it happens Many recipes call for unsalted butter, so using salted can make the bars too salty.
Fix If using salted butter, omit any added salt in the recipe and taste the batter if possible. Unsalted butter is preferred for better flavor control.
Skipping parchment paper or greasing the pan insufficiently.
Why it happens Not lining the pan properly leads to sticking and broken bars.
Fix Always line with parchment or grease the pan well. This simple step saves a lot of frustration when removing bars.
Nutrition
Per Serving:
Nutritional values are estimates and may vary based on specific ingredients used.
Storage & Tips
Room Temperature
Store the cooled bars in an airtight container at room temperature for up to 3 days. Keep them covered to prevent drying out. They maintain their chewy texture best when not refrigerated unless your kitchen is hot.
Refrigerator
You can refrigerate the bars for up to 7 days in an airtight container. The texture will firm up and become less chewy, so let them come to room temperature before serving or warm gently for softer bars.
Freezer
Freeze the bars wrapped tightly in plastic wrap and then foil for up to 3 months. To thaw, leave them in the refrigerator overnight or at room temperature for a few hours. Avoid microwaving frozen bars directly to prevent sogginess.
Reheating
If you want to warm the bars, use a low oven (around 300°F) for 5-7 minutes or microwave in short bursts (15 seconds) with a paper towel to avoid melting the chocolate too much. Avoid overheating, which can dry them out.
Make Ahead
You can prepare the pan with all the layers assembled, cover tightly with plastic wrap, and refrigerate for up to 24 hours before baking. This makes it easy to bake fresh bars the day of serving without extra prep.
FAQ
Can I use salted butter instead of unsalted?
Yes, but since salted butter contains added salt, you should reduce or omit any other salt in the recipe to avoid over-seasoning. Unsalted butter gives you more control over the final flavor and is generally preferred for baking.
What if I don’t have graham crackers?
You can substitute with digestive biscuits or even vanilla wafers crushed into crumbs. The flavor will be slightly different, but the texture and structure will still work well for the crust.
Can I make these gluten-free?
Absolutely! Use gluten-free graham cracker crumbs or gluten-free cookies as the base. Ensure all other ingredients, like chocolate chips and nuts, are certified gluten-free to avoid cross-contamination.
Why did my bars turn out soggy?
Sogginess usually happens if the condensed milk isn’t spread evenly or if the bars were baked at too low a temperature. Make sure to pour the condensed milk slowly and bake at 350°F fully preheated to set the layers properly.
Can I add other mix-ins?
Yes! Dried fruit, different nuts, or even a sprinkle of sea salt on top can add extra flavor and texture. Just be mindful not to overload the bars, as too many mix-ins can affect baking and structure.
How do I store leftover bars?
Store leftovers in an airtight container at room temperature for up to 3 days or in the fridge for up to a week. If refrigerated, bring to room temperature before eating for best texture.
Can these bars be frozen?
Yes, they freeze well for up to 3 months. Wrap tightly to avoid freezer burn. Thaw in the fridge overnight and warm slightly before serving if you like them softer.
Is it okay to use sweetened condensed milk from a different brand?
Most brands work similarly, but always check the consistency. Some may be thinner or thicker, which can slightly affect texture. Choose a good quality condensed milk without additives for best results.
Final Thoughts
I hope you give these one bowl magic cookies a try—they’re truly a simple but delicious treat. Share how they turned out; I’d love to hear your variations and tips!