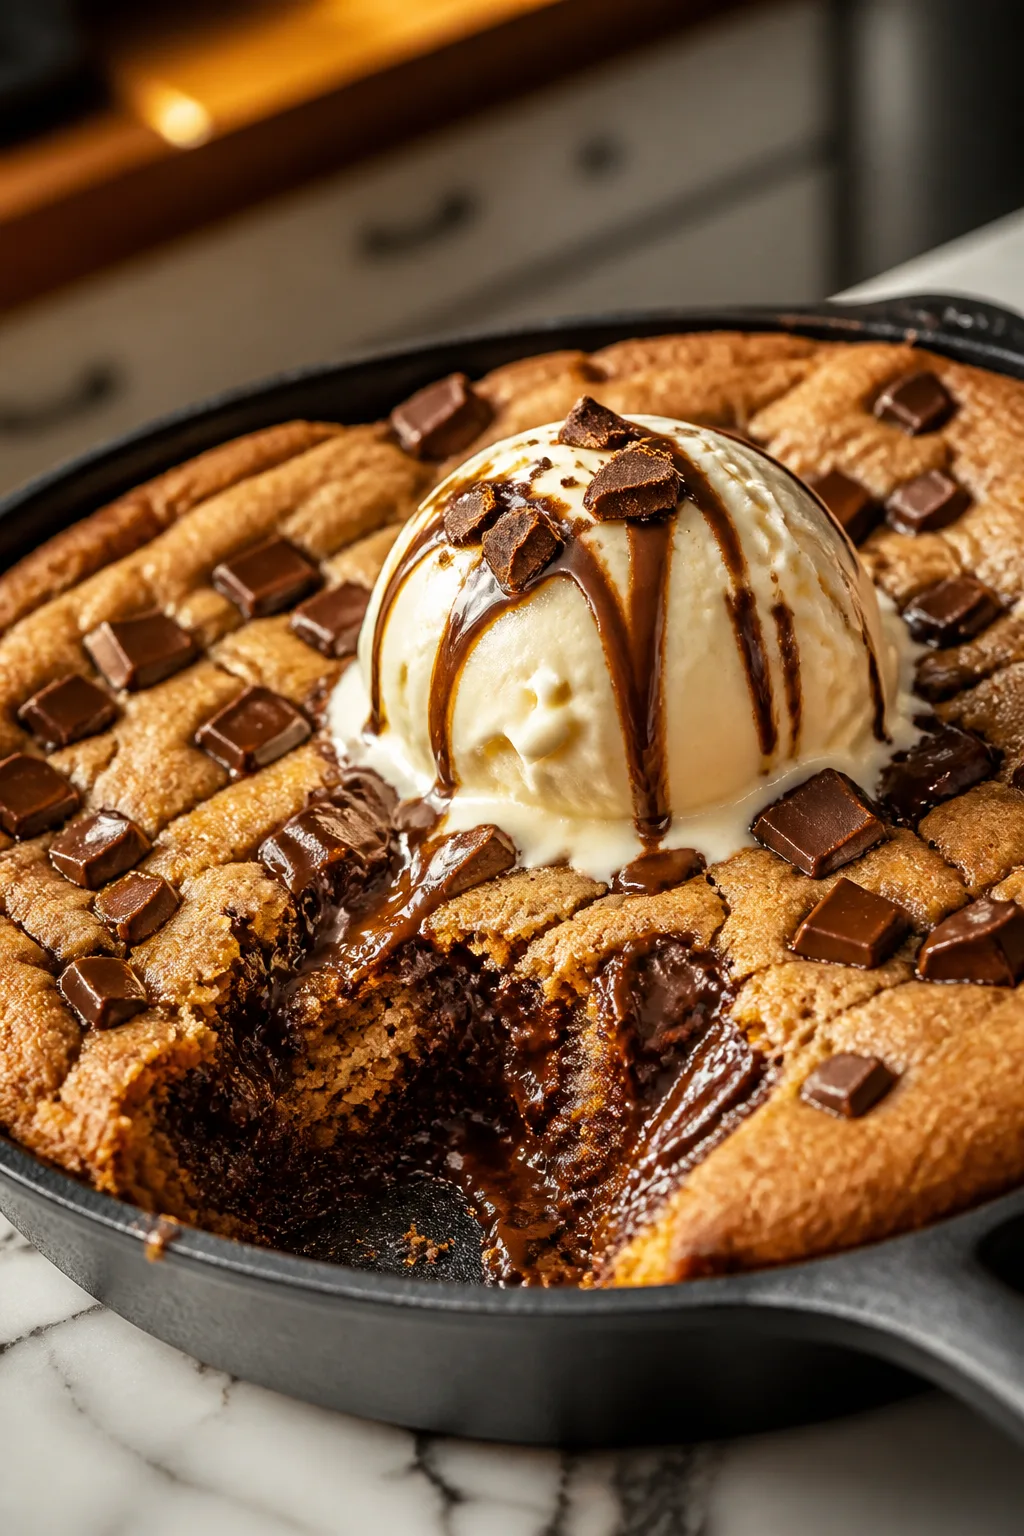
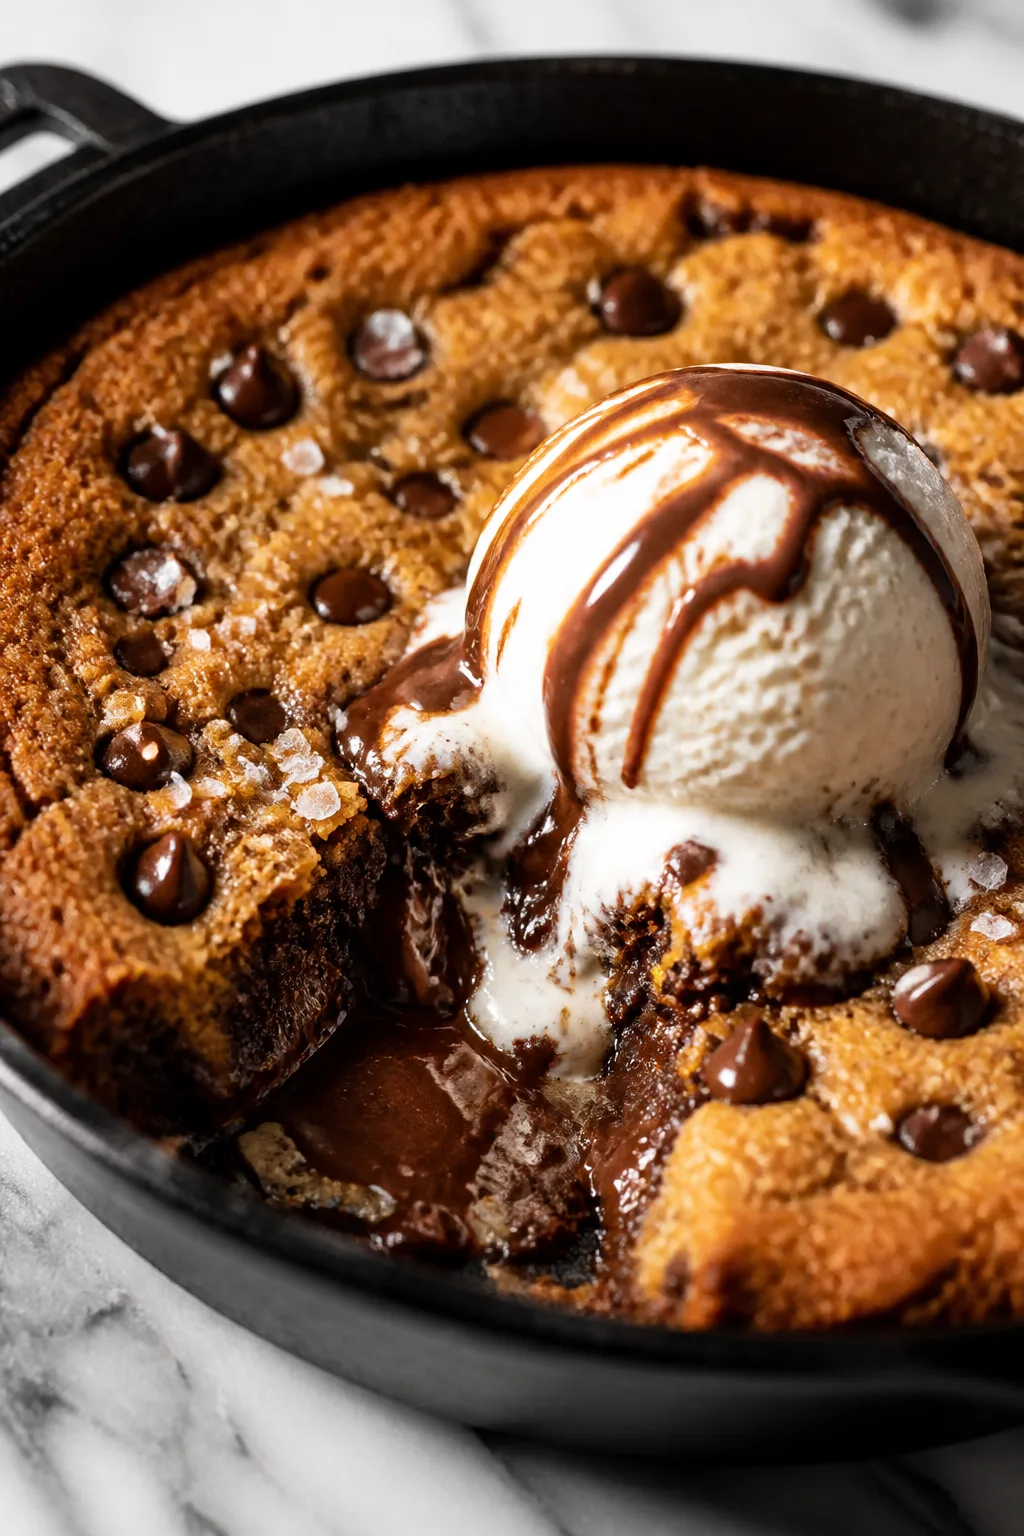
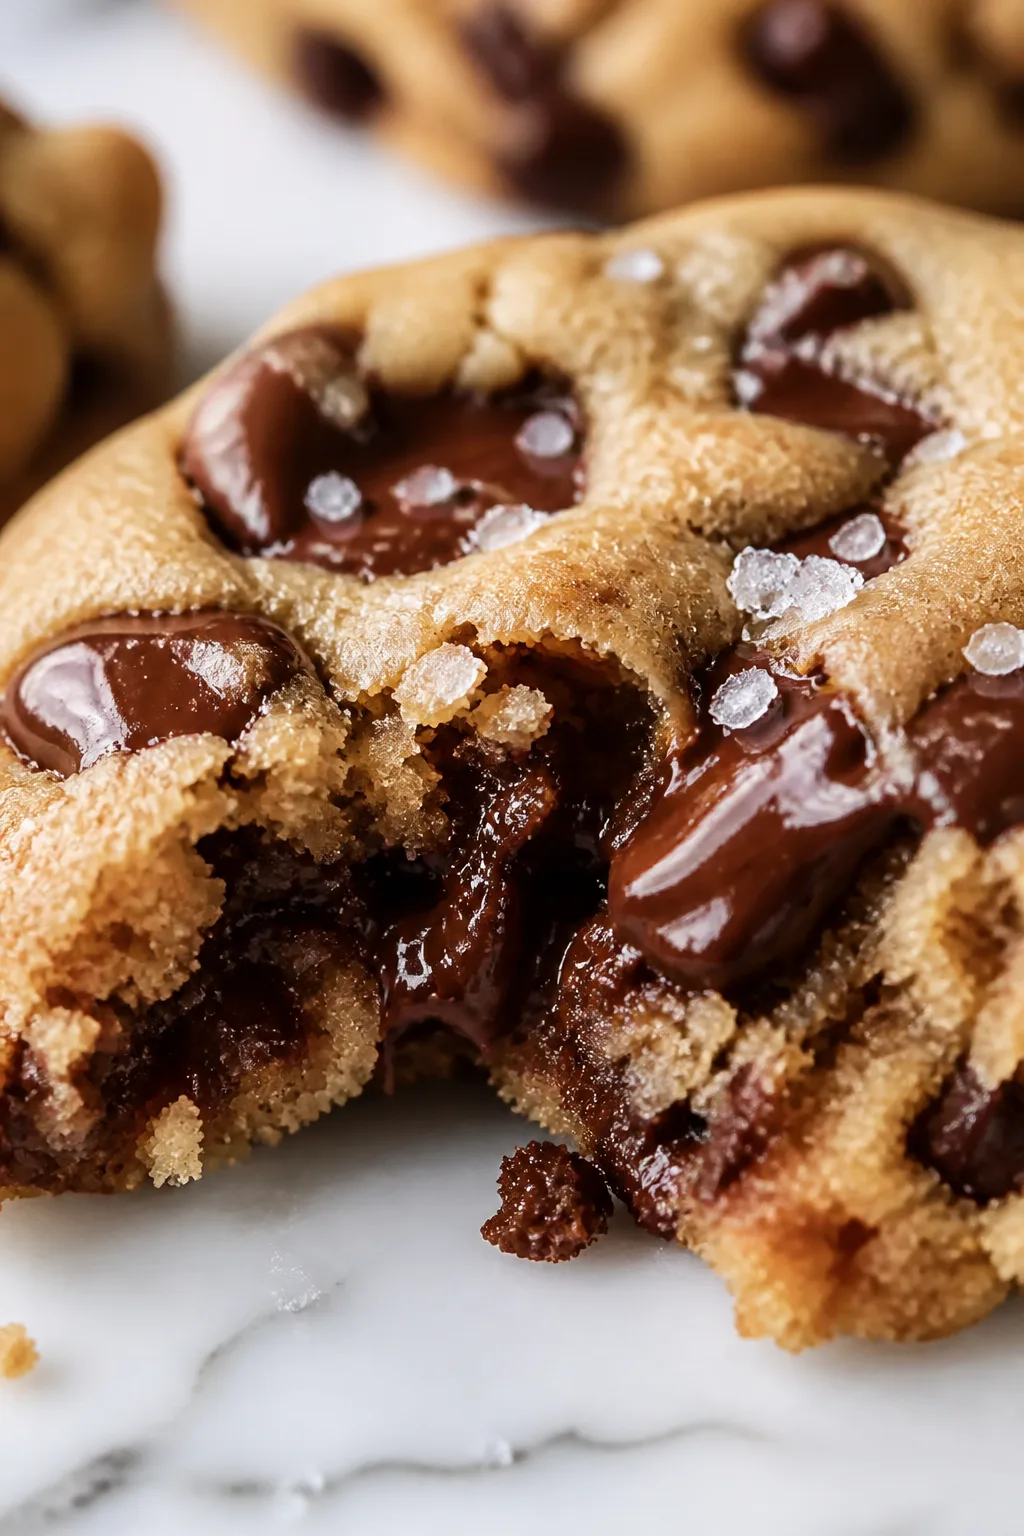
These cookies come together in just one pot—no extra bowls, no mess. Soft, gooey, and loaded with chocolate chips, they're perfect for a cozy snack or last-minute dessert. I love how easy cleanup is!
Introduction
I stumbled upon this one-pot cookie recipe during a hectic weeknight when I wanted something sweet but didn’t want to deal with a mountain of dishes. It quickly became a favorite because it’s so simple—no juggling multiple bowls or dirtying the kitchen. What sets this version apart is melting the butter right in the pot first, which makes the dough extra soft and the cookies perfectly gooey. I also love that you can stir everything together in one pot, so it’s less intimidating for beginner bakers or anyone short on time. The cookies come out golden around the edges with a chewy center that feels just like a warm hug. I’ve made these for casual get-togethers and even late-night cravings, and they never disappoint. Honestly, the first time I tried it, I thought it might be too easy to be good, but those melty chocolate chips and that soft texture proved me wrong. You’ll love how straightforward and comforting this recipe is—perfect for when you want a homemade treat without the fuss.
What You'll Need
Approximately 24 cookies, 8 servings
- 1 cup unsalted butter, melted
- 1 cup brown sugar, packed
- 1/2 cup granulated sugar
- 2 large eggs
- 2 teaspoons vanilla extract
- 2 1/2 cups all-purpose flour
- 1 teaspoon baking soda
- 1/2 teaspoon salt
- 2 cups semisweet chocolate chips
How To Do It
Step 1
Start by melting the butter in a large pot over low heat. This step is crucial because it not only melts the butter but also helps combine the sugars smoothly, giving the dough a rich, caramel-like flavor. Stir the brown sugar and granulated sugar into the melted butter until fully incorporated and slightly glossy. Avoid overheating to prevent burning the sugars, which would affect the cookie’s taste. You want the mixture warm enough to blend easily but not hot.
⏱ Time: 5 minutes
✓ Doneness: The sugar and butter mixture looks smooth and shiny with no grainy texture.
Step 2
Remove the pot from heat and whisk in the eggs one at a time, followed by the vanilla extract. Whisking off the heat prevents the eggs from scrambling and ensures they blend smoothly into the warm butter-sugar mix. This creates a silky base for your cookie dough. If you skip this or add eggs to hot butter, you risk ending up with curdled texture and uneven baking.
⏱ Time: 3 minutes
✓ Doneness: The mixture appears homogeneous and slightly thickened, with no lumps.
Step 3
In a separate bowl, whisk together the flour, baking soda, and salt. This step is important to evenly distribute the leavening agent and salt throughout the flour, which helps the cookies rise properly and enhances flavor balance. If you don’t sift or whisk these dry ingredients, you may get uneven texture or salty pockets in the cookies.
⏱ Time: 5 minutes
✓ Doneness: The dry ingredients are well combined with no clumps.
Step 4
Gradually add the dry ingredients to the wet mixture in the pot, stirring gently with a wooden spoon or spatula. Mixing just until combined avoids overworking the dough, which can make cookies tough. The dough should look thick but soft and a bit sticky. Stop mixing as soon as the flour disappears to keep the cookies tender.
⏱ Time: 4 minutes
✓ Doneness: The dough is cohesive with no visible flour streaks.
Step 5
Fold in the chocolate chips evenly throughout the dough. This ensures every bite has that melty chocolate goodness. Using a folding technique rather than vigorous stirring helps keep the dough light and prevents breaking the chips into crumbs.
⏱ Time: 2 minutes
✓ Doneness: Chocolate chips are well distributed without breaking apart.
Step 6
Preheat your oven to 350°F (175°C). Line a baking sheet with parchment paper or a silicone mat to prevent sticking and promote even baking. This step is essential to avoid burnt bottoms and helps the cookies bake uniformly.
⏱ Time: 10 minutes (oven preheat)
✓ Doneness: Oven reaches target temperature, and baking surface is ready.
Step 7
Use a cookie scoop or tablespoon to drop dough balls onto the prepared baking sheet, spacing them about 2 inches apart. Proper spacing allows the cookies to spread without merging into one another. Crowding leads to misshapen cookies and uneven texture.
⏱ Time: 5 minutes
✓ Doneness: Uniform dough balls spaced evenly on the sheet.
Step 8
Bake the cookies for 10-12 minutes until the edges are golden but the centers still look slightly soft. This timing is key to achieving that perfect chewy center with crispy edges. Overbaking will dry them out, while underbaking leaves the centers too raw.
⏱ Time: 10-12 minutes
✓ Doneness: Edges are golden brown, centers look set but soft.
Step 9
Let the cookies cool on the baking sheet for 5 minutes before transferring to a wire rack. This resting time allows the cookies to firm up and finish baking from residual heat. Moving them too soon can cause them to break apart, while waiting too long may make them stick to the sheet.
⏱ Time: 5 minutes
✓ Doneness: Cookies hold shape and lift easily off the sheet.
Variations
Add Nuts for Crunch
Fold in 1 cup chopped walnuts or pecans along with the chocolate chips to add a satisfying crunch and nutty flavor. This complements the soft, gooey texture with a contrast that’s delightful.
Note: Chop nuts evenly and fold gently to avoid breaking chips; baking time remains the same.
Peanut Butter Swirl
Drop spoonfuls of peanut butter onto the dough and swirl gently before baking. This adds a rich, creamy peanut flavor that pairs beautifully with chocolate chips.
Note: Swirling should be gentle to maintain dough texture; expect slightly softer cookies.
Oatmeal Chocolate Chip
Replace 1 cup of flour with old-fashioned oats for a heartier cookie with chewy texture and added fiber. Oats add a rustic, wholesome flavor.
Note: Mix oats with dry ingredients; dough will be thicker and baking time may increase by 1-2 minutes.
Vegan Version
Use vegan butter and flax eggs (1 tbsp ground flaxseed + 3 tbsp water per egg) to make this recipe dairy- and egg-free. Use dairy-free chocolate chips for a fully vegan treat.
Note: Flax eggs may change dough consistency; chill dough longer before baking.
Spiced Chocolate Chip
Add 1 tsp cinnamon and 1/4 tsp cayenne pepper to the dry ingredients for a warm, spicy twist that balances the sweet chocolate beautifully.
Note: Mix spices evenly with flour; flavor will deepen after resting.
Pro Tips
Use room temperature eggs for easier mixing and better dough consistency.
Room temperature eggs blend more smoothly with the warm butter-sugar mixture, preventing curdling and ensuring an even dough texture. Cold eggs can cause lumps or uneven mixing, which affects cookie structure and final texture.
Don’t overmix once you add the flour; mix just until combined.
Overmixing develops gluten, making cookies tough and dense. Gently folding the flour maintains tenderness and allows for a softer, chewier cookie, which is the goal of this recipe.
Chill the dough for 30 minutes before baking if you want thicker cookies.
Chilling firms the dough and slows down spreading during baking, resulting in thicker, chewier cookies. If you skip this, cookies will spread more and be thinner with crisper edges.
Line your baking sheet with parchment paper or silicone mats for even baking.
These liners prevent sticking and promote even heat distribution, which helps cookies bake uniformly and reduces the chance of burnt bottoms or uneven coloring.
Use a cookie scoop for uniform dough balls to ensure even baking.
Consistent cookie sizes bake evenly, preventing some from burning while others remain undercooked. It also helps with presentation and portion control.
Let cookies cool on the baking sheet for a few minutes before transferring.
This resting period allows residual heat to finish cooking the cookies gently and helps them set so they don’t fall apart when moved. Removing too early can cause breakage.
Store cookies in an airtight container with a slice of bread to keep them soft.
The bread releases moisture that the cookies absorb, preventing them from drying out and maintaining their soft, chewy texture for days.
Common Mistakes to Avoid
Adding eggs to hot butter mixture causing scrambled eggs.
Why it happens Many assume you can add eggs immediately after melting butter, but if the mixture is too hot, the eggs cook instantly and curdle.
Fix Remove the pot from heat and let the butter-sugar mixture cool slightly before whisking in eggs. This prevents scrambling and ensures smooth dough.
Overmixing the dough after adding flour.
Why it happens It’s easy to keep stirring to combine fully, but too much mixing develops gluten, making cookies tough.
Fix Mix just until flour disappears; stop immediately to maintain a tender, chewy texture.
Using too much flour leading to dry, crumbly cookies.
Why it happens Scooping flour directly from the bag packs too much flour into the cup, skewing measurements.
Fix Spoon flour into measuring cup and level with a knife for accurate measurement to keep cookies moist.
Baking cookies at too high a temperature causing burnt edges.
Why it happens Rushing baking by increasing temperature causes edges to brown before centers cook.
Fix Bake at 350°F (175°C) and watch carefully to remove when edges are golden but centers remain soft.
Skipping the resting period before transferring cookies off the sheet.
Why it happens Moving cookies too soon makes them fragile and prone to breaking.
Fix Let cookies cool on the baking sheet for 5 minutes to set before transferring.
Nutrition
Per Serving:
Nutritional values are estimates and may vary based on specific ingredients used.
Storage & Tips
Room Temperature
Cookies can safely be kept at room temperature in an airtight container for up to 3 days. Keep them covered to prevent drying out and maintain softness.
Refrigerator
Store cookies in an airtight container in the refrigerator for up to 7 days. They may firm up and lose some softness, so warming briefly before serving helps restore texture.
Freezer
Freeze cookies in a sealed freezer bag or container for up to 3 months. Separate layers with parchment paper to prevent sticking. Thaw at room temperature for several hours or warm gently before eating.
Reheating
Reheat cookies in a microwave for 10-15 seconds or in a preheated 300°F oven for 5 minutes to bring back softness and melty chocolate. Avoid overheating to prevent drying.
Make Ahead
You can prepare the dough 1 day ahead, cover tightly, and refrigerate. Let it come to room temperature before scooping and baking. This helps develop flavor and makes baking easier.
FAQ
Can I use salted butter instead of unsalted?
Yes, you can, but reduce or omit added salt in the recipe since salted butter contains salt already. Using unsalted butter gives you better control over the final saltiness and flavor balance.
What if I don’t have brown sugar?
You can substitute with white sugar plus a tablespoon of molasses per cup to mimic brown sugar’s moisture and flavor. However, the cookies might be less chewy and have a slightly different taste.
Why are my cookies flat and greasy?
Also, chilling dough helps control spreading, so try chilling next time.
Can I freeze the cookie dough?
Absolutely! Scoop dough balls onto a baking sheet, freeze until solid, then transfer to a freezer bag. Bake directly from frozen, adding a couple of extra minutes to the baking time.
How do I make the cookies thicker?
Chill the dough for at least 30 minutes before baking. This firms the dough and slows spreading in the oven, resulting in thicker, chewier cookies.
Why do my cookies sometimes come out dry?
Dry cookies often result from overbaking or too much flour. Measure flour carefully and bake just until edges turn golden and centers look set but soft.
Can I use different types of chocolate?
Yes! You can swap semisweet chips for milk, dark, or white chocolate. Just be mindful that milk chocolate melts faster and sweeter chocolates may change the flavor balance.
Is it okay to add nuts or other mix-ins?
Definitely! Nuts, dried fruit, or coconut flakes all work well. Just fold them in gently after mixing the dough to maintain texture and avoid breaking chocolate chips.
Final Thoughts
Give these one-pot cookies a try and enjoy the ease and deliciousness they bring. I’d love to hear how yours turn out—don’t forget to share your baking wins!