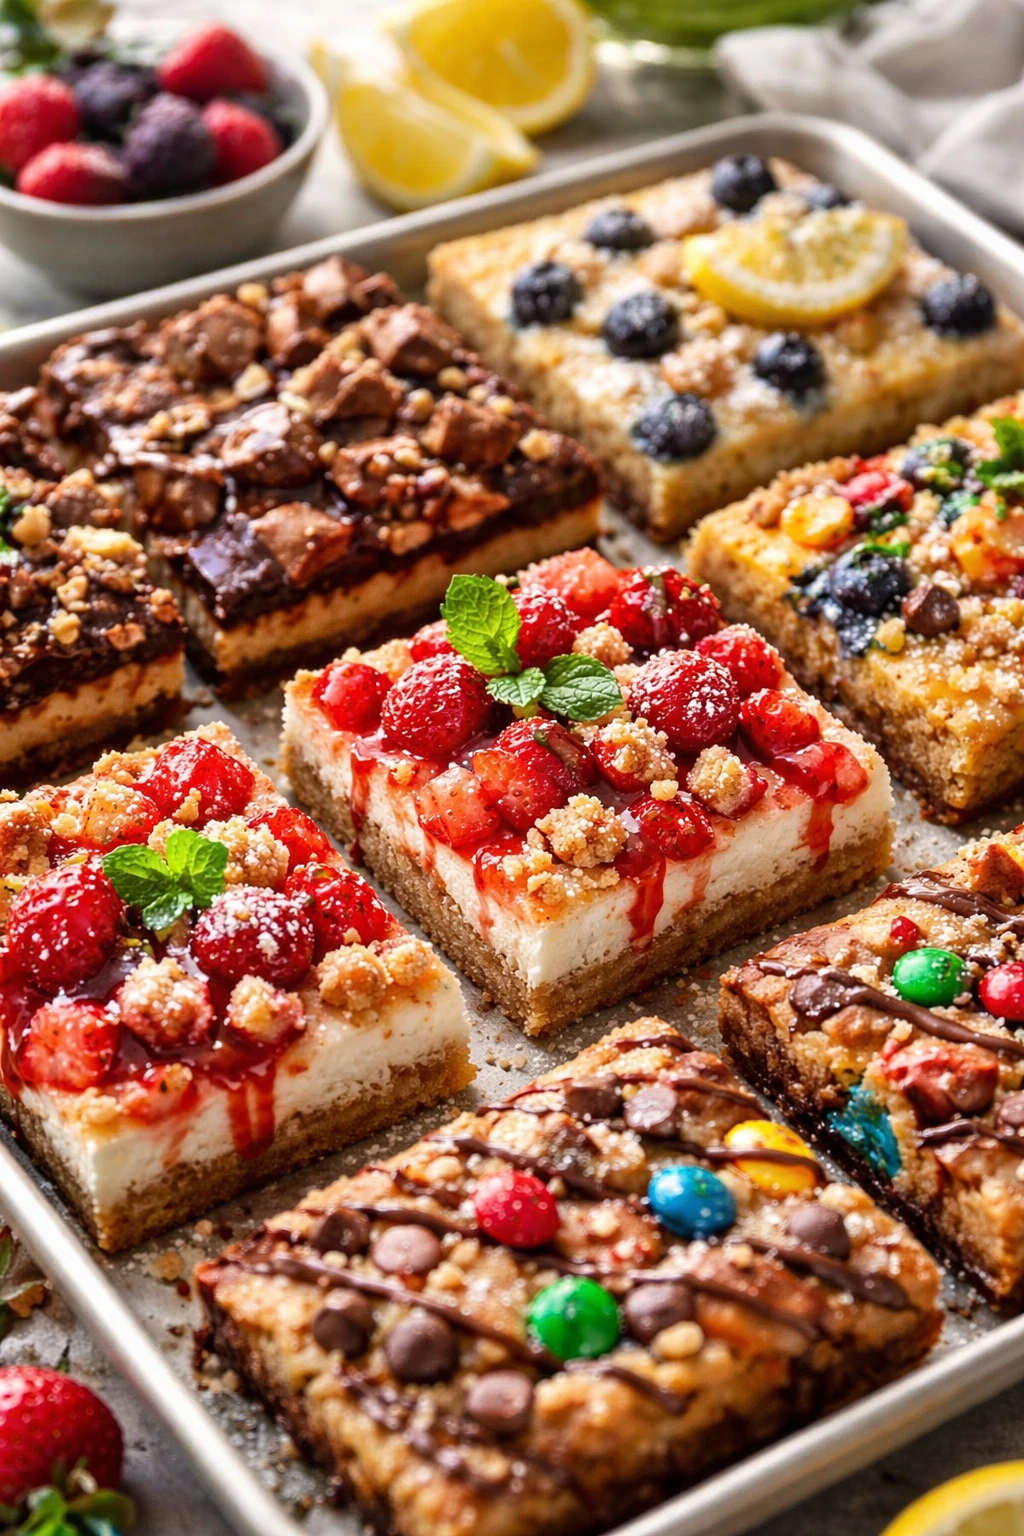
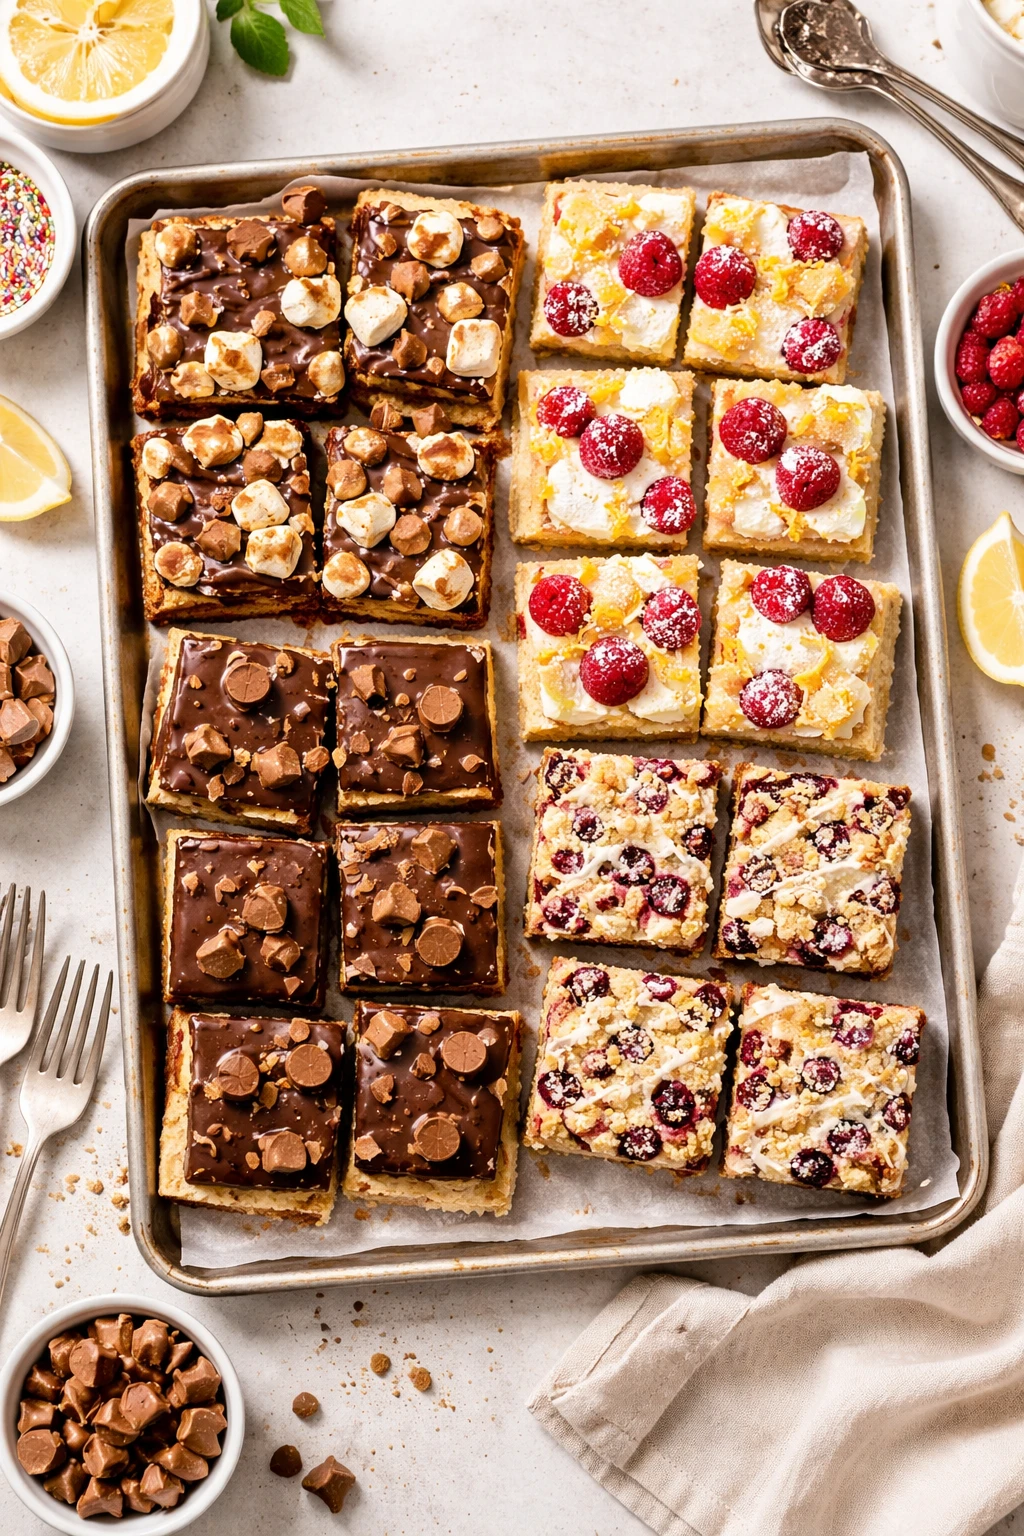
These s'mores bars bake all the gooey, crunchy goodness of campfire treats in one pan. The secret? Toasted marshmallows on top for that perfect finish. Great for casual get-togethers or potlucks!
Introduction
I first made these s'mores bars on a whim when I needed a simple dessert for a casual summer gathering. Instead of the usual campfire setup, I wanted something easy to prepare and share with friends. This recipe quickly became a favorite because it combines that nostalgic s'mores flavor in a super simple sheet pan format. What makes it different? I use finely crushed graham crackers mixed with melted butter for a sturdy yet tender base, then top it with chocolate chips and lots of marshmallows to get that perfect gooey finish. The trick I learned is to toast the marshmallows under the broiler for just a minute at the end — it adds a beautiful caramelized touch without burning. The bars come out golden, melty, and perfectly textured every time. It’s a no-fuss dessert that feels special but won't keep you stuck in the kitchen, and it’s always a hit whether it’s a backyard BBQ or a last-minute potluck. I love how easy it is to customize with different chocolates or add-ins, too. If you’re a s’mores fan like me, this one’s a keeper!
What You'll Need
Approximately 9x13 inch pan, 8 servings
- 2 cups graham cracker crumbs, finely crushed
- 1/2 cup unsalted butter, melted
- 1/4 cup granulated sugar
- 1 cup semisweet chocolate chips
- 2 cups mini marshmallows
- 1/2 teaspoon vanilla extract
- Pinch of salt
How To Do It
Step 1
Preheat your oven to 350°F (175°C). In a large mixing bowl, combine the graham cracker crumbs, melted butter, granulated sugar, and a pinch of salt. Stir until the mixture resembles wet sand and holds together when pressed. This step is crucial because the butter binds the crumbs to form the base, giving the bars structure without being too hard. Avoid overmixing, which can make the crust dense and tough.
⏱ Time: 5 minutes
✓ Doneness: The mixture should look evenly moistened and clump together when pressed between your fingers.
Step 2
Press the graham cracker mixture firmly and evenly into the bottom of a greased 9x13 inch sheet pan. Use the bottom of a measuring cup or glass to smooth and compact it well. This ensures a sturdy crust that won’t crumble when you cut the bars later. Don’t skip this pressing step—loose crust will fall apart after baking.
⏱ Time: 5 minutes
✓ Doneness: The crust should be flat, compact, and evenly spread across the pan.
Step 3
Sprinkle the semisweet chocolate chips evenly over the graham cracker crust. The chips will melt during baking, creating rich pockets of chocolate throughout. Distribute them well so every bite gets some chocolate goodness. Resist the urge to add too many chips; otherwise, the bars may become overly gooey and hard to cut cleanly.
⏱ Time: 2 minutes
✓ Doneness: Chocolate chips should be spread in a single, even layer covering the crust.
Step 4
Scatter the mini marshmallows evenly over the chocolate chip layer. These will toast and melt to give that classic s'mores top. Be generous but avoid piling them too thickly, or they won’t toast evenly. This layer adds the signature gooey texture and sweet flavor contrast.
⏱ Time: 2 minutes
✓ Doneness: Marshmallows should cover the chocolate chips fully in an even layer.
Step 5
Place the sheet pan in the oven and bake for 20-25 minutes until the marshmallows are puffed and starting to turn golden. Baking melts the chocolate and marshmallows into the crust, melding all the flavors together. Keep an eye on the marshmallows to prevent burning, especially near the end of baking.
⏱ Time: 20-25 minutes
✓ Doneness: Marshmallows are puffed, lightly golden, and chocolate is melted.
Step 6
For the perfect toasted finish, switch your oven to broil and place the sheet pan on the top rack for 1-2 minutes. Watch very closely — marshmallows can go from golden to burnt quickly. This step caramelizes the marshmallow tops, adding texture and flavor like a campfire s’more.
⏱ Time: 1-2 minutes
✓ Doneness: Marshmallows have a toasted, golden-brown surface with some darker spots.
Step 7
Remove the pan from the oven and let the bars cool completely in the pan on a wire rack. Cooling allows the crust to set and makes cutting easier. Trying to cut while warm will cause the bars to crumble or fall apart.
⏱ Time: 30 minutes
✓ Doneness: Bars feel firm to the touch and edges slightly pull away from the pan.
Step 8
Use a sharp knife to cut the sheet pan dessert into squares. For clean cuts, wipe the knife between slices to prevent sticking. If your marshmallows are extra gooey, a serrated knife can help maintain neat edges without squishing the bars.
⏱ Time: 5 minutes
✓ Doneness: Squares hold their shape well and don’t crumble when lifted.
Step 9
Serve the s’mores bars at room temperature for the best balance of gooey marshmallows and crunchy crust. They’re perfect with a cold glass of milk or a cup of coffee. Store leftovers in an airtight container to keep the texture intact.
⏱ Time: Immediate serving
✓ Doneness: Bars are soft and chewy inside, with a toasted marshmallow top.
Variations
Peanut Butter S’mores Bars
Add 1/2 cup creamy peanut butter to the melted butter before mixing with graham cracker crumbs for a nutty twist. You can also sprinkle chopped peanuts on top before baking for extra crunch. Expect a richer, slightly salty flavor that pairs beautifully with the sweet marshmallows.
Note: Peanut butter makes the crust a bit denser. Press firmly and bake as usual. Watch marshmallows carefully during broil as added fat can brown faster.
Salted Caramel S’mores Bars
Drizzle salted caramel sauce over the chocolate chips before adding marshmallows. This adds a luscious, buttery sweetness with a hint of saltiness that elevates the classic s’mores flavor. Great for a decadent dessert treat.
Note: Use a good quality caramel sauce and avoid adding too much to prevent sogginess. Bake as directed and broil marshmallows carefully.
Vegan S’mores Bars
Use vegan butter and dairy-free chocolate chips, plus vegan marshmallows to make this dessert plant-based. The texture and flavor remain very close to the original, perfect for vegan friends or those with dairy allergies.
Note: Vegan marshmallows don’t brown as easily, so broil longer but watch carefully. The crust may be slightly softer due to different butter substitutes.
Mint Chocolate S’mores Bars
Add 1/2 teaspoon peppermint extract to the crust mixture and use mint chocolate chips instead of semisweet. This gives a refreshing twist to the traditional s’mores, perfect for holidays or winter gatherings.
Note: Peppermint extract is strong—start with a small amount and adjust to taste. Bake and broil as usual.
Nutella S’mores Bars
Spread a thin layer of Nutella over the crust before sprinkling chocolate chips and marshmallows. This adds a creamy hazelnut flavor that pairs wonderfully with the toasted marshmallows and crunchy graham base.
Note: Nutella adds moisture, so press the crust extra firmly and bake as directed. Broil marshmallows carefully to avoid burning.
Pro Tips
Press the crust firmly and evenly into the pan using a flat-bottomed glass.
Firmly pressing the crust compacts the crumbs and butter mixture, creating a stable base that won’t crumble when you cut the bars. If the crust is loose, your bars will fall apart easily. Using a flat-bottom glass helps smooth the surface and ensures even thickness.
Use mini marshmallows instead of large ones for even toasting.
Mini marshmallows melt and toast uniformly, giving a consistent golden top. Large marshmallows tend to melt unevenly and can burn on the edges before the center is toasted, ruining the texture and appearance.
Watch the broiler step carefully and don’t walk away.
Broiling marshmallows can turn from perfectly toasted to burnt in seconds. Staying close allows you to pull the pan out at just the right moment to get that golden-brown color without bitterness, enhancing flavor and visual appeal.
Let the bars cool completely before slicing.
Cooling allows the chocolate and marshmallow layers to set, making cutting cleaner and easier. Cutting when warm causes the layers to run and the crust to crumble, resulting in messy pieces that don’t hold together.
Use a sharp knife and wipe it clean between cuts.
A sharp knife cuts through the gooey layers cleanly without dragging or squishing. Wiping the knife prevents sticky marshmallow buildup, ensuring neat, presentable bars.
Don’t skip the pinch of salt in the crust.
Salt enhances the flavor by balancing the sweetness and deepening the buttery notes. Without it, the crust can taste flat, and the overall dessert less vibrant.
Feel free to swap semisweet chips for milk or dark chocolate.
Different chocolates change the flavor profile but still melt well. Milk chocolate adds creaminess and sweetness, while dark chocolate gives a richer, slightly bitter contrast that pairs beautifully with sweet marshmallows.
Common Mistakes to Avoid
Crust too crumbly and falling apart
Why it happens This usually happens when the butter isn’t mixed evenly or the crust isn’t pressed firmly enough into the pan. Sometimes people underestimate how much butter is needed to bind the crumbs.
Fix Make sure the butter is fully melted and thoroughly mixed with the graham cracker crumbs. Press the crust firmly and evenly into the pan using a flat-bottomed glass. If the crust feels dry, add a bit more melted butter, a teaspoon at a time, until it holds together well.
Marshmallows burning in the oven
Why it happens Marshmallows can burn if baked too long or broiled too close to the heat source without attention. Some cooks leave the oven unattended during the broil step.
Fix Bake the bars until marshmallows just start to puff and brown, then switch to broil for only 1-2 minutes, watching constantly. Remove the pan as soon as the marshmallows turn golden to avoid bitterness.
Bars too sticky and hard to cut
Why it happens Cutting bars while still warm causes melted chocolate and marshmallows to be too soft, making the bars sticky and messy.
Fix Allow the bars to cool completely at room temperature before slicing. For even better results, refrigerate for 30 minutes to firm up the layers, making cutting much cleaner.
Chocolate chips sinking to the bottom
Why it happens If the crust isn’t pressed firmly or the pan isn’t level, chocolate chips can sink during baking.
Fix Press the crust firmly and evenly before adding chocolate chips, and bake on a flat, level oven rack. Avoid shaking the pan after adding chips to keep them evenly distributed.
Graham cracker crumbs too coarse
Why it happens Using large chunks of graham crackers results in uneven crust texture and poor binding.
Fix Use a food processor or crush crackers finely in a sealed bag with a rolling pin until you get a sandy consistency. This ensures the crust binds well with butter and bakes evenly.
Nutrition
Per Serving:
Nutritional values are estimates and may vary based on specific ingredients used.
Storage & Tips
Room Temperature
These s’mores bars can safely sit out covered at room temperature for up to 4 hours. Cover loosely with foil or a clean kitchen towel to keep marshmallows soft and prevent drying out.
Refrigerator
Store in an airtight container in the fridge for up to 5 days. The bars will firm up and marshmallows may harden slightly, so let them come to room temperature before serving for best texture.
Freezer
Freeze bars wrapped tightly in plastic wrap and aluminum foil for up to 3 months. Thaw overnight in the fridge, then bring to room temperature before serving to restore gooey texture.
Reheating
Warm bars gently in a 300°F oven for 5-7 minutes to soften marshmallows and chocolate. Avoid microwaving as it can make the crust soggy and marshmallows rubbery. A quick oven warm-up revives the gooey texture nicely.
Make Ahead
You can prepare the crust and press it into the pan a day ahead, then store covered in the fridge. Add chocolate chips and marshmallows right before baking for freshest results. This saves prep time on serving day.
FAQ
Can I use large marshmallows instead of mini ones?
You can, but large marshmallows melt unevenly and may burn on the edges before the center is toasted. Mini marshmallows give a more consistent texture and even browning. If using large marshmallows, cut them into smaller pieces and watch the broil step closely to avoid burning.
How do I prevent the crust from becoming soggy?
Press the crust firmly and bake it well before adding toppings. Using melted butter properly binds the crumbs so they don’t absorb too much moisture. Also, avoid adding too many wet toppings or sauces that can seep into the crust and make it soggy.
Can I make these bars gluten-free?
Yes! Use gluten-free graham cracker crumbs or substitute with crushed gluten-free cookies. Make sure all other ingredients, like chocolate chips and marshmallows, are certified gluten-free. The texture might vary slightly but the flavor will still be delicious.
Why are my marshmallows not toasting evenly?
Uneven toasting usually happens when marshmallows are piled too thickly or the pan is too far from the broiler. Spread marshmallows in a single even layer and place the pan about 4-6 inches from the broiler. Watch carefully and rotate the pan if needed.
Can I use dark chocolate instead of semisweet?
Absolutely! Dark chocolate adds a richer, slightly bitter contrast that balances the sweet marshmallows well. Choose a good-quality dark chocolate with at least 60% cocoa for best results. Baking and broiling times remain the same.
How should I store leftover s’mores bars?
Store leftovers in an airtight container at room temperature for up to 2 days or in the fridge for up to 5 days. Refrigeration firms up the marshmallows and chocolate, so bring to room temperature before eating for best texture.
Can I freeze these bars?
Yes, they freeze well! Wrap bars tightly in plastic wrap and then foil to prevent freezer burn. Freeze for up to 3 months. Thaw overnight in the fridge and then bring to room temperature before serving to restore gooeyness.
What if I don’t have a broiler?
If your oven doesn’t have a broiler, bake the bars a little longer at 350°F until marshmallows are golden, about 5-10 extra minutes. Keep a close eye to prevent burning. You can also use a kitchen torch to toast marshmallows individually.
Final Thoughts
I hope you love making these s’mores bars as much as I do! They’re perfect for sharing, so give them a try and let me know how they turn out.