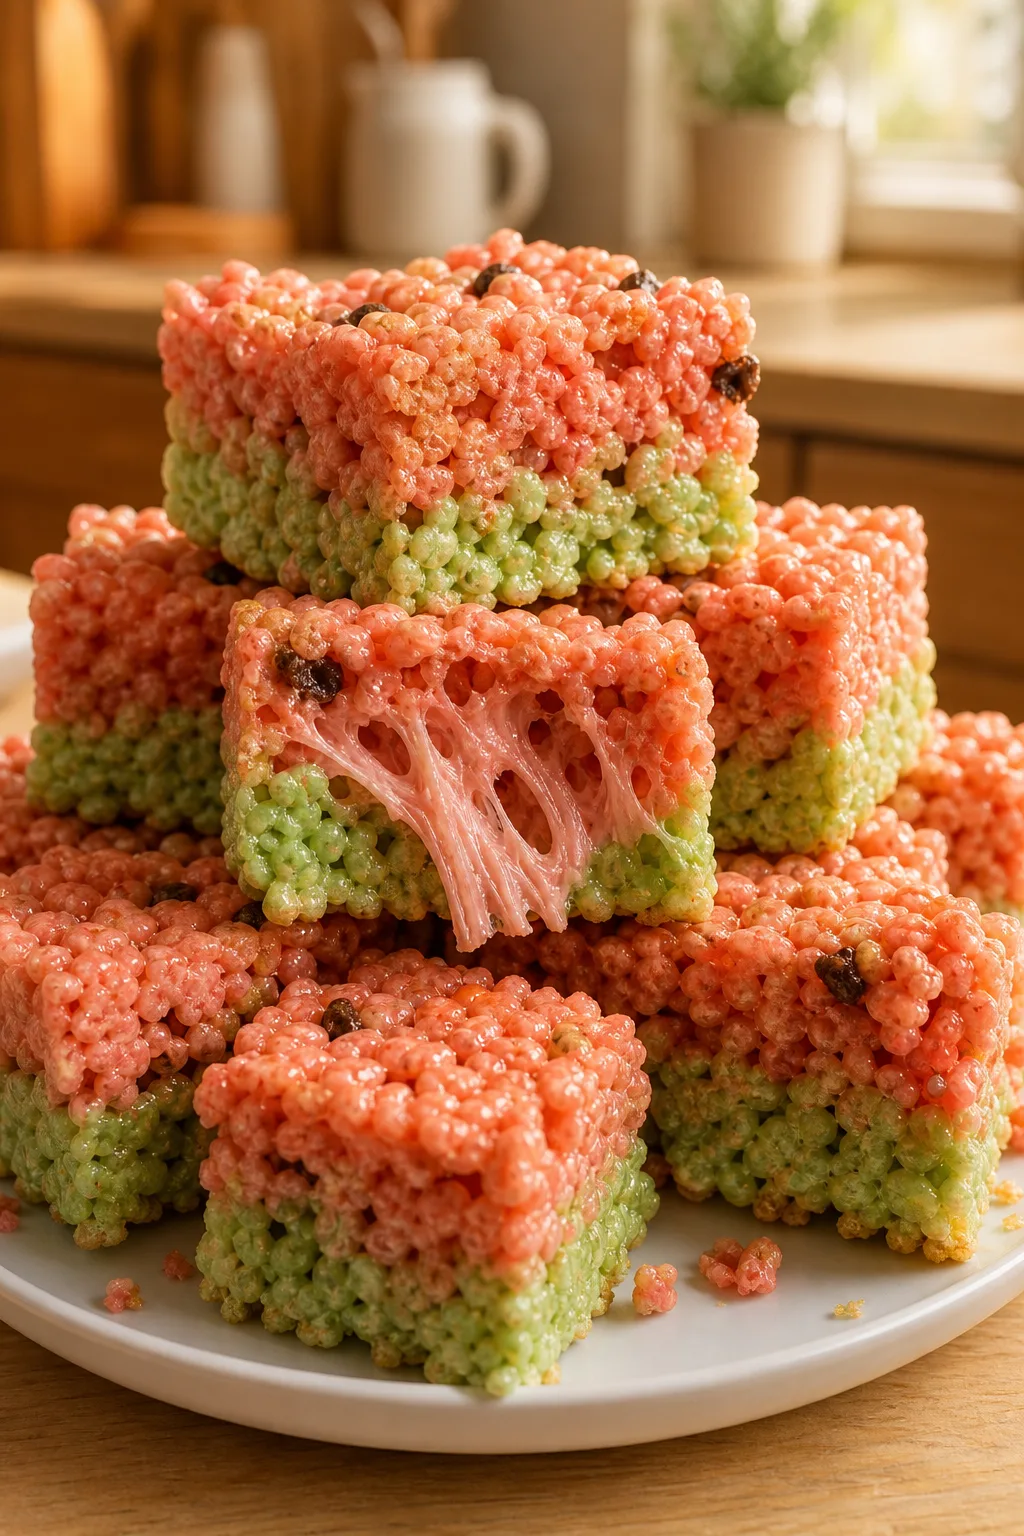
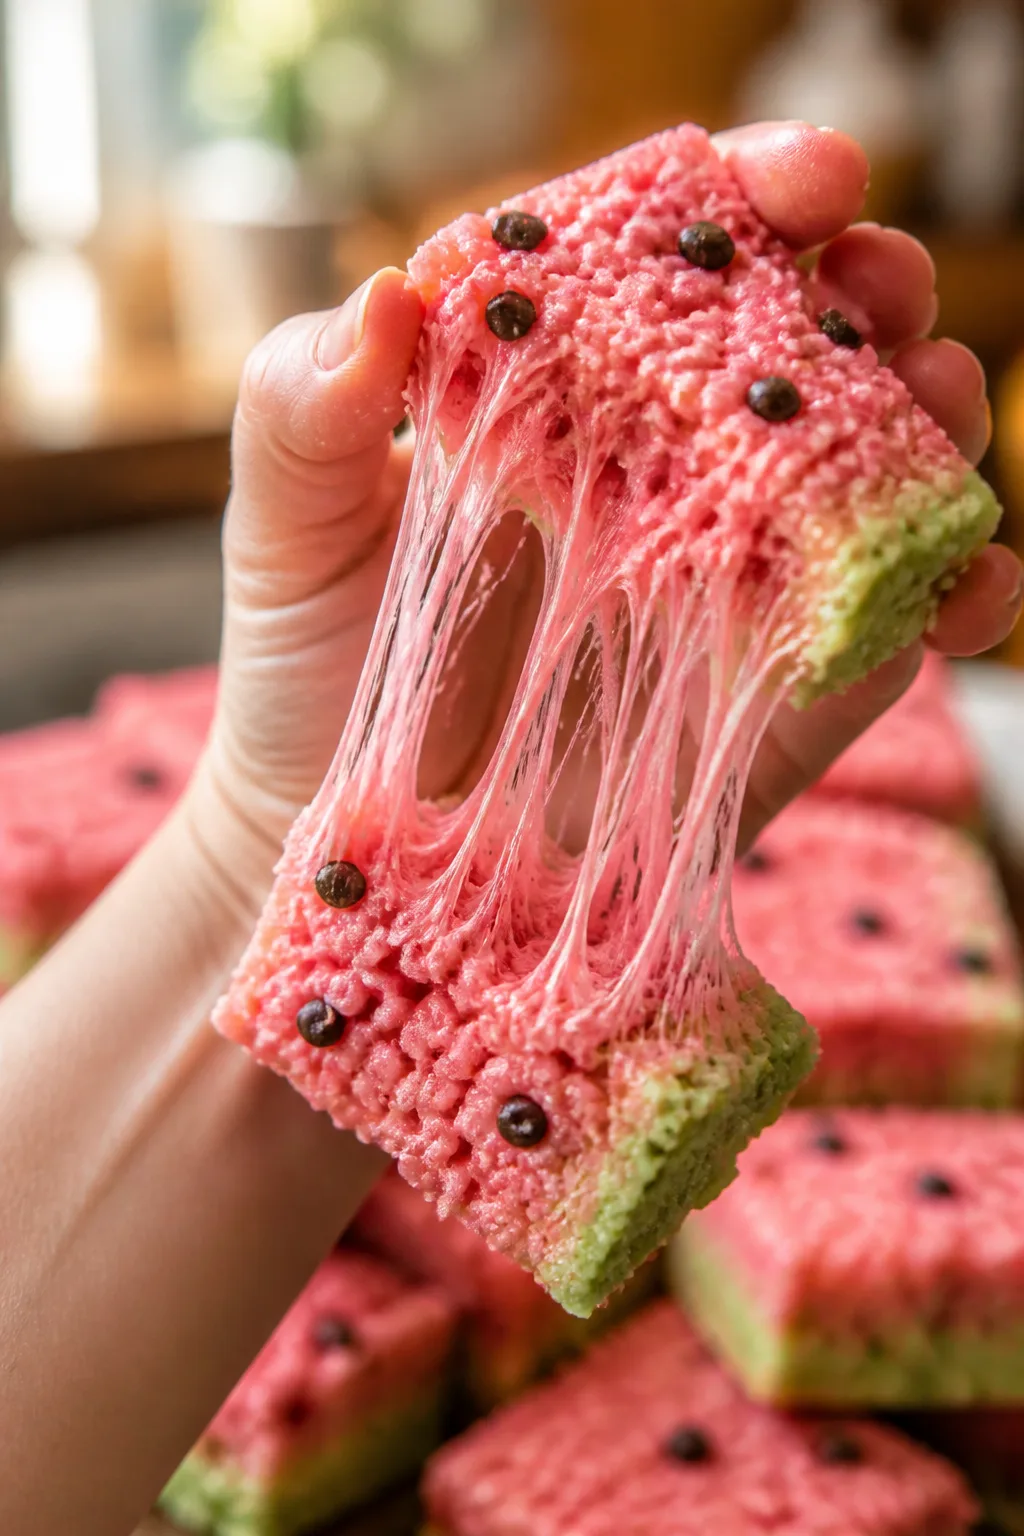
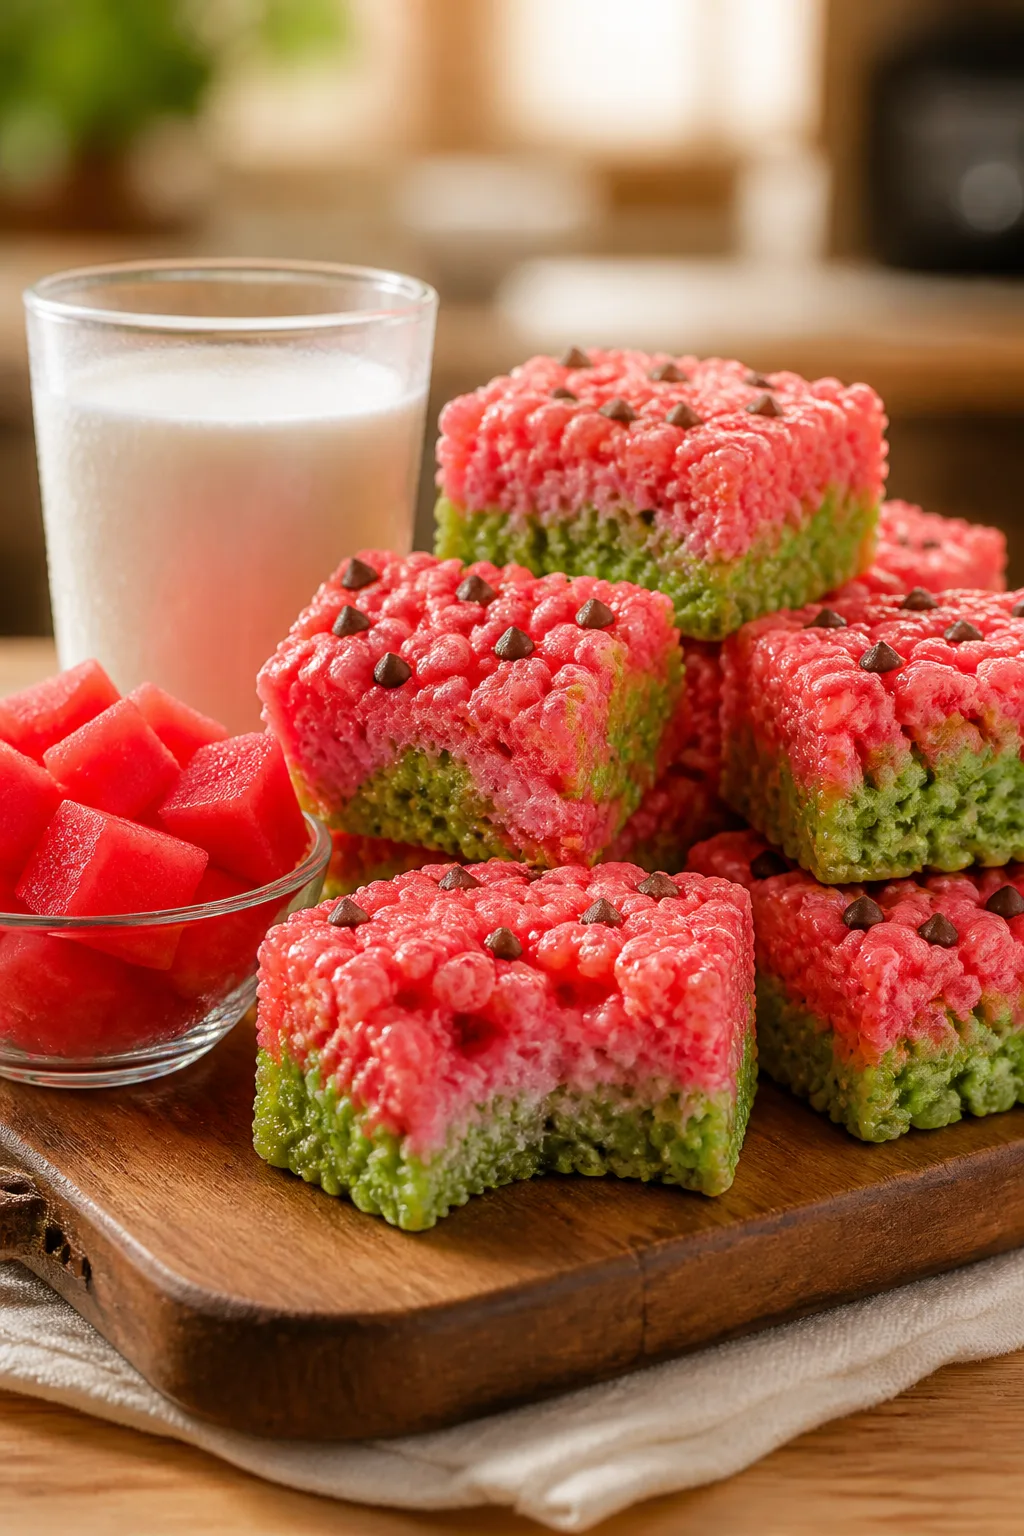
These watermelon-inspired Rice Krispie treats bring a playful summer vibe to a classic snack. The bright pink and green colors make them perfect for picnics or kids’ parties. Super easy and fun to make!
Introduction
I first made these watermelon Rice Krispie treats a few summers ago when I wanted something fun and colorful for a backyard picnic. The classic Rice Krispie treat is always a hit, but I wanted to give it a little twist to match the season. I played around with food coloring and the idea of mimicking watermelon’s pink flesh and green rind just clicked! What makes this version special is how easy it is to separate the marshmallow mixture into two colors and then layer them so you get a fun watermelon look. I also like sprinkling a few white chocolate chips for that subtle 'seed' effect, which is a cute touch but totally optional. The result is chewy, sweet, and perfectly nostalgic with a summery pop of color. These treats are great for kids’ parties or just a casual snack on a sunny day. Honestly, I’ve made them several times now, and each batch brings back summer vibes and smiles. Just a heads up — if you’re new to working with melted marshmallows, don’t rush the mixing or you might end up with clumps. But once you get the hang of it, it’s a breeze!
What You'll Need
Approximately 12 medium-sized treats
- 6 cups Rice Krispies cereal
- 4 cups mini marshmallows
- 3 tablespoons unsalted butter
- 1/2 teaspoon pink food coloring
- 1/4 teaspoon green food coloring
- 1/4 cup white chocolate chips (optional, for 'seeds')
How To Do It
Step 1
Start by greasing a 9x13-inch pan with butter or lining it with parchment paper. This step is crucial because it prevents the sticky marshmallow mixture from sticking to the pan, making it easier to cut out your treats later. Don’t skip this or you’ll be scraping sticky mess! A light coating is enough, and you can use your fingers or a paper towel to spread it evenly.
⏱ Time: 5 minutes
✓ Doneness: Pan surface feels slick but not greasy
Step 2
In a large pot, melt 3 tablespoons of unsalted butter over low heat. Once melted, add 4 cups of mini marshmallows and stir constantly until smooth and fully melted. Low heat is key here to prevent burning the marshmallows. If you rush or use high heat, the marshmallows can scorch and ruin the flavor. Keep stirring until you have a glossy, smooth mixture without lumps.
⏱ Time: 7 minutes
✓ Doneness: Mixture is shiny and smooth, with no visible marshmallow lumps
Step 3
Remove the pot from heat and divide the marshmallow mixture roughly in half into two separate bowls. This separation lets you create the watermelon’s pink and green layers independently. Be careful as the mixture is hot; use a spatula to scrape it out gently.
⏱ Time: 3 minutes
✓ Doneness: Two equal portions of sticky marshmallow mixture in separate bowls
Step 4
Add pink food coloring to one bowl and green food coloring to the other. Stir each well until the color is evenly distributed. Don’t add too much food coloring or the mixture might become too runny. Start with a few drops and add more if needed to get a vibrant color. The pink part will be the bulk of the treat, so it should be bright and inviting.
⏱ Time: 3 minutes
✓ Doneness: Uniform pink and green colors with no streaks
Step 5
Pour the green marshmallow mixture into the prepared pan first and spread it evenly but gently to form the watermelon rind layer. Work quickly but carefully because the marshmallow sets fast. If you press too hard, it can get dense and tough, so use a light touch and a buttered spatula or wax paper to smooth it out.
⏱ Time: 5 minutes
✓ Doneness: Thin, even green layer covering the bottom of the pan
Step 6
Next, immediately pour the pink marshmallow mixture on top of the green layer and spread evenly to fill the rest of the pan. The layers will stick together as the marshmallow cools, creating that watermelon effect. Again, be gentle when spreading to keep the texture light and chewy.
⏱ Time: 5 minutes
✓ Doneness: Even pink layer over the green with no gaps
Step 7
Optional: While the pink layer is still warm, sprinkle white chocolate chips evenly on top to mimic watermelon seeds. Press them lightly into the marshmallow so they stick but don’t melt completely. This adds a fun visual and a little extra sweetness. If you skip this step, the treats still look great!
⏱ Time: 2 minutes
✓ Doneness: White chips embedded lightly on pink surface
Step 8
Let the entire pan cool at room temperature for at least 30 minutes to set completely. Avoid refrigerating as it can make the treats hard and less chewy. Patience here is key to get that perfect texture — if you cut too soon, the treats will be sticky and messy.
⏱ Time: 30 minutes
✓ Doneness: Firm but soft texture when touched
Step 9
Once set, use a sharp knife to cut into squares or fun watermelon wedge shapes. To get clean cuts, you can lightly grease the knife or dip it in hot water between slices. Serve immediately or store in an airtight container to keep fresh. These treats are best eaten within a couple of days for maximum chewiness.
⏱ Time: 5 minutes
✓ Doneness: Clean, neat edges with no crumbling
Variations
Chocolate Chip Watermelon Treats
Add mini chocolate chips instead of white chocolate chips for a classic 'seed' look. This variation adds a richer chocolate flavor that pairs well with the sweet marshmallow and crispy cereal.
Note: Chocolate chips may melt slightly into the warm marshmallow but will mostly retain shape, providing a nice texture contrast.
Vegan Watermelon Rice Krispie Treats
Use vegan marshmallows and dairy-free butter alternatives to make this recipe vegan-friendly. The texture will be slightly different but still chewy and delicious.
Note: Vegan marshmallows melt differently and may require slightly longer melting time; be patient and stir gently.
Watermelon Treats with Fresh Mint
Add finely chopped fresh mint to the pink marshmallow mixture for a refreshing twist that complements the watermelon theme perfectly.
Note: Mix in mint right after coloring the marshmallow mixture to distribute flavor evenly without wilting.
Gluten-Free Watermelon Treats
Ensure your Rice Krispies cereal is gluten-free (some brands are) to make this treat safe for gluten-intolerant guests without changing the recipe otherwise.
Note: Check all ingredients for gluten-free labels; gluten-free cereals may have slightly different textures.
Watermelon Treats with Sprinkles
Sprinkle colorful sugar or edible glitter on top of the pink layer for extra fun and sparkle, perfect for kids’ parties or festive occasions.
Note: Add sprinkles immediately after spreading the pink layer, before it sets, for best adhesion.
Pro Tips
Use a buttered spatula or wax paper to press and spread the marshmallow mixture.
Marshmallow mixture is super sticky, and using a buttered tool prevents it from sticking to your hands or utensils, making spreading easier and ensuring an even layer without tearing or clumping.
Work quickly when layering the colored marshmallow mixtures.
Marshmallows set fast as they cool. If you wait too long between layers, they won’t stick together well, causing separation in the final treat. Speed ensures a smooth, cohesive watermelon effect.
Cut treats with a knife dipped in hot water for clean edges.
The heat helps the knife glide through sticky marshmallow without dragging or tearing, resulting in neater, more attractive pieces that hold their shape.
Don’t refrigerate the treats after setting.
Chilling can make them hard and less chewy, which takes away from the classic soft texture. Room temperature setting keeps them tender and enjoyable.
Use gel food coloring instead of liquid for vibrant colors.
Gel coloring won’t thin out the marshmallow mixture, keeping the texture just right and the colors bright. Liquid color can make the mixture too wet and slow to set.
Lightly grease your pan before adding marshmallow mixture.
This step prevents the treats from sticking, which makes removal and cutting much easier without damaging the shape or texture.
Store treats in an airtight container to maintain freshness.
Exposure to air dries out the marshmallow treats, making them tough. Airtight storage locks in moisture and keeps them soft for days.
Common Mistakes to Avoid
Using high heat to melt marshmallows.
Why it happens Many cooks rush melting to save time and crank up the heat, unaware that marshmallows burn quickly at high temperatures.
Fix Melt marshmallows over low heat, stirring constantly. This gentle approach prevents scorching and ensures a smooth, glossy mixture essential for good texture.
Not greasing the pan properly.
Why it happens Some assume the sticky mixture won’t stick or forget this step in a hurry.
Fix Always lightly grease or line your pan to prevent sticking. If you don’t, cutting and serving will be messy and frustrating.
Waiting too long between layering colors.
Why it happens Inexperience with marshmallow setting times leads to dried layers that don’t stick.
Fix Pour and spread the green layer, then quickly add the pink layer on top while still warm to ensure they bond well.
Using too much food coloring.
Why it happens Trying to get very bright colors, cooks add excessive food coloring without considering texture.
Fix Add color gradually, stirring well. Too much liquid coloring can make the mixture runny and affect setting.
Refrigerating the treats to speed setting.
Why it happens People think refrigeration will help them set faster but don’t realize it changes texture.
Fix Allow the treats to set at room temperature for best chewy texture. Refrigeration makes them hard and less pleasant.
Nutrition
Per Serving:
Nutritional values are estimates and may vary based on specific ingredients used.
Storage & Tips
Room Temperature
Keep the treats covered at room temperature in an airtight container for up to 2 days. Exposure to air will dry them out and harden the texture, so cover tightly.
Refrigerator
You can refrigerate treats for up to 5 days in an airtight container, but they may become firmer and less chewy. If preferred, let them come to room temperature before serving to soften slightly.
Freezer
Freeze the treats wrapped tightly in plastic wrap and placed in a freezer-safe container for up to 1 month. Thaw at room temperature for a few hours before serving. Avoid microwaving frozen treats as it may alter texture.
Reheating
These treats are best enjoyed as-is and don’t require reheating. If desired, a few seconds in the microwave can soften them, but avoid overheating to prevent melting or becoming too sticky.
Make Ahead
You can prepare the marshmallow mixture and color separately a day ahead, storing them covered at room temperature. Assemble and layer the next day for freshest texture and vibrant colors.
FAQ
Can I use regular-sized marshmallows instead of mini ones?
Yes, but chop them into smaller pieces to help them melt evenly and quickly. Using whole large marshmallows can lead to clumps and uneven melting, affecting texture.
How long do these treats stay fresh?
Stored properly in an airtight container at room temperature, they stay fresh and chewy for about 2 days. Refrigeration can extend this to 5 days but may change texture.
Can I make these gluten-free?
Yes, just make sure to use gluten-free Rice Krispies cereal and check that your other ingredients are gluten-free certified to avoid cross-contamination.
Why did my marshmallows get hard instead of sticky?
This usually happens if the marshmallows were overheated or cooked too long. Melt marshmallows over low heat, stirring constantly, to keep them smooth and sticky.
Can I add flavor extracts?
Absolutely! Adding a teaspoon of vanilla or fruit extract to the melted marshmallow mixture adds a nice flavor boost without affecting texture. Just stir it in after melting.
Why is my green layer mixing with the pink?
The marshmallow sets quickly, so you need to pour and spread the pink layer immediately after the green. Waiting too long causes the layers not to stick properly and blend together.
Can I use a different cereal?
You can try other crispy cereals, but the texture and flavor will change. Rice Krispies are ideal because they stay crisp and mix well with marshmallow.
How do I get clean cuts without sticking?
Use a sharp knife dipped in hot water and wiped dry between cuts. This prevents the marshmallow from sticking to the blade and makes slicing easier.
Final Thoughts
Give these watermelon Rice Krispie treats a try this summer — they’re an easy, fun way to add color and smiles to any gathering! Don’t forget to share how yours turn out!