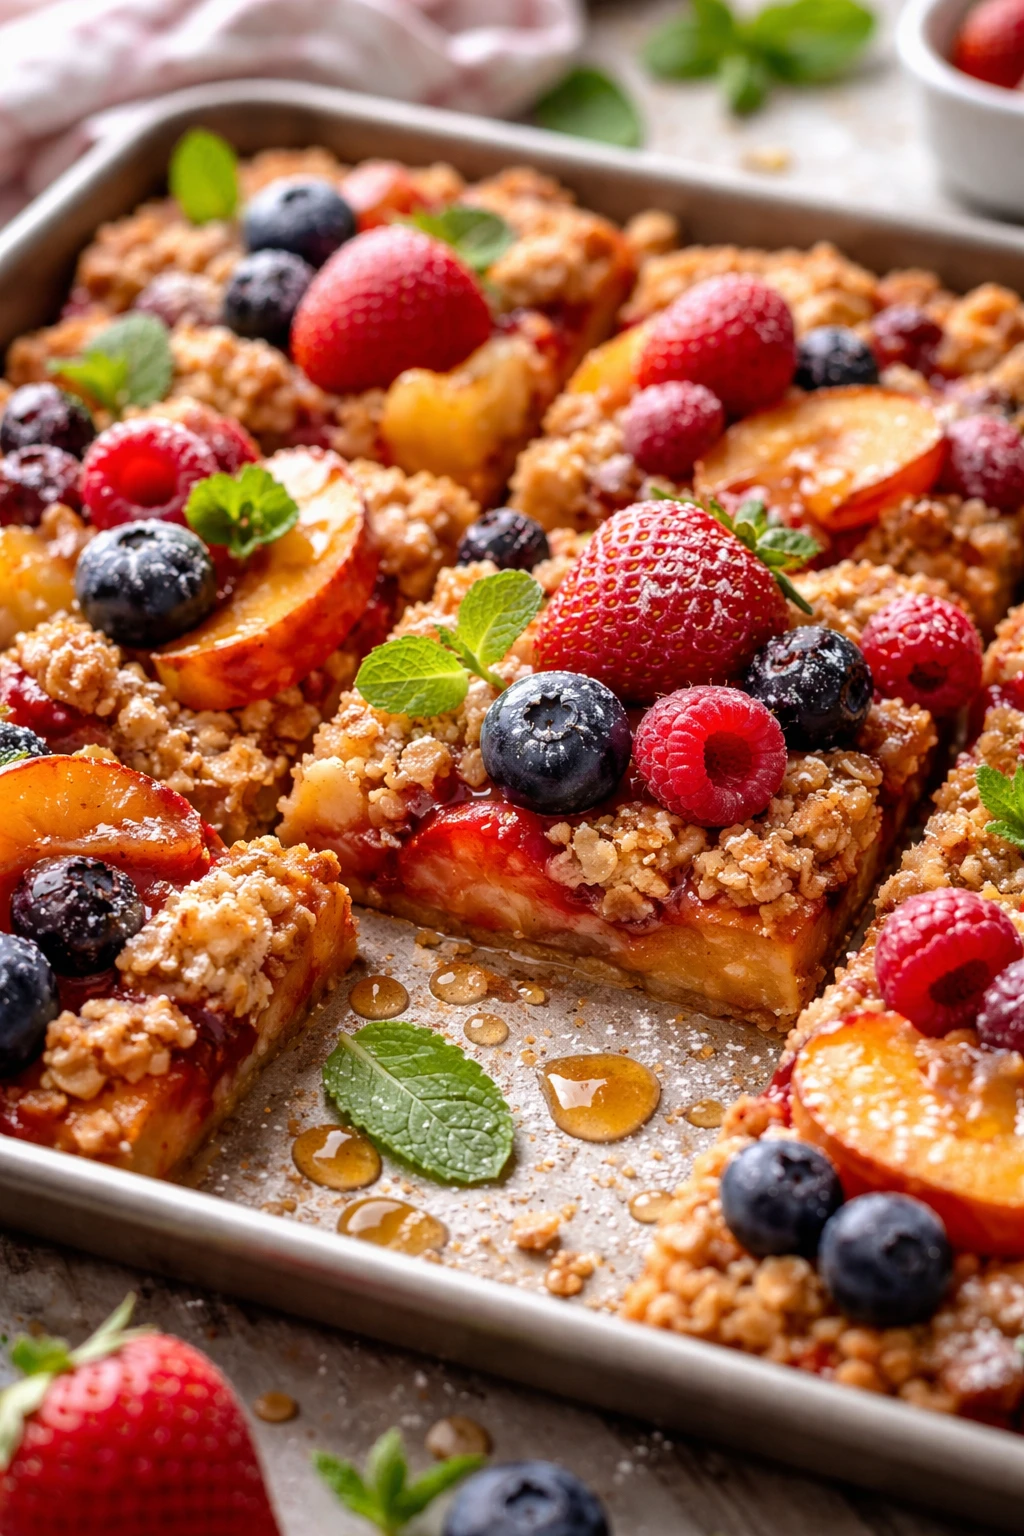
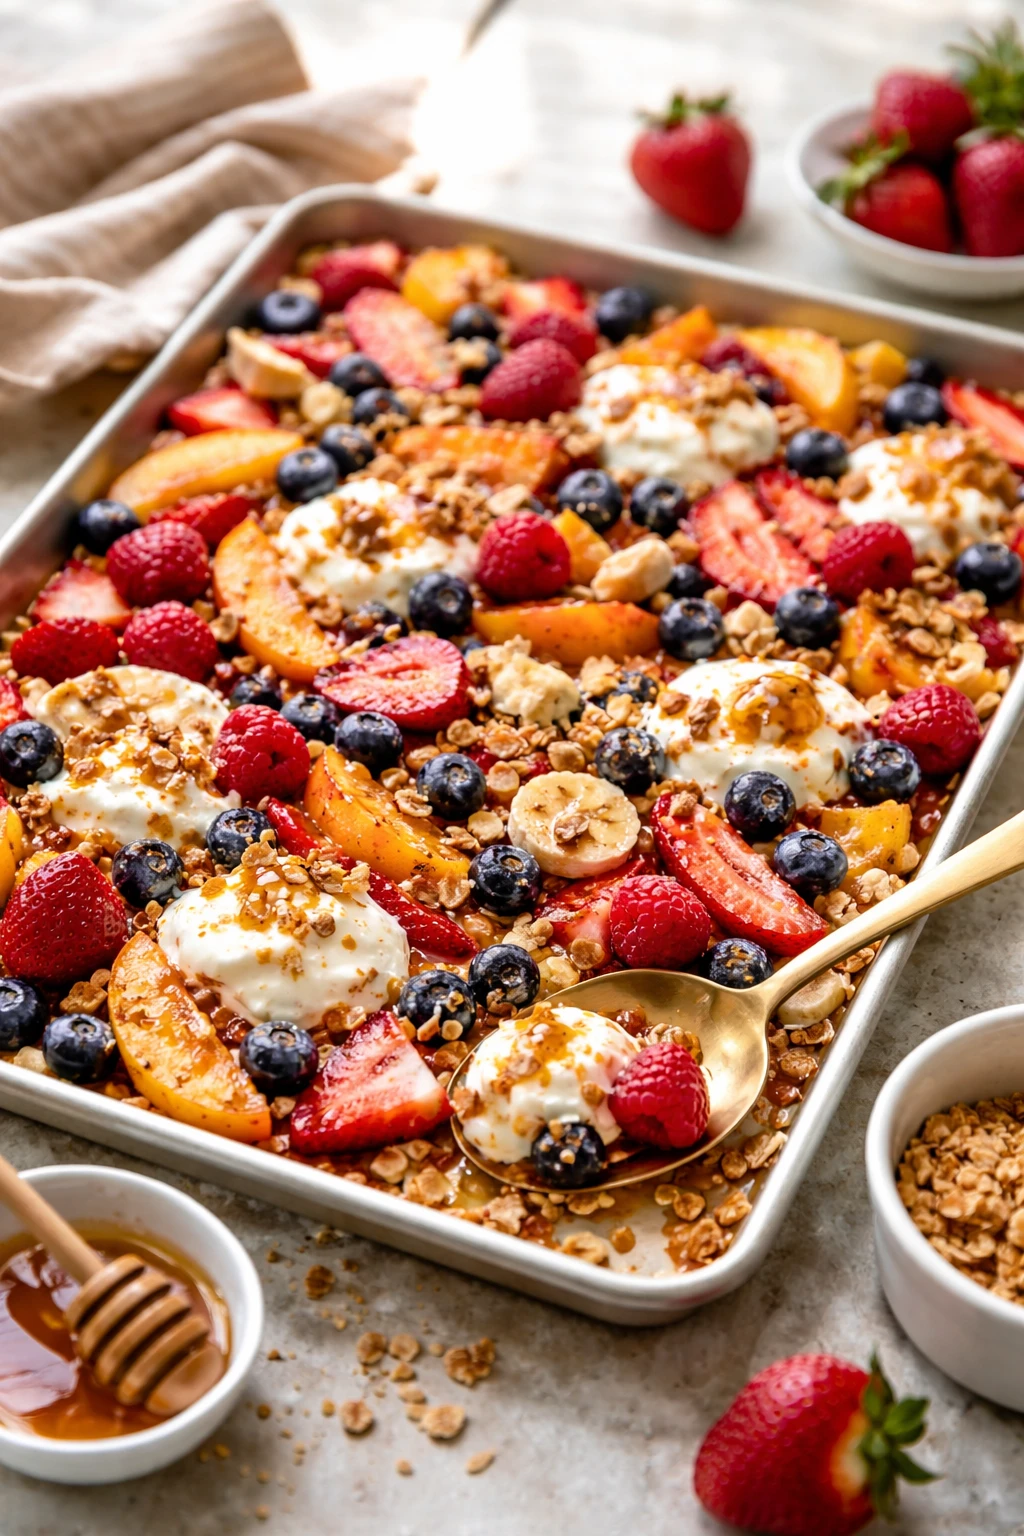
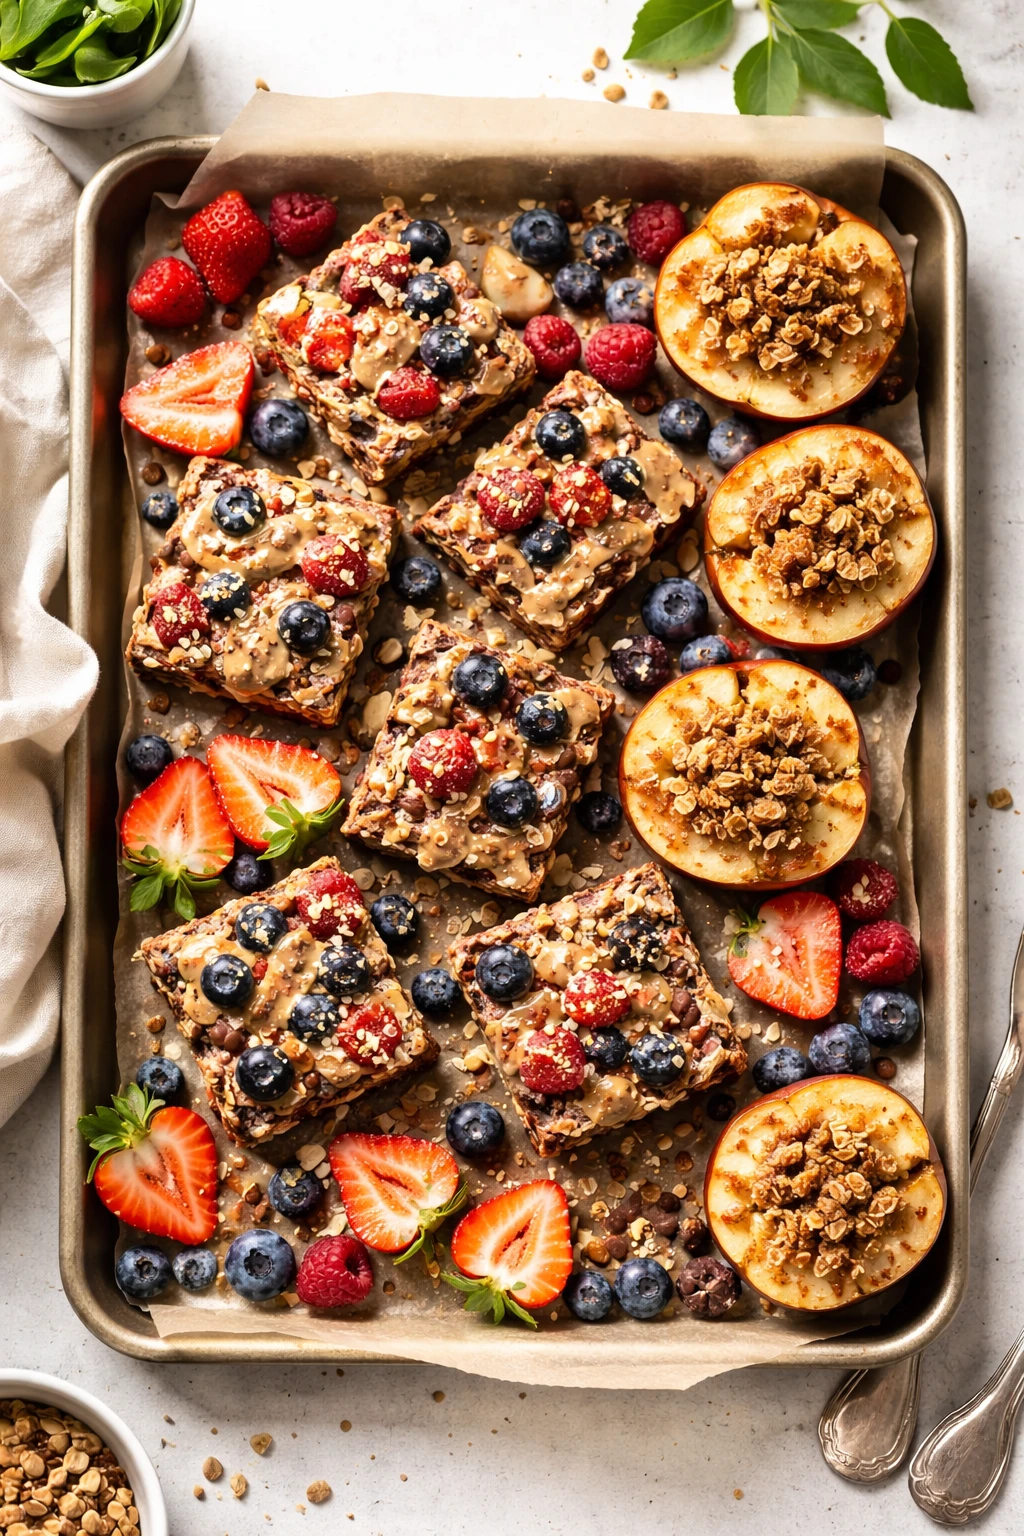
This wholesome sheet pan dessert is a total game-changer! It uses simple, natural ingredients and bakes all at once, making it super easy. I love how it’s naturally sweetened—perfect for guilt-free snacking or weekend get-togethers.
Introduction
I’ve been making this healthy sheet pan dessert for a while now, and honestly, it’s become my go-to when I want something sweet but not overly indulgent. The first time I made it, I was looking for a treat that didn’t rely on refined sugar but still felt satisfying. What sets this dessert apart is how it brings out the natural sweetness of fresh berries and maple syrup, baked together with oats and nuts for a lovely, crunchy texture. Plus, baking everything on one sheet pan makes cleanup a breeze, which I really appreciate on busy days. I’ve tweaked the recipe over time, adding cinnamon for warmth and a pinch of sea salt to balance the flavors perfectly. The finished dessert is slightly crisp on top, juicy and tender inside, and just right—not too sweet, not too bland. It’s great for weekend brunches, afternoon snacks, or even a light dessert after dinner. I love that it feels wholesome but still like a treat, and my family goes nuts for it. Honestly, I think you’ll love how simple it is to make and how naturally delicious it tastes!
What You'll Need
Approximately 6 generous servings
- 2 cups mixed fresh berries (blueberries, raspberries, strawberries), washed and sliced
- 1 cup rolled oats
- 1/2 cup chopped nuts (walnuts or almonds)
- 1/4 cup pure maple syrup
- 1/4 cup coconut oil, melted
- 1 teaspoon vanilla extract
- 1/2 teaspoon ground cinnamon
- Pinch of sea salt
How To Do It
Step 1
Preheat your oven to 350°F (175°C). This temperature is perfect for gently baking the oats and berries without burning the nuts or drying out the fruit. While the oven warms, line a sheet pan with parchment paper to prevent sticking and make cleanup easier. Avoid skipping the parchment, as the natural sugars can caramelize and stick to the pan, making it tough to clean later.
⏱ Time: 10 minutes
✓ Doneness: Oven preheated and parchment paper fully laid out flat with no wrinkles
Step 2
In a large mixing bowl, combine the rolled oats, chopped nuts, ground cinnamon, and a pinch of sea salt. Mixing these dry ingredients first ensures even distribution of flavors and prevents clumps. Be sure to stir gently to keep the oats from breaking down too much, which would change the texture.
⏱ Time: 5 minutes
✓ Doneness: Dry ingredients are evenly mixed with no visible clumps
Step 3
Add the melted coconut oil, pure maple syrup, and vanilla extract to the oat mixture. Stir well until everything is coated evenly. The coconut oil helps bind the ingredients and adds a subtle richness, while the maple syrup provides natural sweetness and a slight caramel flavor when baked. If you rush this step, the syrup might not distribute evenly, resulting in uneven sweetness.
⏱ Time: 5 minutes
✓ Doneness: Mixture looks glossy and sticky, with no dry patches
Step 4
Gently fold in the fresh berries, being careful not to crush them. The berries add moisture and natural sweetness, so handling them delicately keeps their shape and prevents the dessert from becoming too mushy. If you add them too early or mix aggressively, the juices will bleed excessively, making the topping soggy.
⏱ Time: 3 minutes
✓ Doneness: Berries are evenly distributed but mostly intact
Step 5
Spread the mixture evenly across the prepared sheet pan. Press down gently to compact the oats slightly, which helps the dessert hold together after baking. If you leave it too loose, it might crumble apart when serving. Make sure the layer is uniform in thickness to ensure even baking.
⏱ Time: 5 minutes
✓ Doneness: Mixture is evenly spread in a uniform layer about 1/2 inch thick
Step 6
Bake in the preheated oven for 25-30 minutes. Keep an eye on the edges—they should turn golden brown, and the berries will bubble slightly. This baking time allows the oats to toast and the natural sugars to caramelize, creating a crisp top layer. Opening the oven too often can cause uneven baking, so try to resist peeking too frequently.
⏱ Time: 25-30 minutes
✓ Doneness: Top is golden brown and berries are bubbly
Step 7
Remove from the oven and let cool for at least 15 minutes on the pan. Cooling allows the dessert to set and firm up, making it easier to cut and serve. If you try to cut it while hot, it may fall apart because the natural sugars and oils haven’t solidified yet.
⏱ Time: 15 minutes
✓ Doneness: Dessert feels firm to the touch and slightly cooled
Step 8
Cut into squares or bars using a sharp knife. Wipe the knife clean between cuts to keep edges neat since the berries can stick to the blade. Serving warm is delightful, but it also tastes great at room temperature or chilled.
⏱ Time: 5 minutes
✓ Doneness: Clean, even squares with minimal crumbling
Step 9
Serve plain or with a dollop of Greek yogurt or a drizzle of honey for extra creaminess and sweetness. This adds a nice balance to the natural tartness of the berries and complements the crunchy oat topping perfectly.
⏱ Time: 2 minutes
✓ Doneness: Dessert plated attractively and ready to enjoy
Variations
Tropical Sheet Pan Dessert
Swap mixed berries for diced mango, pineapple, and shredded coconut. This variation gives your dessert a bright, tropical flair with a sweet and tangy twist. Use the same baking method; the tropical fruits add a juicy freshness that pairs beautifully with the toasted oats.
Note: Tropical fruits have higher moisture content, so bake a few minutes longer and monitor to avoid sogginess.
Chocolate Chip and Banana Oat Bake
Add sliced ripe bananas and a handful of dark chocolate chips to the oat and nut mixture. This creates a richer, dessert-like flavor with creamy banana sweetness and melty chocolate pockets. It’s perfect for a weekend treat or brunch dessert.
Note: Chocolate chips can melt quickly; add them halfway through baking or sprinkle on top after baking to keep shape.
Apple Cinnamon Sheet Pan Treat
Replace berries with thinly sliced apples and increase cinnamon to 1 teaspoon. This cozy version tastes like fall in every bite, with tender apples softening in the oven and a warm spiced aroma. Great served with a drizzle of maple syrup or cream.
Note: Apples release more juice; ensure slices are thin and bake until edges are golden to prevent sogginess.
Nut-Free and Vegan Version
Omit nuts and replace coconut oil with vegan butter or olive oil. Use sunflower seeds or pumpkin seeds for crunch if desired. This version suits nut allergies while keeping the dessert wholesome and delicious.
Note: Seeds toast faster than nuts, so add them midway through baking to avoid burning.
Spiced Sheet Pan Dessert with Ginger and Cardamom
Add 1/2 teaspoon ground ginger and 1/4 teaspoon ground cardamom to the oat mixture for a fragrant, exotic twist. The spices complement the natural sweetness and add warmth, making this perfect for chilly evenings.
Note: Spices blend best when mixed with the dry ingredients to ensure even distribution.
Pro Tips
Use parchment paper to line your baking sheet.
Parchment prevents sticking and allows the dessert to crisp up evenly. Without it, the natural sugars in the berries and maple syrup can caramelize and stick to the pan, making cleanup difficult and ruining the crust.
Don’t overmix the berries into the oat mixture.
Overmixing releases too much juice, causing sogginess. Gently folding keeps the berries mostly intact, ensuring a nice balance of texture with juicy bursts rather than a mushy filling.
Let the dessert cool completely before slicing.
Cooling allows the fats and sugars to solidify, helping the dessert hold together. Cutting while hot will cause it to crumble and lose shape, making serving messy and frustrating.
Use a sharp knife and clean it between cuts.
A sharp blade slices cleanly without squashing the dessert. Wiping the knife prevents sticky berry residue from ruining the edges, keeping your bars looking neat and appetizing.
Use fresh, firm berries for best results.
Firm berries hold up better during baking, maintaining texture and preventing excess liquid from making the topping soggy. Overripe or frozen berries can release too much moisture, altering the dessert’s structure.
Toast nuts lightly before mixing.
Toasting nuts enhances their flavor and crunch. Doing this separately ensures they don’t burn during the longer baking of the oats and berries, adding a pleasant roasted note.
Don’t skip the pinch of sea salt.
Salt balances sweetness and enhances the natural flavors. Without it, the dessert may taste flat or overly sweet, missing that depth that makes it truly satisfying.
Common Mistakes to Avoid
Adding too many berries causing sogginess
Why it happens Many assume more fruit means better flavor, but too much liquid from berries can make the dessert wet and prevent the oats from crisping.
Fix Use the recommended amount of berries and fold them in gently to keep them intact. If using frozen berries, thaw and drain well before adding to reduce excess moisture.
Skipping parchment paper
Why it happens Some skip this step to save time, not realizing the sugars will stick and burn on the pan.
Fix Always line your baking sheet with parchment to prevent sticking and ensure an even, crisp crust that’s easy to remove.
Cutting the dessert too soon
Why it happens Impatience leads many to slice while hot, causing crumbling and messy bars.
Fix Let the dessert cool completely (at least 15 minutes) so it sets properly and holds its shape when sliced.
Using quick oats instead of rolled oats
Why it happens Quick oats cook faster but lose texture and become mushy in baking.
Fix Stick to rolled oats for the perfect chewy and crunchy balance essential to this dessert.
Overmixing the wet and dry ingredients
Why it happens Rushing mixing can break down oats and berries, ruining texture.
Fix Mix gently until just combined to maintain the integrity of ingredients and achieve the best texture.
Nutrition
Per Serving:
Nutritional values are estimates and may vary based on specific ingredients used.
Storage & Tips
Room Temperature
This dessert can be safely kept at room temperature for up to 12 hours if covered tightly with plastic wrap or stored in an airtight container. Beyond that, moisture and warmth can cause spoilage or sogginess.
Refrigerator
Store leftovers in an airtight container in the fridge for up to 4 days. The dessert will firm up and can be enjoyed cold or gently reheated. Note that refrigeration may make the topping less crisp but still delicious.
Freezer
Freeze portions wrapped tightly in plastic wrap and placed in a freezer-safe container for up to 2 months. Thaw overnight in the fridge and reheat gently to restore texture. Freezing may slightly soften the crisp topping.
Reheating
Reheat in a preheated oven at 325°F (160°C) for 8-10 minutes to crisp the topping again. Alternatively, microwave briefly but the texture won’t be as crisp. Adding a splash of water or yogurt when reheating helps maintain moisture.
Make Ahead
Prepare the oat and nut mixture a day ahead and store it in the fridge. Add fresh berries just before baking to prevent them from breaking down. This saves prep time and keeps the dessert fresh and vibrant.
FAQ
Can I use frozen berries instead of fresh?
Yes, but thaw and drain frozen berries thoroughly before using to avoid excess moisture that can make the dessert soggy. Frozen berries release more juice, so removing extra liquid helps maintain the crisp oat topping.
What can I substitute for coconut oil?
You can use melted vegan butter, olive oil, or regular butter if you’re not vegan. Each will alter flavor slightly—coconut oil adds a subtle tropical note and helps crisp the oats, so butter makes it richer while olive oil adds a fruitier undertone.
How do I store leftovers to keep them fresh?
Store in an airtight container in the refrigerator for up to 4 days. To keep the topping crisp, reheat in the oven before serving. Avoid leaving it uncovered to prevent drying out or absorbing fridge odors.
Can I make this gluten-free?
Absolutely! Use certified gluten-free rolled oats to ensure the dessert is safe for gluten sensitivities. Make sure your nuts and other ingredients are also gluten-free to avoid cross-contamination.
Why is my dessert soggy after baking?
This usually happens if there’s too much fruit or excess moisture, or if the dessert wasn’t baked long enough. Use the right amount of berries, drain frozen fruit well, and bake until the top is golden and bubbly for best results.
Can I add sweeteners other than maple syrup?
You can try honey or agave syrup, but maple syrup is preferred for its flavor and caramelizing properties. Avoid granulated sugar as it won’t blend as well and can create a gritty texture.
Is it okay to use quick oats?
Quick oats aren’t recommended because they tend to turn mushy when baked. Rolled oats hold their texture better, providing a nice chew and crispness that’s essential for this dessert.
How do I make the topping extra crunchy?
Press the oat mixture firmly into the pan before baking and don’t overcrowd the pan. Also, letting the dessert cool completely and reheating in the oven before serving helps restore crispness.
Final Thoughts
Give this healthy sheet pan dessert a try—you’ll love how easy and naturally sweet it is. Let me know how it turns out for you and if you add your own twist!