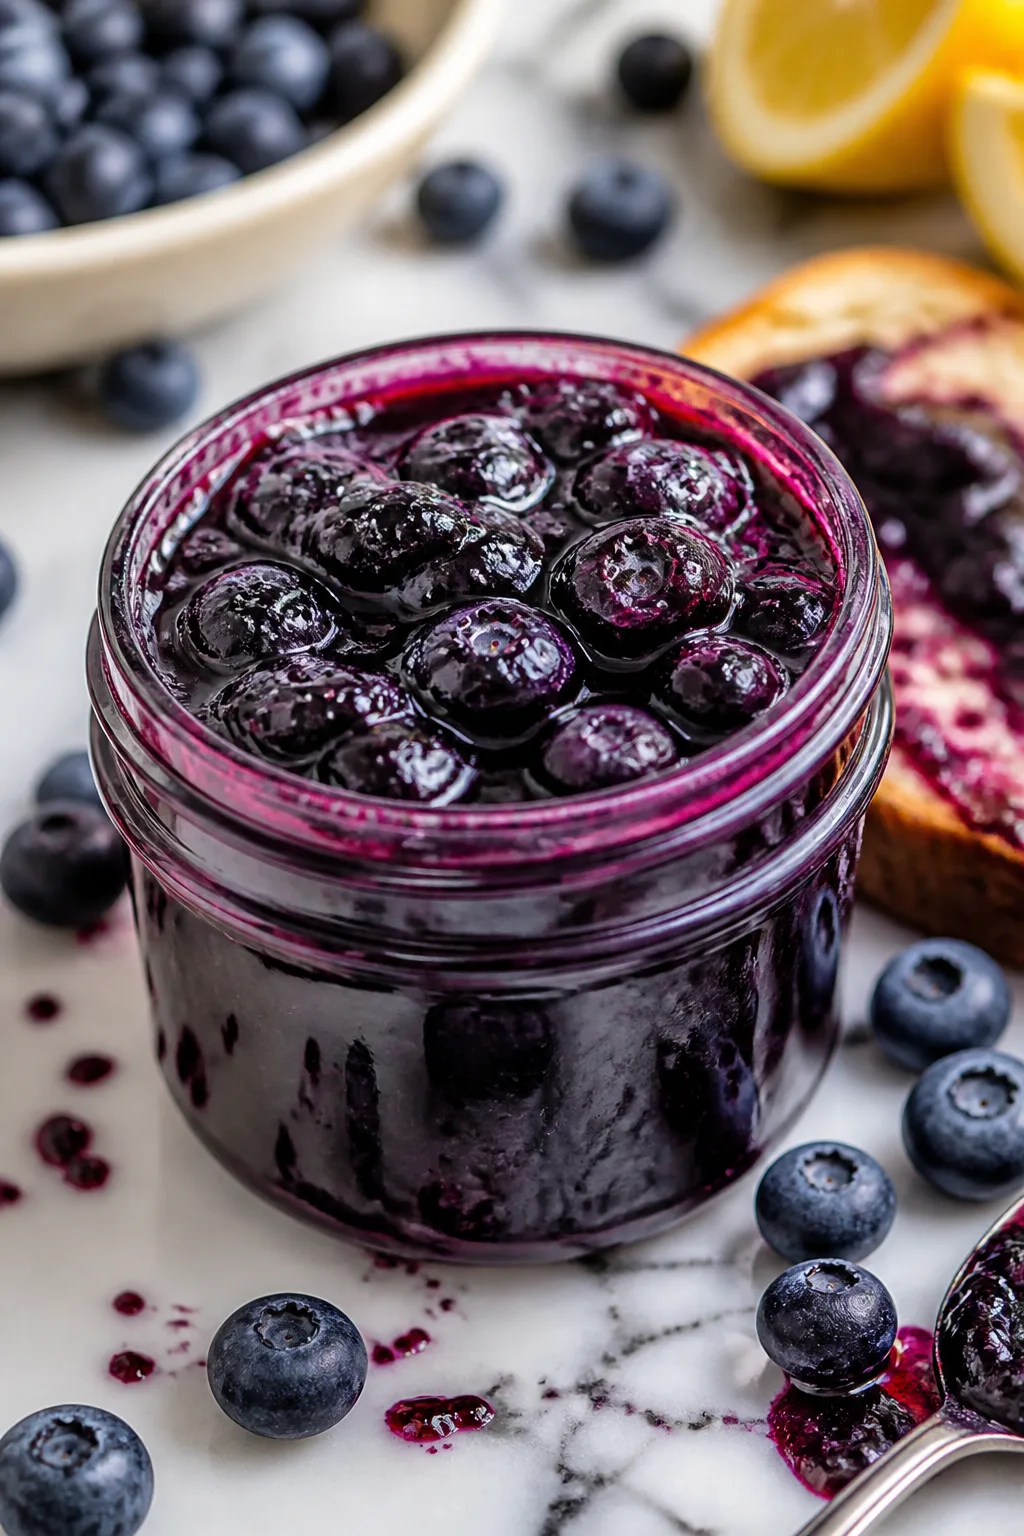
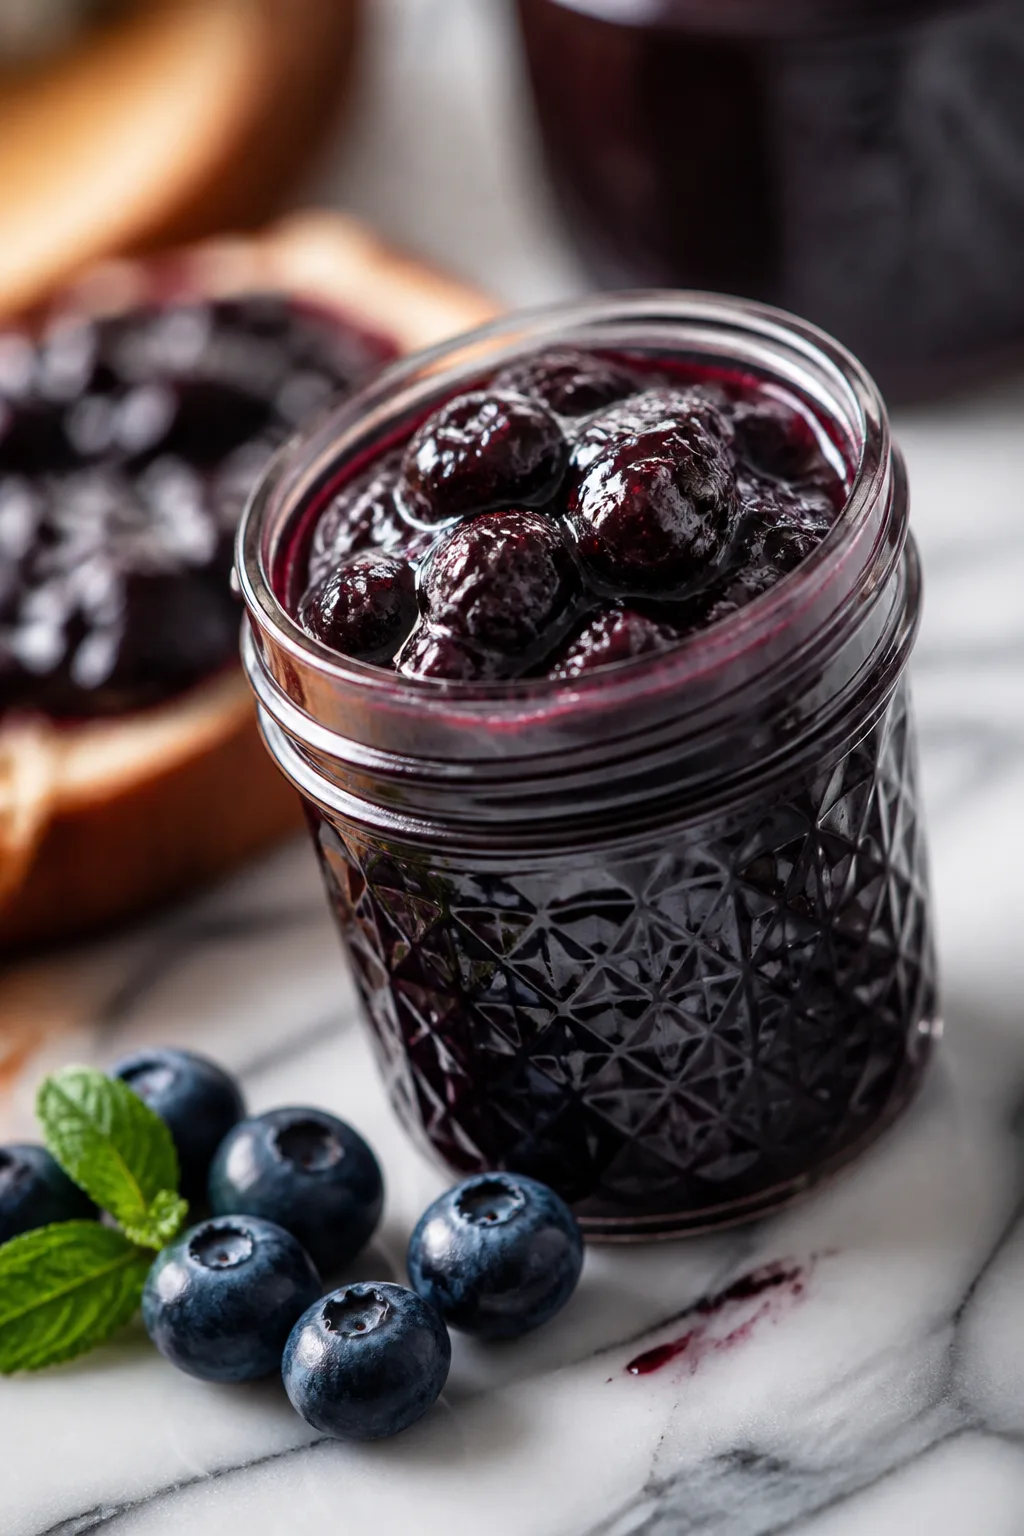
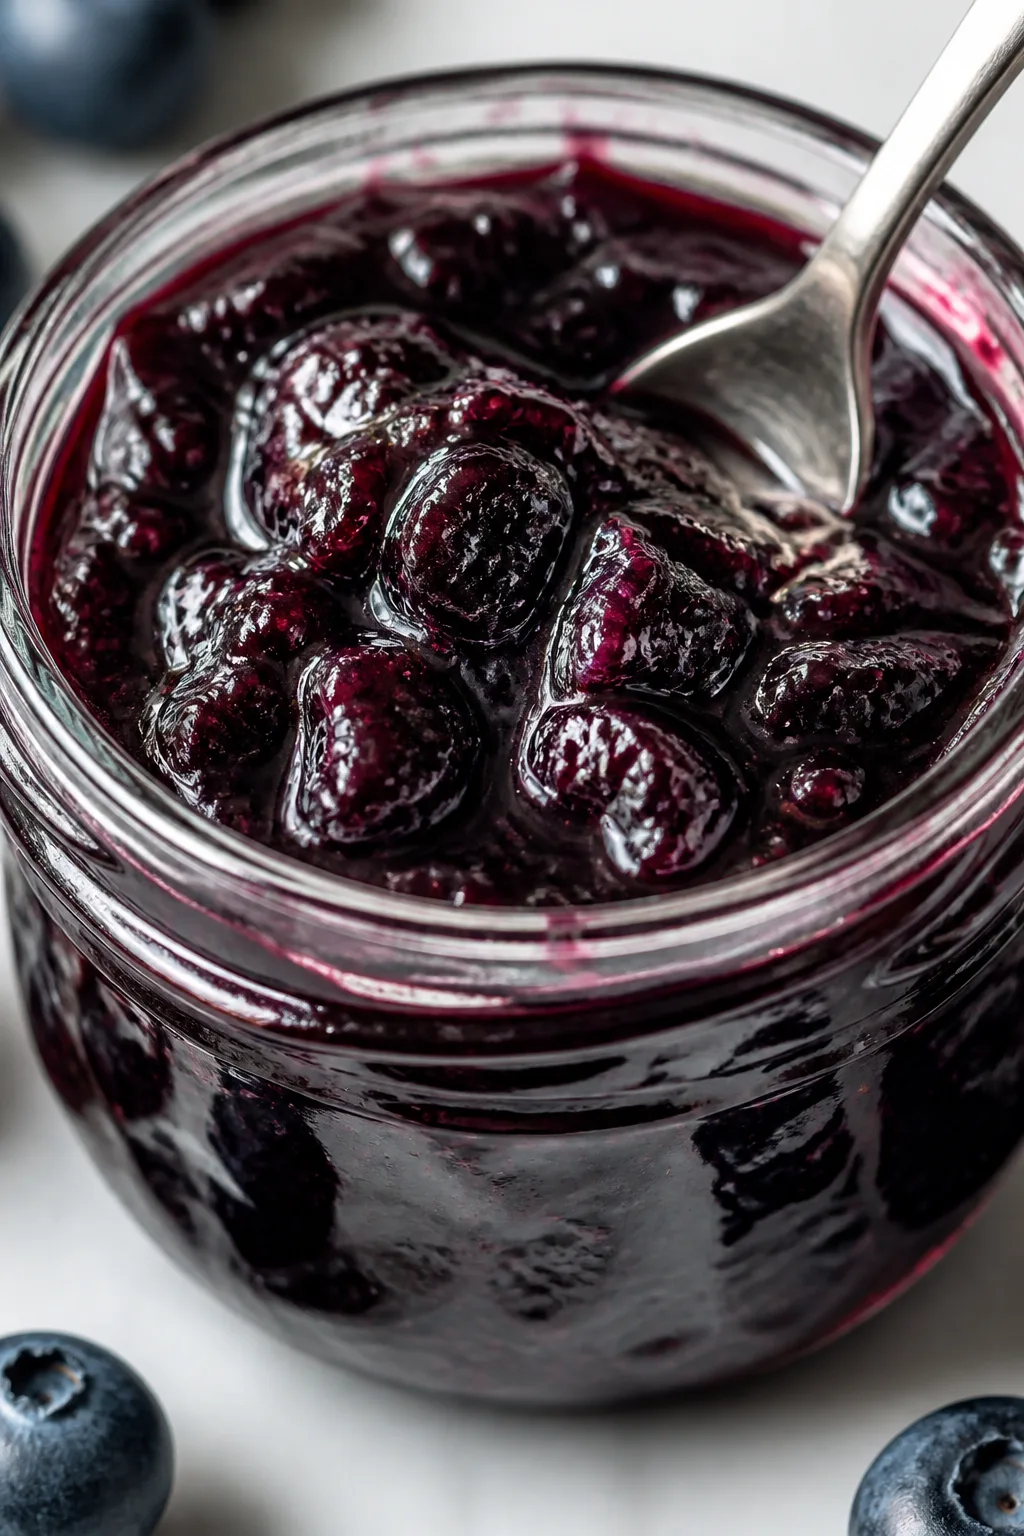
This blueberry jam is a sweet, fresh spread with a bright lemon zest kick that makes it stand out. I love how it’s simple to make and perfect for breakfast or adding to yogurt anytime.
Introduction
I first stumbled upon this blueberry jam recipe a few summers ago when my backyard bushes were overflowing with ripe berries. I wanted something simple but with a little zing that would make the jam feel fresh and vibrant. Adding lemon zest was a game changer — it really brightens the flavor and balances the sweetness. Unlike many jams that rely heavily on pectin or long cooking times, this one uses the natural pectin in the berries and a gentle simmer to keep the fruit’s fresh taste intact. I usually make a batch to enjoy on weekend breakfasts, dolloped on toast or stirred into yogurt. The texture is just right — thick but still spoonable, with bursts of juicy berry goodness in every bite. I’ve tried other methods before, but this one consistently gives me that perfect homemade jam feeling without fuss or weird preservatives. It’s a recipe I’m happy to share, especially if you love simple, fresh flavors as much as I do. Plus, it’s a wonderful way to put those summer blueberries to good use before the season ends!
What You'll Need
Approximately 2 cups, 4 servings
- 4 cups fresh blueberries, rinsed
- 1 1/2 cups granulated sugar
- 2 tablespoons fresh lemon juice
- 1 teaspoon lemon zest
- 1/4 teaspoon salt
How To Do It
Step 1
Start by rinsing the blueberries thoroughly under cold water, removing any stems or leaves. This step is crucial because clean fruit ensures a pure flavor and prevents any unwanted grit in your jam. Using fresh, ripe berries also affects the jam’s natural sweetness and texture. Once rinsed, place the blueberries in a large heavy-bottomed pot to ensure even heat distribution and prevent scorching during cooking.
⏱ Time: 5
✓ Doneness: Blueberries are clean and free of debris, ready to cook.
Step 2
Add the granulated sugar, lemon juice, lemon zest, and salt to the pot with the blueberries. The sugar helps draw out the juices through maceration and later acts as a preservative. Lemon juice not only adds brightness but also lowers the pH to help the jam set properly. Stir the mixture gently to combine all ingredients evenly before turning on the heat.
⏱ Time: 5
✓ Doneness: Ingredients are well mixed, and sugar starts dissolving in the berry juices.
Step 3
Turn the heat to medium and bring the mixture to a gentle boil, stirring occasionally. This allows the berries to break down and release their natural pectin, which helps thicken the jam. Boiling also activates the Maillard reaction, enhancing the jam’s color and flavor. Keep an eye on the pot to prevent boiling over or scorching, stirring frequently especially towards the end.
⏱ Time: 10
✓ Doneness: Jam reaches a rolling boil and thickens visibly.
Step 4
Reduce the heat to low and let the jam simmer gently, stirring often to prevent sticking. Simmering helps the mixture thicken further and the flavors meld together. This slow cooking preserves the fresh taste of the blueberries while achieving the right consistency. Avoid rushing this step, as high heat can make the jam too thick or caramelized.
⏱ Time: 15
✓ Doneness: Jam has thickened and coats the back of a spoon without running off immediately.
Step 5
Test the jam’s thickness by placing a small spoonful on a chilled plate. Let it cool for a minute and then push it with your finger. If it wrinkles and holds shape, it’s ready. If not, continue simmering and test every few minutes. This simple technique ensures you don’t overcook or undercook your jam, preserving the perfect texture.
⏱ Time: 5
✓ Doneness: Jam wrinkles on the plate when pushed gently with a finger.
Step 6
Remove the pot from heat and let the jam cool for about 10 minutes. Cooling slightly helps it thicken more and makes it easier to ladle. Avoid stirring too vigorously while cooling to keep some berry chunks intact for texture. This resting period also allows flavors to settle and intensify.
⏱ Time: 10
✓ Doneness: Jam is warm but not boiling, slightly thickened.
Step 7
While the jam cools, sterilize your jars and lids by boiling them in water for 10 minutes or running them through a hot dishwasher cycle. Proper sterilization prevents spoilage and keeps your jam safe to eat longer. Dry the jars carefully with a clean towel before filling.
⏱ Time: 15
✓ Doneness: Jars and lids are clean, dry, and ready for filling.
Step 8
Pour the warm jam into the prepared jars, leaving about 1/4 inch of headspace. Use a clean spoon or spatula to remove any air bubbles by gently stirring or tapping the jars. This ensures even sealing and prevents mold growth. Wipe the rims with a clean cloth before sealing with lids.
⏱ Time: 10
✓ Doneness: Jars are filled properly with no air bubbles and sealed tightly.
Step 9
Let the jars cool completely at room temperature before storing them in the fridge or pantry. As the jam cools, it will continue to set and thicken. Label jars with date and enjoy within a few weeks refrigerated. This cooling step is key for texture and safety.
⏱ Time: 30
✓ Doneness: Jars are cooled, jam fully set, and ready for storage.
Variations
Blueberry Lavender Jam
Add a teaspoon of dried culinary lavender during cooking for a floral twist on the classic jam. The lavender pairs beautifully with the berry’s sweetness and lemon zest, creating a sophisticated flavor profile. Expect a fragrant aroma and slightly herbal note.
Note: Add lavender early in simmering so the flavors infuse well; strain out any large pieces before jar filling for smooth texture.
Spiced Blueberry Jam
Stir in a cinnamon stick and a few cloves while cooking to add warm spice notes. This variation is perfect for fall and winter breakfasts, offering a cozy flavor that complements the fresh berries and lemon zest.
Note: Remove whole spices before jar filling to avoid gritty texture; simmer gently to extract flavor without overpowering the fruit.
Blueberry Chia Seed Jam
For a no-cook, quick jam, mash blueberries with lemon juice and sugar, then stir in chia seeds. The seeds thicken the mixture naturally overnight, making a healthy, fiber-rich spread that’s great for busy mornings.
Note: No simmering needed; refrigerate at least 4 hours for chia seeds to absorb liquid and thicken.
Mixed Berry Jam
Combine blueberries with strawberries and raspberries for a colorful, layered jam. The mix of berries balances sweetness and tartness, creating a complex flavor that’s ideal for summer gatherings or gifts.
Note: Adjust sugar slightly if using sweeter berries; cook gently to preserve the delicate flavors of each fruit.
Blueberry Lemon Curd Jam
Swirl in homemade lemon curd after cooking the jam for a tangy, creamy contrast. This combo adds richness and extra citrus punch, perfect for spreading on scones or pancakes.
Note: Cool jam completely before folding in lemon curd to maintain texture and prevent curd from melting.
Pro Tips
Don’t rush the simmering stage; slow and steady thickens the jam perfectly.
Simmering slowly allows water to evaporate gently and pectin to form a strong gel network. Rushing with high heat can break down pectin molecules, resulting in runny jam or burnt flavor. Taking your time ensures a smooth, balanced consistency.
Use a heavy-bottomed pot to prevent scorching.
Blueberries and sugar can easily stick and burn on thin pans, ruining flavor and texture. A heavy pot distributes heat evenly, helping the jam cook uniformly without hot spots.
Test the jam’s set on a chilled plate before stopping the cooking.
This traditional method gives a clear visual and tactile cue if the jam is thick enough. Without this check, you risk undercooking (too runny) or overcooking (too stiff or caramelized) jam.
Sterilize jars properly to extend shelf life.
Sterilizing jars kills any bacteria or spores that could cause mold or fermentation. This step is essential for food safety and keeps your jam fresh longer.
Add lemon zest at the start of cooking for maximum flavor infusion.
Adding zest early allows the oils to infuse into the jam as it cooks, creating a subtle but noticeable citrus aroma that brightens the whole batch.
Stir often but gently to preserve some berry chunks.
Frequent stirring prevents burning and promotes even cooking, but over-stirring can break down the fruit too much. Gentle stirring keeps a nice texture.
Avoid using frozen berries as they have less pectin and more water.
Frozen berries release extra water and have weaker pectin, which can lead to a thinner jam. Fresh berries give the best texture and flavor.
Common Mistakes to Avoid
Skipping the lemon juice or using too little acid.
Why it happens Some cooks assume sugar alone is enough to set jam, or forget the acid’s role in activating pectin.
Fix Always measure and add fresh lemon juice as specified. The acid is crucial for gel formation and flavor balance. Without it, jam may remain runny or taste flat.
Cooking the jam too quickly on high heat.
Why it happens Impatience or distractions lead to cranking the heat to finish faster.
Fix Maintain a gentle boil and simmer to protect pectin structure and prevent burning. Use a heavy pot and stir frequently to control temperature.
Not sterilizing jars properly before filling.
Why it happens Some think boiling water rinse is enough or skip this step to save time.
Fix Sterilize jars and lids by boiling or hot dishwasher cycle to avoid contamination and extend shelf life.
Over-stirring the jam, turning it into puree.
Why it happens Trying to speed up cooking or break down fruit completely.
Fix Stir gently and only as needed to prevent sticking. This preserves some berry texture and prevents a mushy jam.
Not testing jam set before jar filling.
Why it happens Rushing or unfamiliarity with set testing techniques.
Fix Use the chilled plate test to check thickness; if it doesn’t wrinkle when pushed, cook a bit longer.
Nutrition
Per Serving:
Nutritional values are estimates and may vary based on specific ingredients used.
Storage & Tips
Room Temperature
Jam can safely sit at room temperature for up to 12 hours if covered properly. For longer storage, refrigeration is recommended to prevent spoilage.
Refrigerator
Store jam in a sealed glass jar in the fridge for up to 3 weeks. The flavor remains fresh, but the texture may thicken slightly when chilled. Serve at room temperature for best spreadability.
Freezer
Jam can be frozen up to 3 months in airtight containers. Use freezer-safe glass jars or plastic containers leaving space for expansion. Thaw in the fridge overnight and stir gently before serving to restore consistency.
Reheating
Reheat jam gently on the stovetop over low heat if it becomes too thick after refrigeration or freezing. Stir occasionally and add a teaspoon of water if needed to loosen the texture. Avoid high heat to prevent burning.
Make Ahead
You can prepare the jam fully 1-2 days ahead and store it refrigerated. Bring to room temperature or warm slightly before serving. Jars can also be sterilized and prepped ahead, then filled on the day of serving.
FAQ
Can I use frozen blueberries instead of fresh?
Frozen blueberries can be used but expect a thinner jam due to extra water released during thawing. They also have less pectin, so you might need to cook longer or add commercial pectin for proper setting. Fresh berries yield the best texture and flavor.
What if my jam doesn’t set properly?
If your jam is too runny, it might not have cooked long enough or lacked enough acid. Try simmering it a bit longer to reduce more liquid or add a splash of lemon juice to activate pectin. Testing on a cold plate helps determine readiness.
How do I store homemade jam safely?
Store jam in sterilized jars with airtight lids. Refrigerate after opening and consume within 3 weeks. For longer storage, freeze in proper containers. Always use clean utensils when scooping to avoid contamination.
Can I reduce the sugar in this recipe?
Reducing sugar affects both sweetness and preservation. Less sugar means a shorter shelf life and possible setting issues. If lowering sugar, consider adding pectin or storing jam in the fridge and consuming quickly.
Why is lemon juice important in jam making?
Lemon juice’s acidity lowers pH, which is essential for pectin to gel properly. It also balances sweetness and helps preserve the jam. Without it, the jam may remain runny or taste flat.
How long does homemade jam last?
Unopened and properly sealed jam lasts up to a year in a cool, dark place. Once opened, refrigerate and consume within 3 weeks for best quality and safety.
Is it necessary to sterilize jars before filling?
Yes, sterilizing jars kills bacteria and molds that cause spoilage, ensuring your jam stays fresh longer and safe to eat.
Can I use other citrus zest instead of lemon?
Yes, orange or lime zest can be used for a different flavor twist. Just be mindful of the bitterness from white pith and adjust sugar if needed to balance flavors.
Final Thoughts
I hope you give this blueberry jam a try—it’s such a simple way to capture summer’s sweetness. Let me know how yours turns out and what you love spreading it on!