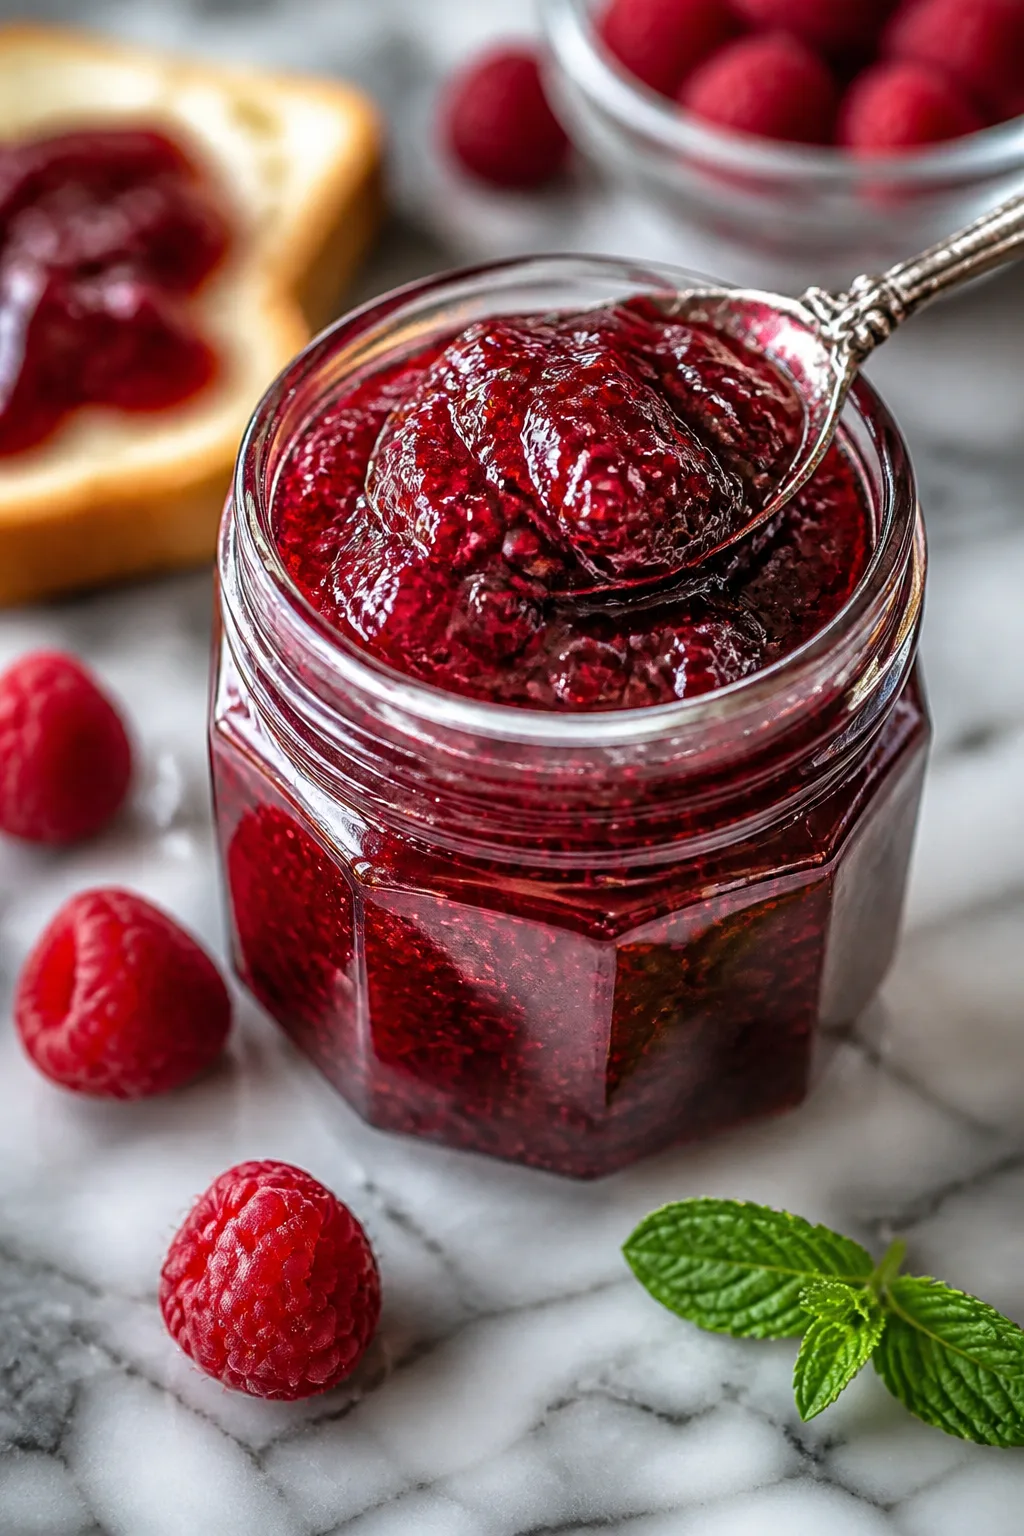
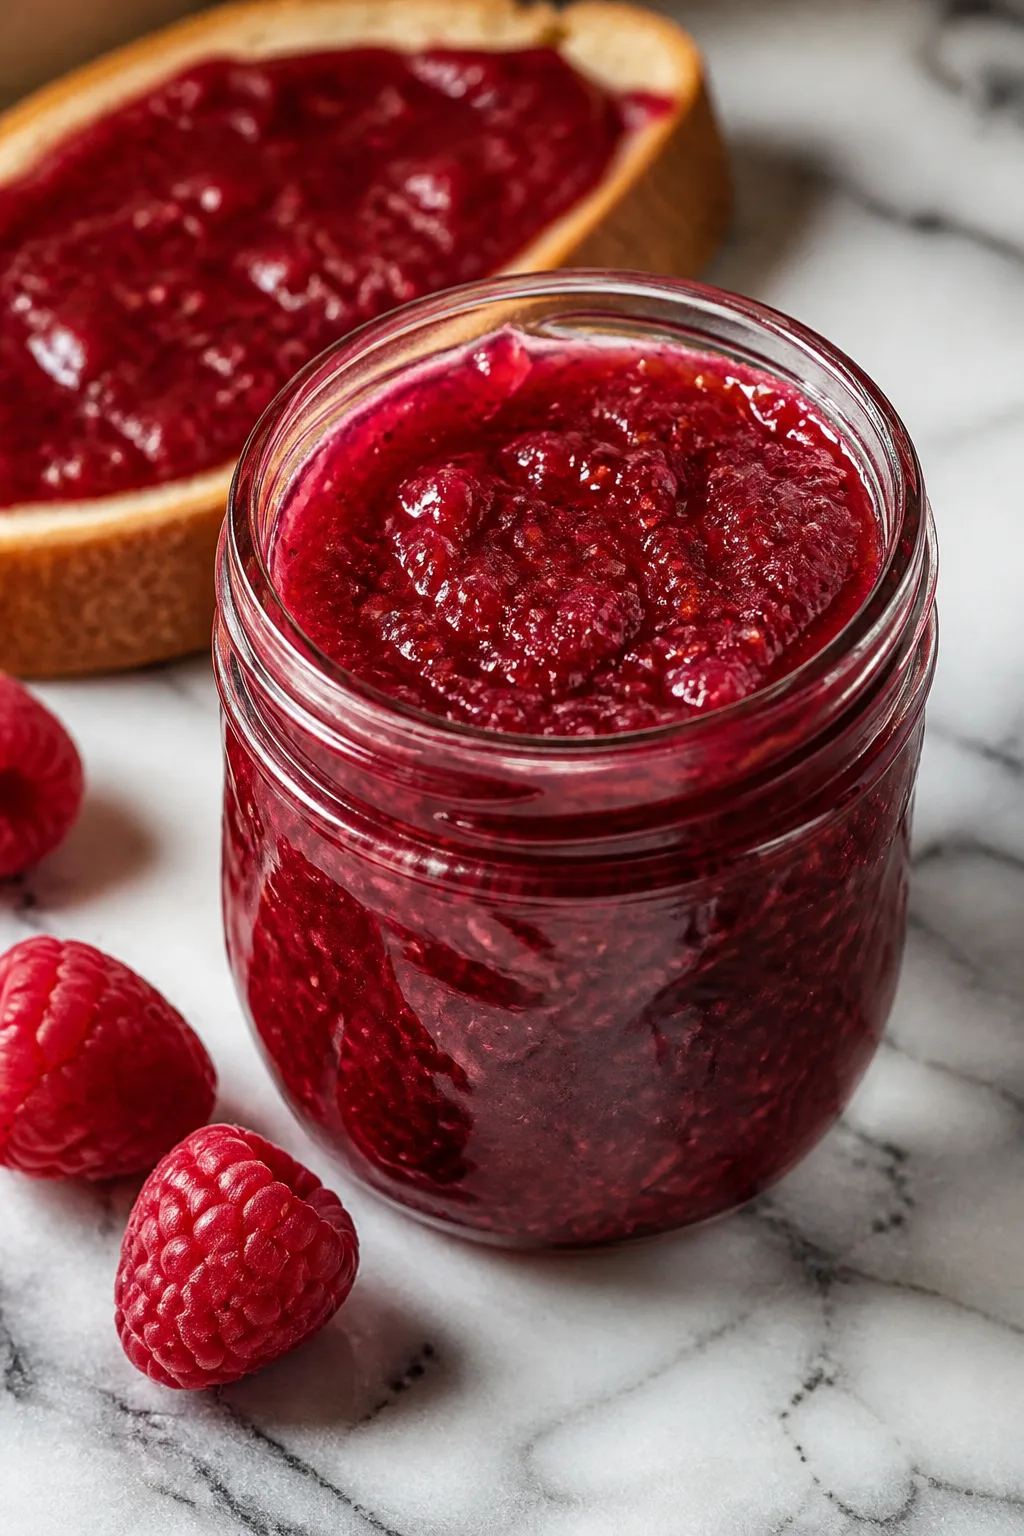
This raspberry jam captures fresh summer flavors with just raspberries and a splash of lemon juice. It’s super easy to whip up and makes mornings so much brighter—great on toast or yogurt!
Introduction
I first made this raspberry jam a few summers ago when I had an abundance of fresh berries from a farmer’s market haul. Honestly, I was nervous about making jam at home, thinking it would be complicated or require special equipment. But this recipe quickly became my go-to because it’s so straightforward and yields a jam that tastes just like fresh-picked raspberries. What makes this version stand out is the simple addition of lemon juice, which brightens the flavor and helps the jam set perfectly without needing pectin. I like that it’s not overly sweet, so it feels fresh and natural. The trick I learned is to gently mash the berries while cooking to keep some texture but still get that classic spreadable consistency. The color is gorgeous too—a deep, vibrant red that looks beautiful in jars. I usually make it in the morning and by afternoon it’s ready to enjoy on toast or spooned over yogurt. It’s a little jar of summer that lasts all year, and my family always asks for more!
What You'll Need
Approximately 3 cups, 4 servings
- 4 cups fresh raspberries, washed and drained
- 1 1/2 cups granulated sugar
- 2 tablespoons fresh lemon juice
How To Do It
Step 1
Start by rinsing your fresh raspberries gently under cold water and draining them well. Removing any stems or leaves is important to ensure a clean jam. Fresh berries taste best and provide the natural pectin needed for setting. Avoid washing them too early or soaking them, as raspberries are delicate and can get mushy easily.
⏱ Time: 5 minutes
✓ Doneness: Berries look clean, bright, and intact but fully rinsed
Step 2
Place the raspberries in a large, heavy-bottomed saucepan. Add the sugar and lemon juice directly to the berries. The sugar helps draw out the juices, and the lemon juice adds brightness and aids the natural pectin in setting the jam. Stir gently to combine, being careful not to crush the berries too much yet.
⏱ Time: 5 minutes
✓ Doneness: Ingredients are evenly mixed, sugar starts dissolving
Step 3
Turn the heat to medium and bring the mixture to a gentle boil. Stir occasionally to prevent the fruit from sticking to the bottom or scorching. The goal is to dissolve the sugar fully and start breaking down the berries to release their juices. Watch closely because raspberries can foam and boil over quickly.
⏱ Time: 7 minutes
✓ Doneness: Mixture is bubbling steadily with some foam forming on top
Step 4
Once boiling, reduce the heat to medium-low and lightly mash the berries with a potato masher or fork. This helps create a jam with small chunks rather than a puree, giving you a nice texture. Keep stirring frequently to keep the cooking even and prevent burning.
⏱ Time: 5 minutes
✓ Doneness: Mixture thickens and becomes glossy with broken berry pieces
Step 5
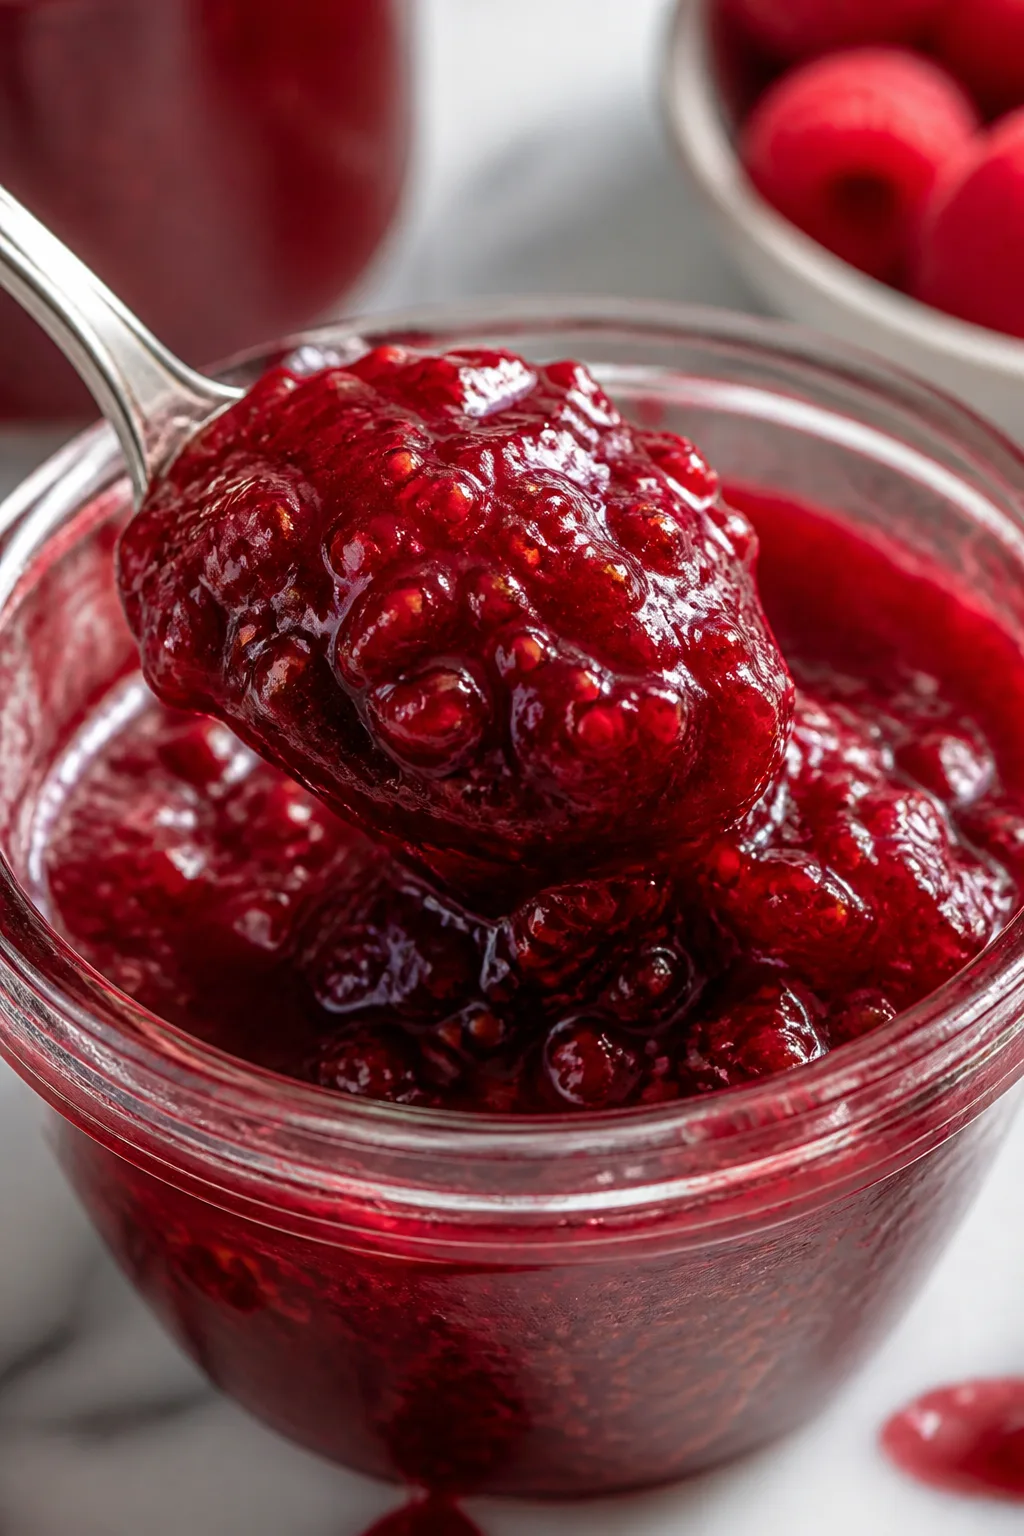
Continue cooking until the jam thickens enough to coat the back of a spoon. To test, dip a spoon into the jam and run your finger across the back; it should leave a clean line without the jam running back over it. This step is key to ensure your jam isn’t too runny or too stiff once cooled.
⏱ Time: 10 minutes
✓ Doneness: Jam holds shape on the spoon and has a shiny, thick consistency
Step 6
Remove the saucepan from heat and let the jam sit for a couple of minutes. This resting time allows the jam to settle and the flavor to deepen. It also cools slightly before you transfer it to jars, reducing the risk of burns or jar breakage.
⏱ Time: 3 minutes
✓ Doneness: Jam temperature lowers slightly but still warm and thick
Step 7
Sterilize your jars and lids by boiling them in water for 10 minutes or running them through a hot dishwasher cycle. Proper sterilization is essential to keep your jam fresh and safe to eat for weeks. Dry the jars carefully before filling.
⏱ Time: 10 minutes
✓ Doneness: Jars are clean, dry, and free of any contaminants
Step 8
Ladle the warm jam into the prepared jars, leaving about 1/4 inch of headspace at the top. Wipe the jar rims clean to ensure a good seal, then screw on the lids tightly but not overly so. This prevents contamination and keeps the jam fresh.
⏱ Time: 5 minutes
✓ Doneness: Jars are filled properly with clean rims and sealed lids
Step 9
Let the jars cool completely at room temperature. You’ll hear a ‘pop’ sound as the lids seal, which means your jam is safely preserved. Once cooled, store the jars in the fridge for up to three weeks or freeze for longer storage.
⏱ Time: 1-2 hours
✓ Doneness: Lids are concave and do not flex when pressed
Variations
Mixed Berry Jam
Combine raspberries with strawberries and blueberries for a delicious mixed berry jam. The different berries add complexity and a balance of sweetness and tartness. Use the same sugar and lemon juice ratio but adjust cooking time slightly if needed.
Note: Cooking time may increase due to varying water content; mash berries gently to maintain texture.
Low-Sugar Raspberry Jam
Reduce sugar by about one-third and add a natural pectin powder to help the jam set. This version is less sweet and lets the tart raspberry flavor shine. Great if you want a healthier option or less sugary spread.
Note: Monitor jam thickness closely as lower sugar affects gel strength; pectin addition compensates.
Spiced Raspberry Jam
Add warming spices like cinnamon, star anise, or a vanilla bean during cooking for a cozy twist. These spices infuse the jam with subtle complexity that pairs beautifully with morning toast or desserts.
Note: Remove whole spices before bottling; adjust spice amounts to taste to avoid overpowering the fruit.
Raspberry and Mint Jam
Fresh mint leaves added towards the end of cooking give the jam a refreshing herbal note. This variation is perfect for summer and pairs well with cheeses or cocktails.
Note: Add chopped mint in the last 5 minutes of cooking to preserve flavor without bitterness.
Raspberry Chia Seed Jam
For a quick no-cook jam, mix mashed raspberries with a little honey and chia seeds. The chia seeds thicken the jam naturally as it sits in the fridge. It’s a nutritious and simple alternative with a slightly different texture.
Note: No cooking required; refrigerate at least 2 hours for chia to gel.
Pro Tips
Don’t rush the boiling stage; let the jam cook slowly to thicken properly.
Slow boiling evaporates excess water gradually, allowing the pectin to form a strong gel network. Rushing this step can cause undercooked jam that won’t set or overcooked jam that tastes burnt. Patience ensures perfect texture.
Use a potato masher gently to retain some berry chunks for texture.
Breaking down berries too much results in a jelly-like smoothness, which some people don’t prefer. Light mashing releases juices and pectin but keeps a rustic feel that makes homemade jam special and visually appealing.
Sterilize jars right before filling to keep them perfectly clean.
Even small contaminants can spoil jam quickly. Sterilizing jars and lids right before use ensures no bacteria or mold spores spoil your batch, extending the jam’s shelf life safely.
Keep stirring frequently during cooking to avoid burning.
Jam is prone to scorching because of the sugar content. Stirring prevents the mixture from sticking to the pan bottom and burning, which would impart bitter flavors and ruin the batch.
Test your jam’s set by the spoon test to avoid runny or overly thick jam.
The spoon test is a simple way to gauge jam’s readiness without specialized tools. It helps you achieve the perfect spreadable consistency, ensuring your jam isn’t watery or rock hard once cooled.
Use fresh lemon juice rather than bottled for best flavor and acid content.
Fresh lemon juice provides natural brightness and optimal acidity for pectin activation. Bottled juice may contain preservatives or less acid, which can affect the jam’s flavor and setting ability.
Cool jars completely at room temperature before storing.
Cooling ensures the jam sets fully and the jars seal properly. Storing warm jars can cause condensation inside, leading to spoilage or mold.
Common Mistakes to Avoid
Using underripe or frozen raspberries without adjustment
Why it happens People often use frozen or underripe berries thinking it will save time or cost, but these berries have less natural pectin and more water, affecting the jam’s ability to set.
Fix If using frozen berries, thaw and cook a bit longer to reduce excess water. Consider adding a small amount of commercial pectin or extra lemon juice to help with setting.
Not stirring enough during cooking
Why it happens It’s tempting to leave the jam unattended, but sugar-heavy mixtures can burn quickly at the bottom of the pan.
Fix Stir frequently, scraping the bottom and sides to prevent scorching. Use a heavy-bottomed pan for even heat distribution.
Skipping sterilization of jars
Why it happens Some assume boiling jam kills everything, but contamination can come from jars or lids.
Fix Always sterilize jars and lids before filling to ensure safety and longer shelf life.
Cooking at too high heat
Why it happens High heat speeds up cooking but risks burning and uneven setting.
Fix Maintain a gentle boil or simmer to allow proper thickening and flavor development.
Not testing jam set properly
Why it happens Rushing or guessing when the jam is ready can lead to runny or overly firm jam.
Fix Use the spoon test or chill a small spoonful to check consistency before finishing.
Nutrition
Per Serving:
Nutritional values are estimates and may vary based on specific ingredients used.
Storage & Tips
Room Temperature
Homemade raspberry jam can be kept at room temperature for up to 12 hours if covered properly. However, it’s best to refrigerate it to maintain freshness and prevent spoilage. Always cover jars tightly to avoid contamination.
Refrigerator
Store jam in an airtight container or sealed jar in the refrigerator for up to 3 weeks. The flavor remains fresh but the texture may thicken slightly when chilled. Let it sit at room temperature for a few minutes before serving for easier spreading.
Freezer
Freeze raspberry jam in freezer-safe containers for up to 3 months. Leave some headspace for expansion and seal tightly to prevent freezer burn. Thaw in the refrigerator overnight and stir before use to restore consistency.
Reheating
Reheat jam gently on the stovetop over low heat or in the microwave in short bursts if it thickened too much in the fridge or freezer. Add a teaspoon of water if needed to loosen the texture. Avoid boiling again as it can alter flavor and texture.
Make Ahead
You can prepare the jam fully a day or two ahead and store it in sterilized jars in the fridge. This actually helps flavors meld and deepen. Just bring to room temperature before serving for best texture.
FAQ
Can I use frozen raspberries for this jam?
Yes, you can use frozen raspberries, but thaw and drain them first to remove excess water. Frozen berries have less natural pectin, so you might need to cook the jam a bit longer or add a small amount of commercial pectin to help it set properly.
How can I tell when the jam is done cooking?
Use the spoon test: dip a spoon into the jam, then run your finger across the back. If it leaves a clear line without the jam running back together, it’s ready. You can also chill a small spoonful on a plate to check if it gels after cooling.
Why did my jam turn out too runny?
Runny jam usually means it didn’t cook long enough to evaporate excess water or the pectin wasn’t activated properly. Make sure to add lemon juice and cook at a gentle boil until thickened. Testing the set before bottling helps avoid this issue.
Do I need to sterilize jars if I plan to eat the jam quickly?
Sterilizing jars is always recommended to prevent bacterial growth and spoilage, especially if you want the jam to last beyond a few days. For immediate consumption within a day or two, it’s less critical but still good practice.
Can I reduce the sugar in this recipe?
You can reduce sugar slightly, but sugar acts as a preservative and helps the jam set. For significant sugar reduction, consider adding commercial pectin designed for low-sugar jams or expect a softer set and shorter shelf life.
How long does homemade raspberry jam last in the fridge?
When stored in a clean, airtight jar, homemade raspberry jam typically lasts up to 3 weeks in the refrigerator. Always use a clean spoon to avoid introducing bacteria, and check for any signs of mold before use.
Can I use honey instead of sugar?
Honey can be used but it changes the flavor and texture, and it doesn’t help the jam set as well as granulated sugar. If substituting, use less honey and consider adding pectin to help with thickening.
What’s the best way to store leftover jam?
Keep leftovers in a sterilized, airtight jar in the fridge. Avoid double-dipping with used spoons to prevent contamination. If you want to store for longer, freeze the jam in small portions with good seals to prevent freezer burn.
Final Thoughts
I hope you enjoy making and eating this raspberry jam as much as I do! Don’t forget to share your homemade jars and tell me how it turned out.