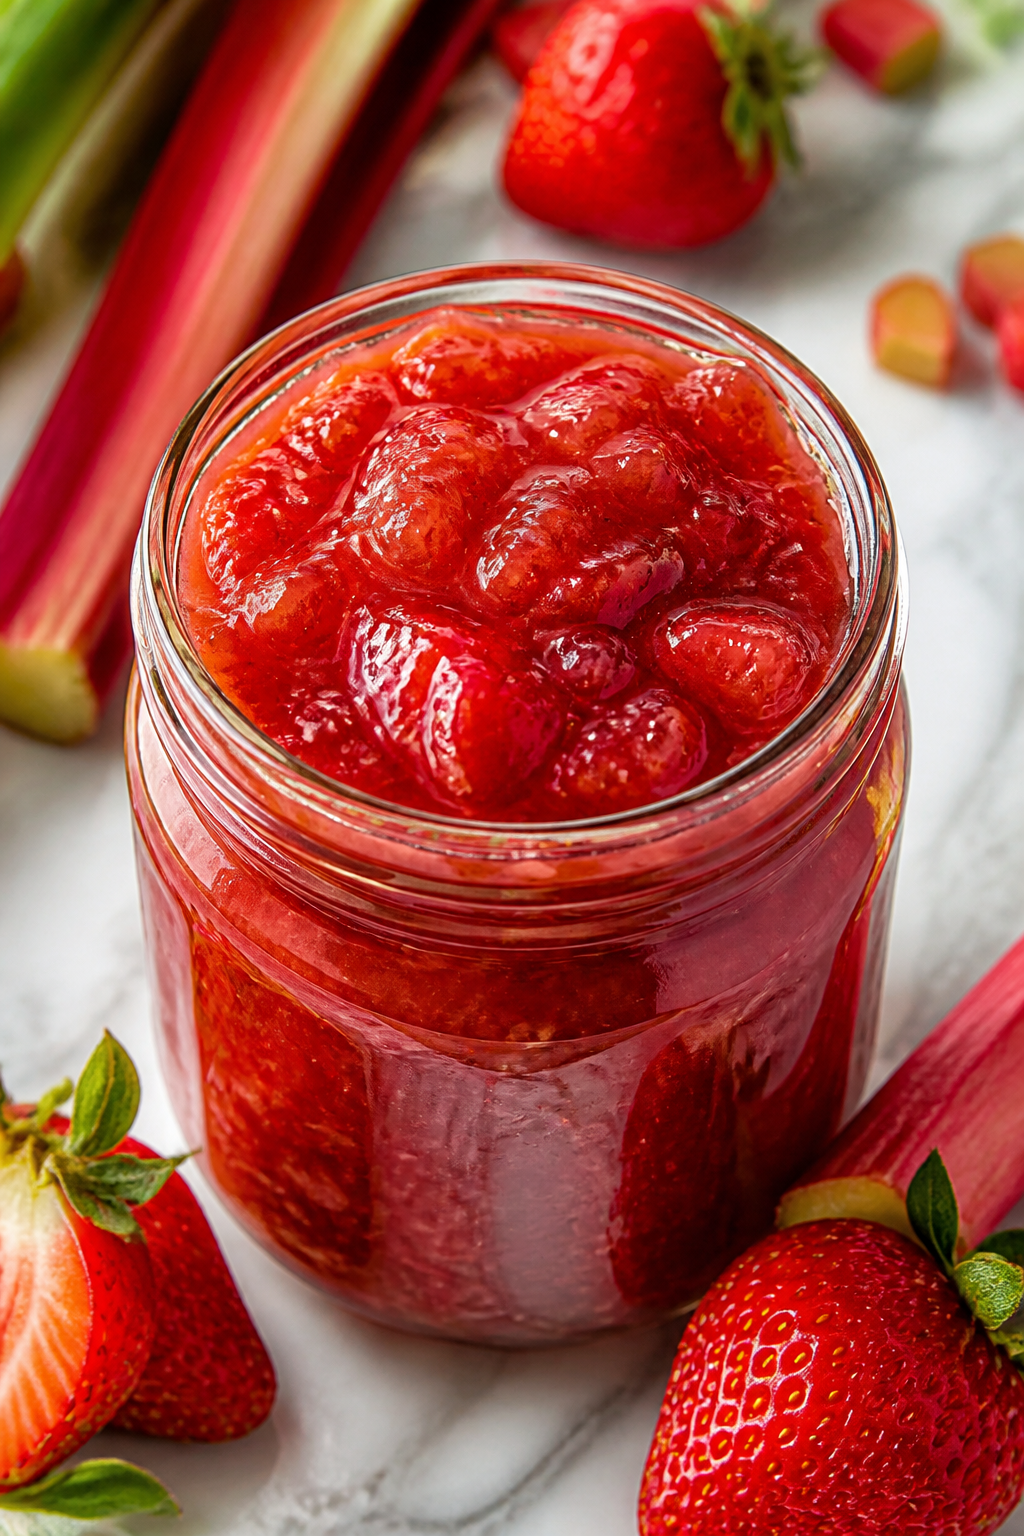
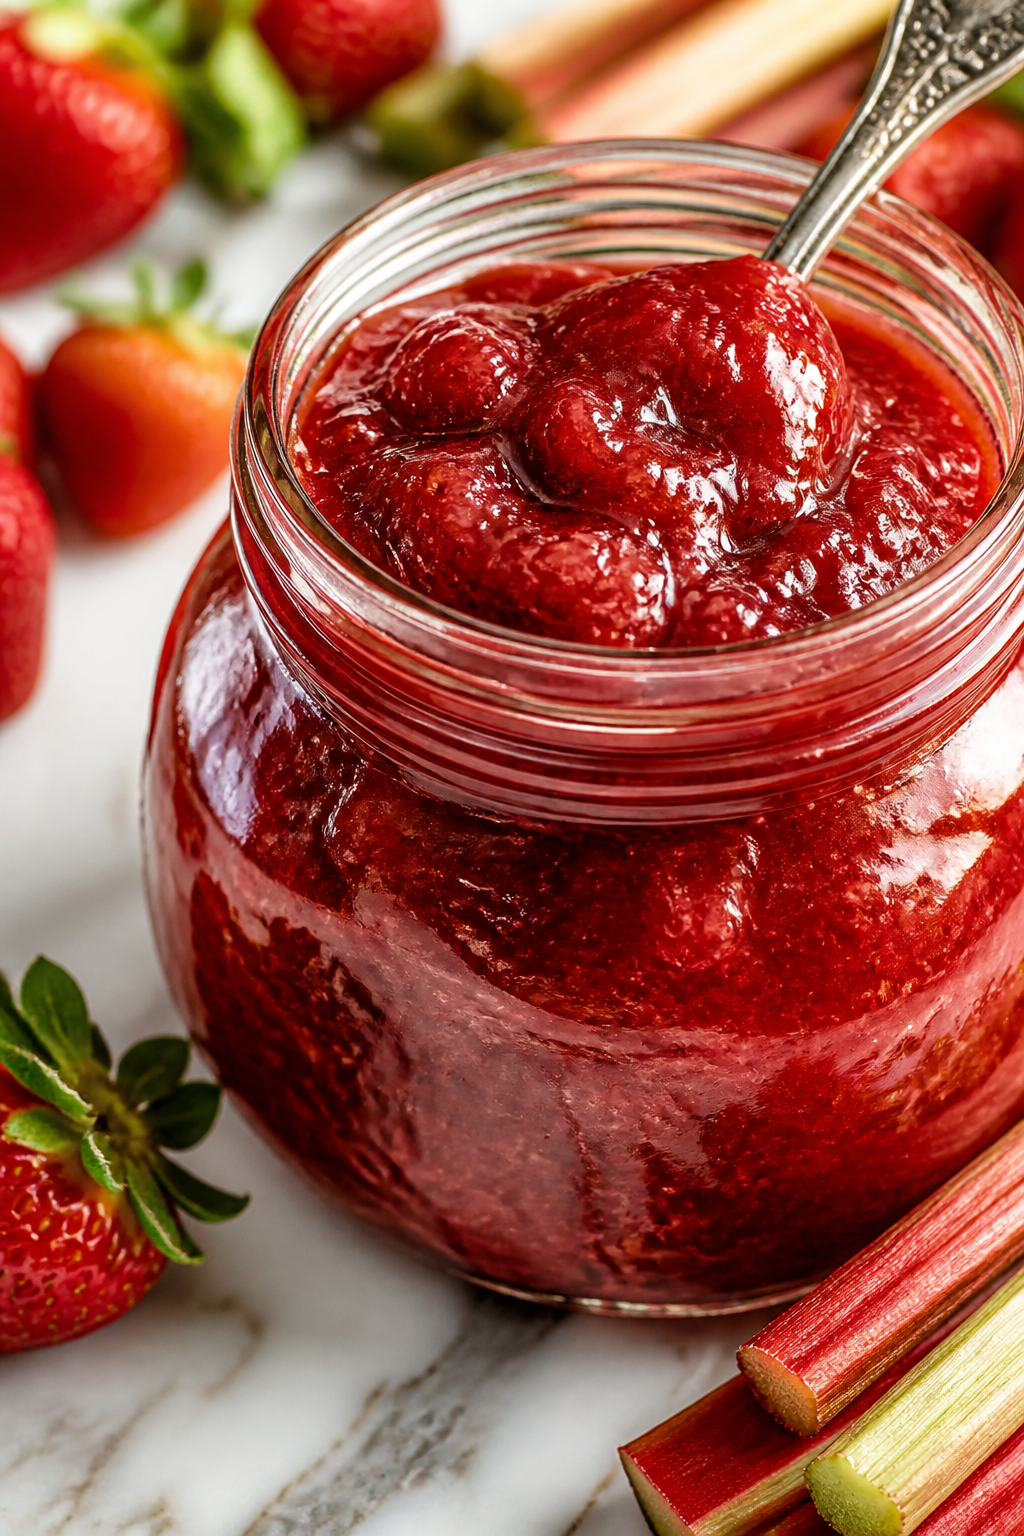
This strawberry rhubarb jam combines fresh summer berries with a hint of lemon for a perfect sweet-tart balance. It’s great on toast or stirred into yogurt, and makes a thoughtful homemade gift too!
Introduction
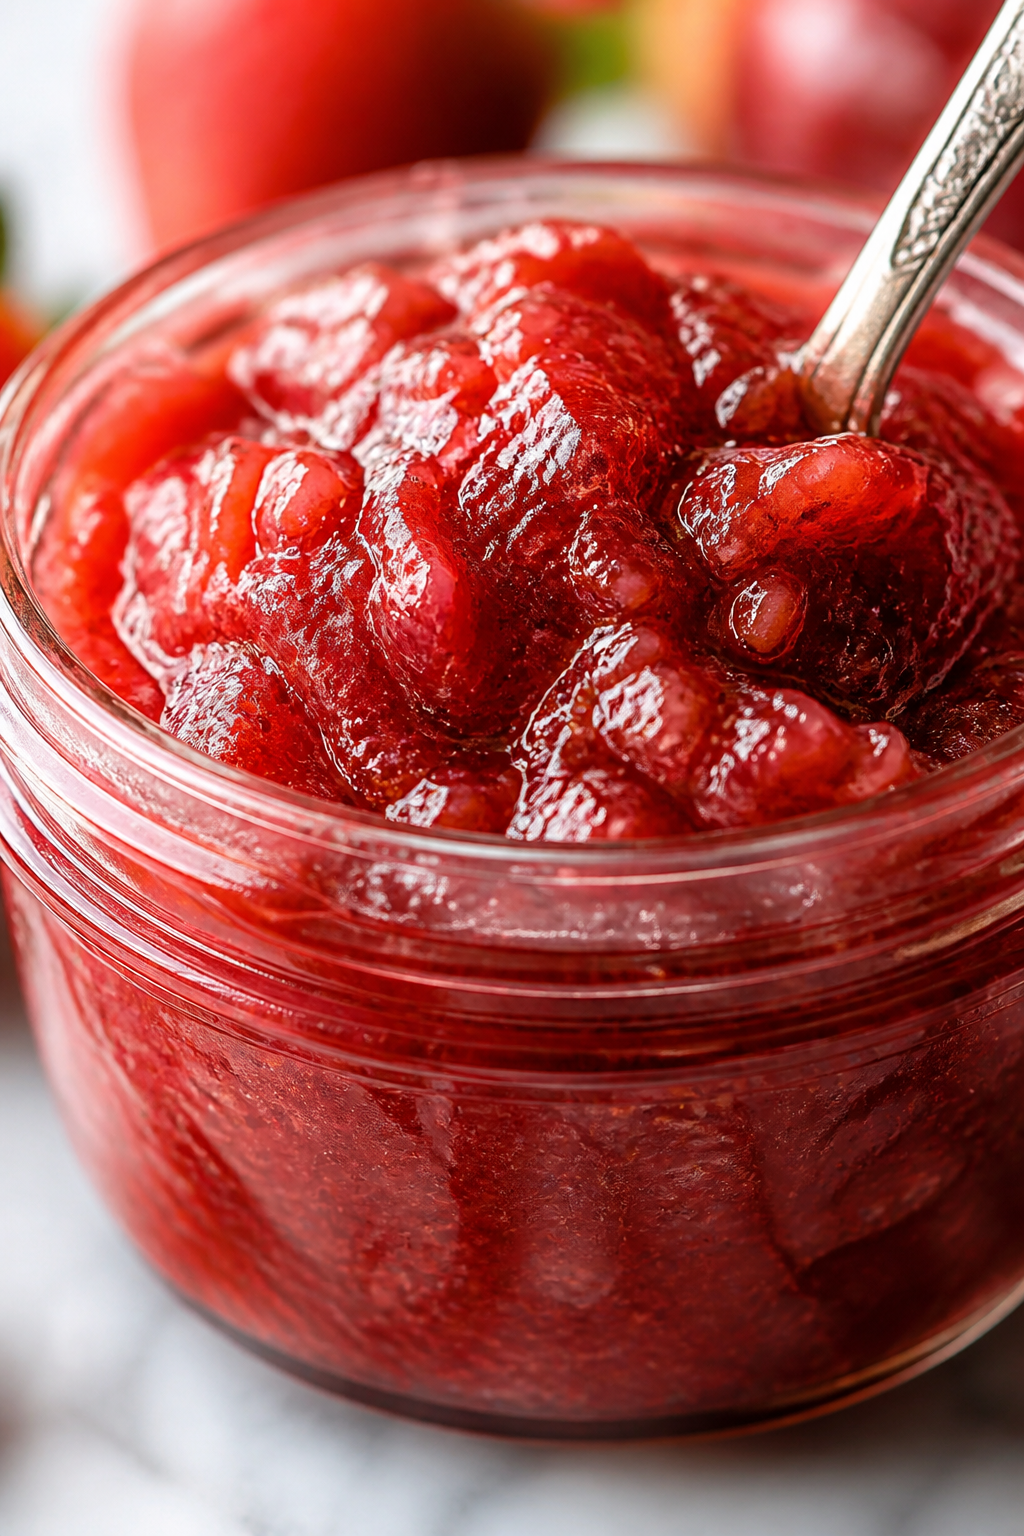
I first made this strawberry rhubarb jam a few summers ago when my garden was overflowing with fresh rhubarb and I wanted a way to preserve that tartness alongside sweet strawberries. What I love about this recipe is how it balances that bright, tangy rhubarb with just enough sugar and lemon to really make the flavors pop without being overly sweet. Over time, I tweaked the cooking time and sugar ratio to get a perfect spreadable consistency — not too runny, not too stiff. The trick I learned is to gently simmer the fruit so it breaks down slowly, releasing natural pectin and thickening beautifully. When it’s done, the jam is glossy with chunks of fruit still visible, offering that homemade charm. It’s one of those recipes that’s great for breakfast, slathered on warm toast, or stirred into yogurt for a fresh twist. Plus, it makes a thoughtful gift for friends and family, especially when jarred with a pretty label. Honestly, it’s become a summer ritual in my kitchen, and I’m always excited to share it with anyone who loves a true taste of the season.
What You'll Need
Approximately 4 cups, 4 servings
- 4 cups fresh strawberries, hulled and halved
- 3 cups fresh rhubarb, chopped
- 3 cups granulated sugar
- 2 tablespoons fresh lemon juice
- 1 teaspoon pure vanilla extract (optional)
How To Do It
Step 1
Start by washing and preparing your fruit. Hull and halve the strawberries, then chop the rhubarb into roughly 1/2-inch pieces. This size helps the fruit cook evenly and break down at the right rate. Avoid cutting pieces too small, which can turn mushy, or too large, which won’t soften fully during cooking.
⏱ Time: 10 minutes
✓ Doneness: Fruit pieces are uniform in size and ready for cooking
Step 2
Combine the strawberries, rhubarb, and sugar in a large saucepan. Let the mixture sit for 10-15 minutes to macerate — this draws out the juices and starts dissolving the sugar, which is key for a smooth jam texture. Don’t skip this resting step; it helps the fruit break down more evenly during cooking.
⏱ Time: 15 minutes
✓ Doneness: Fruit releases visible juice, sugar mostly dissolved
Step 3
Place the saucepan over medium heat and bring the fruit mixture to a gentle boil, stirring occasionally to prevent scorching. Once boiling, reduce to a simmer. This slow cooking helps the fruit soften and the natural pectin activate, which thickens the jam without needing extra additives.
⏱ Time: 5 minutes to boil, then simmer 15-20 minutes
✓ Doneness: Mixture thickens and bubbles slow down
Step 4
Add the fresh lemon juice and vanilla extract (if using) about halfway through simmering. The lemon juice adds brightness and acidity, which balances the sweetness and helps preserve the jam. Vanilla adds a subtle warmth but is optional depending on your taste.
⏱ Time: Add at 10 minutes into simmering
✓ Doneness: Jam smells fragrant and tangy
Step 5
Test the jam's set by placing a small spoonful on a chilled plate. Let it cool for a minute, then push it with your finger — if it wrinkles and holds shape, it’s ready. If not, simmer a few more minutes and test again. This step prevents overcooking and ensures perfect spreadability.
⏱ Time: 5-10 minutes testing
✓ Doneness: Jam wrinkles and thickens when pushed
Step 6
Remove the pan from heat and let the jam cool slightly. Skim off any foam that formed on top — this foam can affect the texture and clarity of your jam. Use a spoon to gently lift it off without disturbing the jam below.
⏱ Time: 5 minutes
✓ Doneness: Surface is clear and smooth without foam
Step 7
Sterilize your jars and lids by boiling them in water for 10 minutes or running them through a hot dishwasher cycle. This step is crucial for safely storing your jam and preventing spoilage.
⏱ Time: 10 minutes
✓ Doneness: Jars are hot and clean, ready for filling
Step 8
Pour the hot jam into the sterilized jars using a ladle and funnel. Leave about 1/4 inch headspace at the top. Wipe the rims clean to ensure a good seal and screw on the lids tightly.
⏱ Time: 10 minutes
✓ Doneness: Jars are filled, sealed, and free of drips
Step 9
Process the jars in a boiling water bath for 10 minutes to seal properly if you plan to store long term. Otherwise, let jars cool to room temperature and refrigerate. This step extends shelf life and safety of your homemade jam.
⏱ Time: 10 minutes boiling water bath
✓ Doneness: Lids pop down and seal securely
Variations
Spiced Strawberry Rhubarb Jam
Add warm spices like cinnamon and ginger during cooking for a cozy twist. This variation adds depth and pairs wonderfully with fall breakfasts or holiday gifts.
Note: Add 1/2 teaspoon cinnamon and 1/4 teaspoon ground ginger at the start of simmering; watch for slightly darker color and richer aroma.
Low Sugar Strawberry Rhubarb Jam
Reduce sugar by 25% and add a natural pectin powder to keep the jam thick. This is great for those watching sugar intake but still wanting fresh fruit flavor.
Note: Add pectin according to package instructions and test set carefully, as lower sugar changes gelling behavior.
Strawberry Rhubarb Chia Jam
Stir in chia seeds after cooking for a no-cook, nutrient-boosted jam with a gelled texture. Perfect for a quick and healthy spread with omega-3 benefits.
Note: Let chia seeds soak in the warm jam for 10 minutes before storing; texture will be thicker and slightly seedy.
Strawberry Rhubarb Jam with Orange Zest
Add fresh orange zest for a citrusy brightness that complements the tart rhubarb beautifully. It adds a fresh aroma and complexity to the jam.
Note: Add 1 tablespoon finely grated orange zest with lemon juice to preserve the bright flavor.
Alcohol-Infused Strawberry Rhubarb Jam
Stir in a splash of bourbon or brandy after cooking for an adult twist that enhances the jam’s depth. Great for gifting or pairing with cheese.
Note: Add 1-2 tablespoons alcohol after removing from heat; avoid boiling to preserve flavor.
Pro Tips
Don't rush the maceration step before cooking.
Allowing the fruit and sugar to sit and macerate draws out natural juices and softens the fruit, which helps dissolve the sugar evenly. Skipping this can result in uneven texture and a jam that’s too grainy or thick in parts.
Simmer gently instead of boiling vigorously.
A gentle simmer breaks down the fruit slowly, preserving some chunks and allowing natural pectin to activate. Boiling too hard can break down pectin and cause a runny jam or burnt flavor.
Use a cold plate test to check jam set.
Placing a spoonful on a chilled plate and pushing it to see if it wrinkles is a simple, reliable way to know if the jam has thickened properly. This prevents overcooking and ensures perfect spreadability.
Skim foam off the surface after cooking.
Foam contains impurities and air bubbles that can affect texture and appearance. Removing it results in clearer, smoother jam with a better mouthfeel.
Sterilize jars thoroughly before filling.
Proper sterilization prevents contamination and spoilage. Unsterilized jars can cause mold growth or spoilage, ruining your hard work and risking food safety.
Leave headspace in jars when filling.
Allowing about 1/4 inch of headspace helps create a vacuum seal during processing, which is essential for preserving the jam and preventing leaks.
Process jars in a boiling water bath for long-term storage.
This step kills any remaining bacteria and seals jars airtight, extending shelf life and keeping your jam safe and fresh for months.
Common Mistakes to Avoid
Not letting the fruit macerate before cooking
Why it happens Many cooks want to speed up the process and skip this step, not realizing it’s important for sugar dissolution and juice release.
Fix Take the time to let the fruit and sugar rest for 10-15 minutes before cooking. This ensures even cooking and a smooth, consistent jam texture.
Boiling the jam too hard or too long
Why it happens Rushing to thicken the jam can lead to high heat and long cooking times, which break down pectin and cause a runny or burnt jam.
Fix Simmer gently and test frequently using the cold plate method to avoid overcooking and preserve flavor.
Skipping jar sterilization
Why it happens Sometimes overlooked when in a hurry or unfamiliar with canning safety guidelines.
Fix Always sterilize jars and lids before filling to prevent spoilage and keep your jam safe to eat.
Filling jars without headspace
Why it happens Not knowing the importance of leaving space for expansion during sealing.
Fix Leave about 1/4 inch headspace to allow for proper vacuum sealing and prevent jar breakage.
Not removing foam after cooking
Why it happens Foam looks harmless and many don’t realize it affects texture and clarity.
Fix Use a spoon to skim foam off immediately after cooking for a clearer, better-textured jam.
Nutrition
Per Serving:
Nutritional values are estimates and may vary based on specific ingredients used.
Storage & Tips
Room Temperature
Jam can be kept at room temperature for up to 12 hours if covered tightly, but it’s best refrigerated to maintain freshness and prevent spoilage.
Refrigerator
Store jam in an airtight container in the fridge for up to 3 weeks. Flavor may deepen over time; serve cold or at room temperature depending on preference.
Freezer
Freeze jam in freezer-safe containers for up to 3 months. Leave space for expansion. Thaw overnight in the fridge and stir before serving to restore texture.
Reheating
Gently warm jam in a small saucepan over low heat or microwave briefly to loosen if thickened too much in the fridge. Avoid overheating to keep fresh flavor.
Make Ahead
You can prepare and cook the jam up to 2 days ahead, storing it in the fridge before filling jars. Alternatively, fill and seal jars, then refrigerate and consume within 3 weeks.
FAQ
Can I use frozen strawberries and rhubarb instead of fresh?
Yes, frozen fruit works well, especially if fresh isn’t in season. Just thaw and drain excess liquid before starting. The texture might be softer, but flavor remains delicious.
How do I know when my jam has set properly?
Use the cold plate test: place a small spoonful on a chilled plate, let it cool, then push with your finger. If it wrinkles and doesn’t run, it’s set. If not, cook a bit longer and test again.
Can I reduce the sugar in this recipe?
You can reduce sugar slightly, but it may affect the jam’s thickness and shelf life. Adding commercial pectin can help compensate for lower sugar content.
Why do I need to add lemon juice?
Lemon juice adds acidity which helps the pectin in the fruit gel properly and balances the sweetness. It also acts as a natural preservative.
What if my jam is too runny after cooking?
Simmer it longer to evaporate excess liquid and concentrate pectin. Alternatively, add a bit of pectin or cook with a small amount of mashed fruit for extra thickening.
Is it necessary to sterilize jars?
Yes, sterilizing jars prevents spoilage and bacterial growth, ensuring your jam stays fresh and safe for longer storage.
Can I use honey instead of sugar?
Honey can be used but it alters the texture and flavor. It’s sweeter than sugar, so reduce quantity and note that honey doesn’t preserve as well as sugar.
How long does homemade jam last once opened?
Once opened, keep jam refrigerated and consume within 3 weeks for best quality. Always use clean utensils to avoid contamination.
Final Thoughts
Give this strawberry rhubarb jam a try and enjoy a taste of summer anytime! I’d love to hear how yours turns out, so don’t forget to share your jam-making adventures.