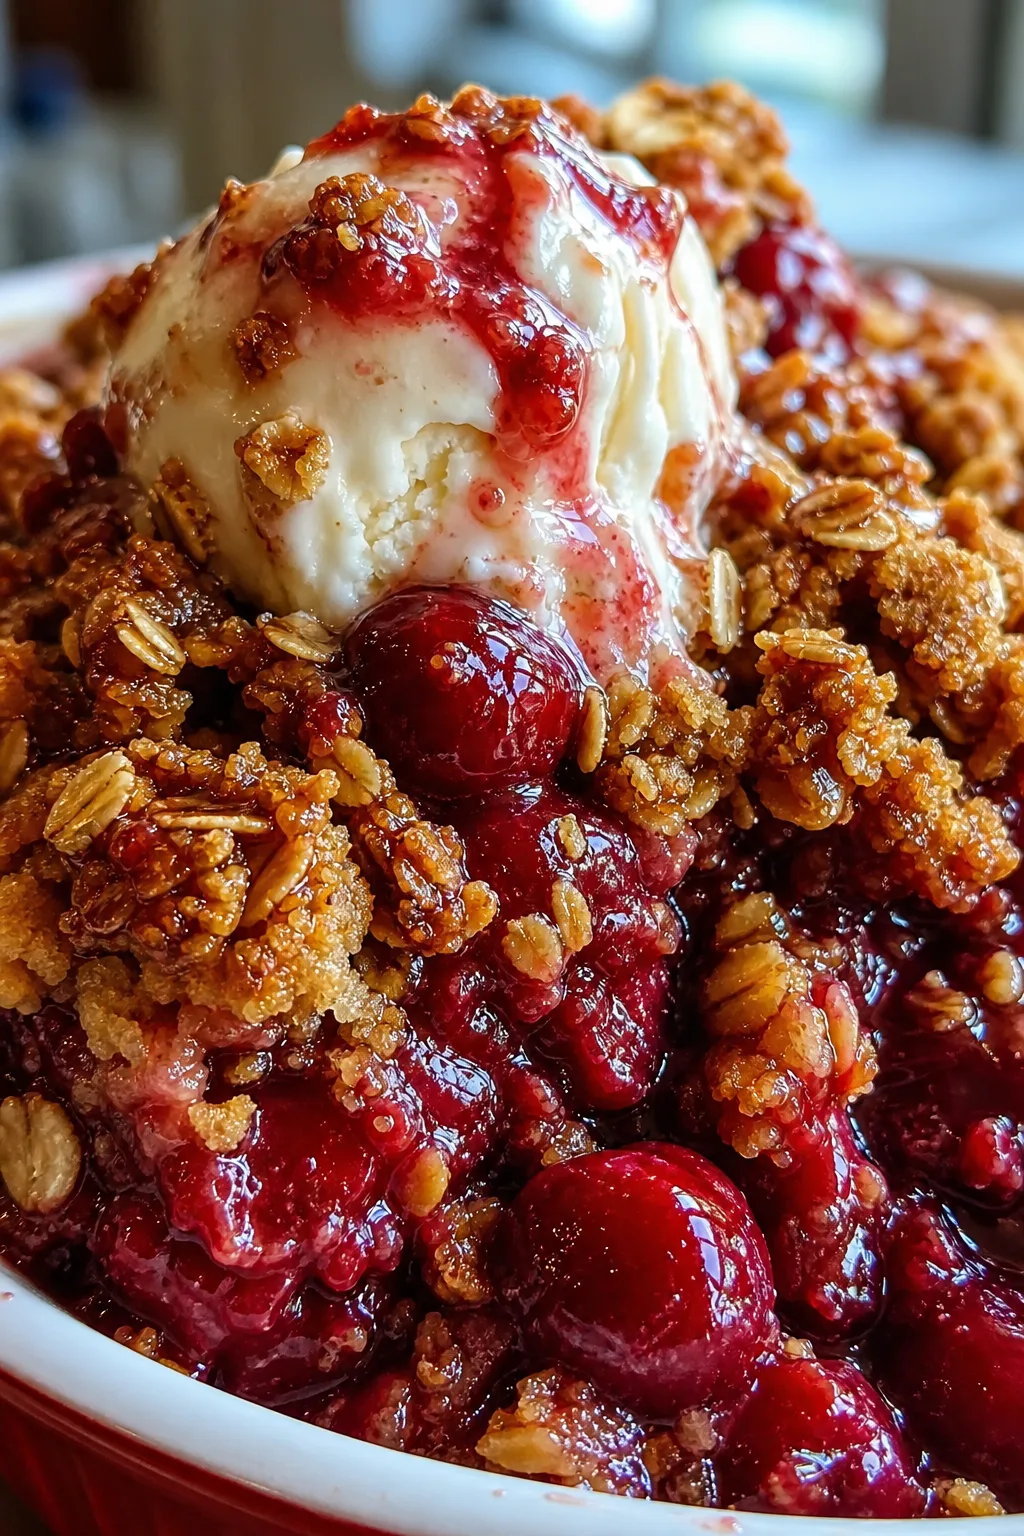
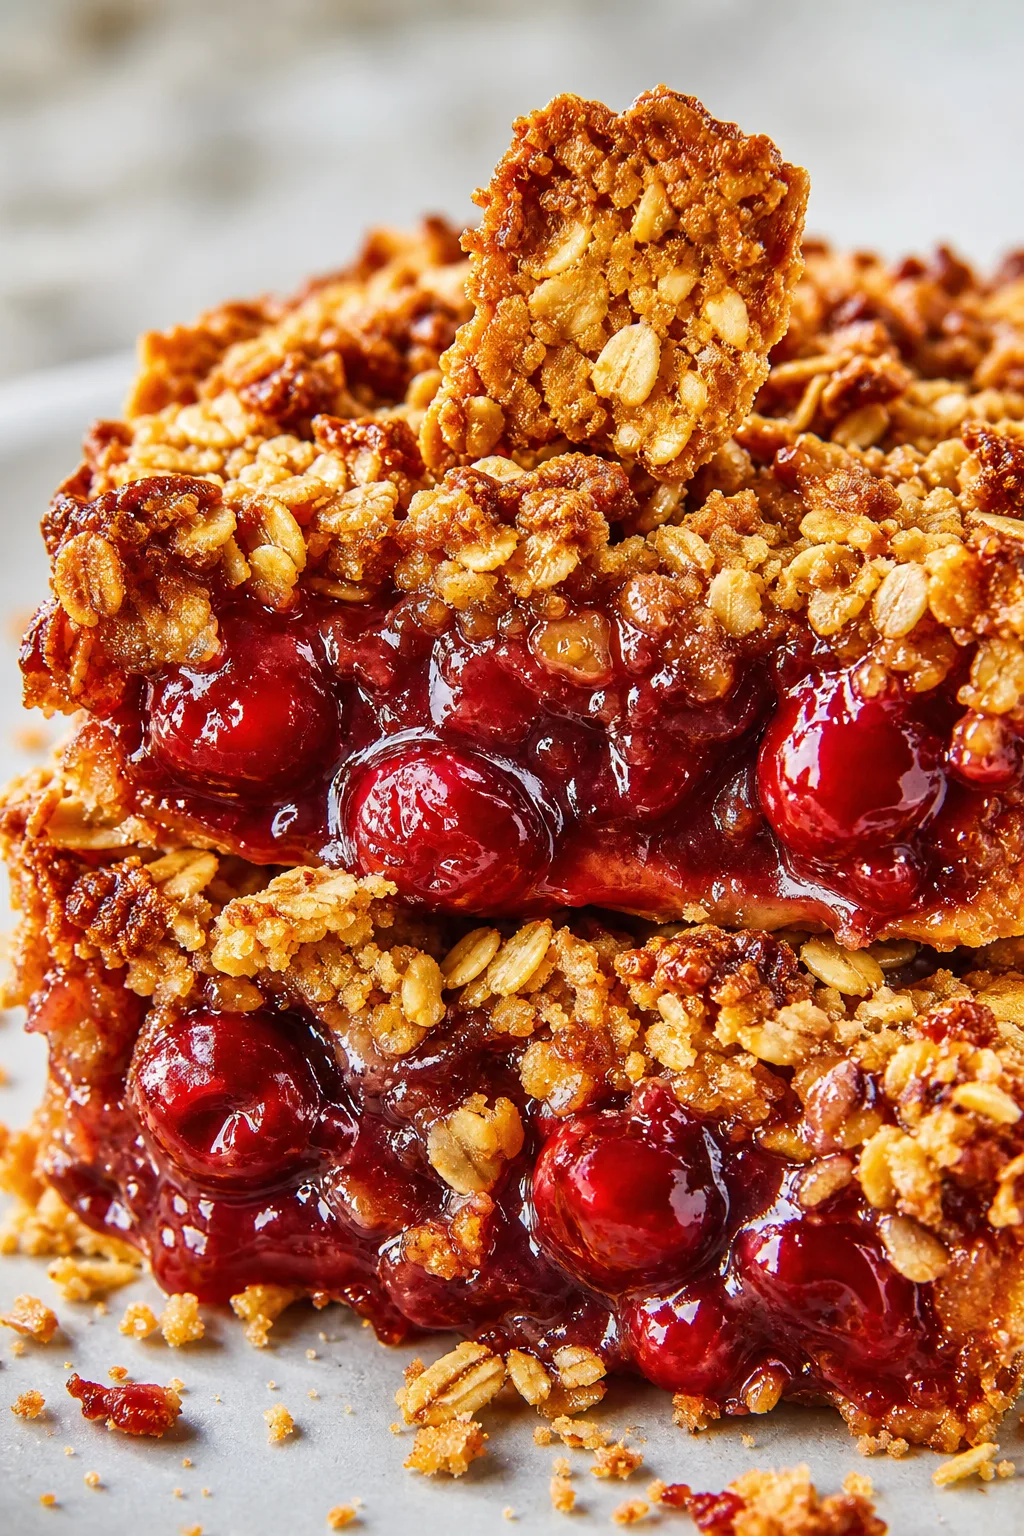
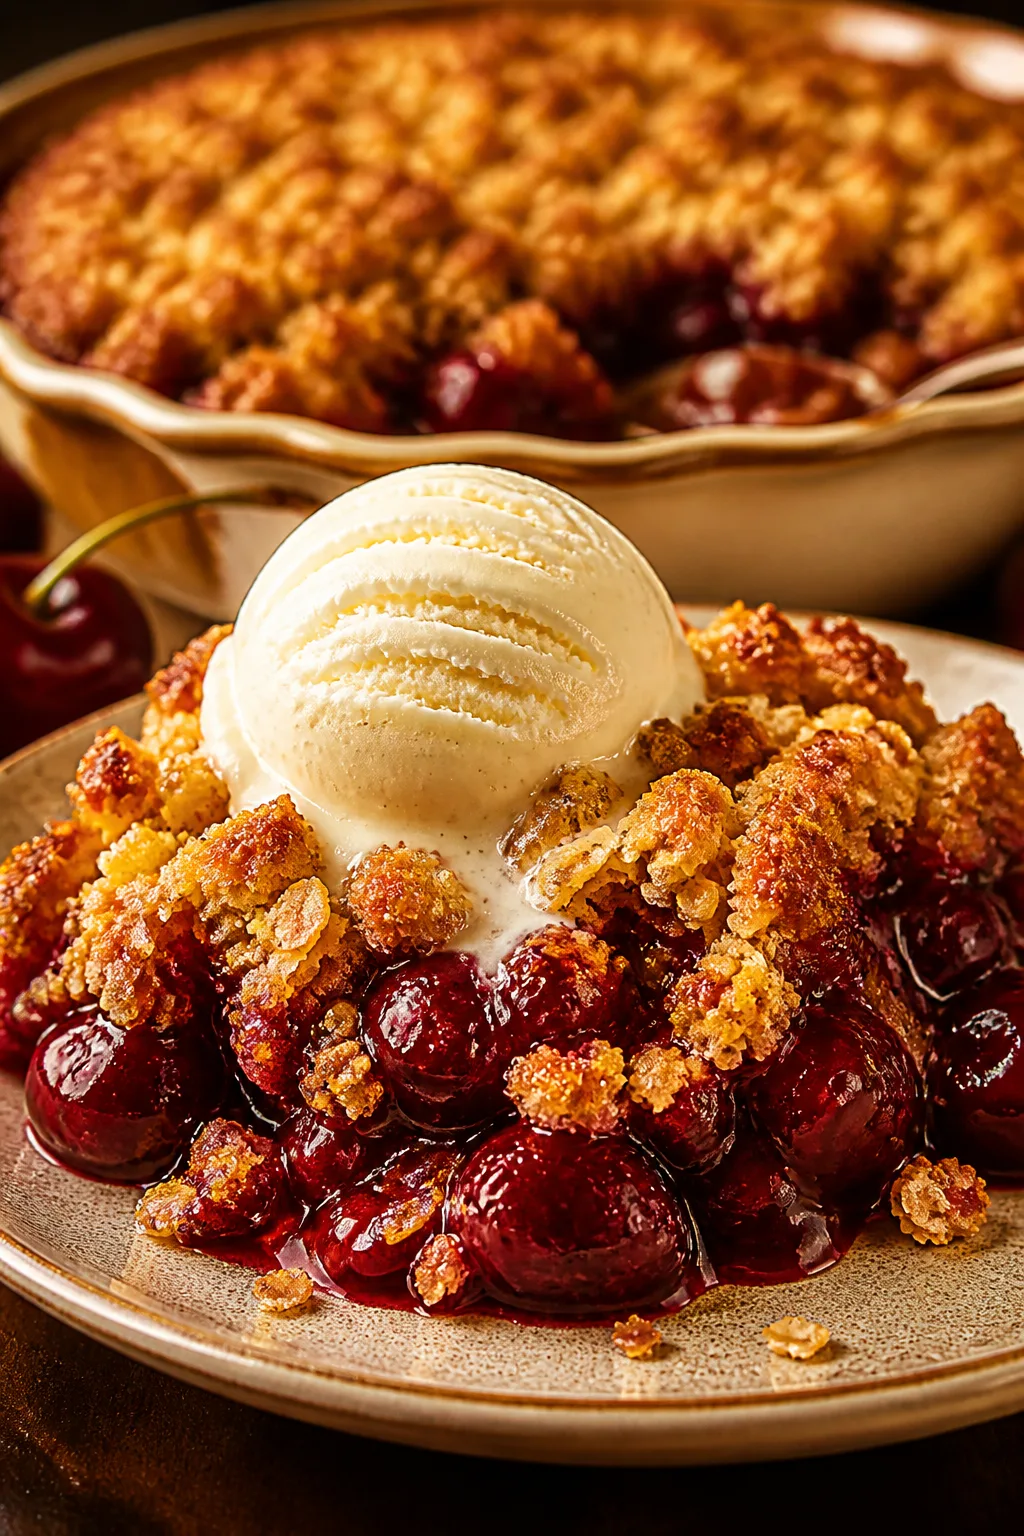
This cherry crisp is my favorite cozy dessert—juicy cherries with a crunchy oat topping that’s buttery and just right. Perfect for chilly evenings or any time you need a sweet, comforting treat.
Introduction
I first made this cherry crisp years ago when I had a surplus of cherries from a summer market haul. It quickly became a family favorite because it’s just so simple yet satisfying. The secret, I found, is really in the buttery oat topping—it's crunchy but tender and complements the juicy cherries perfectly. I’ve tweaked it a bit over time, adding a splash of lemon juice and vanilla to brighten the fruit flavor. One thing I learned the hard way is not to skimp on the butter in the topping; it’s what makes that wonderful golden crust everyone loves. When it’s fresh from the oven, the cherries bubble up beautifully beneath that crispy blanket, and the smell fills the whole house with warmth. It’s a perfect treat for chilly nights or when you want a little homemade comfort. Plus, it’s fantastic topped with vanilla ice cream, if you’re feeling indulgent. I think you’ll love how easy it is to pull together with simple pantry ingredients, and how it brings a little bit of joy every time you make it.
What You'll Need
Approximately 6 cups, 4 servings
- 4 cups fresh or frozen cherries, pitted
- 1/2 cup granulated sugar
- 1 tablespoon lemon juice
- 1 teaspoon vanilla extract
- 1 cup old-fashioned rolled oats
- 1/2 cup all-purpose flour
- 1/2 cup packed light brown sugar
- 1/2 teaspoon ground cinnamon
- 1/4 teaspoon salt
- 1/2 cup unsalted butter, melted
How To Do It
Step 1
Start by preheating your oven to 350°F (175°C). This ensures the oven is ready to give your crisp a nice even bake. While it’s heating, rinse and pit your cherries if you’re using fresh ones. Toss the cherries with granulated sugar, lemon juice, and vanilla extract in a large bowl. The sugar sweetens the tart cherries, while the lemon juice brightens their flavor and helps balance the sweetness. Mixing everything well lets the cherries release some juice as they bake, creating that delicious syrupy base. Avoid overmixing here to keep the cherries from becoming mushy before baking.
⏱ Time: 10 minutes
✓ Doneness: Cherries are evenly coated with sugar and lemon juice, slightly glossy and juicy.
Step 2
In a separate bowl, combine the rolled oats, flour, brown sugar, cinnamon, and salt. These dry ingredients form the structure of the topping, giving it that satisfying texture and warmth from the cinnamon. Pour in the melted butter and stir until everything is evenly moistened and clumps start to form. The butter is key here—it binds the oats and sugar so that the topping crisps up nicely instead of falling apart or burning. If you skip the butter or add too little, you’ll lose that rich flavor and perfect crunch.
⏱ Time: 5 minutes
✓ Doneness: Topping mixture is moist, crumbly, and holds together when pressed.
Step 3
Spread the cherry mixture evenly in a greased 8-inch baking dish. Distribute the oat topping evenly over the fruit, covering all the cherries but not packing it down too tightly. Leaving it loose allows the topping to crisp up beautifully and lets steam escape, preventing sogginess. If you press it down too much, the topping can become dense and chewy instead of crunchy.
⏱ Time: 5 minutes
✓ Doneness: Fruit layer is level and topping is evenly spread but crumbly.
Step 4
Place the dish in the oven and bake for about 30 minutes. Baking slowly at 350°F allows the cherries to soften and release their juices while the topping browns to a perfect golden crisp. Keep an eye on the topping towards the end—if it’s browning too fast, you can tent it loosely with foil to prevent burning. This balance of juicy fruit and crunchy topping is what makes the crisp so irresistible.
⏱ Time: 30 minutes
✓ Doneness: Topping is golden brown and cherries are bubbling around the edges.
Step 5
Once baked, let the crisp cool for at least 10 minutes before serving. This resting time allows the juices to thicken slightly so the crisp isn’t too runny. It also helps the topping firm up a bit more, giving you that perfect contrast between gooey fruit and crunchy oats. Resist the urge to dig in immediately, though it’s tempting!
⏱ Time: 10 minutes
✓ Doneness: Juices have thickened slightly and topping feels crisp but not hard.
Step 6
Serve your cherry crisp warm, ideally with a scoop of vanilla ice cream or a dollop of whipped cream. The cold cream melting over the warm crisp creates an amazing flavor and texture combo. If you want to get fancy, a sprinkle of toasted almonds or a drizzle of honey adds a nice touch. This dessert is a crowd-pleaser and works great for casual family dinners or holiday gatherings.
⏱ Time: 5 minutes
✓ Doneness: Ice cream starts to melt slightly on contact with warm crisp.
Step 7
If you’re using frozen cherries, no need to thaw them first—just increase the baking time by about 10 minutes to make sure the fruit heats through and juices develop properly. Frozen cherries tend to release more water, so watch the topping to keep it from getting soggy by tenting with foil if needed. This little adjustment keeps your crisp just as delicious as with fresh cherries.
⏱ Time: 10 extra minutes if frozen cherries
✓ Doneness: Fruit is bubbling and topping remains golden and crisp.
Step 8
For an extra touch of flavor, you can add a splash of almond extract or a handful of chopped nuts to the topping before baking. These additions bring a subtle nuttiness and complexity that elevate the classic crisp. Just be careful not to overpower the natural cherry flavor. Mix these in gently with the oat topping so they toast evenly in the oven.
⏱ Time: 2-3 minutes prep
✓ Doneness: Nuts are lightly toasted and evenly distributed in the topping.
Step 9
To make this dessert ahead, you can prepare the fruit and topping separately and store them in the fridge for up to 24 hours. Assemble and bake right before serving for the best texture. This saves time and lets the flavors meld a bit more. Just keep the topping in an airtight container to maintain its crumbly texture until baking.
⏱ Time: Prep ahead up to 24 hours
✓ Doneness: Topping stays crumbly and fruit mixture looks fresh and juicy.
Variations
Mixed Berry Crisp
Swap cherries for a mix of blueberries, raspberries, and blackberries for a colorful, tangy twist. The oat topping stays the same, but the berries bring a different balance of sweetness and tartness. Expect a juicier filling and vibrant flavor.
Note: Since berries release more juice, you might want to add a tablespoon more flour to the topping to absorb excess moisture and prevent sogginess.
Apple Cherry Crisp
Add diced apples to the cherries for extra texture and sweetness. The apples soften during baking and complement the tart cherries beautifully. This combo makes the crisp heartier and perfect for fall evenings.
Note: Use firm apples like Granny Smith to ensure they don’t turn to mush. Adjust sugar depending on apple tartness.
Gluten-Free Cherry Crisp
Use gluten-free rolled oats and substitute all-purpose flour with almond flour or a gluten-free blend. This keeps the topping crumbly and delicious while accommodating gluten sensitivities. The flavor remains rich and comforting.
Note: Almond flour adds moisture, so reduce butter slightly to keep the topping crisp rather than soggy.
Vegan Cherry Crisp
Replace butter with coconut oil or vegan margarine and use maple syrup instead of brown sugar. This version is dairy-free and still offers that buttery, crunchy topping with juicy cherries underneath.
Note: Coconut oil melts differently than butter; chill the topping before baking to help maintain texture.
Spiced Cherry Crisp
Add warming spices like nutmeg, ginger, and cloves to the topping for a cozy, aromatic dessert. These spices elevate the cherry flavor and make the crisp perfect for holiday gatherings or chilly nights.
Note: Use small amounts of each spice to avoid overpowering the fruit’s natural taste.
Pro Tips
Use fresh lemon juice instead of bottled for brighter cherry flavor.
Fresh lemon juice contains natural oils and a vibrant acidity that bottled versions often lack, which enhances the fruit’s brightness and balances sweetness. Using fresh juice also helps preserve the cherries’ color and fresh taste, making the dessert more appealing both visually and flavor-wise.
Don’t press down the oat topping before baking.
Leaving the topping loose allows air to circulate and steam to escape, which helps it crisp up nicely. Pressing it down packs the topping too tightly, leading to a dense, soggy texture instead of a crunchy, crumbly topping that contrasts beautifully with the soft fruit.
Let the crisp rest 10 minutes before serving.
This resting period allows the fruit juices to thicken and the topping to firm up a bit, preventing the dessert from being too runny. It also gives the flavors a chance to meld, resulting in a more cohesive and satisfying bite.
Use old-fashioned rolled oats for the topping, not instant oats.
Rolled oats have the perfect size and texture to create a crunchy, chewy topping. Instant oats absorb too much moisture and bake into a mushy texture, ruining the contrast with the juicy cherries.
Add a pinch of cinnamon to the topping for warmth.
Cinnamon complements the tartness of cherries with a warm spice note, enhancing the overall flavor complexity. It also pairs well with the brown sugar and butter, making the topping taste richer and more inviting.
If using frozen cherries, increase bake time by 10 minutes.
Frozen cherries release more water and take longer to heat through. Extending the bake time ensures the fruit cooks properly and the topping crisps up without becoming soggy or undercooked.
Grease your baking dish lightly to prevent sticking.
Butter or nonstick spray helps the crisp release easily from the dish after baking, making serving simpler and preserving the topping’s texture. It also prevents the fruit’s juices from caramelizing and sticking to the pan, which can make cleanup difficult.
Common Mistakes to Avoid
Skipping the lemon juice in the fruit mixture.
Why it happens People often omit lemon juice thinking it’s unnecessary or will make the dessert too tart.
Fix Add at least a tablespoon of fresh lemon juice to balance the sweetness and brighten the cherries’ flavor. It prevents the crisp from tasting flat or overly sweet and helps maintain the fruit’s vibrant color during baking.
Using instant oats instead of rolled oats.
Why it happens Many assume any oats will work, not realizing texture differences.
Fix Always use old-fashioned rolled oats for the topping to achieve the desired crunchy, chewy texture. Instant oats absorb too much moisture and become mushy during baking.
Pressing down the oat topping too firmly.
Why it happens Some think pressing will help the topping stick and cook evenly.
Fix Keep the topping loose so it crisps up nicely. Pressing it down traps steam and creates a dense, soggy topping instead of a light, crunchy crust.
Not letting the crisp rest before serving.
Why it happens Impatience leads to digging in right away.
Fix Allow the crisp to cool for 10 minutes so the fruit juices thicken and the topping firms up, preventing a runny dessert and improving texture contrast.
Underbaking or overbaking the crisp.
Why it happens Rushing or ignoring visual cues can cause this.
Fix Bake at 350°F for about 30 minutes until topping is golden and cherries are bubbling. Tent with foil if browning too fast. Proper baking ensures juicy fruit and crisp topping.
Nutrition
Per Serving:
Nutritional values are estimates and may vary based on specific ingredients used.
Storage & Tips
Room Temperature
Keep the cherry crisp covered loosely with foil or a clean towel at room temperature for up to 2 hours. Beyond that, the topping may soften and the fruit juices can ferment, so it’s best to refrigerate if not serving soon.
Refrigerator
Store leftovers in an airtight container for up to 4 days. The topping will soften as it chills, so reheat in a 350°F oven for 10-15 minutes to regain crispness. It can be eaten cold but the texture and flavor are best warmed.
Freezer
Freeze the crisp in a tightly wrapped container or foil for up to 3 months. To prevent freezer burn, cover the surface with plastic wrap before sealing. Thaw overnight in the fridge and reheat in the oven to restore texture before serving.
Reheating
Reheat in a preheated 350°F oven for 10-15 minutes until warmed through and the topping is crisp again. Avoid microwaving as it makes the topping soggy. Adding a small splash of water or fruit juice before reheating can help maintain moisture without making it soggy.
Make Ahead
Prepare the fruit filling and oat topping separately up to 24 hours in advance. Store each in airtight containers in the fridge. Assemble and bake just before serving for the freshest texture and flavor.
FAQ
Can I use frozen cherries instead of fresh?
Yes! Frozen cherries work well and are convenient year-round. You don’t need to thaw them first; just add about 10 extra minutes to the baking time to ensure they heat through and release their juices properly. Keep an eye on the topping since frozen fruit can release more moisture, which might make the crisp a bit soggy if not adjusted.
How do I make the topping extra crunchy?
Using old-fashioned rolled oats and enough melted butter is key for crunch. Make sure not to press the topping down before baking so it stays crumbly. Also, baking at 350°F allows the topping to brown evenly without burning. Letting the crisp rest after baking helps the topping firm up even more.
Can I prepare this dessert ahead of time?
Absolutely! You can mix the fruit filling and prepare the oat topping separately, storing both in the fridge for up to 24 hours. Assemble and bake just before serving for the best texture. This approach saves time and lets the flavors meld nicely without compromising the crispness of the topping.
What can I substitute for butter in the topping?
You can use coconut oil or vegan margarine for a dairy-free version. Keep in mind that coconut oil melts differently, so chilling the topping mixture before baking helps maintain texture. Butter provides richness and helps with browning, so substitutes may slightly change flavor and crispness.
Why does my topping sometimes turn soggy?
Sogginess usually happens when the topping is pressed down too tightly or when too much moisture from the fruit seeps in without enough flour or oats to absorb it. Make sure to keep the topping loose and use the right ratio of dry ingredients. Also, avoid underbaking or baking at too low a temperature.
Can I add nuts to the topping?
Yes, chopped nuts like almonds or pecans add a lovely crunch and flavor. Mix them into the oat topping before baking. Just be mindful that nuts toast quickly, so watch the crisp near the end of baking to prevent burning.
How do I store leftover cherry crisp?
Store leftovers in an airtight container in the fridge for up to 4 days. The topping will soften but reheating in the oven can restore some crispness. You can also freeze the crisp for up to 3 months; thaw overnight in the fridge before reheating.
What’s the best way to serve cherry crisp?
Warm cherry crisp is best served with vanilla ice cream or whipped cream. The cold cream melting over the warm fruit and crunchy topping creates a perfect balance of flavors and textures that’s hard to resist.
Final Thoughts
I hope you give this cherry crisp a try—it’s one of those recipes that feels like a warm hug on a plate. Let me know how it turns out and if you add your own twist!