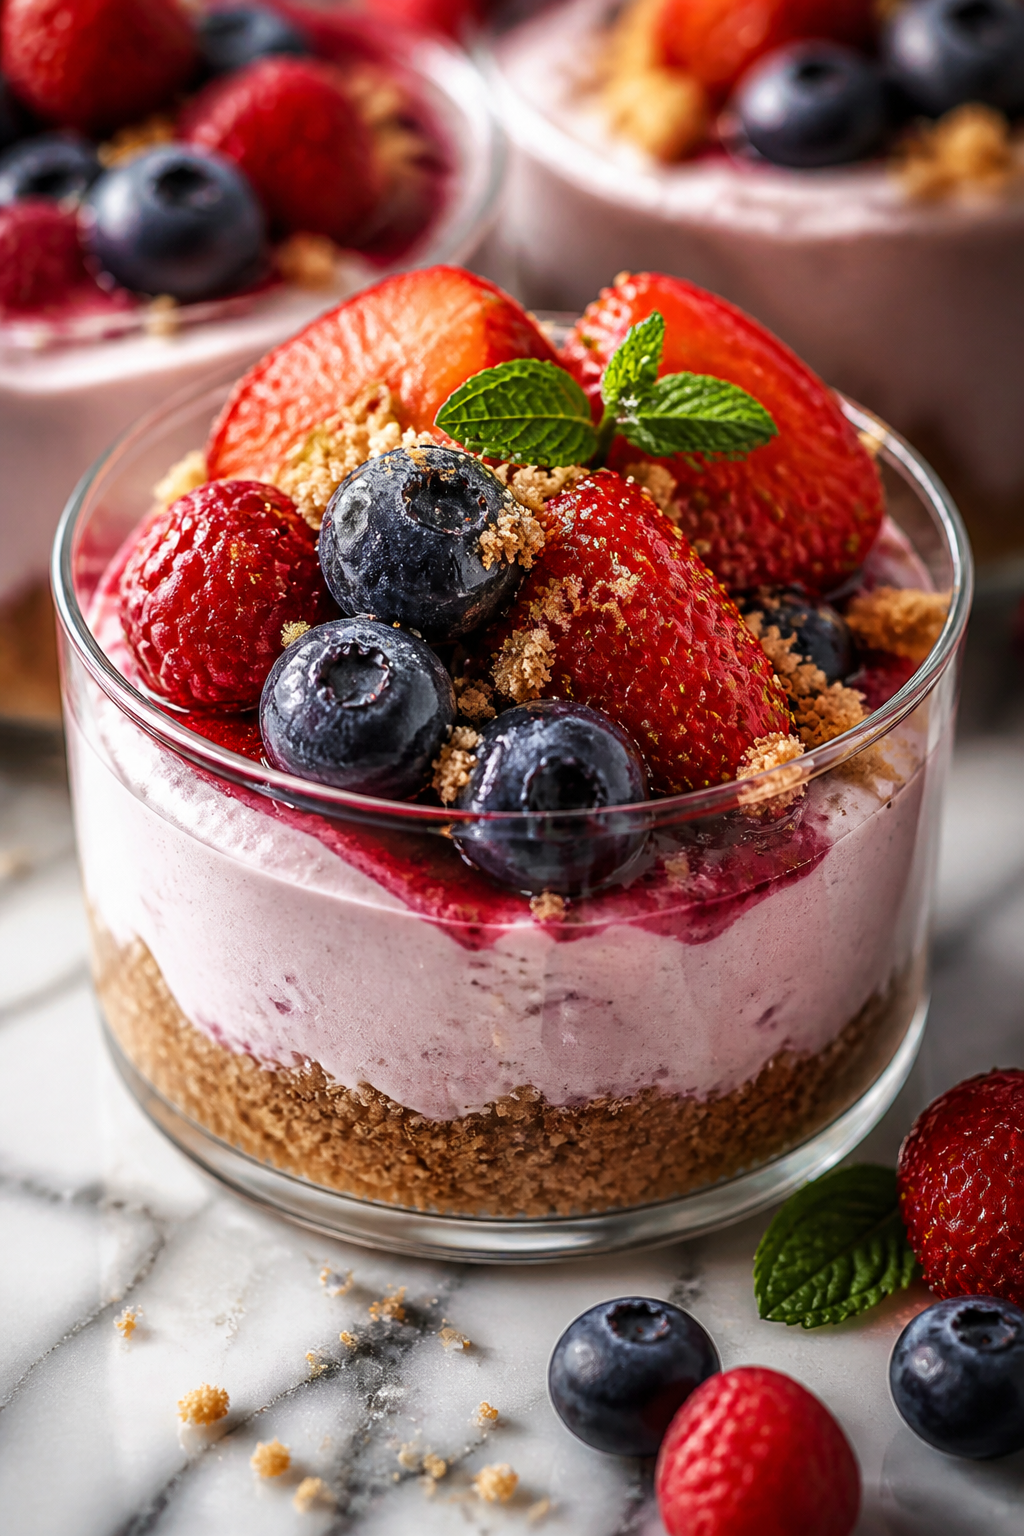
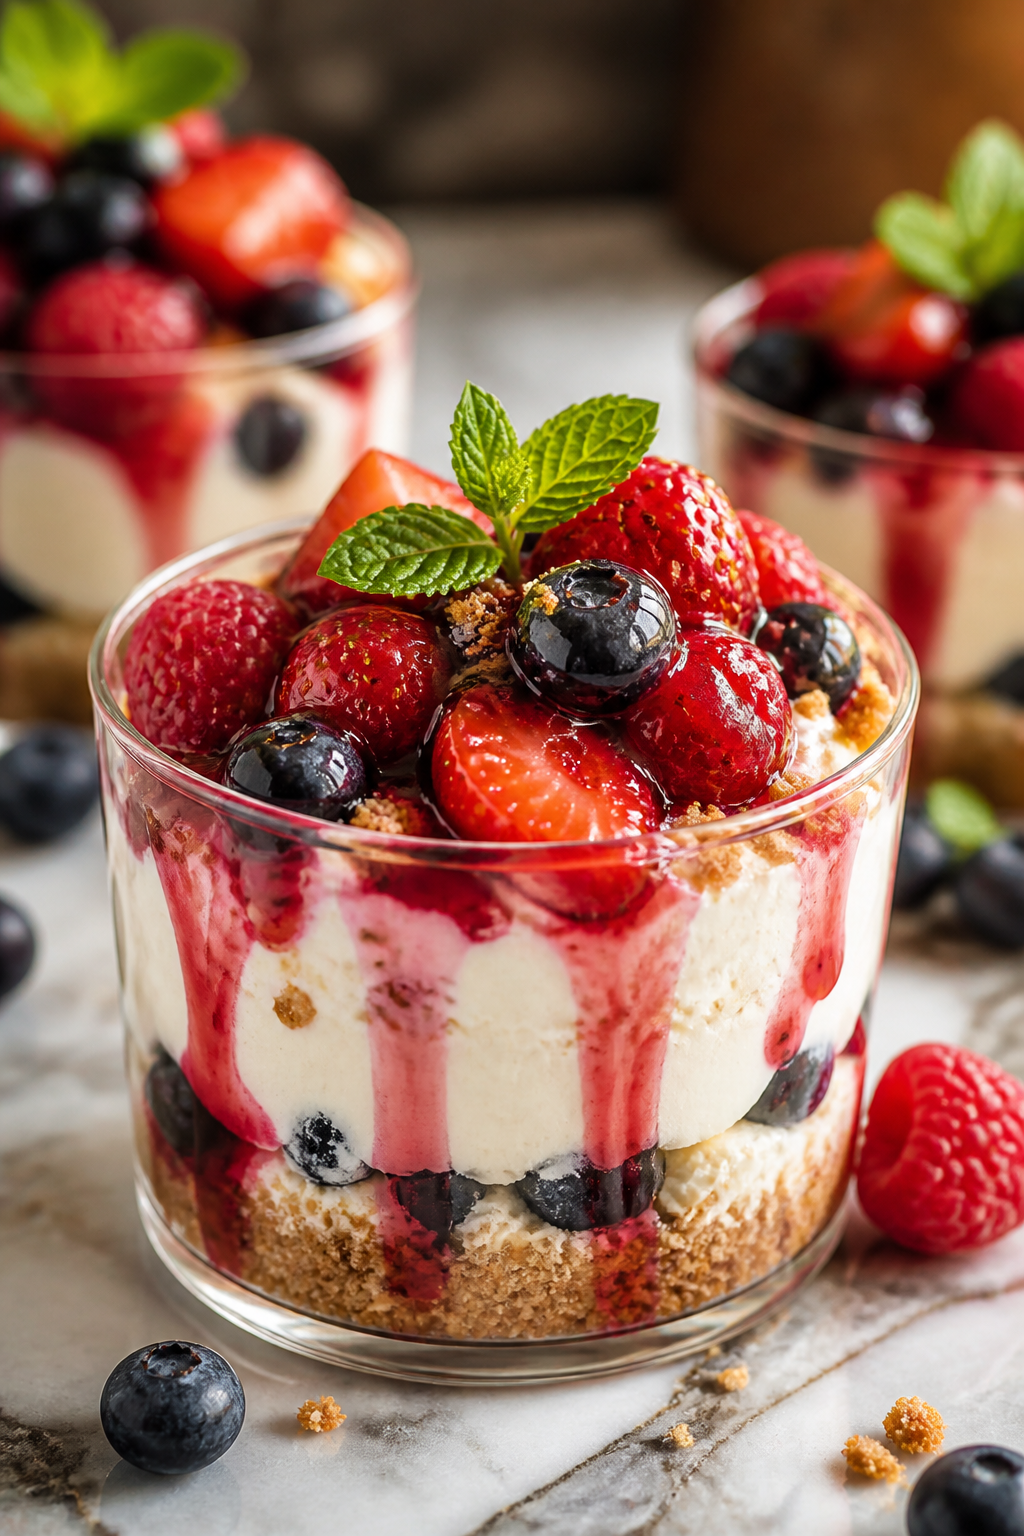
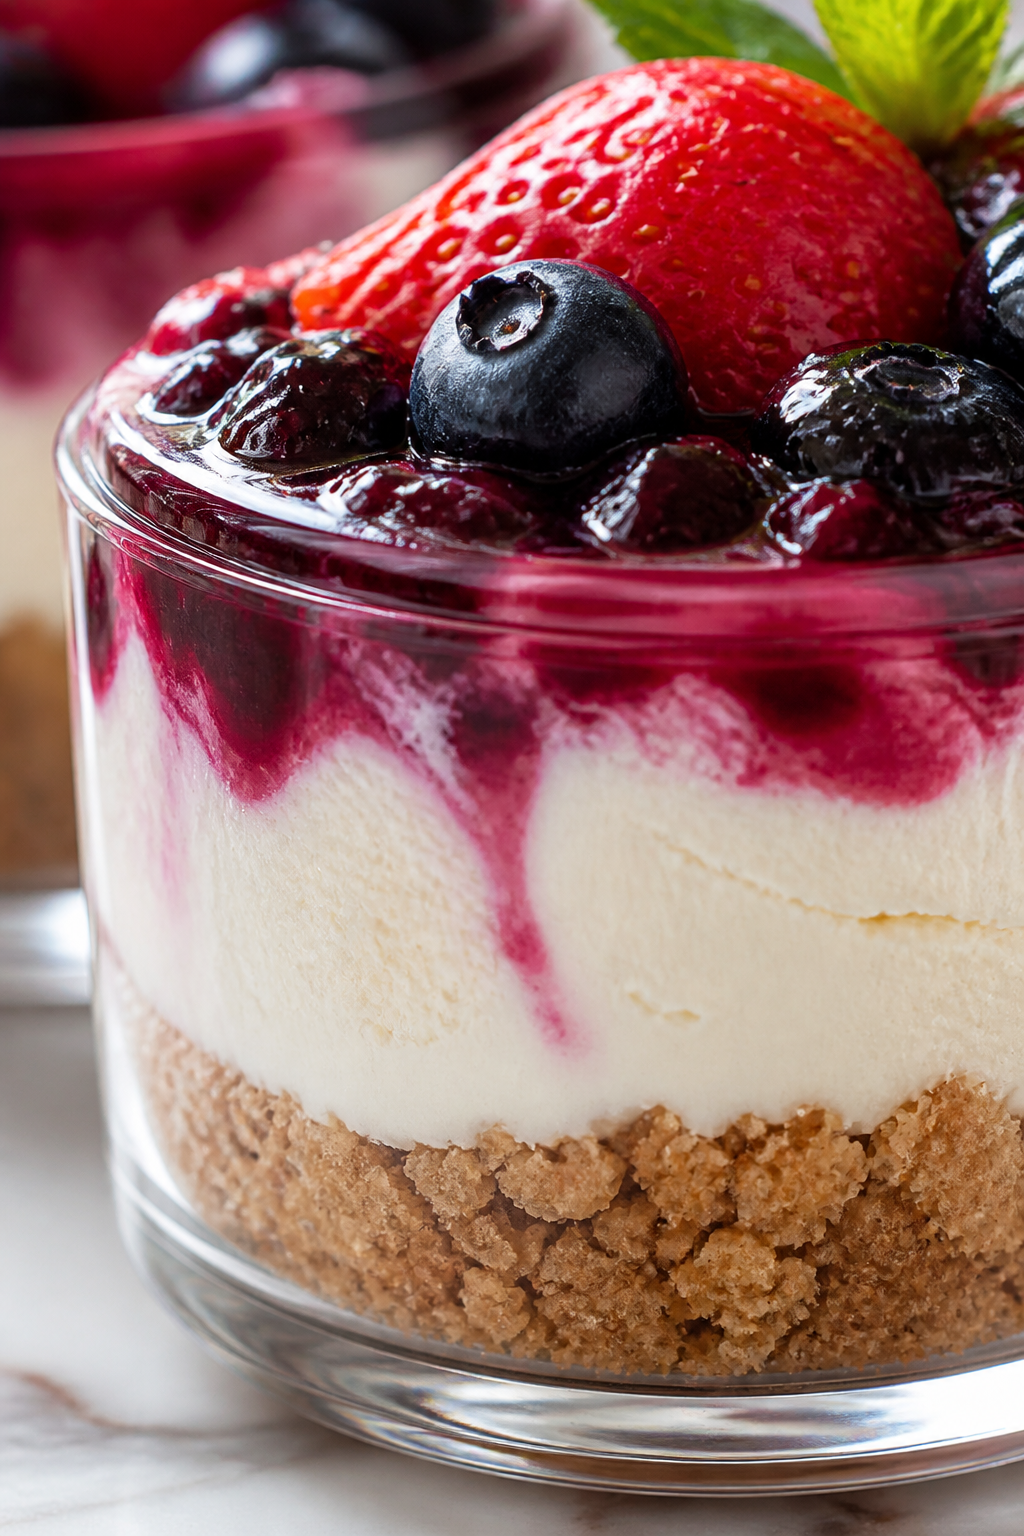
These cheesecake cups are a fresh twist on classic cheesecake—airy and creamy thanks to whipped cream folded into the cream cheese. I love serving them at spring get-togethers or as a quick sweet finish after dinner.
Introduction
I first made these cheesecake cups last spring when I wanted a light dessert that felt special but wasn’t too fussy. Traditional cheesecakes can be dense and take forever to bake and chill, but this version is different — it’s fluffy and fresh thanks to a little whipped cream folded into the cream cheese. That simple addition makes all the difference. I also love layering fresh spring berries on top for a burst of color and natural sweetness. It’s a no-bake recipe that comes together in under 20 minutes, which is perfect for last-minute guests or a casual dinner party. The texture is creamy but airy, and the berries add a nice tart contrast that keeps it from feeling too heavy. I’ve made it a few times now and every time it disappears quickly. Plus, it’s so pretty in clear cups — perfect for sharing on social media or just treating yourself. The trick I learned is to whip the cream until it holds soft peaks before folding it gently into the cream cheese mixture, which keeps the dessert light and smooth. If you like a fresh, easy dessert that looks impressive but doesn’t require hours in the kitchen, you’ll want to try this!
What You'll Need
Makes 6 individual cheesecake cups
- 16 oz cream cheese, softened
- 1 cup heavy whipping cream, cold
- 1/2 cup granulated sugar
- 1 tsp vanilla extract
- 2 cups mixed fresh spring berries (strawberries, blueberries, raspberries)
- 6 small clear cups or jars for serving
How To Do It
Step 1
Start by beating the softened cream cheese with the sugar and vanilla extract until the mixture is completely smooth and creamy. This step is crucial because any lumps of cream cheese will affect the texture of your cheesecake cups. Use a hand mixer or stand mixer at medium speed, scraping down the bowl as needed to get everything incorporated evenly. The sugar helps sweeten and soften the cream cheese, and vanilla adds that classic cheesecake flavor. Avoid rushing this step to prevent lumps or graininess.
⏱ Time: 5 minutes
✓ Doneness: Mixture is silky smooth with no lumps and looks glossy
Step 2
In a separate chilled bowl, whip the cold heavy cream on high speed until soft peaks form. This means when you lift the whisk, the cream should hold its shape but still be slightly soft and not overwhipped. Whipping the cream creates air bubbles that lighten the cream cheese mixture later, giving you that fluffy texture. Be careful not to overwhip or it will become grainy and start turning into butter.
⏱ Time: 5 minutes
✓ Doneness: Cream holds soft peaks that gently fold over when whisk is lifted
Step 3
Gently fold the whipped cream into the cream cheese mixture using a spatula. Do this in batches, folding carefully to keep as much air as possible in the mix. This folding technique is key — it keeps the dessert light and airy instead of dense. Avoid stirring vigorously or you’ll deflate the whipped cream and lose that fluffy texture.
⏱ Time: 3 minutes
✓ Doneness: Mixture is smooth, creamy, and airy with no streaks of cream left
Step 4
Wash and dry your fresh berries thoroughly. If using strawberries, hull and slice them into bite-sized pieces. This prep ensures that the berries are clean and ready to layer on top of the cheesecake cups. Fresh berries add natural sweetness and a pop of color that makes this dessert feel fresh and spring-ready.
⏱ Time: 5 minutes
✓ Doneness: Berries are clean, sliced as needed, and ready to use
Step 5
Spoon a generous layer of the cream cheese mixture into the bottom of each serving cup. This base layer is important because it holds the berries on top and gives you that creamy foundation. Use a spoon or piping bag for a neater presentation. Smooth out the tops gently with the back of the spoon.
⏱ Time: 3 minutes
✓ Doneness: Cups are evenly filled about halfway with creamy mixture
Step 6
Add a layer of mixed fresh berries over the cream cheese layer in each cup. The berries should be evenly distributed for balanced flavor in every bite. This layering creates a beautiful contrast between the creamy base and the bright, juicy fruit.
⏱ Time: 2 minutes
✓ Doneness: Berries cover the cream cheese layer evenly without spilling over
Step 7
Repeat layering with another spoonful of the cream cheese mixture on top of the berries. This top layer seals in the berries and adds extra creaminess. Smooth the surface gently for a polished look. This double-layer method helps keep the berries fresh and the dessert structured.
⏱ Time: 2 minutes
✓ Doneness: Top layer is smooth and creamy, fully covering the berries
Step 8
Garnish the top of each cup with a few fresh berries or a small mint leaf for a pretty finishing touch. This makes the dessert more inviting and visually appealing. It’s a simple step that makes a big difference when serving guests.
⏱ Time: 2 minutes
✓ Doneness: Each cup has a neat, attractive garnish on top
Step 9
Chill the cheesecake cups in the refrigerator for at least 1 hour before serving. This rest time allows the flavors to meld and the texture to set slightly, making the dessert even better. Don’t skip this step or the cups may be too soft and less flavorful.
⏱ Time: 60 minutes
✓ Doneness: Cups feel set and chilled but still creamy when touched
Variations
Chocolate Swirl Cheesecake Cups
Add melted dark chocolate swirled into the cream cheese mixture before folding in whipped cream. This gives a rich chocolate flavor and pretty marbled effect. Expect a slightly denser texture but still creamy and fluffy.
Note: Melt chocolate gently and cool slightly before swirling to avoid melting the cream cheese.
Lemon Zest and Blueberry Cheesecake Cups
Fold in fresh lemon zest and a teaspoon of lemon juice to the cream cheese mixture for a bright, citrusy twist. Top with blueberries for a fresh flavor combo that’s perfect for spring.
Note: Adjust sugar slightly to balance the tart lemon flavor.
No-Sugar Added Cheesecake Cups
Skip the sugar and use a sugar substitute like stevia or erythritol for a lower-sugar dessert. This version keeps the creamy texture but is lighter on sweetness, great for sugar-conscious eaters.
Note: Choose a sugar substitute that measures like sugar to maintain texture.
Tropical Mango and Coconut Cheesecake Cups
Swap berries for diced mango and sprinkle toasted coconut flakes on top. This variation adds exotic sweetness and a crunchy texture contrast that’s fun and refreshing.
Note: Use ripe mangoes but avoid overripe to prevent watery texture.
Mini Cheesecake Parfaits with Granola
Layer the cheesecake mixture with fresh berries and a crunchy granola layer for texture. It turns the dessert into a parfait with creamy, fruity, and crunchy bites in every spoonful.
Note: Add granola just before serving to keep it crisp.
Pro Tips
Always soften the cream cheese to room temperature before mixing.
Softened cream cheese blends smoothly with sugar and vanilla, preventing lumps. If it’s too cold, it won’t mix well, causing a grainy texture in your cheesecake cups.
Chill your mixing bowl and beaters before whipping the cream.
Cold equipment helps the cream whip faster and hold its air bubbles better, resulting in a fluffier texture that lightens the cream cheese mixture perfectly.
Fold whipped cream gently into the cream cheese mixture using a spatula.
Folding preserves the air bubbles in the whipped cream, keeping the final texture light and airy. Stirring or beating at this stage would deflate the mixture and make it dense.
Use fresh, ripe berries for the best flavor and texture contrast.
Fresh berries add natural sweetness and acidity that balance the richness of the cream cheese. Overripe or bruised berries can make the dessert watery and less appealing.
Chill the dessert for at least an hour before serving.
Chilling helps the flavors meld and the texture set just right. Serving immediately may result in a runny, less structured dessert.
Don’t overwhip the heavy cream—stop at soft peaks.
Overwhipped cream becomes grainy and starts turning into butter, ruining the smooth, fluffy texture needed for the cheesecake cups.
Layer the berries between cream cheese layers for a pretty presentation.
This layering creates a beautiful color contrast and ensures every bite has a balance of creamy and fruity flavors.
Common Mistakes to Avoid
Using cold cream cheese straight from the fridge
Why it happens People often try to speed up the process and mix cream cheese without softening it first, assuming it will blend fine.
Fix Always let cream cheese sit at room temperature for at least 30 minutes. This makes it soft enough to mix smoothly, avoiding lumps and grainy texture.
Overwhipping the heavy cream
Why it happens It’s easy to keep whipping past the soft peak stage because you want it stiff, but that can backfire.
Fix Stop whipping as soon as soft peaks form. The cream should gently fall when you lift the whisk, not stand stiffly or look curdled.
Mixing whipped cream too vigorously into cream cheese
Why it happens Some think mixing thoroughly is better, but vigorous stirring deflates the whipped cream.
Fix Fold the whipped cream in gently with a spatula, turning the bowl and carefully lifting the mixture over itself to keep air bubbles intact.
Skipping the chilling step before serving
Why it happens Impatient cooks might want to serve the dessert right away without chilling.
Fix Refrigerate for at least one hour to let the dessert set. This improves texture and flavor melding, making it taste more like cheesecake.
Using overripe or wet berries
Why it happens Sometimes berries are not checked thoroughly or washed improperly, leading to soggy dessert.
Fix Choose firm, ripe berries and pat dry gently after washing to avoid excess moisture that can water down the dessert.
Nutrition
Per Serving:
Nutritional values are estimates and may vary based on specific ingredients used.
Storage & Tips
Room Temperature
These cheesecake cups should not be left at room temperature for more than 2 hours as the dairy can spoil. Cover with plastic wrap or lids if left out briefly.
Refrigerator
Store in an airtight container in the fridge for up to 3 days. The texture may firm up slightly but remains creamy. Best served chilled, though you can let them sit 10 minutes at room temp before eating for softer texture.
Freezer
Freeze the cheesecake cups for up to 1 month. Wrap tightly with plastic wrap and place in a freezer-safe container to prevent freezer burn. Thaw overnight in the fridge before serving. Texture may be slightly less fluffy after freezing.
Reheating
No reheating needed. Serve chilled or bring to room temperature for 10-15 minutes before eating. Adding a few fresh berries before serving refreshes the flavor.
Make Ahead
Make the cream cheese mixture and whip cream separately 1 day ahead. Store covered in fridge. Assemble cups with berries and final layering the day of serving for freshest taste and best texture.
FAQ
Can I use low-fat cream cheese for this recipe?
You can, but the texture and flavor won’t be as rich or creamy. Low-fat cream cheese tends to be more watery and less stable when whipped, which can result in a less smooth cheesecake cup. For best results, stick to full-fat cream cheese.
What if I don’t have heavy cream? Can I use something else?
Heavy cream is important because it whips into soft peaks that lighten the mixture. You could try whipping mascarpone or crème fraîche, but they won’t whip the same way. Alternatively, you could use whipped coconut cream for a dairy-free option, but expect a slightly different flavor and texture.
How long can I store these cheesecake cups?
Store them in the fridge in airtight containers for up to 3 days. After that, the texture may start to break down and berries can get mushy. For longer storage, freezing is an option but texture may change slightly after thawing.
Can I make these gluten-free?
Absolutely! This recipe is naturally gluten-free as it doesn’t use any flour or crust. Just be sure the berries and any toppings you add are free from gluten contamination.
Is it possible to make these vegan?
This recipe relies on dairy cream cheese and heavy cream, so for a vegan version you’d need to substitute with vegan cream cheese and coconut cream. The texture and flavor will differ, but it can still be delicious with the right ingredients.
How do I prevent the berries from making the dessert watery?
Make sure to wash berries gently and pat them dry thoroughly before adding. Also, add berries just before serving or chilling to minimize juices seeping into the cream layers, which can make the dessert watery.
Can I add a crust to these cheesecake cups?
Yes! Adding a layer of crushed graham crackers or cookies at the bottom before the cream cheese layer makes it more like a traditional cheesecake. Just press the crust firmly to avoid it becoming soggy.
Why do I need to fold the whipped cream instead of mixing it in?
Folding gently preserves the air bubbles whipped into the cream, keeping the mixture light and fluffy. Mixing or stirring vigorously deflates the cream, resulting in a denser, less airy texture.
Final Thoughts
I hope you’ll give these cheesecake cups a try—they’re a simple way to enjoy a light, creamy dessert that feels special. Don’t forget to share how yours turn out!