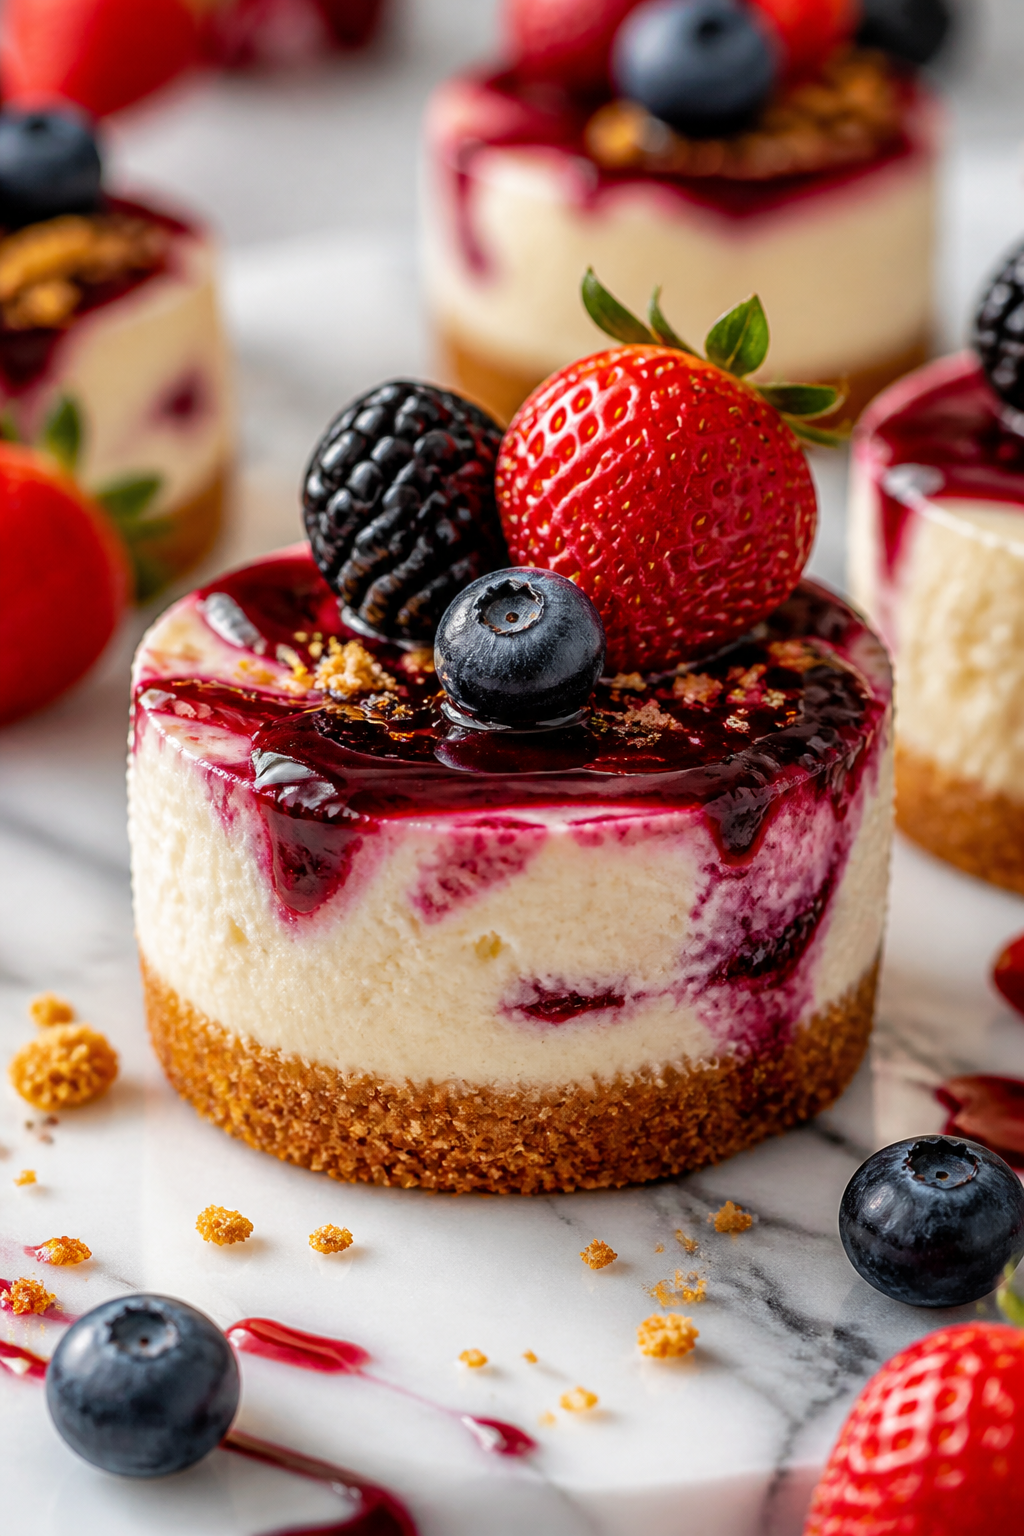
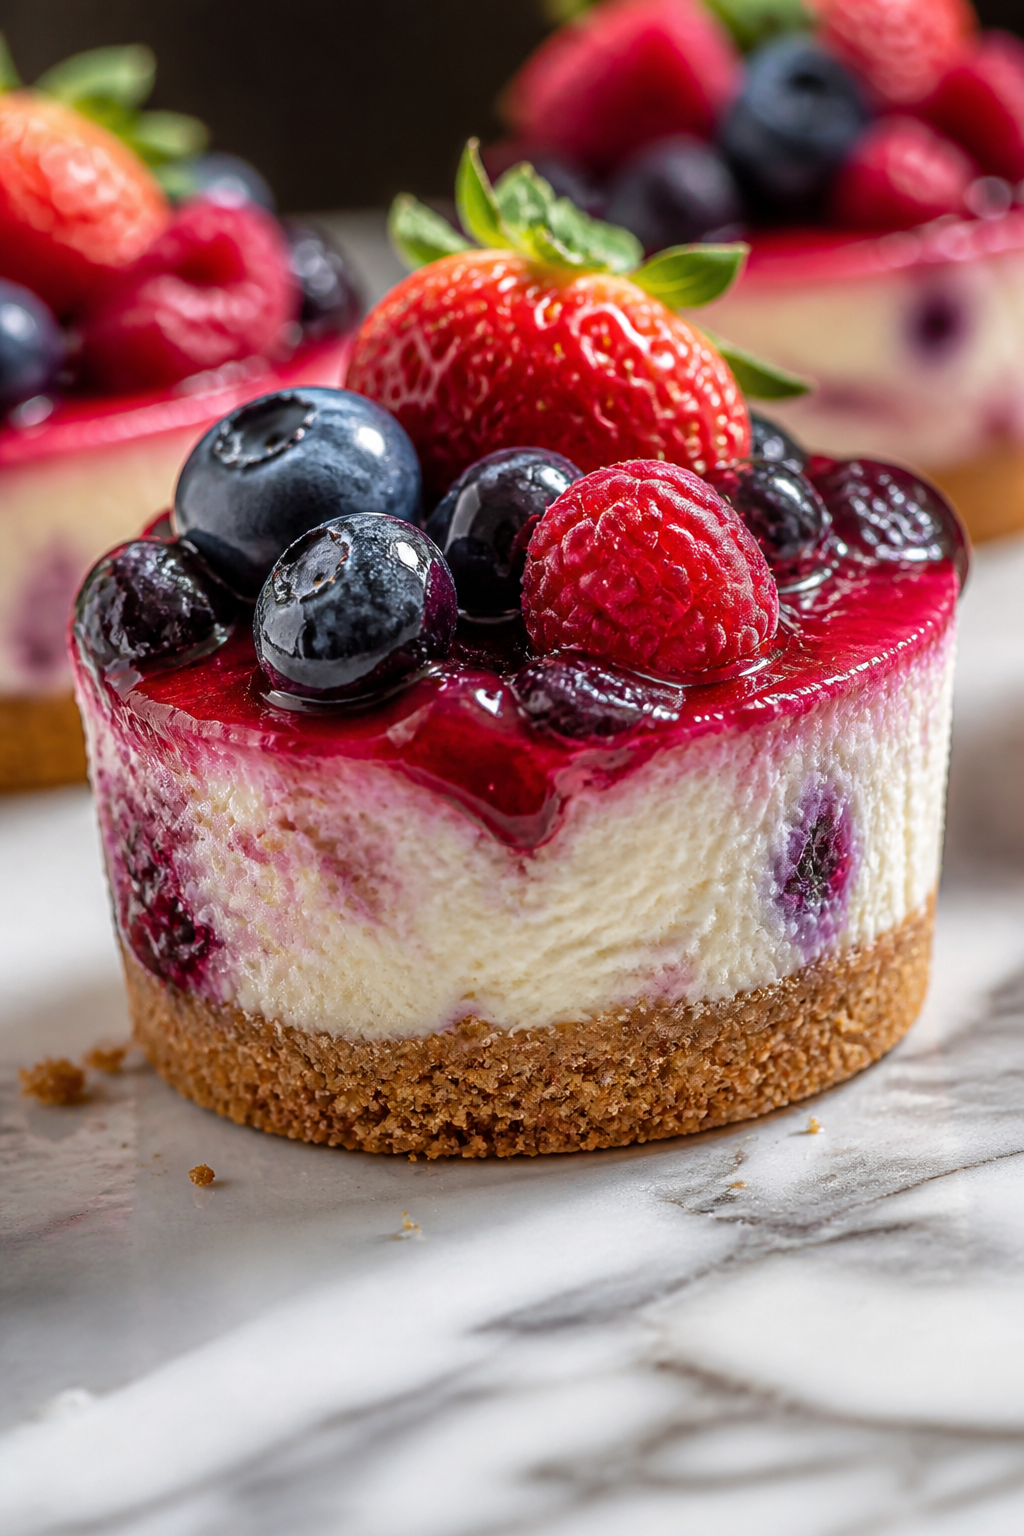
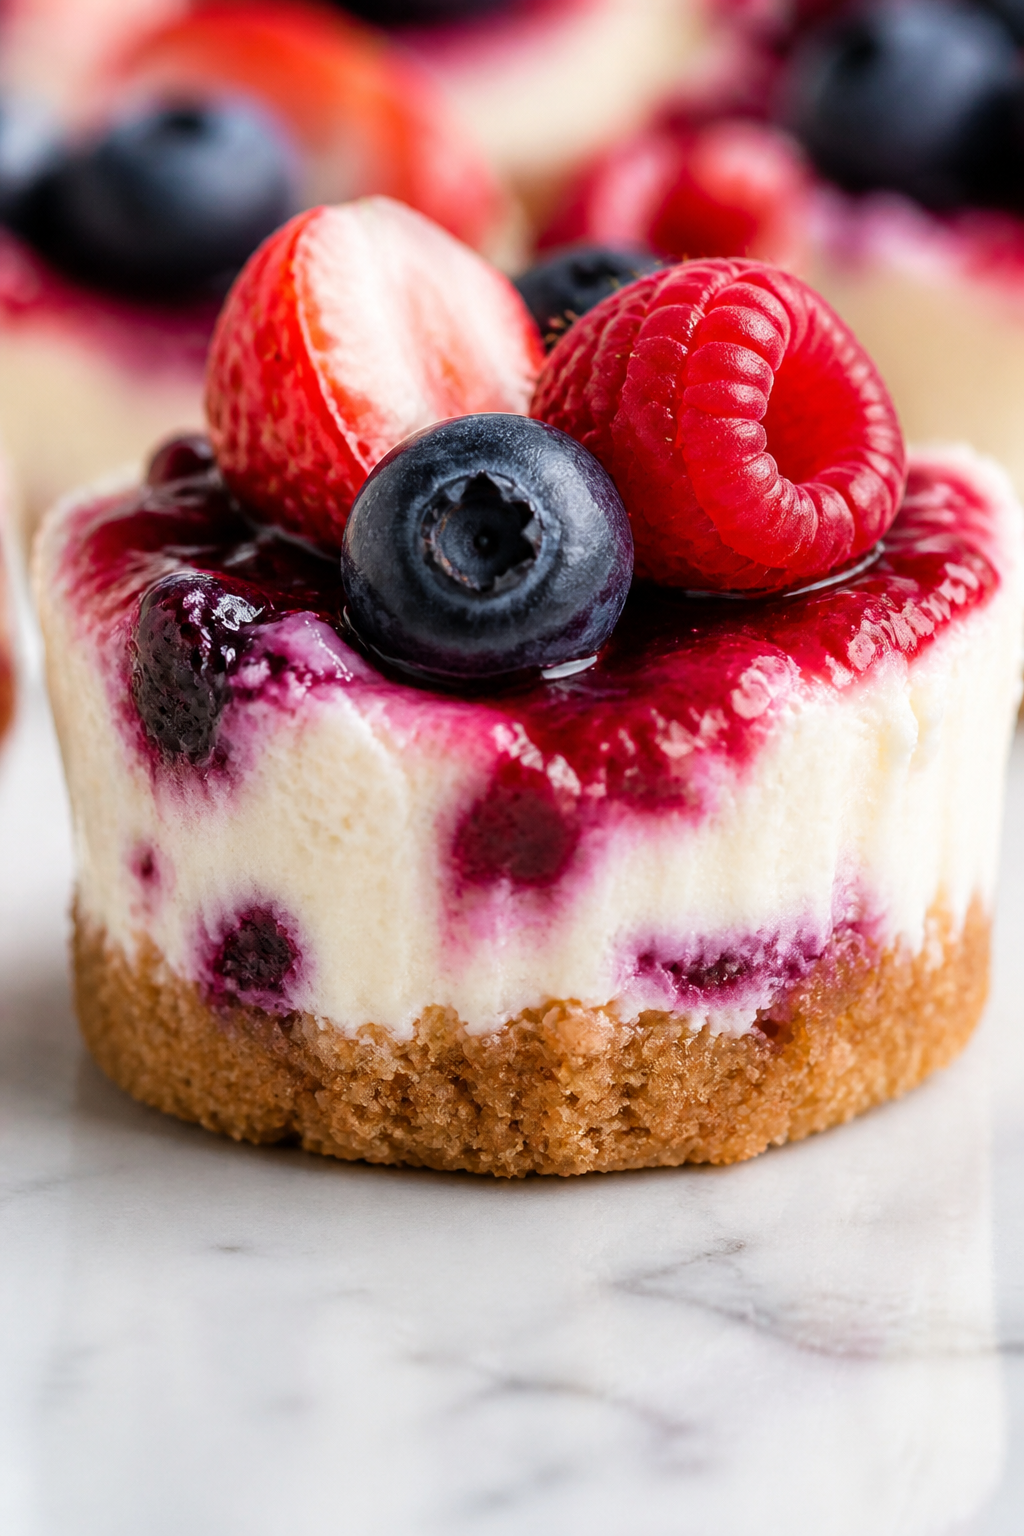
These mini cheesecakes are small bites of joy—light, creamy, with a buttery graham cracker crust and fresh berries on top. I love how easy they are to whip up for any family get-together or casual dessert. So fresh and perfect for spring!
Introduction
I first made these mini cheesecakes a couple of springs ago when I wanted a dessert that was elegant but not too heavy. The idea of individual servings felt fun and perfect for sharing at family gatherings. What sets this recipe apart is the buttery graham cracker crust that holds up well without getting soggy, plus the fresh berry topping that adds a bright, natural sweetness. I've learned that mixing the cream cheese until super smooth and folding in sour cream at the end makes the filling silky and light, avoiding that dense cheesecake feeling that sometimes happens. Also, baking them in a muffin tin lined with paper cups keeps the shape neat and makes them easy to serve. The result is a creamy, slightly tangy cheesecake with a crisp crust and juicy berries on top — it’s always a hit, especially when spring berries are in season. Honestly, the first time I rushed the baking and cracked the tops, but since then I’ve nailed the timing and it’s been smooth sailing. If you love a dessert that looks fancy but is actually simple to make, these mini cheesecakes are definitely worth trying.
How To Do It
Step 1
Preheat your oven to 325°F (163°C). Start by making the crust: combine the graham cracker crumbs, melted butter, and 1/4 cup sugar in a bowl. Mix until the crumbs are evenly coated and feel like wet sand. This step is crucial because the butter binds the crumbs into a firm crust that won’t crumble apart. Avoid adding too much butter or the crust will be greasy and soggy. Press about a tablespoon of this mixture into the bottom of each muffin cup firmly to create an even layer. Use the back of a spoon or your fingers to compact it well. This ensures a crisp base that holds up to the creamy filling.
⏱ Time: 10
✓ Doneness: Crust looks evenly packed and slightly shiny from the butter
Step 2
In a large bowl, beat the softened cream cheese with an electric mixer on medium speed until smooth and creamy, about 3-4 minutes. This step is essential to avoid lumps and a grainy texture in your cheesecake. Gradually add 2/3 cup sugar and continue beating until fully combined and fluffy. Scrape down the bowl sides to ensure everything is mixed evenly. If you rush this, you risk having a dense or uneven filling that won’t bake uniformly.
⏱ Time: 7
✓ Doneness: Mixture is smooth, creamy, and slightly fluffy with no lumps
Step 3
Add the eggs one at a time, beating on low speed just until combined after each addition. Overbeating here can incorporate too much air, leading to cracks when baking. Stir in the vanilla extract gently. The eggs provide structure and richness, so mixing them in carefully keeps the filling silky and prevents it from puffing up and falling later.
⏱ Time: 5
✓ Doneness: Smooth batter with no visible streaks of egg whites
Step 4
Fold in the sour cream using a spatula, mixing gently until just combined. This ingredient lightens the texture and adds a slight tang that balances the sweetness. Avoid vigorous mixing here to maintain the batter’s lightness and avoid deflating it.
⏱ Time: 3
✓ Doneness: Batter is smooth and creamy but not overmixed
Step 5
Spoon the cheesecake batter evenly over the prepared crusts in the muffin tin, filling each about 3/4 full. This allows room for slight rising without spilling over. Tap the pan gently on the counter to release any air bubbles trapped in the batter, which helps prevent cracks on top.
⏱ Time: 5
✓ Doneness: Batter surface is smooth and level in each cup
Step 6
Bake in the preheated oven for 25-30 minutes. The edges should be set but the center will still have a slight wobble when you gently shake the pan. This texture ensures a creamy finish once cooled. Overbaking will dry out the cheesecake and cause cracks, so keep an eye on it after 20 minutes.
⏱ Time: 30
✓ Doneness: Edges are firm and centers slightly jiggly
Step 7
Remove the cheesecakes from the oven and let them cool in the pan on a wire rack for about 15 minutes. Then transfer them to the refrigerator to chill for at least 3 hours or overnight. Chilling allows the filling to fully set and develop its creamy texture — skipping this step results in a runny cheesecake.
⏱ Time: 180
✓ Doneness: Cheesecakes are firm to the touch and cool
Step 8
Once chilled, top each mini cheesecake with a generous amount of fresh mixed berries. The berries add a fresh, tangy contrast to the rich filling and make the presentation pop. You can lightly toss the berries with a teaspoon of sugar or lemon juice beforehand to enhance their flavor if you like.
⏱ Time: 5
✓ Doneness: Bright, fresh berries evenly distributed on top
Step 9
Serve the mini cheesecakes chilled, straight from the fridge. They’re perfect for springtime gatherings or any occasion when you want a pretty, delicious dessert that’s easy to share. If you want, garnish with a mint leaf or a dusting of powdered sugar for extra flair.
⏱ Time: 0
✓ Doneness: Cheesecakes look neat and fresh, ready to enjoy
Variations
Chocolate Swirl Mini Cheesecakes
Add 1/4 cup melted dark chocolate to half the cream cheese batter and swirl into the plain batter before baking. This creates a rich marbled effect and deep chocolate flavor that pairs beautifully with berries.
Note: Swirl gently to avoid overmixing and keep distinct chocolate ribbons.
Lemon Zest and Blueberry Mini Cheesecakes
Add 1 tablespoon fresh lemon zest to the batter and top with blueberries instead of mixed berries for a bright, citrusy twist that feels fresh and summery.
Note: Make sure to zest only the yellow part to avoid bitterness.
Salted Caramel Topped Mini Cheesecakes
Drizzle homemade or store-bought salted caramel over the cooled cheesecakes just before serving for a sweet and salty flavor contrast that’s irresistible.
Note: Add caramel right before serving to avoid soggy crusts.
No-Bake Mini Cheesecakes
Skip baking by mixing cream cheese, sugar, and whipped cream, then spoon over crust and chill overnight. This version is lighter and quicker but less firm than baked.
Note: Use gelatin or agar to help set if you want a firmer no-bake cheesecake.
Nutty Crust Mini Cheesecakes
Mix 1/4 cup finely chopped toasted nuts like pecans or almonds into the graham cracker crust for added texture and a toasty flavor boost.
Note: Toast nuts lightly to enhance flavor without burning.
Pro Tips
Always soften cream cheese completely before mixing.
Softened cream cheese blends smoothly without lumps, resulting in a silky filling. Cold cream cheese resists mixing and creates grainy texture, which ruins the cheesecake's creamy mouthfeel.
Press crust firmly into muffin cups for a sturdy base.
Firmly packed crusts bake evenly and hold the filling without crumbling. Loose crumbs will fall apart and make serving messy or cause the crust to become soggy.
Beat eggs in one at a time on low speed.
Adding eggs slowly and mixing gently prevents excess air from forming, which can cause cracks or puffed tops that collapse. It ensures a smooth, stable cheesecake texture.
Use room temperature eggs for even mixing.
Cold eggs can cause the batter to seize or curdle, leading to uneven texture and baking issues. Warm eggs blend seamlessly, improving the filling’s consistency.
Chill cheesecakes overnight for best texture.
Chilling allows the filling to fully set and flavors to meld. Rushing this step results in runny filling and less defined cheesecake shape.
Gently tap the pan before baking to release air bubbles.
Air bubbles cause cracks and uneven baking. Tapping smooths the batter and helps create a uniform, crack-free surface.
Use fresh, ripe berries for topping.
Fresh berries add natural sweetness and vibrant color. Avoid frozen or underripe berries as they can be mushy or lack flavor, detracting from the dessert’s appeal.
Common Mistakes to Avoid
Overmixing the batter
Why it happens Many home cooks think beating longer leads to lighter texture but actually incorporates too much air, causing cracks and a sponge-like result.
Fix Mix just until ingredients are combined, especially after adding eggs. Use low speed and avoid prolonged beating to maintain a smooth, dense filling.
Not chilling the cheesecakes enough
Why it happens Impatience or forgetting to refrigerate leads to runny, unset filling that falls apart when served.
Fix Plan ahead and chill cheesecakes for at least 3 hours, preferably overnight, to allow the filling to firm properly.
Using cold cream cheese
Why it happens Skipping the softening step results in lumps and uneven mixing, affecting texture.
Fix Let cream cheese sit at room temperature for at least 30 minutes before mixing to ensure smooth batter.
Pressing crust too lightly
Why it happens Lightly packed crust crumbles and doesn't hold shape when cutting or serving.
Fix Use firm pressure to compact crust evenly in muffin cups for a sturdy base.
Baking at too high temperature
Why it happens High heat causes cracking and dry edges while undercooking the center.
Fix Bake at 325°F (163°C) and watch for slight wobble in center to know when to remove from oven.
Nutrition
Per Serving:
Nutritional values are estimates and may vary based on specific ingredients used.
Storage & Tips
Room Temperature
These mini cheesecakes can be kept at room temperature for up to 2 hours if covered loosely with plastic wrap or a dome. Beyond that, refrigeration is needed to keep the filling firm and safe.
Refrigerator
Store cheesecakes in an airtight container in the fridge for up to 4 days. The crust may soften slightly but the flavor remains great. Serve cold or bring to room temperature for 10-15 minutes before enjoying.
Freezer
Freeze cheesecakes individually wrapped in plastic wrap and placed in a freezer-safe container for up to 2 months. Thaw overnight in the refrigerator before serving to preserve texture and flavor.
Reheating
No reheating needed as these are best served chilled. If desired, bring to room temperature for a softer texture, but avoid microwaving to prevent melting or curdling.
Make Ahead
Prepare crust and batter up to 1 day ahead. Assemble and bake on the day you plan to serve, then chill for several hours or overnight. This ensures freshness and the best texture.
FAQ
Can I use low-fat cream cheese for this recipe?
Low-fat cream cheese tends to have more moisture and less fat, which can affect the texture and richness of the cheesecake. It may result in a less creamy, more rubbery filling. For best results, stick to full-fat cream cheese to achieve that classic smooth and rich texture.
Why did my cheesecakes crack on top?
Cracking usually happens when the batter is overmixed, too much air is incorporated, or the oven temperature is too high. To prevent cracks, mix ingredients gently, bake at a moderate temperature (325°F), and avoid sudden temperature changes. Also, cooling the cheesecakes gradually helps reduce cracking.
Can I make these without sour cream?
You can substitute sour cream with Greek yogurt or crème fraîche in equal amounts. These alternatives provide similar tang and moisture, though the flavor might slightly vary. Omitting sour cream altogether can make the cheesecake denser and less creamy.
How do I prevent the crust from getting soggy?
Pressing the crust firmly and baking it briefly before adding the filling helps it stay crisp. Also, chilling the cheesecakes fully before serving prevents moisture from softening the crust. Avoid adding wet toppings directly on the crust until serving time.
Can I prepare these mini cheesecakes in advance?
Absolutely! You can assemble and bake them a day ahead and refrigerate overnight. This actually improves flavor and texture as the filling sets fully. Just add fresh berry toppings right before serving for the best look and taste.
What’s the best way to remove mini cheesecakes from the tin?
Line the muffin cups with paper liners before pressing the crust. After chilling, gently peel off the liners to release the cheesecakes easily without breaking. If not using liners, run a thin knife around the edges before lifting them out carefully.
Can I use frozen berries for the topping?
Frozen berries can be used but should be thawed and drained well to avoid sogginess. Fresh berries provide better texture and flavor, but if frozen is all you have, toss them with a little sugar and drain excess juice before topping.
How long do these mini cheesecakes last in the fridge?
Stored properly in an airtight container, they keep well for up to 4 days. After that, the texture and flavor can start to degrade, and the crust might become soggy. Always check for freshness before serving.
Final Thoughts
Give these mini cheesecakes a try and enjoy a fresh, creamy dessert that’s perfect for sharing! I’d love to hear how yours turn out—don’t forget to share your pics!