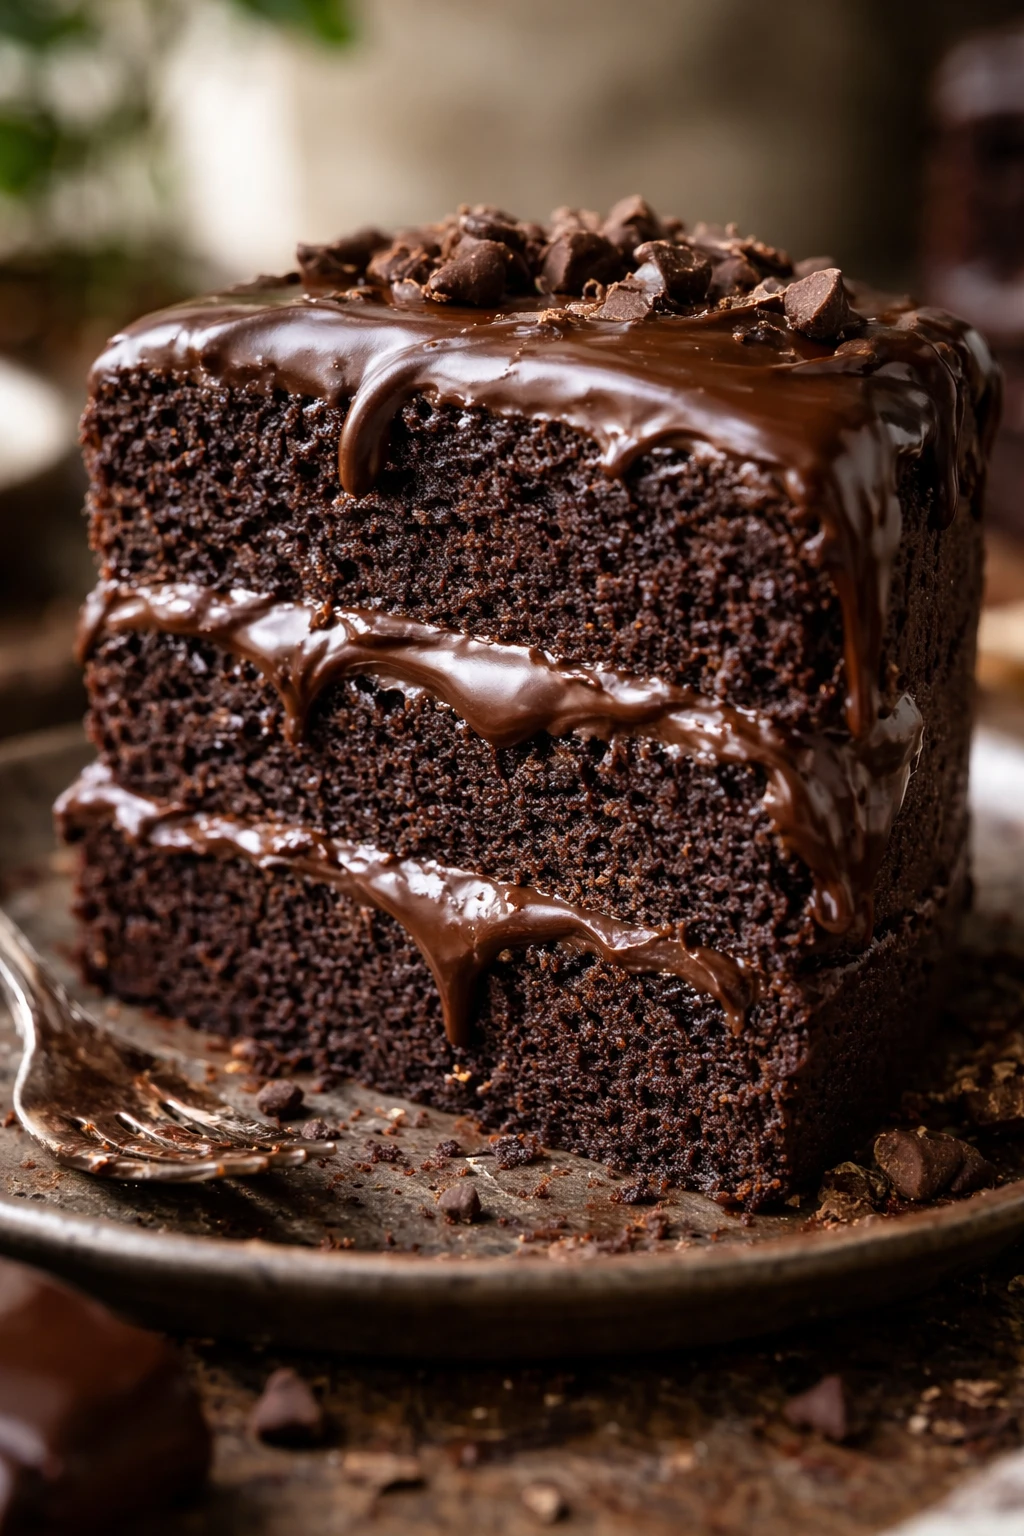
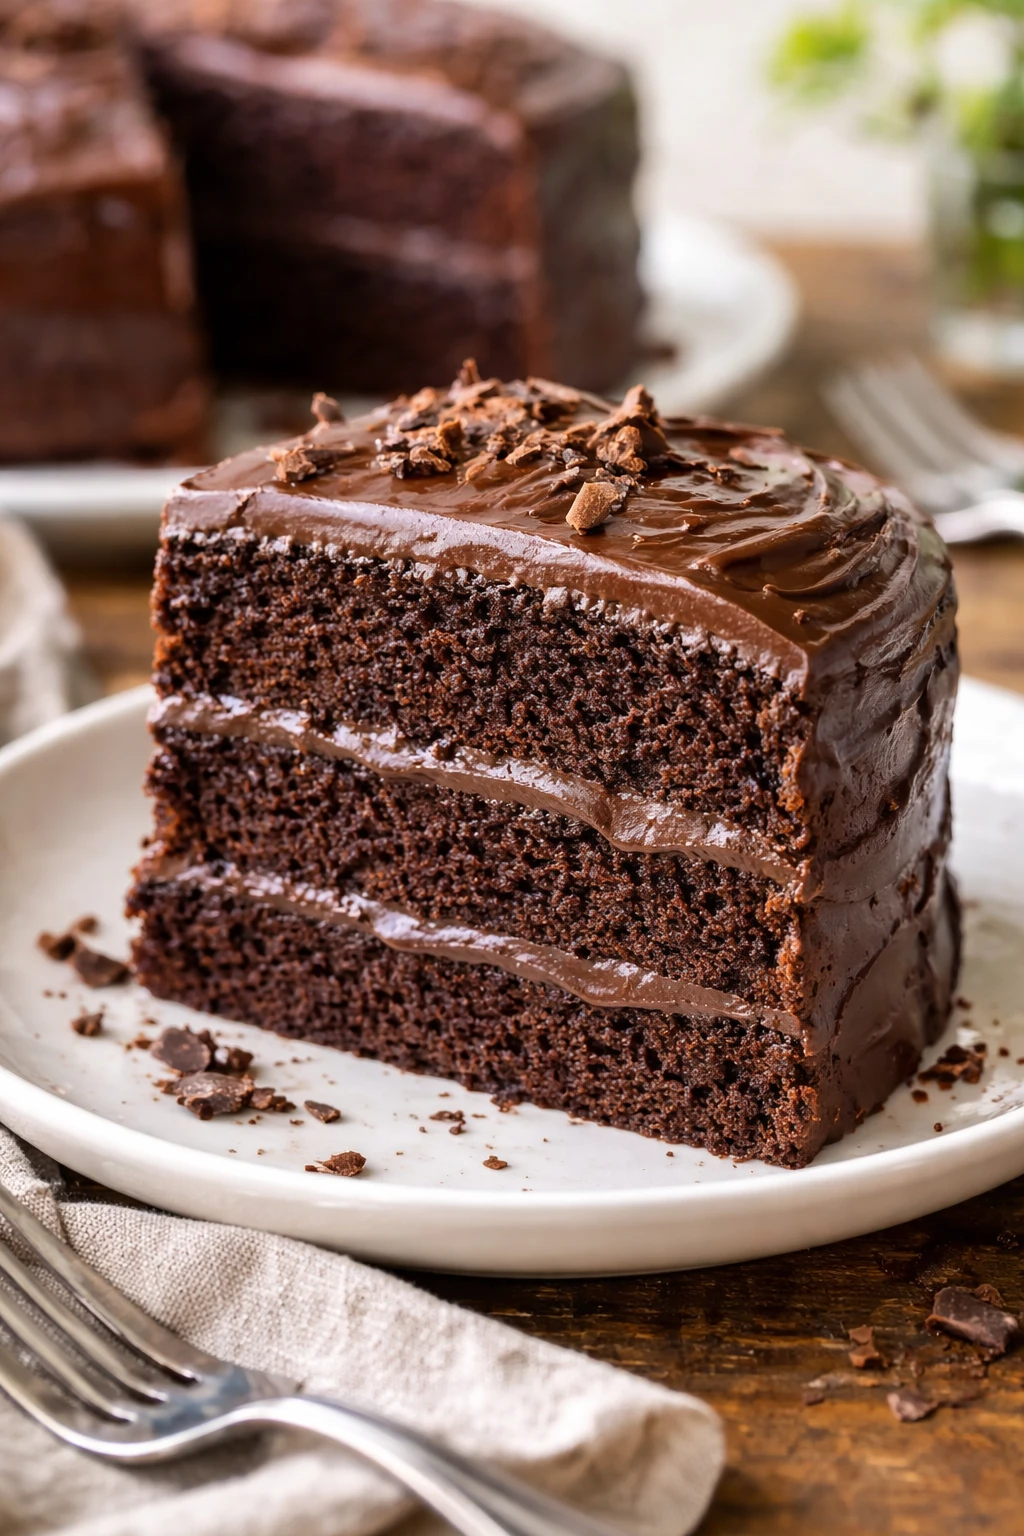
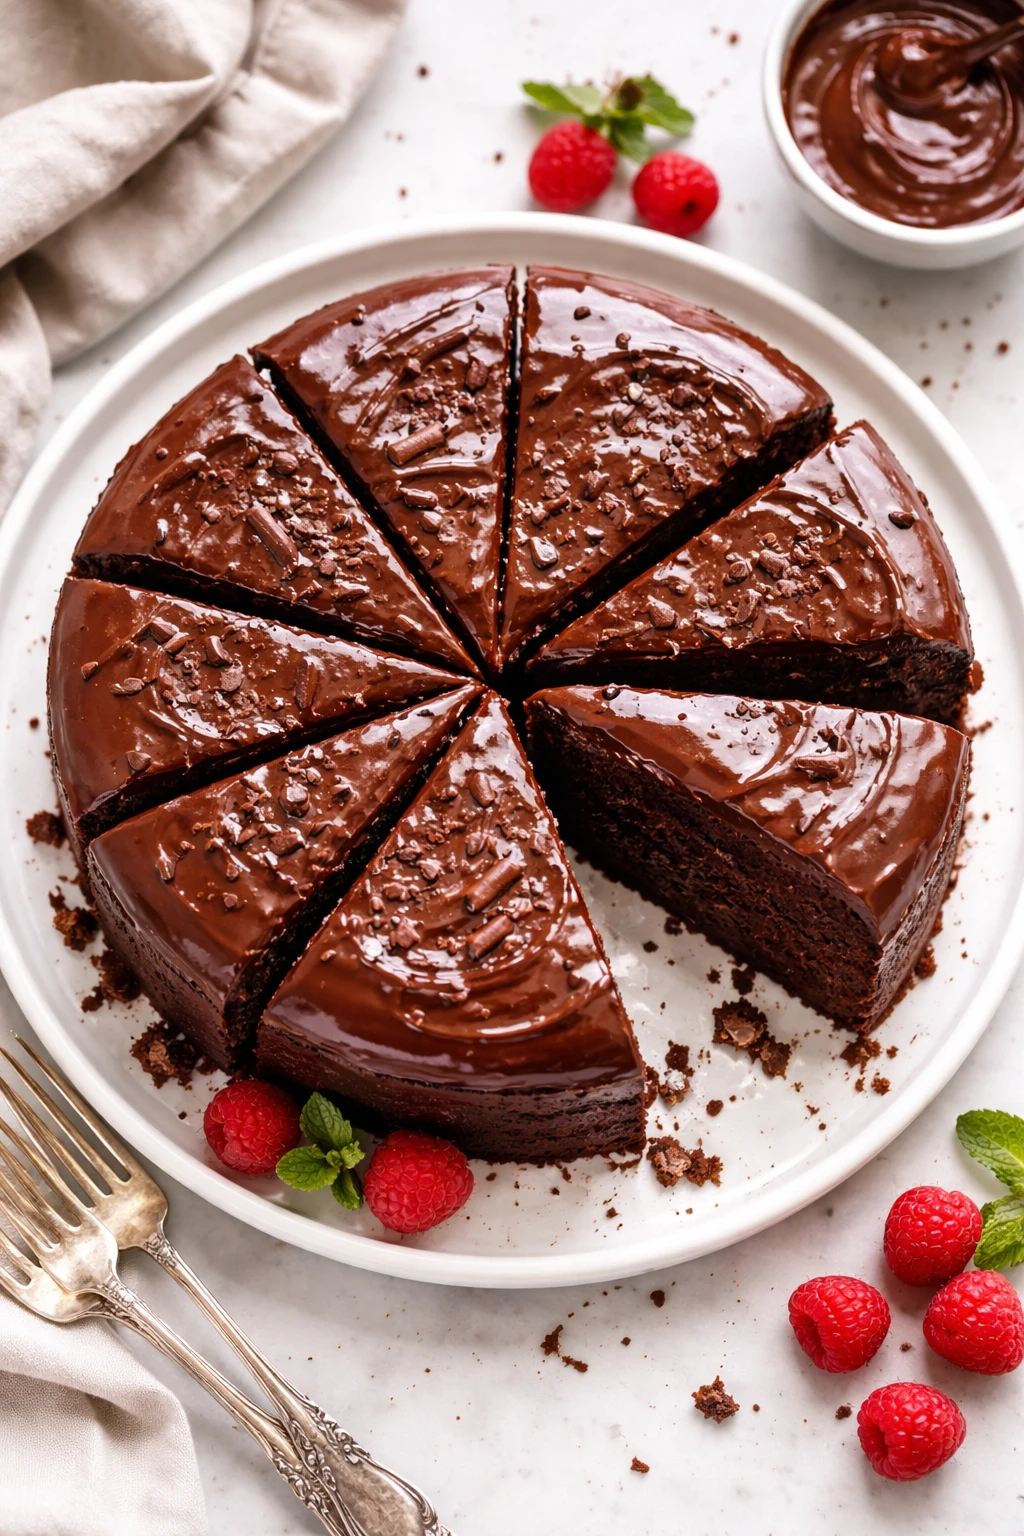
This chocolate cake is ridiculously moist and easy to whip up with just five ingredients. The silky ganache frosting is what makes it feel fancy and indulgent. Great for birthdays or whenever you need a chocolate fix!
Introduction
I've been making this chocolate cake for years, and honestly, it’s one of my all-time favorites because it’s so simple yet incredibly moist. The first time I baked it, I was surprised by how rich and tender the crumb was despite using only five main ingredients. What really sets this cake apart is the silky ganache frosting — it adds a luxurious touch without any fuss. I’ve tried more complicated recipes, but this one always wins for its ease and impressive results. The trick I learned is to mix the wet and dry ingredients gently and add hot water at the end to bloom the cocoa, which makes the chocolate flavor pop and keeps the cake super moist. When it’s done, you get a tender, velvety cake with a glossy ganache that’s smooth and melts in your mouth. It’s perfect for birthdays, casual get-togethers, or just because you want to treat yourself. Plus, it’s a great recipe to make with kids or when you’re short on time but still want something delicious. I think you’ll love how this cake feels both homey and a little fancy with the ganache finish — it’s the best of both worlds!
What You'll Need
One 9-inch round cake, approximately 8 servings
- 1 cup all-purpose flour, sifted
- 1 cup granulated sugar
- 1/2 cup unsweetened cocoa powder, sifted
- 1 teaspoon baking powder
- 1/2 teaspoon salt
- 1/2 cup vegetable oil
- 2 large eggs
- 1 teaspoon vanilla extract
- 1/2 cup hot water
- 8 ounces semisweet chocolate, chopped
- 1/2 cup heavy cream
How To Do It
Step 1
Preheat your oven to 350°F (175°C) and grease a 9-inch round cake pan. This step is important because a properly greased pan prevents sticking and ensures your cake comes out cleanly. Use parchment paper at the bottom if you want extra insurance. Greasing also helps the cake cook evenly by allowing heat to circulate properly around the pan edges.
⏱ Time: 10 minutes
✓ Doneness: The pan should be evenly coated with no bare spots or excess grease pooling.
Step 2
In a large mixing bowl, sift together the flour, sugar, cocoa powder, baking powder, and salt. Sifting helps remove lumps and aerates the dry ingredients, which gives the cake a lighter texture. Mixing these dry ingredients evenly is crucial because uneven distribution can lead to pockets of baking powder or cocoa, affecting both rise and flavor.
⏱ Time: 5 minutes
✓ Doneness: The mixture should look uniform with no clumps, and feel light when stirred.
Step 3
Add the vegetable oil, eggs, and vanilla extract to the dry ingredients. Mix gently with a whisk or spatula until just combined. Overmixing here can develop gluten, making the cake dense and tough, so be careful to stop as soon as you see no flour streaks. The batter will be thick but smooth.
⏱ Time: 3 minutes
✓ Doneness: Batter should be homogenous and slightly thick without lumps.
Step 4
Slowly pour in the hot water while stirring gently. The hot water blooms the cocoa powder, intensifying the chocolate flavor and loosening the batter to create a moist crumb. Be sure to add the water gradually to avoid splashing and ensure it’s fully incorporated.
⏱ Time: 2 minutes
✓ Doneness: Batter will become thinner and shiny, with a rich chocolate color.
Step 5
Pour the batter into the prepared pan and smooth the top with a spatula. This ensures the cake bakes evenly and has a nice, flat surface for frosting. Tap the pan gently on the counter to release any air bubbles trapped in the batter.
⏱ Time: 3 minutes
✓ Doneness: Surface should be smooth and even with no large air pockets.
Step 6
Bake in the preheated oven for 30 minutes. Avoid opening the oven door during the first 20 minutes to prevent the cake from collapsing. Start checking doneness by inserting a toothpick into the center; it should come out with a few moist crumbs but no raw batter.
⏱ Time: 30 minutes
✓ Doneness: Toothpick comes out mostly clean with some moist crumbs attached.
Step 7
Remove the cake from the oven and let it cool in the pan for 15 minutes. Cooling slightly helps the cake firm up and makes it easier to remove from the pan without breaking. Don’t rush this step — cutting too soon can cause the cake to crumble.
⏱ Time: 15 minutes
✓ Doneness: Edges pull away slightly from the pan, and the top feels set.
Step 8
Turn the cake out onto a wire rack to cool completely before frosting. This prevents condensation from making the cake soggy underneath the ganache. A fully cooled cake also ensures the ganache sets properly and doesn’t slide off.
⏱ Time: 30-45 minutes
✓ Doneness: Cake is cool to the touch and no longer warm in the center.
Step 9
To make the ganache, heat the heavy cream just until it simmers, then pour it over the chopped chocolate. Let it sit for 2-3 minutes without stirring to allow the chocolate to melt gently. Then stir until smooth and glossy. This method creates a silky texture by emulsifying the fat and chocolate evenly.
⏱ Time: 10 minutes
✓ Doneness: Ganache is shiny, smooth, and thick enough to coat the back of a spoon.
Step 10
Pour the ganache over the cooled cake, using a spatula to spread it evenly or letting it drip naturally for a rustic look. Let it set at room temperature for about 30 minutes before slicing. This resting time allows the ganache to firm up just enough for clean slices without cracking.
⏱ Time: 30 minutes
✓ Doneness: Ganache is set but still soft and glossy on top.
Variations
Add Espresso for a Mocha Twist
Mix 1 tablespoon of instant espresso powder into the hot water before adding to the batter. This deepens the chocolate flavor with a subtle coffee note, perfect for coffee lovers who want a richer cake experience.
Note: Espresso powder dissolves easily in hot water and intensifies chocolate without adding liquid, so no adjustment to other liquids is needed.
Use Dark Chocolate for a More Intense Ganache
Swap semisweet chocolate for 70% dark chocolate in the ganache. This creates a slightly less sweet, more complex flavor that pairs beautifully with the moist cake base.
Note: Dark chocolate ganache may set a bit firmer, so adjust cream quantity slightly if you want a softer finish.
Make It Gluten-Free
Use a gluten-free all-purpose flour blend in place of regular flour. This keeps the texture tender and moist, making the cake accessible for gluten-sensitive friends and family.
Note: Choose a blend with xanthan gum included to maintain structure; baking time may vary slightly.
Add Fresh Berries Between Layers
If you bake this cake in two layers, adding fresh raspberries or strawberries between them adds a pop of freshness and tartness that balances the rich chocolate beautifully.
Note: Make sure the berries are dry to avoid soggy layers and add a thin spread of ganache to help hold them in place.
Make Mini Cupcakes Instead
Divide the batter into lined muffin tins and bake for 18-20 minutes for perfect individual servings. These are great for parties or portion control.
Note: Keep an eye on baking time as smaller portions cook faster; test with a toothpick starting at 18 minutes.
Pro Tips
Always sift your dry ingredients before mixing.
Sifting removes lumps and aerates the flour and cocoa, which helps the batter mix evenly and results in a lighter, more tender cake. Skipping this step can cause uneven texture and pockets of dry ingredients.
Use room temperature eggs for best results.
Room temperature eggs combine more easily with other ingredients, creating a smoother batter and better emulsification. Cold eggs can cause the batter to seize or mix unevenly, affecting texture and rise.
Don’t overmix the batter once wet and dry ingredients are combined.
Overmixing develops gluten in the flour, making the cake dense and chewy instead of tender and soft. Mixing just until combined preserves a delicate crumb structure.
Add the hot water slowly while stirring gently.
The hot water blooms the cocoa powder, enhancing chocolate flavor and loosening the batter. Adding it too quickly or stirring too vigorously can cause splashing or uneven mixing, impacting texture.
Let the cake cool completely before frosting.
Frosting a warm cake causes condensation, which can make the ganache slide off or the cake soggy. Patience here ensures a neat, glossy finish that holds up well.
Heat the cream just to simmer, not boil, for ganache.
Overheating cream can cause it to separate or scorch, ruining the smooth emulsion with chocolate. Gentle heating preserves texture and flavor.
Use a wire rack to cool the cake.
Cooling on a rack allows air to circulate under the cake, preventing moisture buildup that can make the bottom soggy. This helps maintain texture and supports even cooling.
Common Mistakes to Avoid
Overbaking the cake
Why it happens It’s easy to leave the cake in too long, especially if you don’t check it at the right time or rely solely on a timer.
Fix Start checking the cake about 5 minutes before the minimum baking time. Use a toothpick inserted in the center; it should come out with moist crumbs, not dry or wet batter. Removing it promptly keeps the cake moist and tender.
Skipping the sifting step
Why it happens People often want to save time and assume it’s not necessary.
Fix Take a few extra minutes to sift the dry ingredients. This prevents lumps and ensures even distribution of baking powder and cocoa, which is crucial for texture and rise.
Adding hot water too quickly
Why it happens In a hurry, you might pour it all at once without stirring gradually.
Fix Pour the hot water slowly while stirring gently to fully bloom the cocoa and avoid splashes or uneven batter consistency.
Frosting the cake while it’s still warm
Why it happens Impatience or misunderstanding of cooling importance.
Fix Always wait until the cake is completely cool before adding ganache. This prevents melting and sliding, giving you a smooth finish.
Using cold eggs
Why it happens Sometimes eggs are used straight from the fridge without time to warm up.
Fix Let eggs sit at room temperature for about 30 minutes before mixing. This helps with better emulsification and a uniform batter.
Nutrition
Per Serving:
Nutritional values are estimates and may vary based on specific ingredients used.
Storage & Tips
Room Temperature
This cake can be kept covered at room temperature for up to 2 days. Use a cake dome or airtight container to prevent it from drying out. Avoid direct sunlight or warm spots which can cause the ganache to soften excessively.
Refrigerator
Store the cake in an airtight container or wrapped tightly with plastic wrap for up to 5 days. The ganache will firm up in the fridge, so let the cake sit at room temperature for 20-30 minutes before serving to soften the frosting and enhance flavor.
Freezer
Wrap the cake tightly in plastic wrap and then foil to prevent freezer burn. Freeze for up to 2 months. Thaw overnight in the refrigerator, then bring to room temperature before serving. Ganache texture may slightly change but will still taste delicious.
Reheating
If you want to warm slices, use a microwave on low power for 10-15 seconds or warm gently in an oven at 300°F wrapped in foil for 10 minutes. Avoid overheating, which can melt the ganache and dry the cake. Adding a splash of cream before warming can help retain moisture.
Make Ahead
You can bake the cake layers a day ahead and keep them wrapped at room temperature. Prepare the ganache the same day you plan to serve for the freshest, glossiest finish. Assemble and frost just a few hours before serving for best results.
FAQ
Can I substitute butter for vegetable oil in this cake?
You can, but using butter will change the texture and moisture level. Butter solidifies at room temperature, which can make the cake denser and drier over time. If you do substitute, melt the butter and cool it before mixing, but expect a slightly different crumb.
Why does the recipe call for hot water?
Hot water is crucial for unlocking the full chocolate flavor and achieving the perfect moistness in the cake.
Can I make this cake gluten-free?
Gluten-free blends often require careful mixing and timing but work well here.
How long will the ganache stay smooth without refrigeration?
Room temperature storage is fine short-term but refrigeration extends freshness.
Can I use milk chocolate instead of semisweet for the ganache?
Milk chocolate ganache will be softer and sweeter, altering the flavor profile.
Why is my cake dense and not moist?
Moisture and lightness depend on careful mixing and baking.
Can I freeze the cake with ganache already applied?
Freezing assembled cake is convenient but requires proper wrapping and thawing.
How do I get smooth ganache without lumps?
Heating and gentle stirring are key to a glossy, lump-free ganache.
Final Thoughts
I hope you enjoy making this simple yet luscious chocolate cake as much as I do. Don’t forget to share your results and any tweaks you try — I love hearing from you!