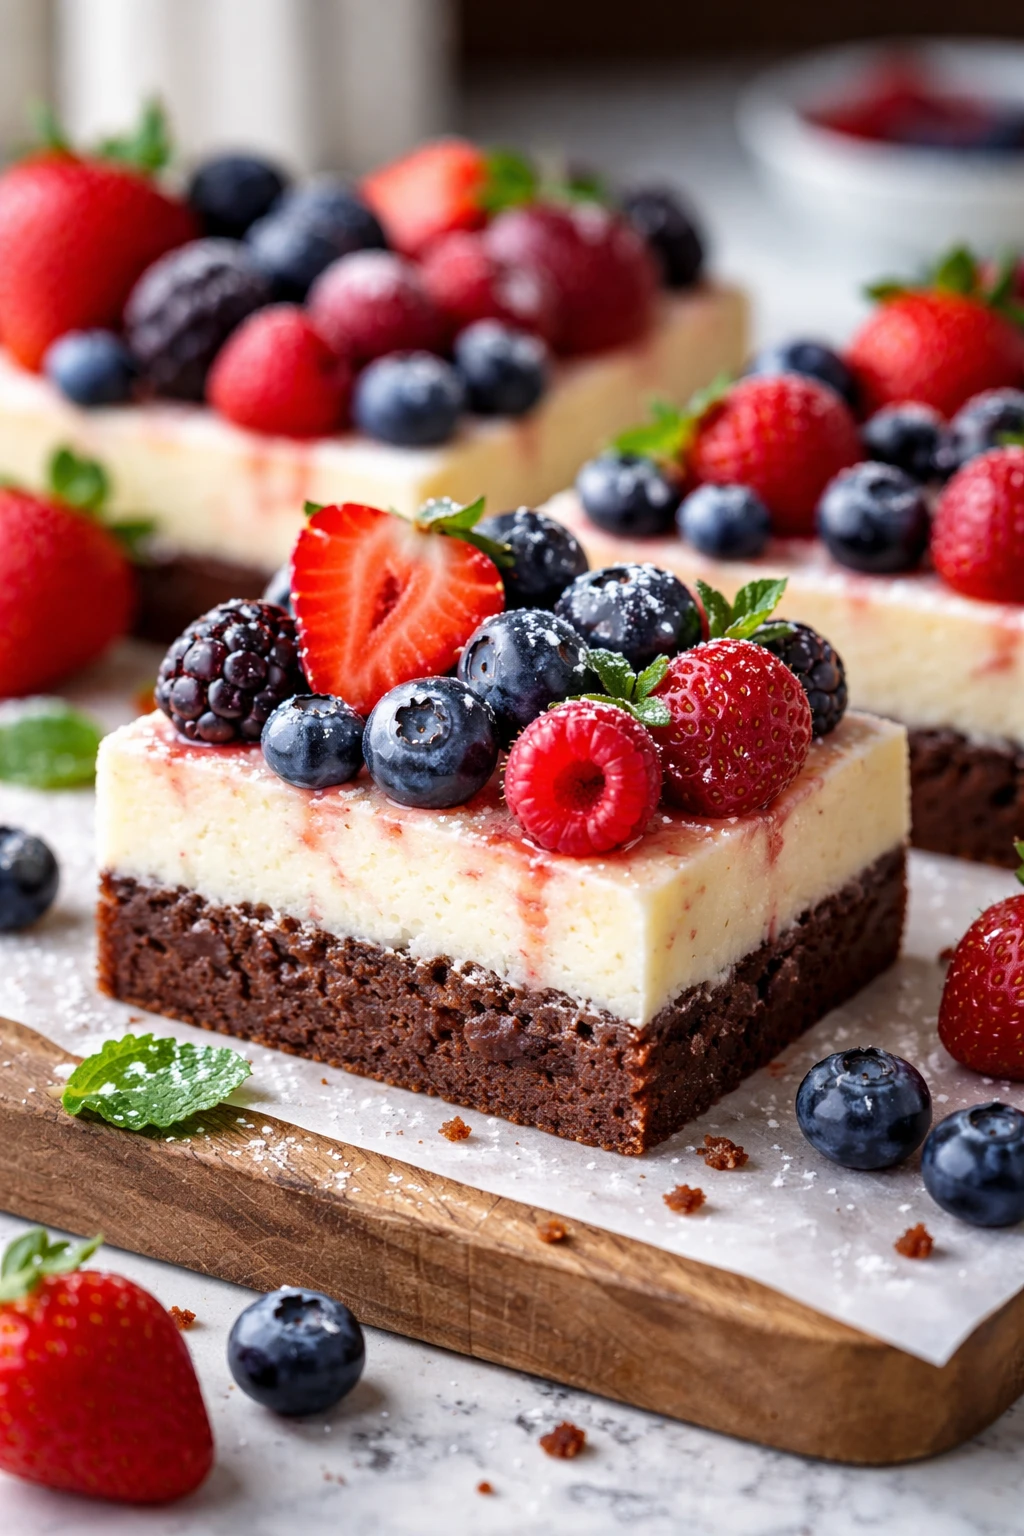
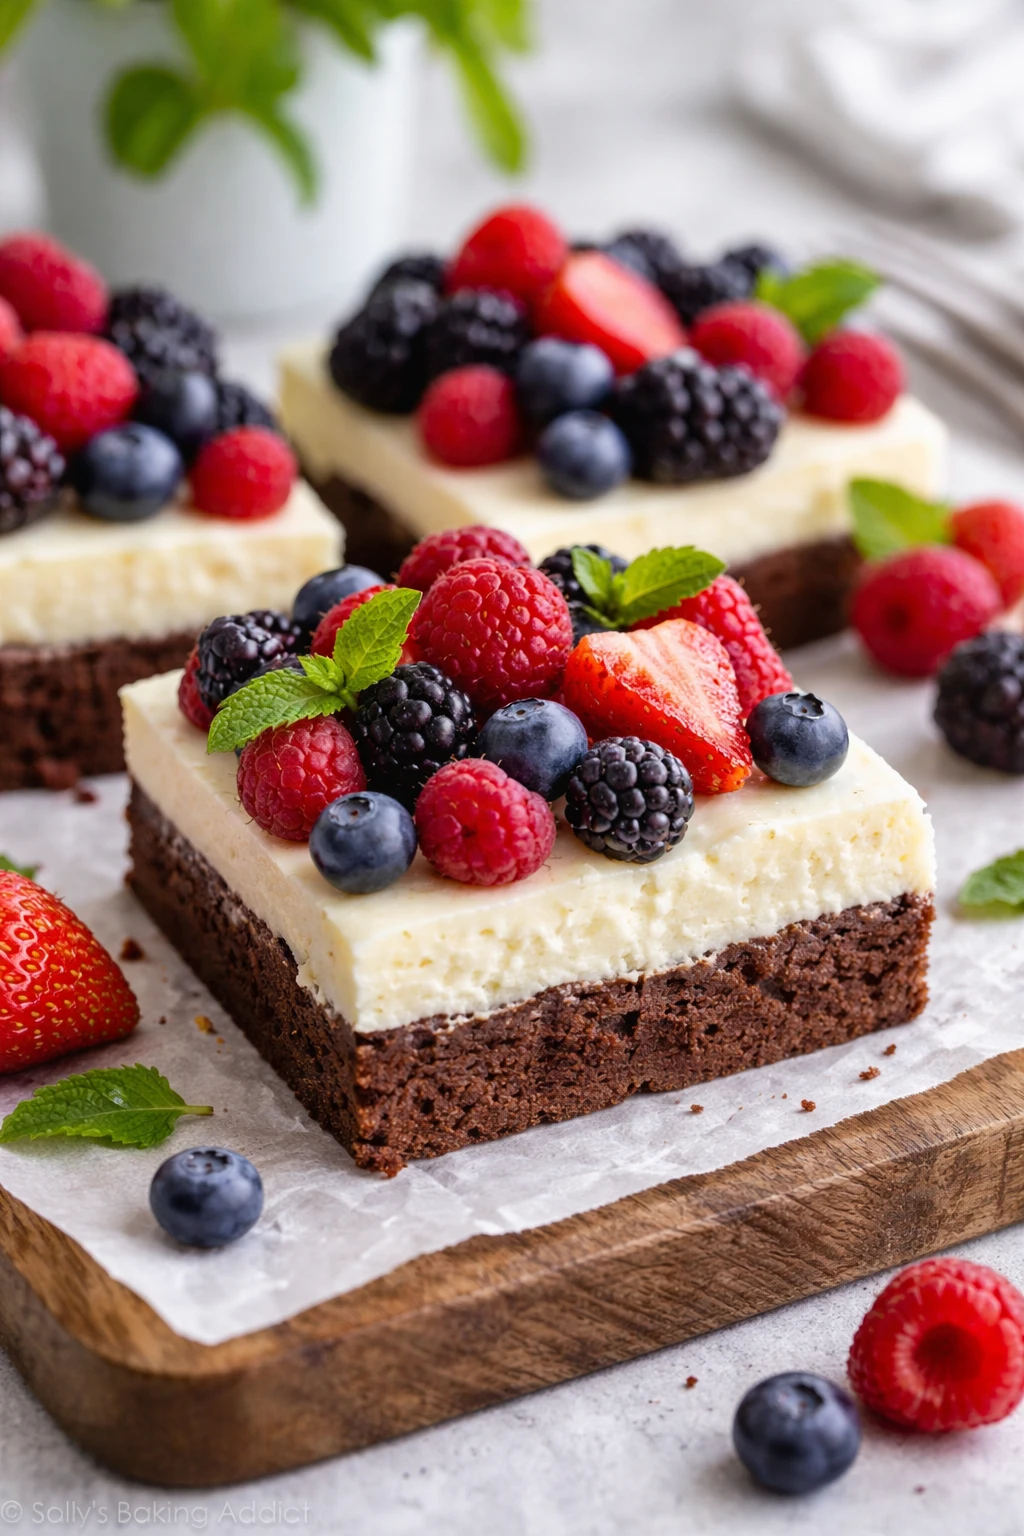
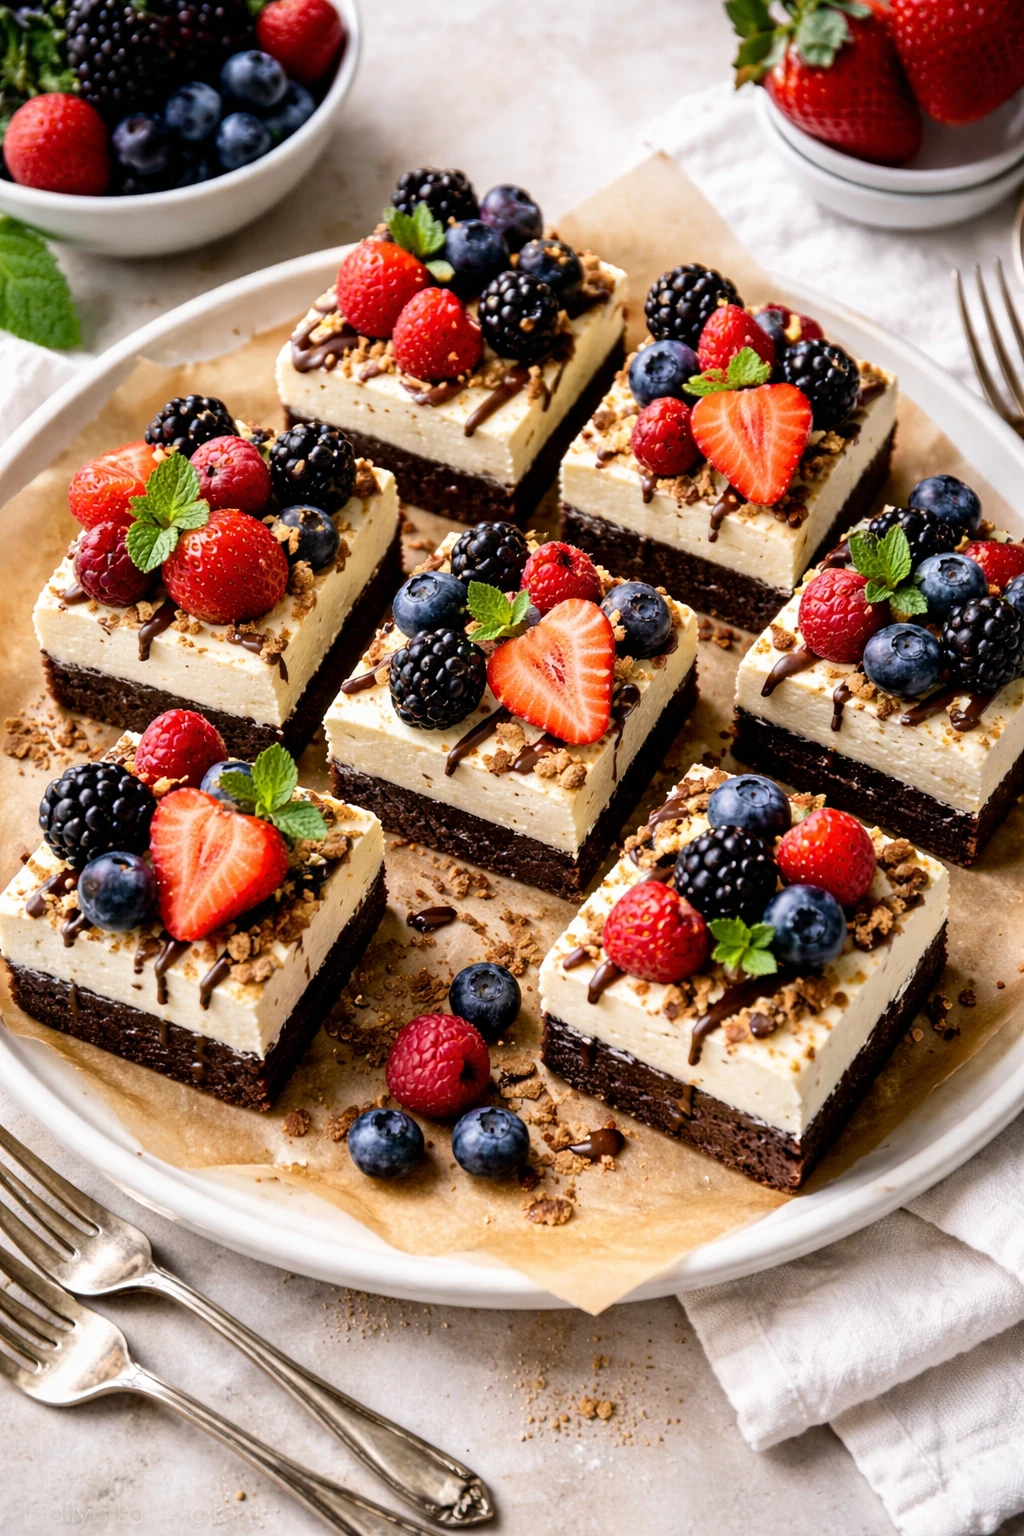
These no bake cheesecake brownie bars combine fudgy chocolate and creamy cheesecake topped with fresh berries. They're super easy to make and perfect for summer get-togethers or anytime you want a fancy but fuss-free dessert.
Introduction
I first made these no bake cheesecake brownie bars on a sweltering summer afternoon when I didn’t want to heat up the kitchen. I’d been craving something rich and chocolaty but also light and refreshing, and this combo hit the spot perfectly. What makes these bars stand out for me is how the fudgy chocolate cookie crust pairs with the silky cream cheese layer, all topped with fresh berries that add a burst of brightness. I experimented with baking a brownie base initially, but the no bake cookie crust is much easier and keeps the texture perfectly chewy without drying out. The trick I learned is to whip the cream just right so it folds smoothly into the cream cheese mix, giving the bars a light, airy feel instead of dense heaviness. Once chilled, these bars slice cleanly and look beautiful with the colorful berries on top. They’re my go-to for summer potlucks or when I want a dessert that feels fancy but is super simple to pull together.
How To Do It
Step 1
Start by making the crust. Combine the finely crushed chocolate cookie crumbs with melted butter in a bowl. Stir until the crumbs are evenly coated and start to clump together. This step is crucial because the butter binds the crumbs, giving the crust its chewy texture. Press the mixture firmly into the bottom of an 8x8 inch pan lined with parchment paper. Firm pressure ensures the crust holds together when you slice later. Avoid pressing too lightly or it will crumble; too hard and it becomes overly dense. Aim for an even, compact layer. Place the pan in the fridge to chill while you prepare the filling.
⏱ Time: 10
✓ Doneness: Crust is firm and evenly packed in the pan with no loose crumbs.
Step 2
In a mixing bowl, beat the softened cream cheese with powdered sugar and vanilla extract until smooth and creamy. This step smooths out any lumps and sweetens the filling. Make sure your cream cheese is softened to room temperature beforehand — cold cream cheese will clump and make it harder to get a smooth texture. Scrape down the sides of the bowl to incorporate everything evenly. Once smooth, gently fold in the whipped heavy cream. Folding preserves the airiness of the whipped cream, giving the filling a light texture. Mixing too vigorously will deflate the cream and make the bars dense.
⏱ Time: 10
✓ Doneness: Filling is smooth, airy, and evenly combined without streaks.
Step 3
Pour half of the cream cheese filling over the chilled crust and spread it evenly with a spatula. Then drizzle half of the melted chocolate chips over the filling and swirl gently with a knife to create a marbled effect. Repeat with the remaining filling and chocolate for a pretty layered look. This marbling not only looks beautiful but adds bursts of rich chocolate flavor throughout the bars. Be careful not to over-swirl or the layers will blend completely. A gentle swirling is enough to create a lovely pattern.
⏱ Time: 5
✓ Doneness: Smooth, even filling layers with visible chocolate swirls.
Step 4
Cover the pan with plastic wrap and chill the bars in the refrigerator for at least 4 hours, preferably overnight. This chilling time allows the filling to set firmly and the flavors to meld. Resist the urge to cut into them too soon — if the bars aren’t fully chilled, they will be too soft and messy to slice cleanly. Overnight chilling also improves texture, making the bars creamy but firm enough to hold their shape.
⏱ Time: 240
✓ Doneness: Filling is set and firm to the touch but still creamy.
Step 5
Before serving, top the bars generously with fresh mixed berries like strawberries, blueberries, and raspberries. The fresh fruit adds a bright, juicy contrast to the rich chocolate and creamy cheesecake layers. Wash and dry the berries thoroughly to avoid excess moisture that could sog the bars. Arrange them artfully for a pretty presentation. You can also add a light dusting of powdered sugar for an elegant touch.
⏱ Time: 10
✓ Doneness: Fresh berries are evenly arranged and vibrant in color.
Step 6
Use a sharp knife to cut the bars into squares. For clean cuts, wipe the knife blade with a warm damp cloth between slices. This prevents the creamy filling from sticking and tearing. Cutting chilled bars is easier, so keep them refrigerated until just before serving. If the bars warm too much, the filling can soften and the slices won’t hold.
⏱ Time: 5
✓ Doneness: Bars slice cleanly with smooth edges and intact layers.
Step 7
Serve the bars chilled for the best texture and flavor. They make a perfect dessert for summer parties, picnics, or anytime you want a fuss-free yet impressive sweet treat. Leftovers can be stored covered in the fridge for up to three days. Enjoy them cold or let sit at room temperature for a few minutes to soften slightly before eating.
⏱ Time: 0
✓ Doneness: Bars are cool and firm but creamy when eaten.
Step 8
If you want to make these bars ahead for a crowd, prepare them the day before. The flavors deepen overnight, and the texture improves as the filling firms up. Just remember to add the fresh berries right before serving to keep them vibrant and fresh.
⏱ Time: 0
✓ Doneness: Bars are fully set and berries are freshly added.
Step 9
To add a little extra flair, consider drizzling some melted white chocolate or a berry coulis over the bars just before serving. This adds a lovely visual contrast and an extra layer of flavor that guests will notice. Keep the drizzle light so it doesn’t overpower the delicate cheesecake filling.
⏱ Time: 5
✓ Doneness: Light decorative drizzle enhances appearance without overwhelming.
Variations
Chocolate Peanut Butter Cheesecake Bars
Swap half the cream cheese filling with peanut butter for a rich, nutty twist. Top with chopped peanuts and a drizzle of melted peanut butter for extra indulgence. This variation adds a salty-sweet contrast to the chocolate crust and creamy filling.
Note: Peanut butter makes the filling denser, so whip the cream a bit stiffer to maintain lightness.
Lemon Berry No Bake Cheesecake Bars
Add 2 tablespoons lemon juice and zest to the cream cheese filling for a bright, citrusy flavor. Use blueberries and raspberries on top to complement the tartness. This version feels refreshing and perfect for spring or summer days.
Note: Lemon juice thins the filling slightly; chill longer to ensure it sets firmly.
Vegan No Bake Cheesecake Brownie Bars
Use vegan cream cheese and coconut cream whipped to replace dairy. Choose vegan chocolate cookies for the crust. This makes a dairy-free, plant-based dessert that doesn’t skimp on creaminess or flavor.
Note: Coconut cream whips differently than heavy cream; chill cans overnight and scoop solid part only for best results.
Espresso Swirled Cheesecake Bars
Mix 1 tablespoon instant espresso powder into the melted chocolate before swirling. The coffee flavor enhances the chocolate richness and adds a sophisticated adult twist. Perfect for coffee lovers.
Note: Dissolve espresso powder fully in warm chocolate to avoid graininess in swirls.
Salted Caramel Drizzle Bars
Drizzle homemade or store-bought salted caramel sauce over the chilled bars before adding berries. The sweet-salty caramel pairs beautifully with the creamy cheesecake and chocolate crust for an indulgent dessert.
Note: Add caramel just before serving to prevent soggy bars.
Pro Tips
Press the crust firmly and evenly to avoid crumbling when slicing.
Firm pressure compacts the crumbs and butter, which helps the crust hold together as a solid base. If the crust is too loose or uneven, the bars will fall apart when cut or served. Compacting also ensures a chewy brownie-like texture rather than a crumbly mess.
Soften cream cheese fully before mixing to get a smooth filling.
Cold cream cheese doesn’t mix well and tends to form lumps. Softening it to room temperature allows it to blend evenly with sugar and vanilla, producing a silky texture without graininess. This simple step makes a big difference in the final mouthfeel.
Fold whipped cream gently into the cream cheese mixture to keep it airy.
Folding preserves the air bubbles whipped into the cream, which lightens the filling. Stirring or beating vigorously after adding whipped cream will deflate it, resulting in a dense, heavy filling instead of the desired fluffy texture.
Chill bars overnight for best set and flavor melding.
The filling needs time to firm up for clean slicing, and chilling also allows the flavors to deepen and meld. Cutting bars too soon will cause them to be soft and messy. Overnight chilling guarantees a creamy yet firm texture.
Use a warm, clean knife for slicing bars.
Wiping the knife clean and warming it slightly before each cut prevents sticking and tearing of the creamy filling. A cold or dirty knife drags through the layers, ruining the neat edges and marbled appearance.
Add fresh berries just before serving to keep them vibrant.
Berries release moisture over time which can make the bars soggy. Adding them last keeps the fruit fresh and the bars firm. It also ensures the berries look bright and appetizing on presentation.
Use quality chocolate chips or melt good chocolate for the swirl.
Good quality chocolate melts smoothly and has a richer flavor, enhancing the swirled layers. Cheaper chocolate chips may contain stabilizers that affect melting and texture, resulting in clumps or grainy swirls.
Common Mistakes to Avoid
Not softening cream cheese enough
Why it happens Many cooks rush the process or forget to plan ahead, trying to mix cold cream cheese that’s too firm to blend smoothly.
Fix Always take the cream cheese out of the fridge at least 30 minutes before starting or microwave in short bursts (10 seconds) until soft but not melted. This ensures a smooth, lump-free filling.
Overmixing after adding whipped cream
Why it happens It’s tempting to fully blend everything, but vigorous mixing deflates the whipped cream’s air bubbles.
Fix Use a gentle folding motion with a spatula to combine the whipped cream just until no streaks remain. This keeps the filling light and fluffy.
Pressing the crust unevenly
Why it happens In a hurry, some don’t press the crust firmly or evenly, leading to a crumbly base.
Fix Use the bottom of a glass or measuring cup to press the crust evenly and firmly into the pan. Check that the layer is compacted before chilling.
Cutting bars before they’re fully chilled
Why it happens Impatience or last-minute prep leads to slicing too soon when the filling is still soft.
Fix Plan ahead to chill the bars for at least 4 hours or overnight. If short on time, freeze for 1-2 hours before slicing for firmer results.
Adding berries too early
Why it happens Wanting to prepare everything in advance, some add berries before chilling.
Fix Add fresh berries only just before serving to keep them fresh and prevent sogginess from moisture released during chilling.
Nutrition
Per Serving:
Nutritional values are estimates and may vary based on specific ingredients used.
Storage & Tips
Room Temperature
These bars can be kept at room temperature for up to 2 hours if covered to protect from dust or insects. Beyond that, the cream cheese filling may soften too much and lose firmness.
Refrigerator
Store bars in an airtight container in the fridge for up to 3 days. The texture remains creamy and firm. Serve chilled or let sit out 10-15 minutes before eating for softer texture. Berries should be fresh to avoid sogginess.
Freezer
Freeze bars for up to 1 month. Wrap tightly in plastic wrap and then foil to prevent freezer burn. Thaw overnight in the fridge. Texture may soften slightly but still delicious. Add fresh berries after thawing.
Reheating
No reheating is needed or recommended as these bars are best served cold. If desired, let sit at room temperature for 10-15 minutes to soften slightly before serving.
Make Ahead
Prepare the crust and filling the day before serving. Chill overnight to set. Add fresh berries just before serving to keep them vibrant and fresh. This saves time and ensures the bars are perfectly set.
FAQ
Can I use a brownie mix instead of cookie crumbs for the crust?
Using a brownie mix for the crust isn’t recommended since it requires baking and changes the texture. The cookie crumb crust is designed to set without baking and stay chewy. If you want a baked brownie base, you’d need to bake it first and adjust the recipe accordingly.
What can I substitute for heavy cream in the filling?
You can use coconut cream as a dairy-free alternative. Chill the coconut milk cans overnight and scoop out the solid cream part to whip. Keep in mind it adds a slight coconut flavor, which can be delicious but different from traditional heavy cream.
How do I prevent the crust from becoming soggy?
Pressing the crust firmly and chilling it before adding the filling helps it hold up. Also, make sure berries are dry when added and add them just before serving to avoid moisture seeping into the crust.
Can I make these bars gluten-free?
Yes! Use gluten-free chocolate cookies for the crust and ensure all other ingredients are gluten-free. The recipe works just as well and tastes delicious with gluten-free crumbs.
Why is my filling too runny?
This usually happens if the cream cheese wasn’t softened properly or if the whipped cream was overfolded and deflated. Also, adding too much liquid flavoring can thin the filling. Make sure to follow the folding technique gently and chill the bars long enough to set.
Can I freeze the bars with berries on top?
It’s best to freeze the bars without the fresh berries, as freezing damages their texture. Add fresh berries after thawing for best results.
How do I get clean slices when cutting the bars?
Use a sharp knife warmed under hot water and wiped dry before slicing. Clean the knife between cuts to prevent sticking and tearing of the creamy filling.
Can I add other toppings besides berries?
Absolutely! Chopped nuts, chocolate shavings, or a drizzle of caramel or white chocolate work great. Just add toppings that complement the rich, creamy layers without overpowering them.
Final Thoughts
I hope you love making and sharing these no bake cheesecake brownie bars as much as I do! Don’t forget to let me know how yours turn out — I’m always excited to hear from you.