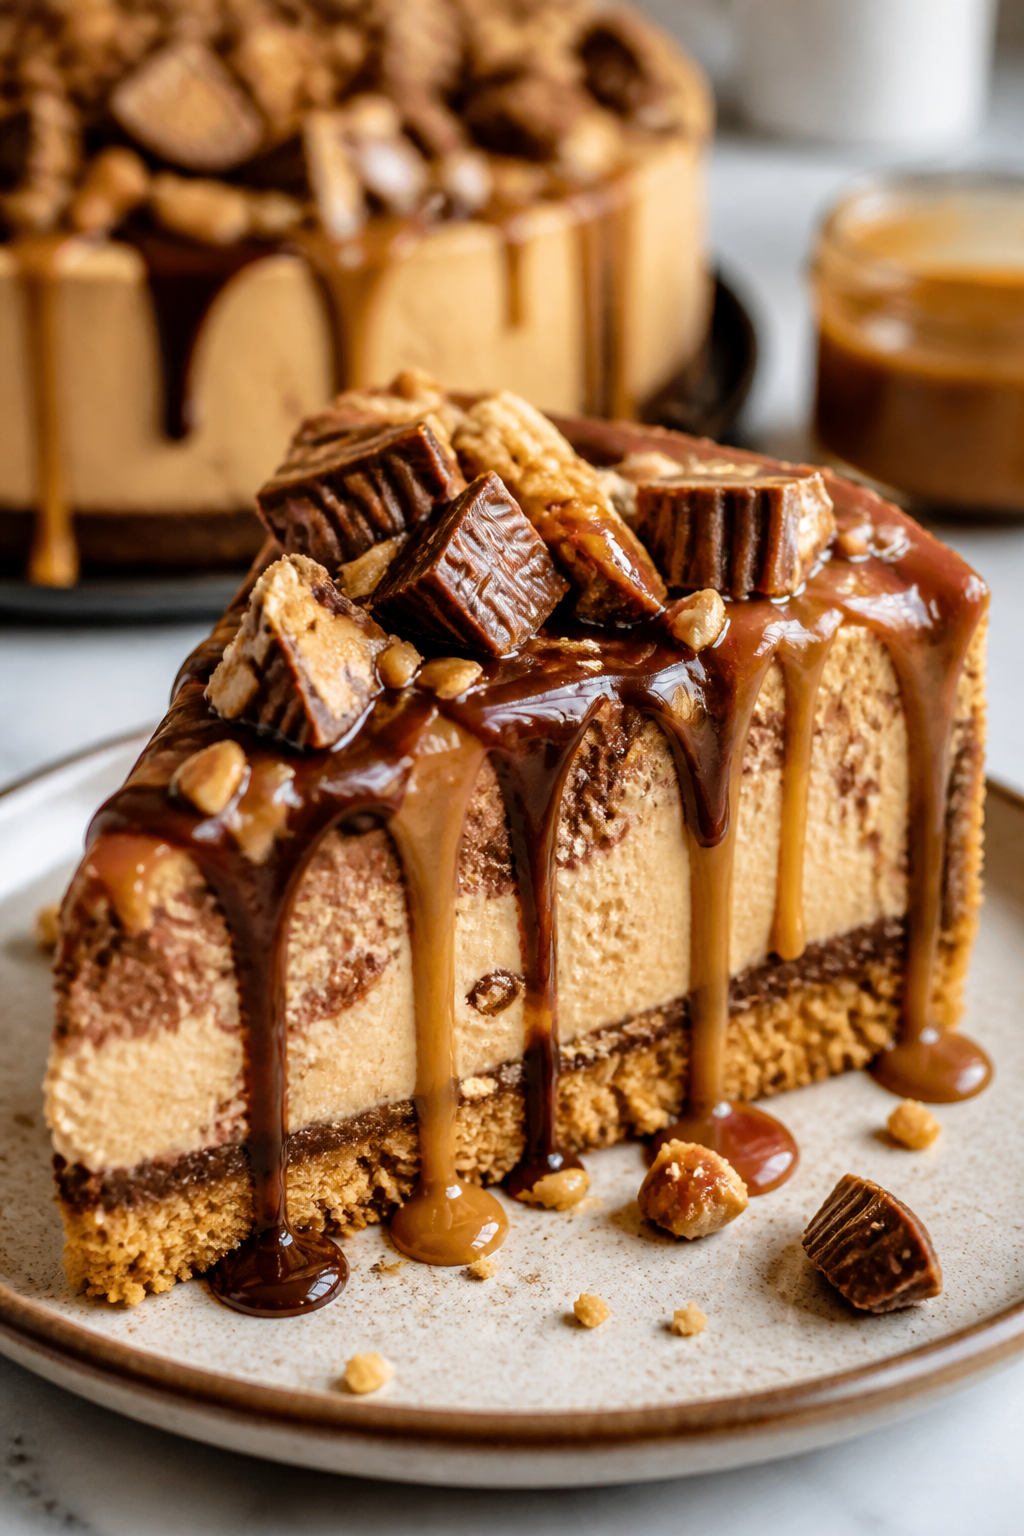
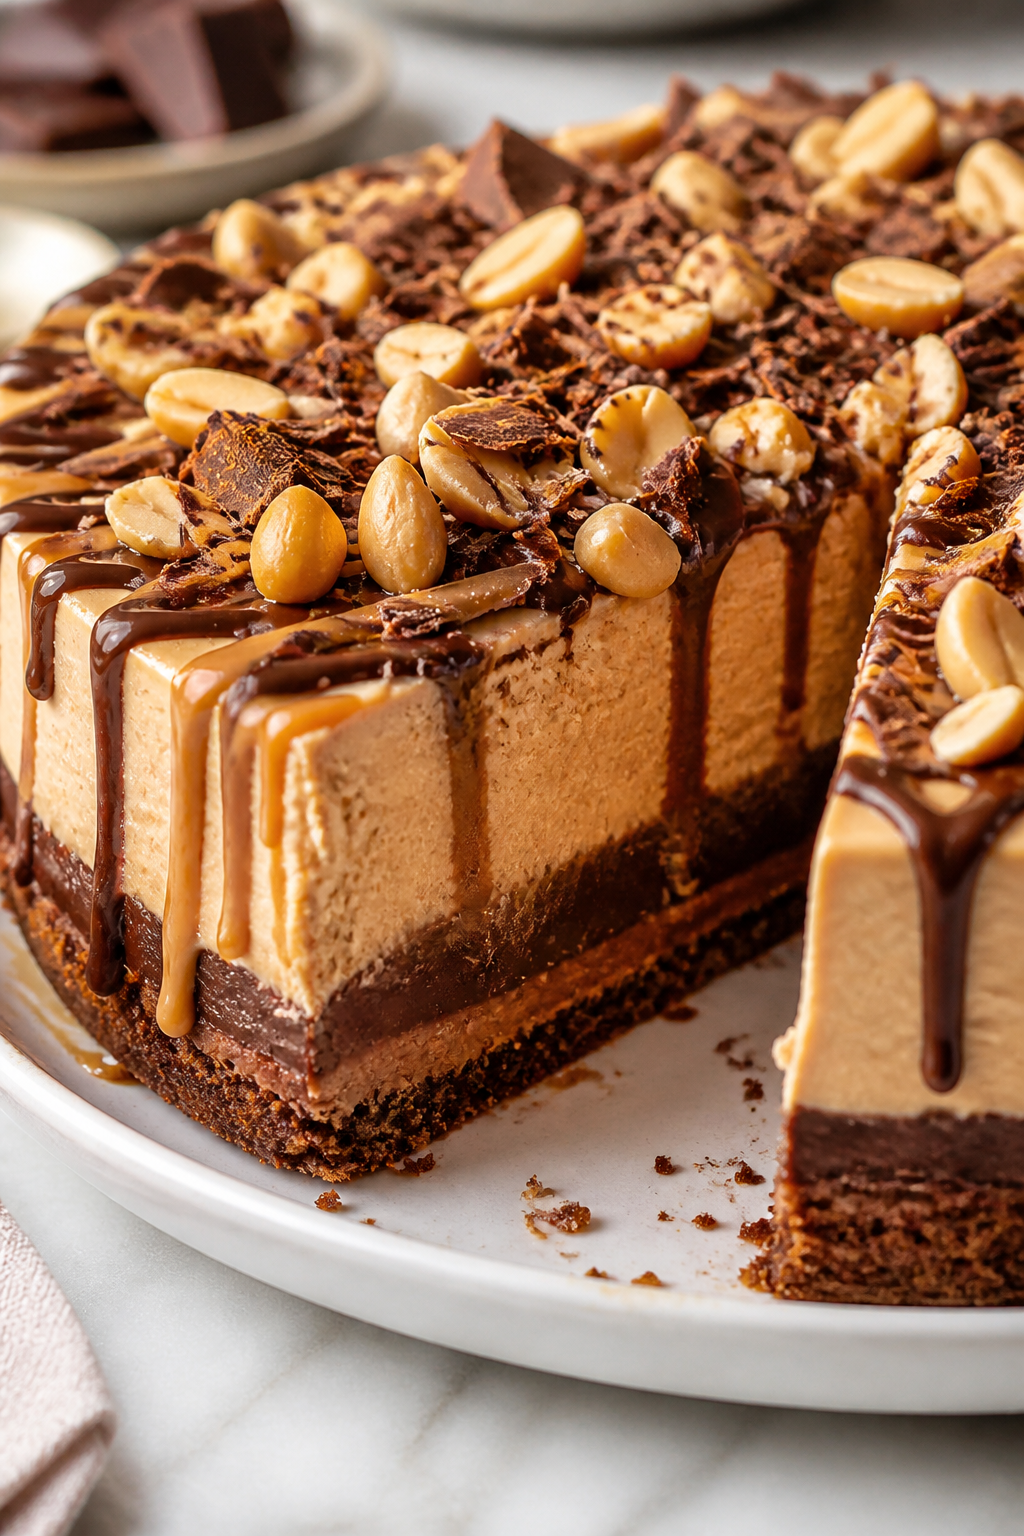
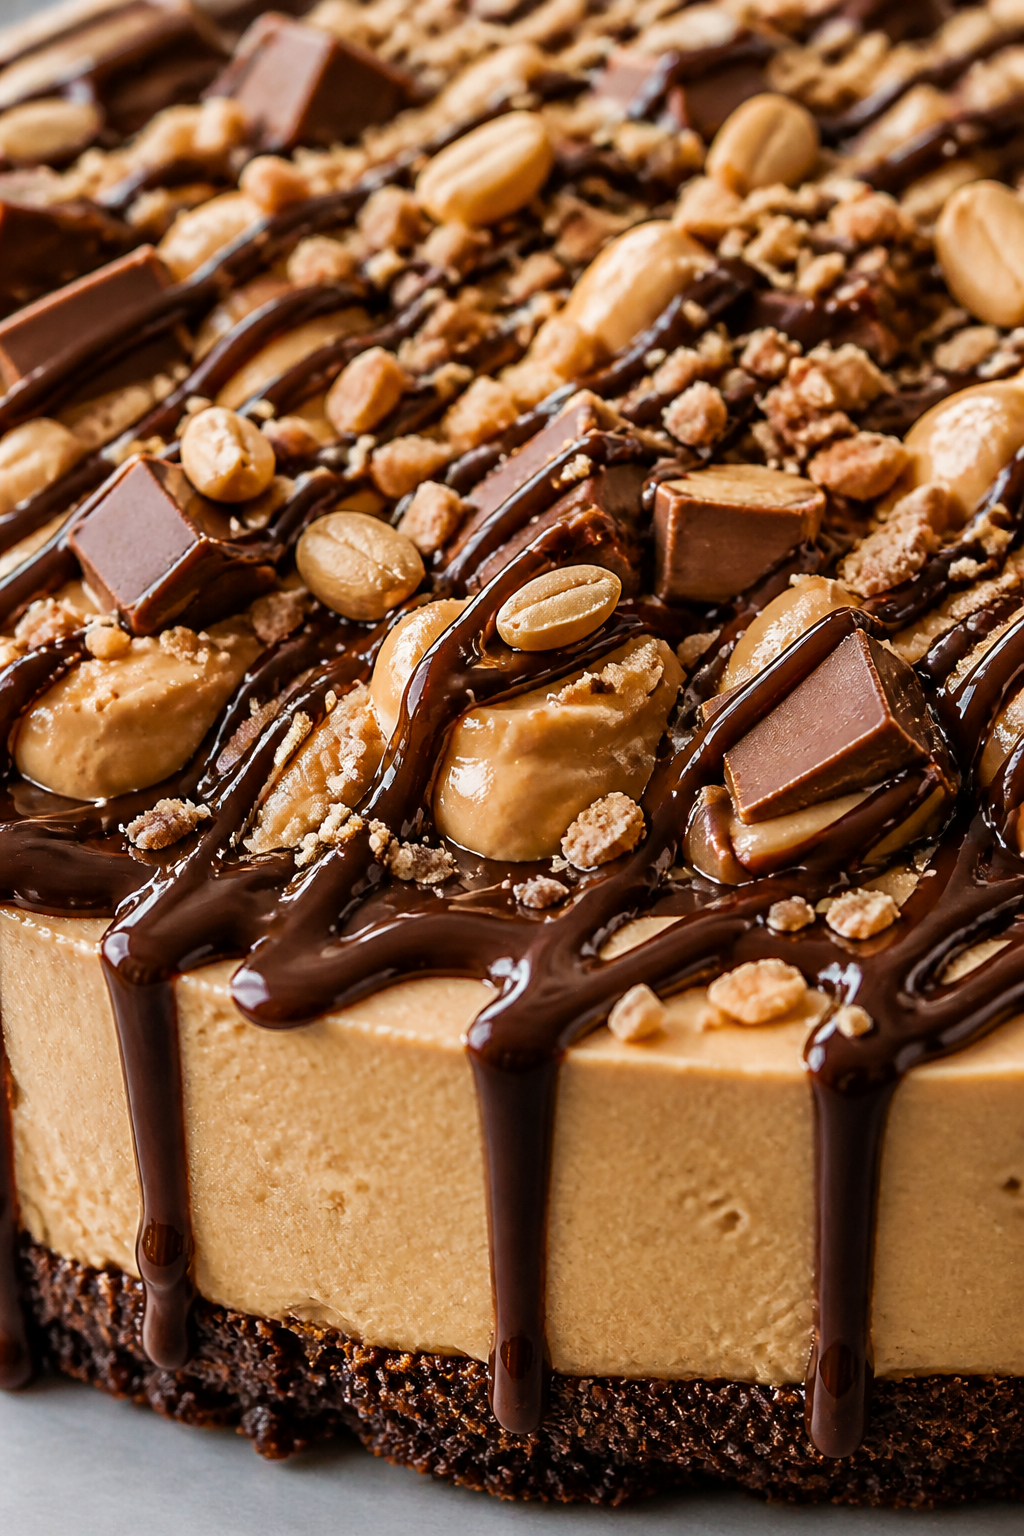
This no-bake cheesecake is a fluffy, dreamy blend of creamy peanut butter and rich chocolate. It’s perfect for summer gatherings when you want indulgence without heating up the kitchen.
Introduction
I first made this no-bake peanut butter chocolate cheesecake on a sweltering summer afternoon when I didn’t want to turn on the oven but still craved something rich and indulgent. It quickly became a favorite in my family because it’s fluffy, creamy, and perfectly balanced between peanut butter and chocolate. What makes this version stand out is the whipped cream folded in at the end, which gives it a light, airy texture that’s so satisfying. Also, melting the chocolate just right and folding it gently prevents it from hardening into a solid block but keeps it silky and smooth. The crust is simple but buttery and crunchy, a perfect contrast to the creamy filling. When it’s chilled, the cheesecake slices beautifully and feels like a dreamy cloud of flavor. Honestly, the first time I tried to make this, I rushed the melting step and ended up with chocolate lumps, so take your time with that part! This dessert is perfect for summer parties, potlucks, or any day you want something cool and indulgent without fussing over baking. You’ll love how quick it comes together and how impressive it looks on your dessert table.
What You'll Need
One 9-inch cheesecake, 8 servings
- 1 1/2 cups graham cracker crumbs
- 1/3 cup unsalted butter, melted
- 1 cup creamy peanut butter
- 8 oz cream cheese, softened
- 1 cup powdered sugar
- 1 tsp vanilla extract
- 1 1/2 cups heavy cream, cold
- 1 cup semi-sweet chocolate chips, melted and slightly cooled
How To Do It
Step 1
Start by making the crust. Combine the graham cracker crumbs with melted butter in a bowl until the mixture looks evenly moistened and crumbly but holds together when pressed. This step is crucial because the butter binds the crumbs and creates a firm, crunchy base. If you don’t use enough butter, the crust will fall apart. Press the mixture firmly into the bottom of a 9-inch springform pan to form an even layer. Use the bottom of a glass or measuring cup to pack it down tightly for a sturdy crust that won’t crumble when sliced.
⏱ Time: 10 minutes
✓ Doneness: Crust should feel firm and compact when pressed, no loose crumbs falling apart
Step 2
In a mixing bowl, beat the softened cream cheese and peanut butter together until smooth and creamy. This blending step is key to avoid lumps and get a silky filling. Add powdered sugar and vanilla extract and beat again until fully incorporated. The powdered sugar sweetens and stabilizes the mixture, while the vanilla adds depth. Rushing this step or using cold cream cheese can result in a grainy texture, so make sure the cream cheese is softened to room temperature for best results.
⏱ Time: 5 minutes
✓ Doneness: Mixture should be smooth, creamy, and free of lumps
Step 3
Melt the chocolate chips gently using a double boiler or microwave in short bursts, stirring often to prevent burning. Let the melted chocolate cool slightly but remain pourable. This step is important because if the chocolate is too hot, it can curdle the cream mixture; too cold, and it will harden prematurely. Gently fold the melted chocolate into the peanut butter mixture until swirled but not fully combined for a marbled effect or fully mix for a chocolate-peanut butter blend.
⏱ Time: 10 minutes
✓ Doneness: Chocolate should be smooth, glossy, and easily fold into the filling
Step 4
In a separate chilled bowl, whip the heavy cream to stiff peaks. This means when you lift the whisk, the peaks hold their shape without drooping. Whipping cream properly adds air and lightness to the cheesecake, balancing the richness of peanut butter. Avoid over-whipping or it will turn grainy and start to separate. If under-whipped, the filling will be dense and heavy.
⏱ Time: 5 minutes
✓ Doneness: Peaks stand straight up and the cream looks fluffy and holds shape
Step 5
Gently fold the whipped cream into the peanut butter chocolate mixture using a spatula. Use slow, sweeping motions to preserve the airiness and prevent deflating. This folding technique ensures the cheesecake filling stays light and fluffy rather than dense. If you stir too vigorously, the texture will become heavy and less enjoyable.
⏱ Time: 3 minutes
✓ Doneness: Filling looks smooth, airy, and well combined without streaks
Step 6
Pour the filling over the prepared crust and spread it evenly with a spatula. Tap the pan lightly on the counter to release any air bubbles and smooth the surface. This helps the cheesecake set evenly and prevents cracks. Cover the pan with plastic wrap or foil to protect it in the fridge.
⏱ Time: 5 minutes
✓ Doneness: Surface is smooth and even, filling fully covers crust
Step 7
Refrigerate the cheesecake for at least 4 hours, preferably overnight. Chilling is crucial for the filling to firm up and let the flavors meld. If you cut into it too soon, the cheesecake will be too soft and won’t slice cleanly. Patience here really pays off with a perfect texture.
⏱ Time: 4+ hours
✓ Doneness: Cheesecake feels firm to the touch and slices cleanly
Step 8
Before serving, run a knife around the edges of the pan to loosen the cheesecake. Remove the springform ring gently to keep the sides intact. Slice with a sharp knife dipped in hot water and wiped dry between cuts for clean slices. This prevents sticking and helps maintain the cheesecake’s pretty layers.
⏱ Time: 5 minutes
✓ Doneness: Slices come out neat without crumbling or sticking
Step 9
Serve chilled with optional toppings like chopped peanuts, chocolate shavings, or a drizzle of melted chocolate. These add texture and extra flavor that complements the creamy filling beautifully. Enjoy immediately for best taste and texture.
⏱ Time: 5 minutes
✓ Doneness: Toppings add visual appeal and flavor contrast
Variations
Add a Salted Caramel Swirl
Drizzle salted caramel sauce into the filling before chilling for a sweet and salty twist. The caramel pairs beautifully with peanut butter and chocolate for extra indulgence.
Note: Swirl gently with a knife to create ribbons without fully mixing, preserving visual appeal and flavor pockets.
Use Almond Butter Instead of Peanut Butter
Swap peanut butter for creamy almond butter for a milder, nuttier flavor. This variation is great if you prefer a less intense peanut taste or want to try something different.
Note: Ensure almond butter is smooth and at room temperature to blend smoothly with cream cheese.
Make a Chocolate Crust
Replace graham crackers with crushed chocolate cookies for a double chocolate experience. This adds richness and pairs well with the peanut butter filling.
Note: Use the same amount of crumbs and butter, pressing firmly to form a solid crust.
Add Espresso Powder to Chocolate
Mix a teaspoon of espresso powder into the melted chocolate for a subtle coffee flavor that enhances the chocolate’s depth, creating a mocha-inspired cheesecake.
Note: Dissolve espresso powder in the melted chocolate while warm to ensure even distribution.
Top with Chopped Peanuts and Chocolate Shavings
Add texture and visual appeal by sprinkling chopped roasted peanuts and chocolate shavings on top just before serving. This adds crunch and a pretty finish.
Note: Add toppings right before serving to keep nuts crunchy and chocolate fresh.
Pro Tips
Always soften your cream cheese before mixing.
Softened cream cheese blends smoothly with peanut butter and sugar, preventing lumps. Cold cream cheese resists mixing and creates a grainy texture, which affects the final cheesecake’s creaminess.
Use a chilled bowl and whisk when whipping cream.
Cold equipment helps the cream reach stiff peaks faster and holds air better, resulting in a fluffier filling. Warm bowls slow whipping and can cause the cream to become runny.
Melt chocolate slowly over low heat or in short microwave bursts.
Chocolate can seize or burn if overheated, ruining its smooth texture. Slow melting preserves its shine and allows easy folding into the filling without clumps.
Press the crust firmly into the pan base.
A compact crust holds together when sliced, preventing crumbling. Loose crumbs cause the crust to fall apart and make serving messy.
Fold whipped cream gently into the filling.
Vigorous mixing deflates the air bubbles whipped into the cream, resulting in a dense, heavy cheesecake instead of a light, airy one.
Chill the cheesecake overnight for best texture.
Proper chilling allows fats to firm up and flavors to meld, ensuring the cheesecake slices cleanly and has a balanced flavor.
Use a hot knife for slicing.
Dipping the knife in hot water and wiping it between cuts prevents sticking and keeps slices neat and clean.
Common Mistakes to Avoid
Not softening cream cheese
Why it happens Many rush the process or forget to take cream cheese out ahead of time, leading to lumps when mixing.
Fix Allow cream cheese to sit at room temperature for at least 30 minutes before starting. If in a hurry, cut into smaller pieces and microwave in short bursts, stirring often.
Over-whipping cream
Why it happens It’s easy to get carried away trying to reach stiff peaks, but over-whipping causes separation.
Fix Stop whipping as soon as peaks hold shape and don’t droop. If overwhipped, gently fold in a little fresh cream to rescue the texture.
Melting chocolate too quickly or at high heat
Why it happens Impatience or high heat causes chocolate to seize or burn.
Fix Melt chocolate slowly over a double boiler or microwave in 20-second bursts, stirring frequently until smooth.
Not pressing crust firmly
Why it happens Rushing or not using enough pressure leaves a loose base that crumbles.
Fix Use the flat bottom of a glass or measuring cup to firmly pack the crust evenly before chilling.
Skipping chilling time
Why it happens Eager to eat, some skip refrigeration or shorten it too much.
Fix Plan ahead and chill the cheesecake for at least 4 hours, preferably overnight, to let it set fully.
Nutrition
Per Serving:
Nutritional values are estimates and may vary based on specific ingredients used.
Storage & Tips
Room Temperature
This cheesecake should not be left at room temperature for more than 2 hours due to the dairy content. Cover it loosely with plastic wrap if serving shortly after removing from fridge.
Refrigerator
Store in an airtight container or keep covered with plastic wrap in the fridge for up to 4 days. The texture will remain creamy and firm but avoid leaving uncovered to prevent drying out.
Freezer
Freeze the cheesecake for up to 2 months. Wrap tightly in plastic wrap and then foil to prevent freezer burn. Thaw overnight in the fridge before serving; texture may soften slightly but still delicious.
Reheating
No reheating needed. Serve chilled for best texture and flavor. If the cheesecake feels too firm, let it sit at room temperature for 10-15 minutes before slicing.
Make Ahead
Make the crust and filling a day ahead and assemble before chilling overnight. This ensures flavors meld and saves time on serving day.
FAQ
Can I use natural peanut butter instead of creamy?
Natural peanut butter can be used but it tends to separate and be oilier. Stir well before measuring and expect a slightly different texture and flavor. It may require extra mixing to blend smoothly with cream cheese.
Why is my cheesecake too soft and won’t set?
This usually happens if the cheesecake hasn’t chilled long enough or if the crust isn’t firm. Make sure to refrigerate at least 4 hours or overnight and press the crust firmly. Also, whipping cream properly is essential for structure.
Can I make this gluten-free?
Make sure your chocolate chips and other ingredients are certified gluten-free to avoid cross-contamination.
How do I prevent the chocolate from hardening in the filling?
Melt chocolate gently and let it cool slightly before folding in. If it’s too hot, it can melt the cream and cause separation; too cold and it hardens quickly. Fold in carefully and chill promptly to keep a smooth texture.
Can I substitute heavy cream with whipped topping?
Whipped topping usually contains stabilizers and less fat, resulting in a less creamy texture. Heavy cream whips better and adds richness, so it’s best to stick with it for authentic texture and flavor.
What if I don’t have a springform pan?
You can use a regular 9-inch cake pan lined with parchment paper for easier removal. Chill well and gently loosen edges with a knife before flipping onto a plate.
How long will leftovers keep?
Stored properly in the fridge, leftovers stay fresh for up to 4 days. Beyond that, texture and flavor may decline. Always keep covered to prevent drying out or absorbing fridge odors.
Can I add other flavors to the filling?
Absolutely! Vanilla extract is classic, but you can add almond extract, cinnamon, or even a splash of bourbon for extra depth. Just add small amounts to avoid overpowering the peanut butter flavor.
Final Thoughts
I hope you enjoy making and sharing this no-bake peanut butter chocolate cheesecake as much as I do. Let me know how yours turns out!