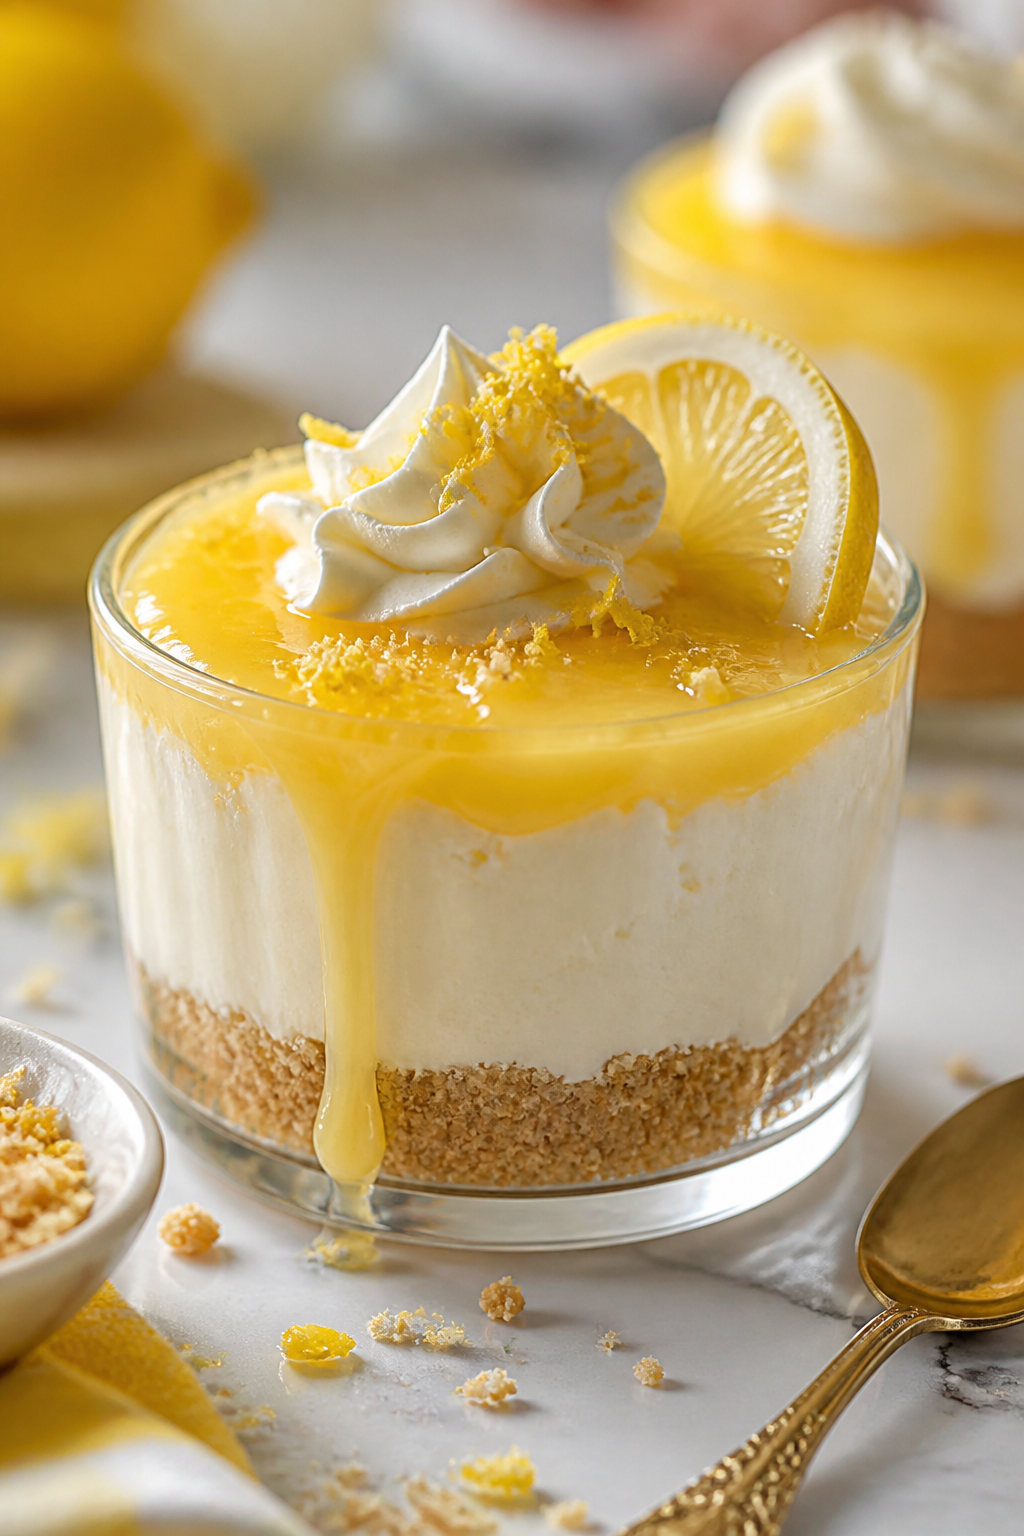
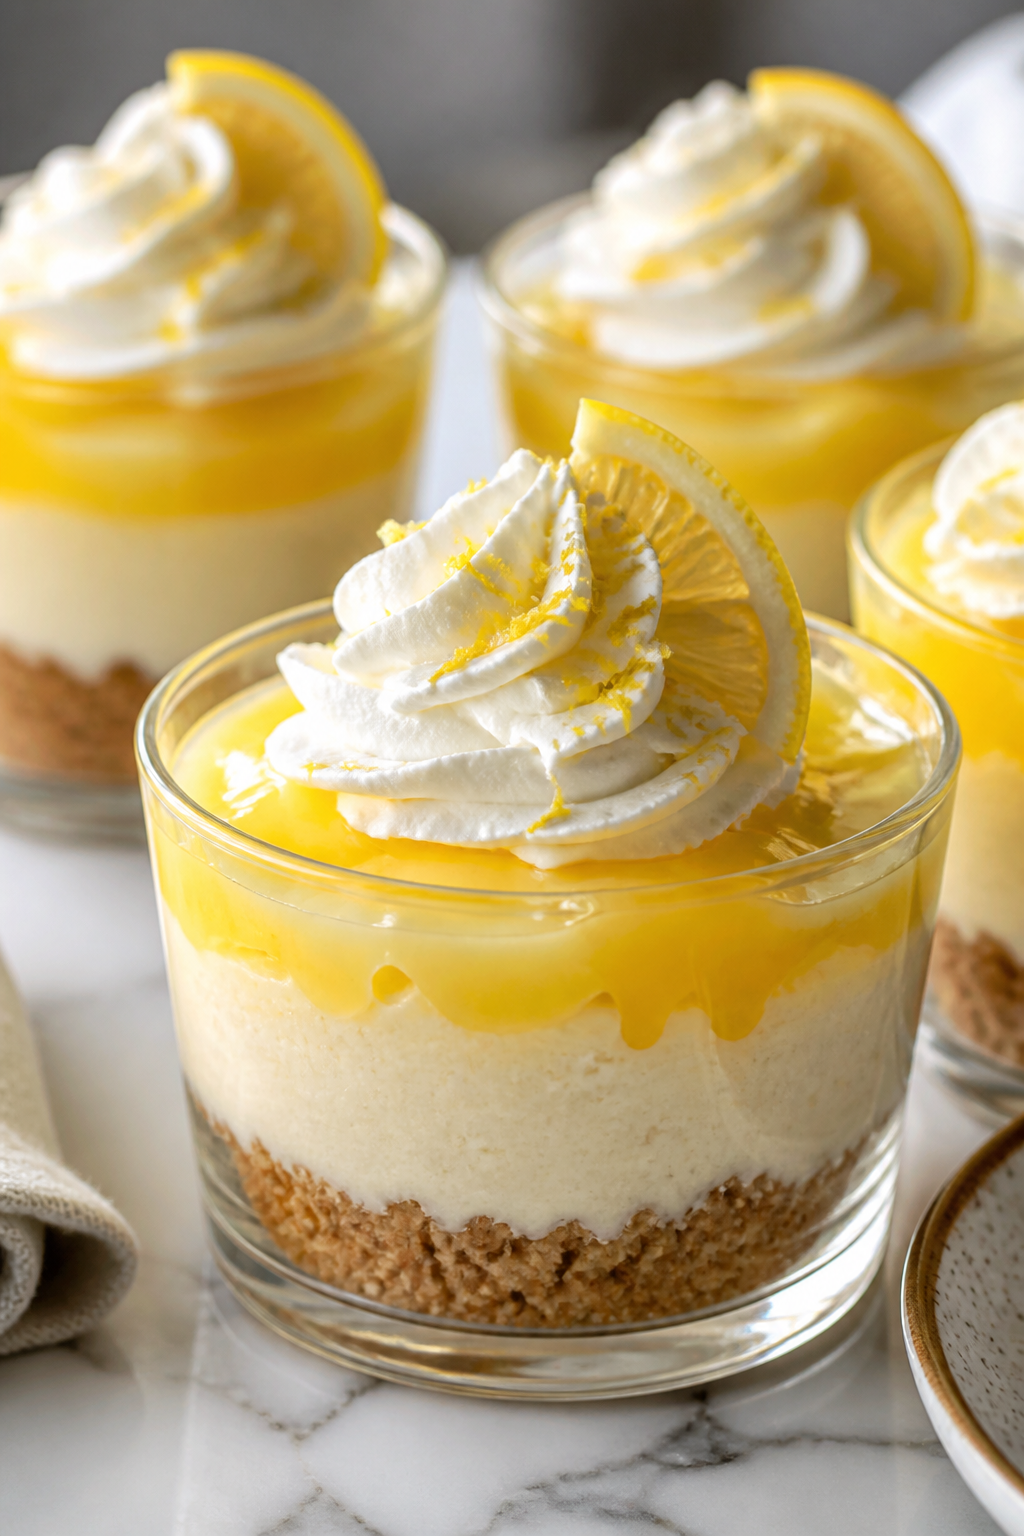
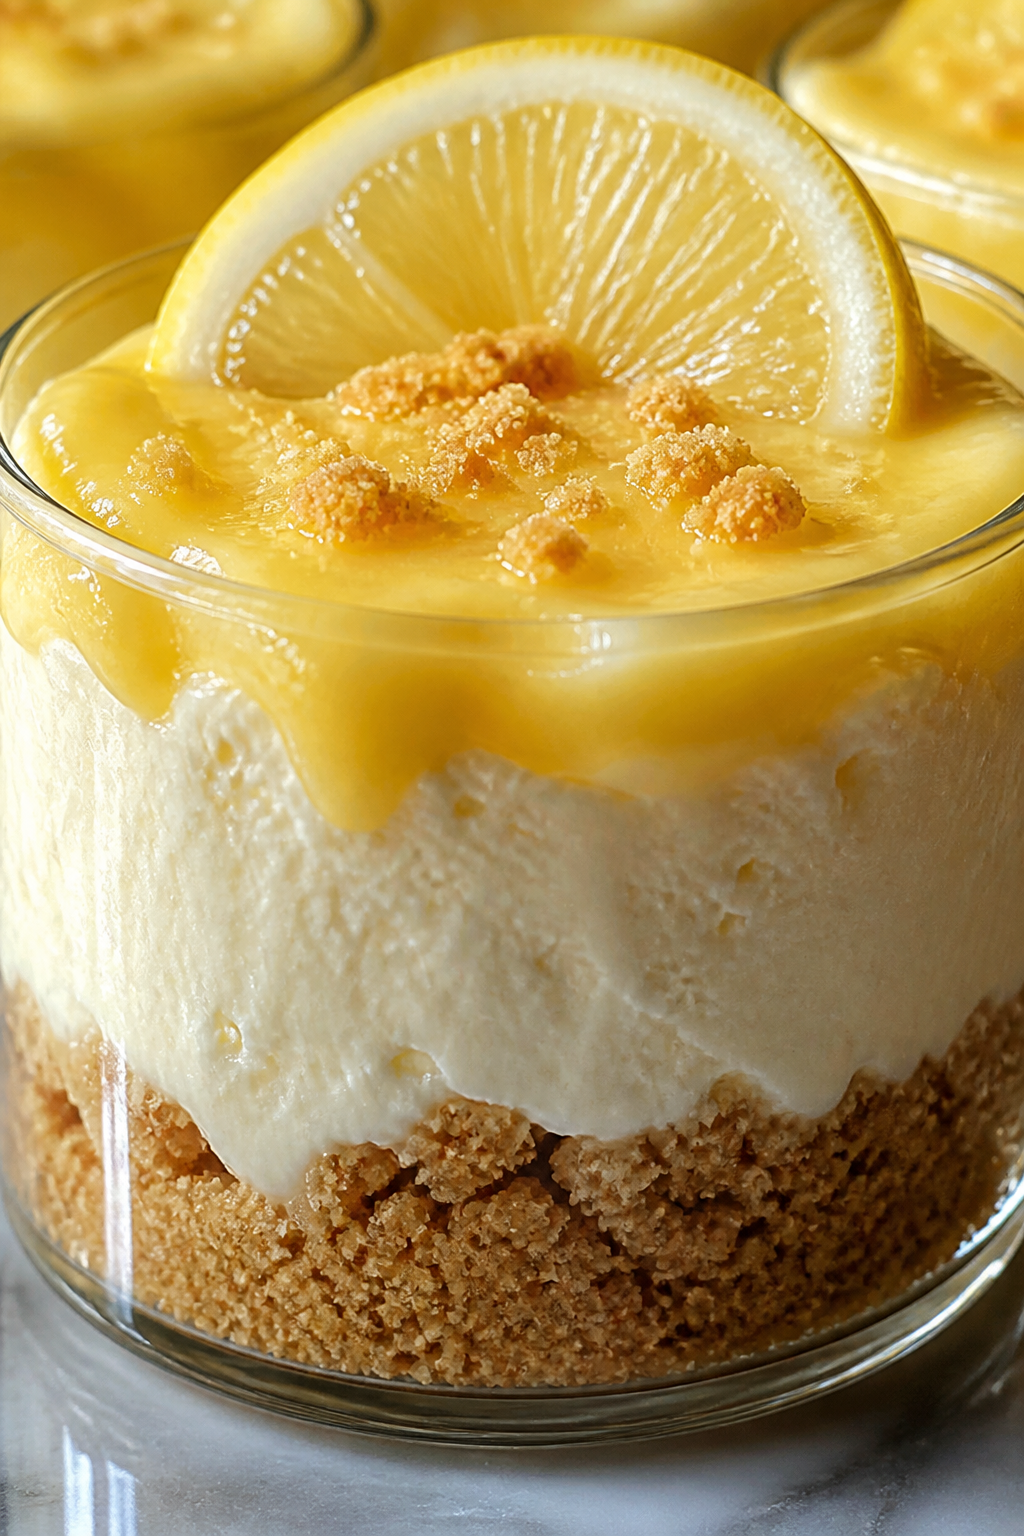
These no-bake lemon cheesecake cups are my go-to for warm days — light, creamy, and with a perfect zing from fresh lemon curd. They’re naturally gluten-free and come together in no time, making them ideal for summer get-togethers or a quick sweet fix.
Introduction
I first stumbled upon this no-bake lemon cheesecake cups recipe during a hot summer when I didn’t want to turn on the oven but still craved something sweet and refreshing. What I love about this version is how simple and quick it is — no baking, no fuss, just pure creamy lemon goodness. I’ve tweaked the crust to be gluten-free by using gluten-free graham crumbs, which works perfectly and keeps the texture just right. The trick I learned was whipping the cream cheese with powdered sugar and vanilla until perfectly smooth before folding in the whipped cream, which keeps the filling light but creamy. The lemon curd adds that perfect zing that cuts through the richness, making it feel fresh and bright. When you spoon these cups out, you get that lovely balance of crunchy crust, silky filling, and tangy lemon in every bite. Plus, it’s a crowd-pleaser for summer parties or just a simple treat after dinner. Honestly, I’ve tried other lemon cheesecakes before, but this one is my go-to because it’s so effortless and tastes like a little sunshine in a cup.
What You'll Need
Approximately 6 individual cheesecake cups
- 1 cup graham cracker crumbs (gluten-free if needed)
- 3 tbsp unsalted butter, melted
- 1 cup cream cheese, softened
- 1/2 cup powdered sugar
- 1 tsp vanilla extract
- 1 cup heavy whipping cream, chilled
- 3/4 cup lemon curd (store-bought or homemade)
- Zest of 1 lemon, for garnish
- Fresh berries, for serving (optional)
How To Do It
Step 1
Start by mixing the graham cracker crumbs and melted butter in a bowl until the crumbs are evenly coated. This helps the crust stick together and creates that perfect crunchy base. Press the mixture firmly into the bottom of your serving cups or glasses. Pressing firmly is key here because a loose crust won’t hold when you scoop the cheesecake later. Set these aside in the fridge to chill while you prepare the filling.
⏱ Time: 10 minutes
✓ Doneness: Crust feels firm and slightly compacted, holding shape when pressed
Step 2
In a large bowl, beat the softened cream cheese with powdered sugar and vanilla extract until completely smooth and creamy. This step is crucial to avoid lumps and achieve a silky texture. Use a hand mixer or stand mixer to get the best results. If you rush it or don’t soften the cream cheese enough, you’ll end up with a gritty filling rather than a smooth one.
⏱ Time: 5 minutes
✓ Doneness: Mixture is smooth, creamy, and free of lumps
Step 3
In a separate chilled bowl, whip the heavy cream until stiff peaks form. This creates the light, airy texture that balances the richness of the cream cheese. Be careful not to overwhip, or it will become grainy and start turning into butter.
⏱ Time: 5 minutes
✓ Doneness: Whipped cream holds stiff peaks and is smooth
Step 4
Gently fold the whipped cream into the cream cheese mixture in batches. Folding preserves the airiness you just whipped into the cream, which keeps the filling light. Use a spatula and fold with a gentle lifting motion instead of stirring vigorously.
⏱ Time: 5 minutes
✓ Doneness: Filling is smooth, fluffy, and homogenous without deflating
Step 5
Spoon a layer of the cream cheese filling over the chilled crust in each cup, filling about half. Then add a generous spoonful of lemon curd on top of the filling. The lemon curd is what gives the cheesecake its bright, tangy kick, so don’t skimp here!
⏱ Time: 5 minutes
✓ Doneness: Visible layers of creamy filling and glossy lemon curd
Step 6
Top each cup with the remaining cream cheese filling, smoothing the top with a spoon or spatula. This creates a beautiful layered effect and seals in the lemon curd flavor for every bite.
⏱ Time: 5 minutes
✓ Doneness: Final layer is smooth and even
Step 7
Cover the cups with plastic wrap and refrigerate for at least 3 hours, preferably overnight. Chilling allows the filling to set properly and the flavors to meld together. Resist the urge to eat it too soon; the texture won’t be as firm or satisfying.
⏱ Time: 3 hours or overnight
✓ Doneness: Filling is firm to the touch and holds shape
Step 8
Before serving, garnish each cup with fresh lemon zest and optional fresh berries for a pop of color and extra freshness. The zest adds a lovely aromatic brightness that complements the creamy filling perfectly.
⏱ Time: 5 minutes
✓ Doneness: Bright, fresh garnish enhancing the dessert’s appearance
Step 9
Serve chilled and enjoy immediately. These cups are best eaten cold to keep that creamy texture and refreshing lemon flavor intact. They’re perfect for summer parties, a light dessert, or whenever you want a no-fuss sweet treat.
⏱ Time: Immediate
✓ Doneness: Cold, creamy, and refreshing taste with balanced textures
Variations
Blueberry Lemon Cheesecake Cups
Swap out fresh berries for blueberries folded into the filling or as a layer with the lemon curd. The sweetness and slight tartness of blueberries complement the lemon beautifully, adding bursts of juicy texture.
Note: Add fresh or thawed blueberries gently after folding in the whipped cream to avoid breaking the berries and turning the filling purple.
Coconut Crust Lemon Cheesecake
Replace graham cracker crumbs with shredded toasted coconut mixed with butter for a tropical twist. This adds a chewy texture and a subtle nutty flavor that pairs well with lemon’s brightness.
Note: Toast coconut flakes lightly before mixing for enhanced flavor; press firmly to create a stable crust.
Vegan Lemon Cheesecake Cups
Use vegan cream cheese and coconut cream whipped to stiff peaks instead of heavy cream. For the crust, use crushed nuts and coconut oil. This version is dairy-free but still creamy and tangy.
Note: Whip chilled coconut cream carefully as it can be less stable than dairy cream; chill assembled cups longer to set.
Honey Lemon Cheesecake Cups
Swap powdered sugar for honey in the filling for a more natural sweetness and floral note. Honey pairs beautifully with lemon and adds depth to the flavor profile.
Note: Use a mild-flavored honey and reduce quantity slightly as honey is sweeter than powdered sugar.
Lemon Poppy Seed Cheesecake Cups
Add a tablespoon of poppy seeds to the filling for a delightful crunch and subtle nutty flavor that complements lemon perfectly. This variation adds texture and visual appeal.
Note: Fold poppy seeds in gently with the whipped cream to distribute evenly without breaking the airiness.
Pro Tips
Press the crust firmly into the cups for a sturdy base.
Firmly pressing the crust ensures it holds together when scooping and eating. If it's loosely packed, the crust will crumble and fall apart, making the dessert messy and less enjoyable.
Soften cream cheese completely before beating.
Softened cream cheese blends smoothly with sugar and vanilla, preventing lumps. Cold or partially softened cheese creates a gritty texture, which affects the smoothness and mouthfeel of the filling.
Whip cream to stiff peaks but avoid overwhipping.
Whipping cream to stiff peaks traps air, creating lightness. Overwhipping causes the cream to separate and become grainy, ruining the texture and making it harder to fold into the cream cheese mixture.
Fold whipped cream gently into cream cheese mixture.
Folding preserves the air bubbles whipped into the cream, keeping the filling light and fluffy. Stirring vigorously deflates the mixture, resulting in a dense, heavy texture.
Chill the assembled cups for several hours before serving.
Chilling allows the fats to solidify and the flavors to meld, setting the filling properly. Eating too soon means the dessert won't hold its shape and flavors won't be as developed.
Use fresh lemon zest as garnish for extra aroma and brightness.
Lemon zest contains essential oils that add a fresh, vibrant aroma and flavor, elevating the overall dessert experience and complementing the tangy lemon curd.
Use a hand mixer for beating cream cheese and whipping cream.
A hand or stand mixer ensures thorough beating and whipping with less effort and more consistent results, leading to a smooth filling and perfectly whipped cream.
Common Mistakes to Avoid
Not softening the cream cheese enough
Why it happens Many rush the process or forget to take the cream cheese out early, assuming it will blend fine cold.
Fix Allow cream cheese to come to room temperature for at least 30 minutes before beating. If short on time, microwave in short bursts (5–10 seconds) to soften gently without melting.
Overwhipping the cream
Why it happens It's easy to overshoot whipping cream if you’re not watching closely or using high speed.
Fix Whip cream on medium speed and stop as soon as stiff peaks form. If it starts to look grainy or separates, you can try folding in a bit of fresh cream to rescue it.
Pressing the crust too lightly
Why it happens Some think a loose crust is fine or are afraid of compacting too much.
Fix Use the back of a spoon or your fingers to firmly press the crust evenly into the cup. This helps it hold together and gives a satisfying crunch.
Skipping the chilling time
Why it happens Impatience or lack of planning can lead to serving immediately after assembly.
Fix Plan ahead and refrigerate the cheesecake cups for at least 3 hours or overnight. This step is crucial for the filling to set properly and flavors to develop.
Not folding whipped cream gently
Why it happens Many stir the mixture as usual, unaware that this deflates the air whipped into the cream.
Fix Use a spatula to fold whipped cream into the cream cheese mixture with gentle lifting motions, preserving the airy texture.
Nutrition
Per Serving:
Nutritional values are estimates and may vary based on specific ingredients used.
Storage & Tips
Room Temperature
These cheesecake cups should not be kept at room temperature for more than 2 hours as the dairy filling can spoil. Always keep them covered in the fridge if not serving immediately.
Refrigerator
Store in an airtight container for up to 3 days. The texture remains creamy but may firm up slightly. For best flavor, serve chilled but you can let them sit at room temperature for 10 minutes before eating.
Freezer
Freeze the cups in airtight containers for up to 1 month. Wrap well with plastic wrap and then place in a freezer bag to prevent freezer burn. Thaw overnight in the fridge and gently stir before serving to restore creaminess.
Reheating
No reheating needed. Serve chilled for best texture and flavor. If too firm after refrigeration or freezing, let sit at room temperature for 10-15 minutes before serving.
Make Ahead
Prepare the crust and filling up to 1 day ahead. Assemble the cups and refrigerate overnight for the best set and flavor. Garnish just before serving to keep fresh and vibrant.
FAQ
Can I make this recipe dairy-free or vegan?
Yes! You can substitute cream cheese with vegan cream cheese and use coconut cream whipped to stiff peaks instead of heavy cream. For the crust, use crushed nuts or gluten-free vegan cookies with coconut oil. Keep in mind the texture might be slightly different but still delicious.
How long do these cheesecake cups last in the fridge?
They keep well for up to 3 days in an airtight container. The texture might firm up a bit but they’ll still taste fresh. It’s best to cover them tightly to avoid absorbing fridge odors.
Can I use regular sugar instead of powdered sugar?
Powdered sugar dissolves more easily and helps keep the filling smooth. Using granulated sugar might result in a grainier texture unless you dissolve it first in a bit of cream or warm water.
What if my filling is too runny?
This usually means the cream wasn’t whipped enough or the cream cheese was too warm. Make sure to whip the cream until stiff peaks form and chill the cream cheese before mixing. Also, chilling the assembled cups helps the filling firm up.
Can I make lemon curd from scratch for this recipe?
Absolutely! Homemade lemon curd adds a fresh, vibrant flavor. Just ensure it’s fully cooled before layering to avoid melting the filling. You can find easy lemon curd recipes online that use simple ingredients.
Is it okay to use store-bought lemon curd?
Yes, store-bought lemon curd works great and saves time. Just pick a good-quality brand with natural ingredients for the best flavor.
Can I double the recipe?
Definitely! Just double all ingredients and use larger serving containers or more cups. Keep the same chilling times for best results.
What’s the best way to serve these cheesecake cups?
Serve them chilled, straight from the fridge. Add fresh lemon zest or berries on top for a pretty presentation and extra flavor. They’re perfect for summer parties or a light dessert anytime.
Final Thoughts
Give these lemon cheesecake cups a try — they’re a simple, fresh treat that always impresses. I hope you love making and sharing them as much as I do!