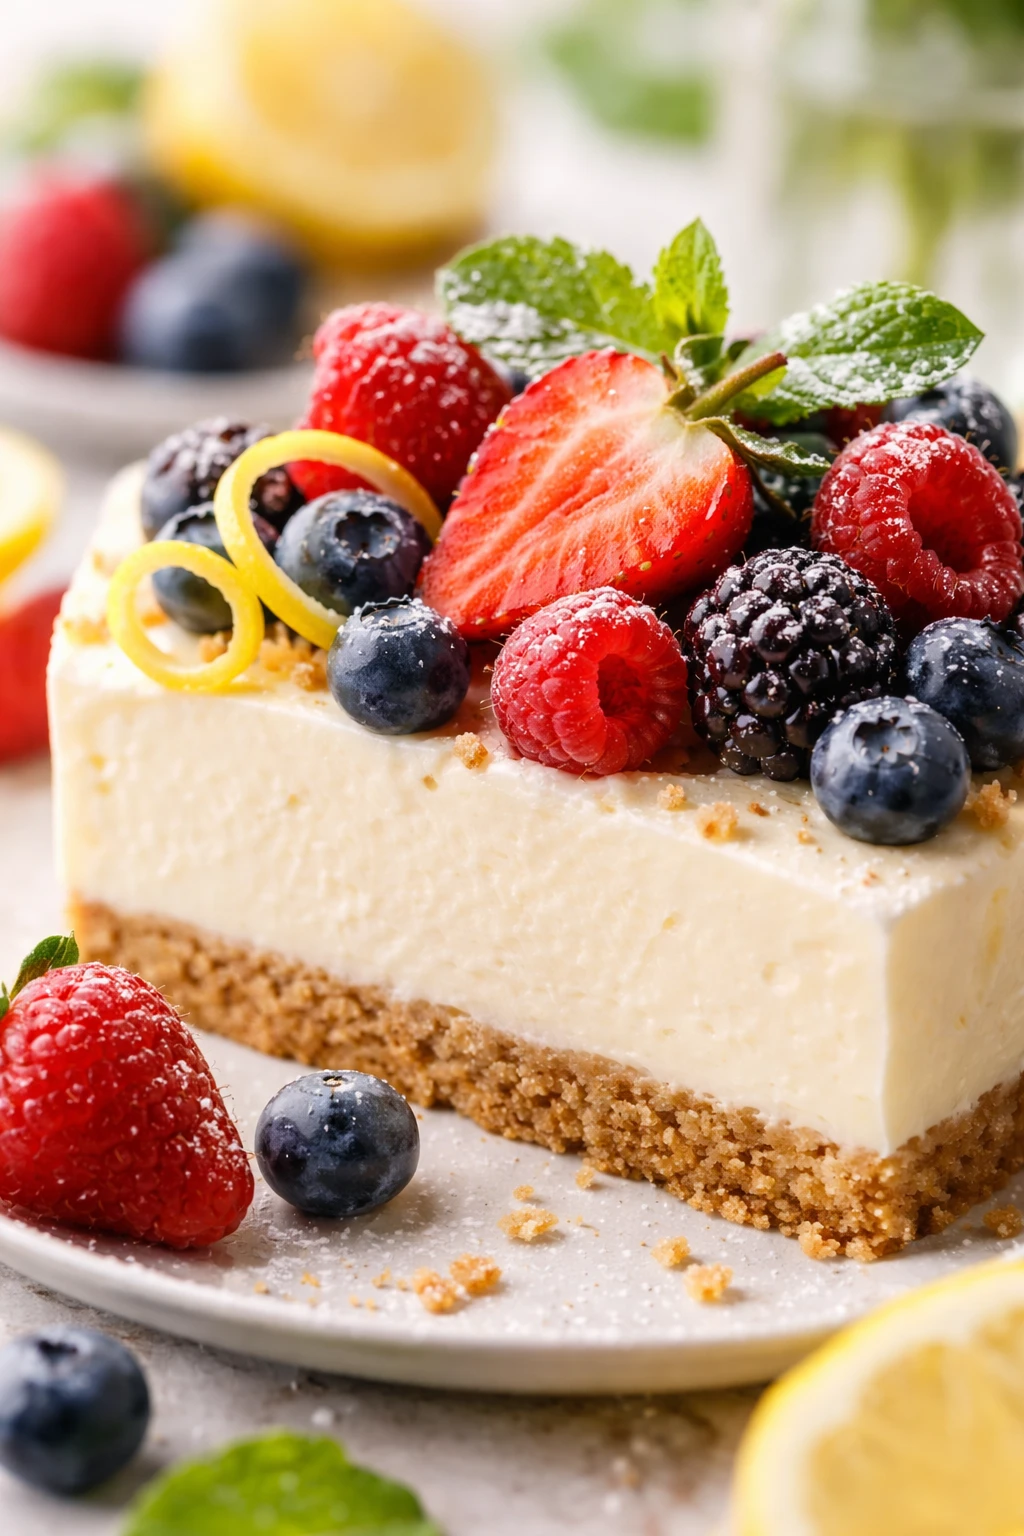
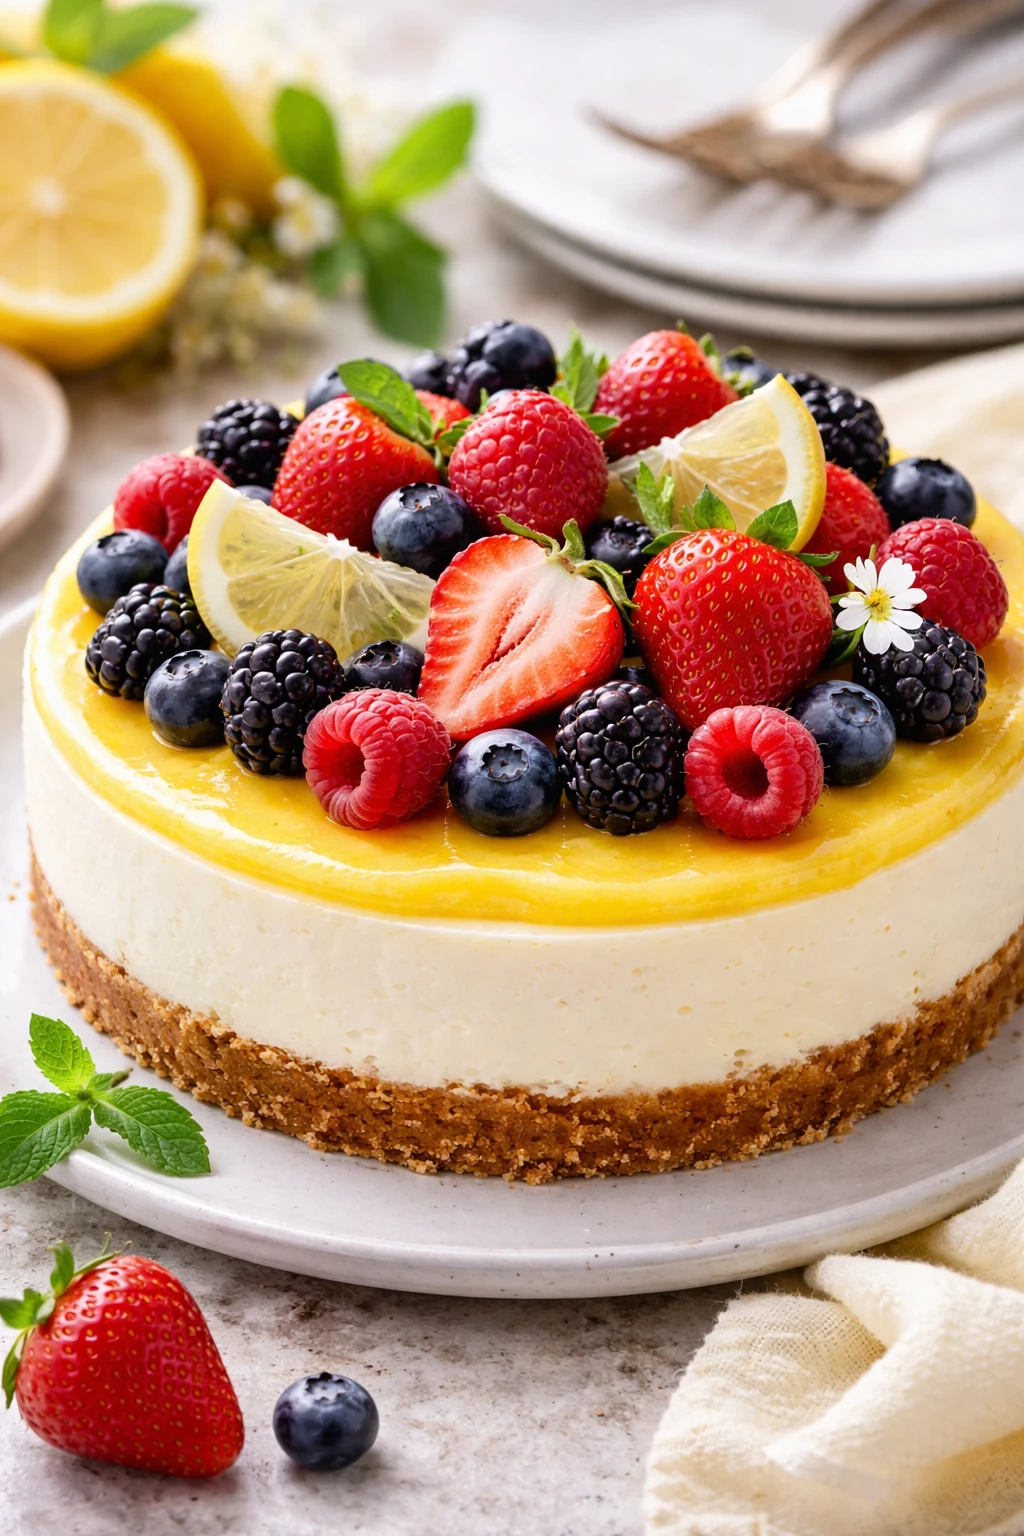
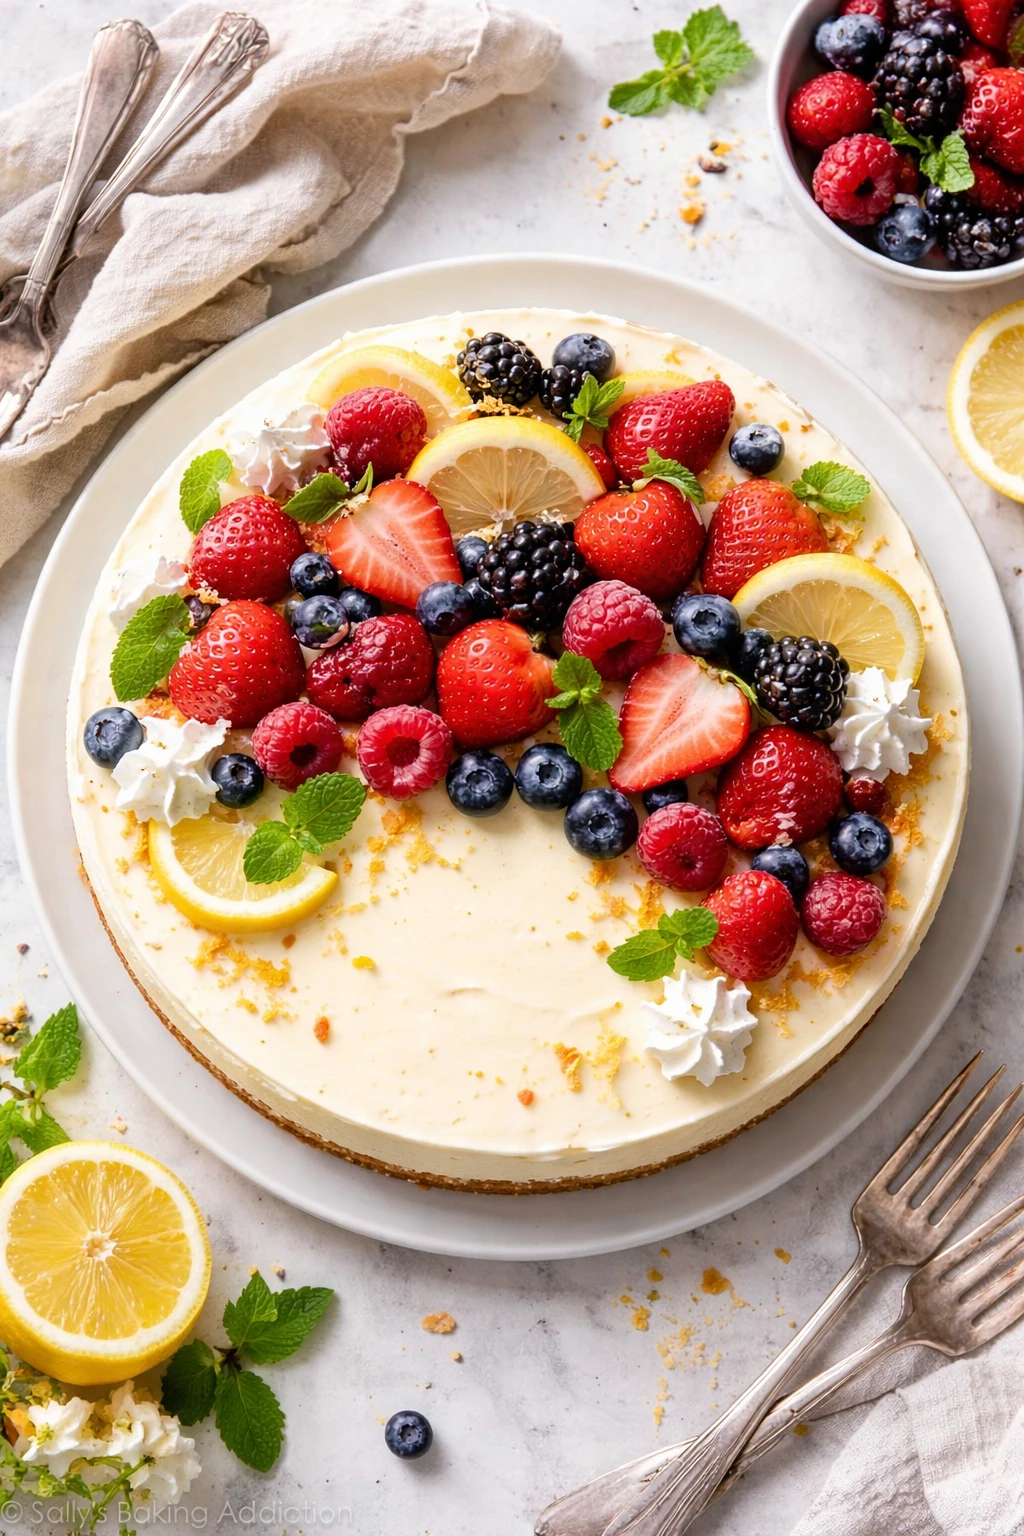
This no-bake lemon cheesecake is so refreshing and simple, perfect when you want a tangy dessert without heating up the kitchen. The fresh berries on top add a juicy burst that makes every bite special. Ideal for spring afternoons or casual get-togethers!
Introduction
I first made this no-bake lemon cheesecake on a sunny spring afternoon when I wanted something bright and fresh but didn’t want to turn on the oven. It quickly became a favorite in my family because it’s so light and tangy, with just the right amount of sweetness. What sets this version apart is the fresh lemon juice and zest that give it a natural zing, balanced by the creamy texture of the whipped heavy cream folded into the cream cheese mixture. The crust is buttery and crunchy, made from simple graham cracker crumbs and melted butter, which contrasts beautifully with the smooth filling. One trick I learned is to whip the cream to soft peaks before folding it in gently — this keeps the cheesecake airy and prevents it from becoming too dense. When it’s chilled, the cheesecake firms up nicely but still feels luscious and smooth, and the fresh berries on top add a juicy pop that makes every bite feel special. Whether it’s a casual afternoon treat or a dessert for a relaxed gathering, this cheesecake is a winner every time. It’s easy to assemble, no baking required, and always gets compliments!
How To Do It
Step 1
Start by making the crust. Combine the graham cracker crumbs with the melted butter in a mixing bowl. Stir until the crumbs are evenly coated and look like wet sand. This step is important because the butter binds the crumbs together, creating a firm base for the cheesecake. Avoid using too much butter or the crust may become soggy. Press the mixture firmly into the bottom of a 9-inch springform pan or pie dish, making sure it’s evenly spread and compacted. This helps the crust hold its shape when chilled. Pop it into the fridge to set while you prepare the filling.
⏱ Time: 10 minutes
✓ Doneness: Crust should be firmly packed and slightly chilled, holding together when pressed
Step 2
Next, beat the softened cream cheese in a large bowl until smooth and creamy using an electric mixer. Add the powdered sugar, lemon juice, lemon zest, and vanilla extract, and continue beating until fully combined and silky. The lemon juice adds brightness and acidity that balances the richness of the cream cheese. Be sure not to overbeat here because too much air can make the filling grainy. Mixing just until smooth ensures a velvety texture later.
⏱ Time: 5 minutes
✓ Doneness: Filling is smooth, well combined, and no lumps remain
Step 3
In a separate chilled bowl, whip the heavy cream to soft peaks. This means when you lift the whisk, the cream should hold a gentle peak that curls over. Whipping to this stage incorporates enough air to lighten the filling but keeps it stable. Overwhipping can cause the cream to turn grainy or even into butter, which you want to avoid.
⏱ Time: 5 minutes
✓ Doneness: Cream holds soft peaks and looks fluffy but not stiff
Step 4
Gently fold the whipped cream into the cream cheese mixture in three additions. Use a spatula to carefully combine without deflating the air you just whipped in. Folding rather than stirring vigorously keeps the filling light and airy, preventing it from becoming dense or heavy. Take your time here to maintain the texture.
⏱ Time: 5 minutes
✓ Doneness: Mixture is smooth, fluffy, and uniform in color
Step 5
Pour the filling over the chilled crust and smooth the top with a spatula. Cover the pan with plastic wrap or a lid, then refrigerate for at least 4 hours or overnight. This chilling step is crucial because it allows the cheesecake to set firmly without baking. If you try to slice it too soon, it will be too soft and won’t hold together well.
⏱ Time: 4 hours or overnight
✓ Doneness: Filling is firm to the touch and slices cleanly
Step 6
Before serving, gently wash and pat dry the fresh berries. Arrange them on top of the cheesecake just before slicing to keep them fresh and vibrant. The berries add a fresh, juicy contrast to the creamy, tangy filling, enhancing both flavor and presentation.
⏱ Time: 5 minutes
✓ Doneness: Berries look fresh, colorful, and arranged attractively
Step 7
To slice, run a sharp knife under hot water, wipe it dry, and cut the cheesecake with clean strokes. Wiping the knife between cuts helps keep slices neat and prevents the filling from sticking. Serve chilled for the best texture and flavor.
⏱ Time: 5 minutes
✓ Doneness: Clean, smooth slices with intact crust and filling
Step 8
If you want to add a little extra flair, consider a light dusting of powdered sugar or a few mint leaves on top of the berries for garnish. This adds a nice visual boost and a hint of freshness.
⏱ Time: 2 minutes
✓ Doneness: Cheesecake looks inviting and beautifully presented
Step 9
Enjoy your no-bake lemon cheesecake chilled, paired with a cup of tea or a light dessert wine. It’s refreshing and satisfying without being too heavy, making it perfect for spring or summer occasions.
⏱ Time: Immediate
✓ Doneness: Dessert is served cold and fresh
Variations
Berry Swirl No-Bake Lemon Cheesecake
Add a swirl of mixed berry puree into the lemon filling before chilling. This adds a pretty marbled effect and an extra layer of fruity flavor. Use fresh or thawed frozen berries pureed with a touch of sugar for best results.
Note: Gently fold the berry puree into the filling to create swirls without fully mixing it in, preserving the visual effect.
Ginger Graham Cracker Crust
Mix ground ginger or cinnamon into the graham cracker crumbs before adding butter. This warm spice adds a cozy note that pairs beautifully with lemon’s brightness.
Note: Add about 1 teaspoon of ground ginger or cinnamon to the crust mixture and blend thoroughly before pressing it into the pan.
Vegan No-Bake Lemon Cheesecake
Use vegan cream cheese and coconut cream whipped to soft peaks instead of dairy cream. Swap the butter crust for a nut and date base. The lemon flavor remains vibrant and refreshing.
Note: Ensure coconut cream is well chilled and thick for whipping; the crust texture will be softer than graham cracker but still delicious.
Lemon Basil No-Bake Cheesecake
Add finely chopped fresh basil to the filling for a surprising herbal twist. The basil’s subtle peppery notes complement the lemon and add complexity.
Note: Fold in about 1 tablespoon of minced basil leaves gently to avoid overpowering the lemon flavor.
Chocolate-Dipped Lemon Cheesecake Bites
Make mini versions in cupcake liners and dip the bottoms in melted dark chocolate once chilled. The chocolate adds richness and texture contrast to the tart lemon filling.
Note: Chill the mini cheesecakes fully before dipping; refrigerate again until the chocolate hardens.
Pro Tips
Make sure your cream cheese is fully softened before mixing.
Softened cream cheese blends more easily with other ingredients, ensuring a smooth, lump-free filling. If it’s too cold, you’ll get clumps that ruin the texture.
Whip the heavy cream just to soft peaks, not stiff.
Soft peaks incorporate enough air to lighten the filling but remain stable. Overwhipping can cause the cream to break down, resulting in a grainy texture or butter formation.
Press the crust firmly and chill it before adding the filling.
This helps the crust set and prevents it from becoming crumbly or soggy once the filling is added. A well-packed crust holds its shape when slicing.
Gently fold the whipped cream into the cream cheese mixture.
Folding preserves the air whipped into the cream, keeping the filling light and fluffy. Stirring vigorously deflates the mixture and makes it dense.
Use fresh lemon juice and zest for the best flavor.
Fresh lemon provides bright acidity and essential oils from the zest that bottled juice lacks, giving the cheesecake a vibrant, natural lemon flavor.
Chill the cheesecake for at least 4 hours or overnight.
Chilling allows the filling to firm up properly without baking. Cutting it too soon results in a runny, unstable cheesecake that won’t hold its shape.
Run a hot knife through the cheesecake before slicing.
Heating the knife slightly and wiping it clean between cuts ensures smooth, clean slices without tearing or sticking to the filling.
Common Mistakes to Avoid
Using cold cream cheese without softening
Why it happens People often rush or forget to soften cream cheese, assuming it will mix fine straight from the fridge.
Fix Let the cream cheese sit at room temperature for at least 30 minutes until soft. This makes it easier to beat smoothly into the filling, avoiding lumps and graininess.
Overwhipping the heavy cream
Why it happens It’s easy to keep whipping past soft peaks, especially if you’re distracted.
Fix Watch carefully and stop whipping as soon as soft peaks form. If you overwhip, you can try gently folding in a little more unwhipped cream to soften it.
Not chilling the crust before filling
Why it happens Skipping this step to save time is common but leads to a soggy base.
Fix Press the crust firmly and chill it for at least 10 minutes before adding the filling. This helps it set and hold its structure.
Mixing the filling too aggressively
Why it happens Trying to speed up the process by overmixing can deflate the air whipped into the cream.
Fix Mix just until combined and fold the whipped cream in gently to keep the filling light and fluffy.
Cutting the cheesecake too soon
Why it happens Impatience or unexpected guests can tempt you to serve it early.
Fix Always chill the cheesecake for at least 4 hours, preferably overnight, so it firms up and slices cleanly.
Nutrition
Per Serving:
Nutritional values are estimates and may vary based on specific ingredients used.
Storage & Tips
Room Temperature
The cheesecake can safely sit at room temperature for up to 2 hours if covered. Beyond this, refrigeration is necessary to maintain texture and food safety.
Refrigerator
Store in an airtight container or cover tightly with plastic wrap for up to 4 days. The texture may firm up more, and berries can release juice, but it’s still delicious served cold or at room temp.
Freezer
Freeze the cheesecake wrapped tightly in plastic wrap and foil for up to 2 months. To prevent freezer burn, ensure no air exposure. Thaw overnight in the fridge before serving.
Reheating
No reheating needed. Serve chilled or at room temperature. If you prefer, let it sit out 15 minutes before slicing for easier cutting.
Make Ahead
Prepare the crust and filling up to 2 days in advance. Assemble and chill overnight for best texture. Add fresh berries just before serving to keep them vibrant.
FAQ
Can I use a different crust instead of graham crackers?
Absolutely! You can use crushed digestive biscuits or even crushed vanilla wafers as a substitute. Just make sure to adjust the amount of butter to bind the crumbs well. Some crusts may be sweeter or less buttery, which will slightly change the flavor and texture.
What if I don’t have fresh lemon juice?
Fresh lemon juice is best for brightness and natural acidity, but in a pinch, bottled lemon juice can work. Just use slightly less because bottled juice is often more concentrated and may taste different. Avoid lemon juice concentrate with added sugars.
How do I store leftover cheesecake?
Store leftover cheesecake covered tightly in the fridge for up to 4 days. Keep the berries separate if possible to prevent them from making the filling soggy. Let the cheesecake come to room temperature for about 15 minutes before serving.
Can I make this cheesecake vegan?
Yes! Substitute vegan cream cheese and use coconut cream whipped to soft peaks instead of heavy cream. For the crust, use a nut and date base instead of butter and graham crackers. The texture will be slightly different but still delicious.
Why is my cheesecake too soft after chilling?
If the cheesecake is too soft, it might not have chilled long enough or the cream cheese wasn’t firm enough. Make sure to chill for at least 4 hours or overnight. Also, ensure the cream cheese is full fat and properly softened but not melted.
Can I add gelatin to make it firmer?
Yes, adding a small amount of gelatin dissolved in lemon juice or water can help the cheesecake set firmer, especially if you want a slice that holds perfectly. However, this isn’t necessary if you chill it long enough and use full-fat cream cheese.
How do I prevent the crust from becoming soggy?
Press the crust firmly and chill it before adding the filling. You can also brush the crust lightly with melted white chocolate or a thin layer of jam that sets to create a moisture barrier.
Can I make this in individual servings?
Definitely! Use small jars or cupcake liners to make individual cheesecakes. Adjust chilling time accordingly. These are great for parties or portion control.
Final Thoughts
I hope you give this no-bake lemon cheesecake a try — it’s one of my favorite easy desserts to make when I want something fresh and fuss-free. Let me know how it turns out!