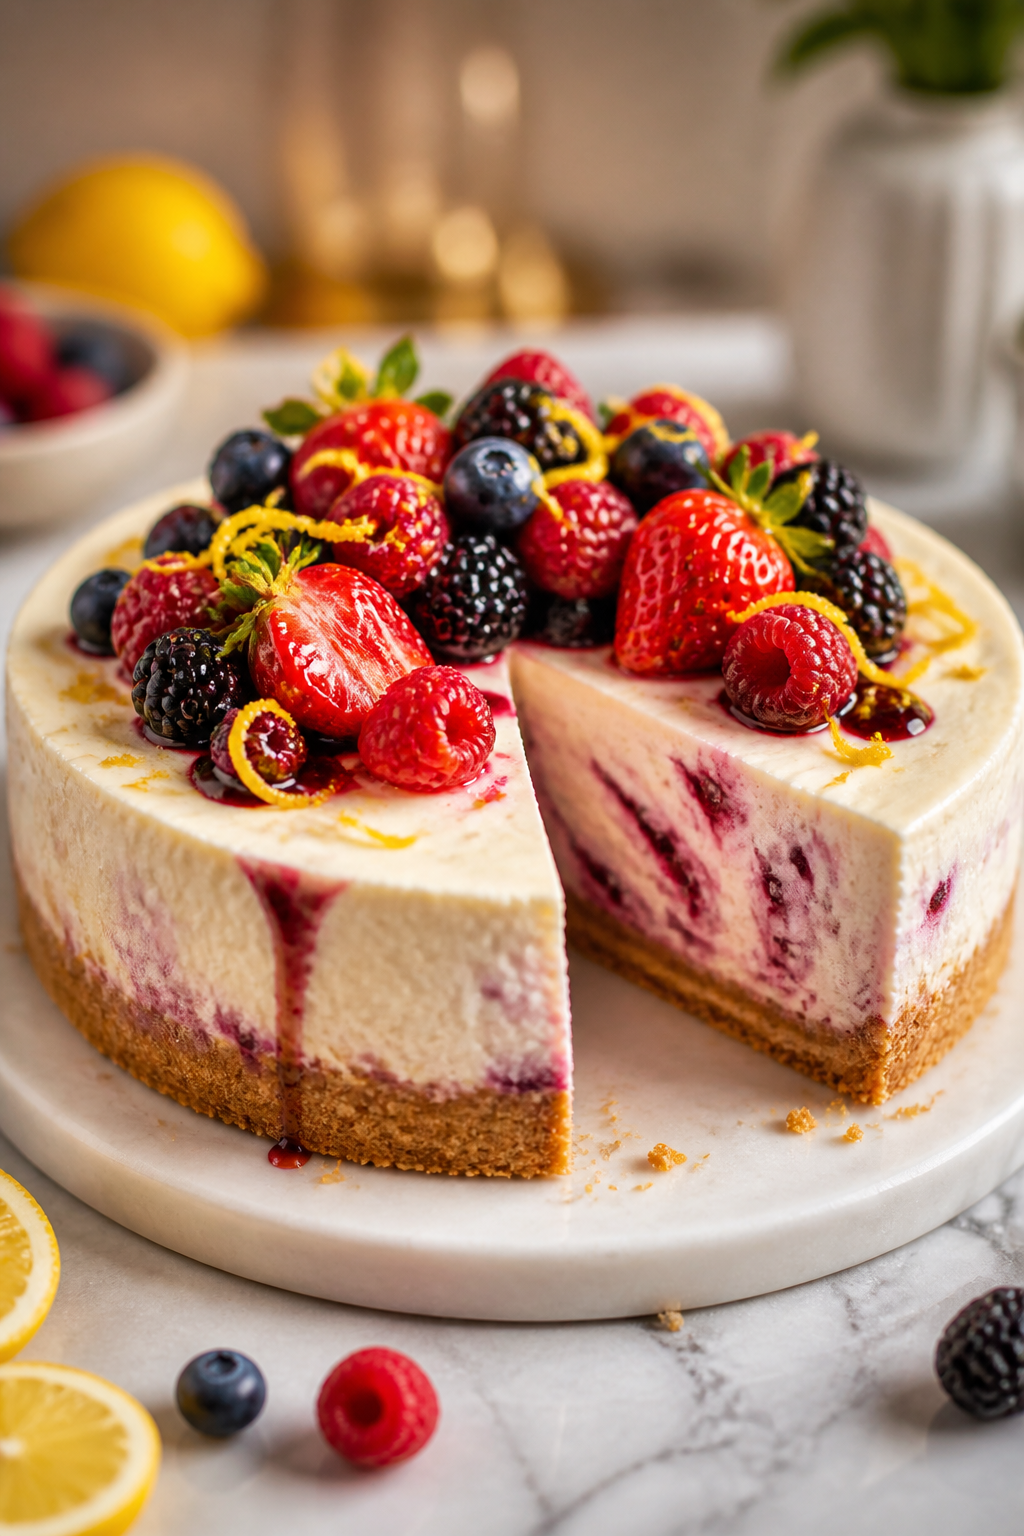
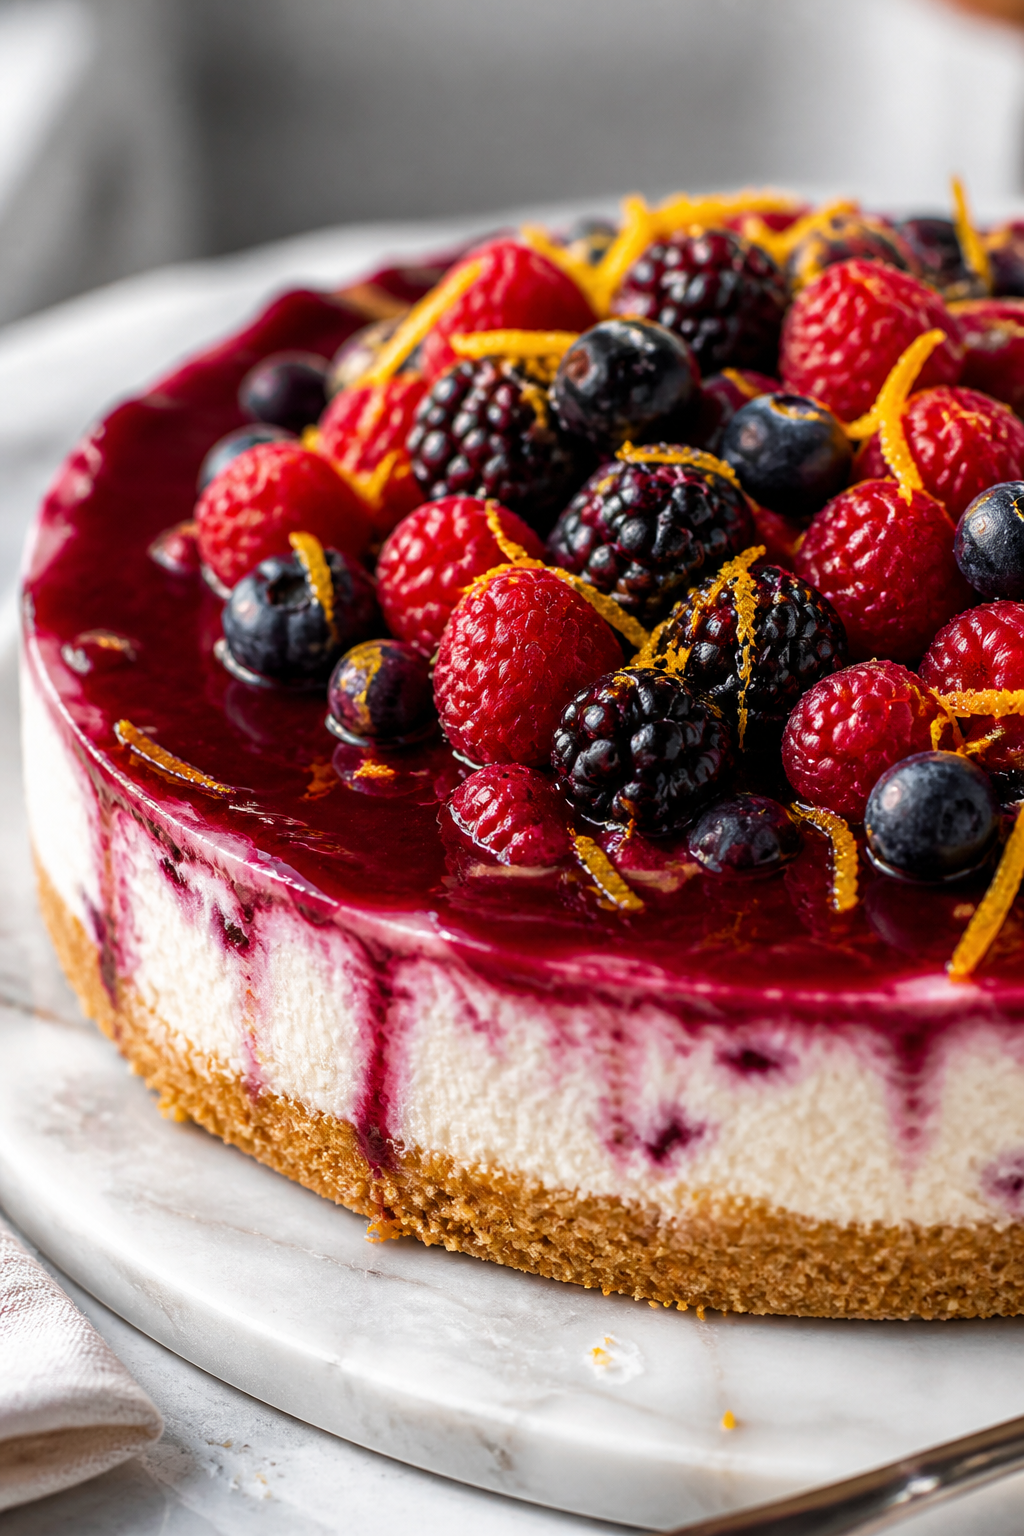
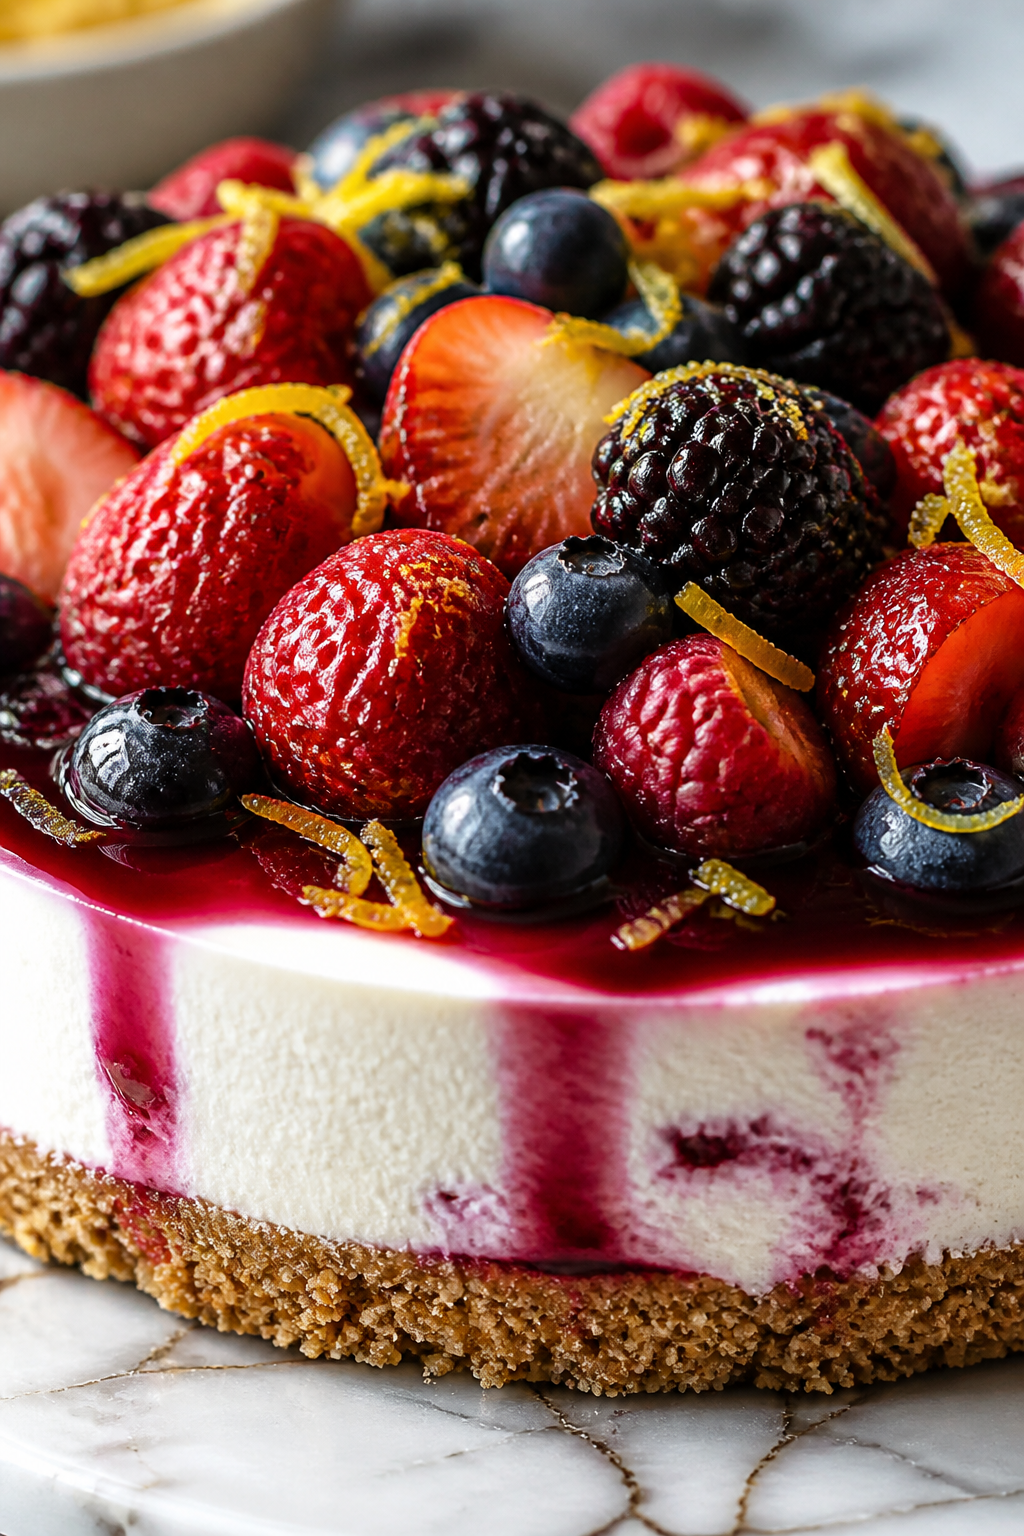
This no-bake mixed berry cheesecake is a light, creamy dessert bursting with fresh berries and a hint of citrus zest. It’s quick to make and perfect for cooling off on warm summer evenings.
Introduction
I first made this no-bake mixed berry cheesecake on a scorching summer afternoon when I didn’t want to turn on the oven. It quickly became a favorite because of how fresh and light it feels compared to traditional baked cheesecakes. What makes this version stand out is the burst of citrus zest and juice that gives it a refreshing tang. Plus, the crust is perfectly buttery and crunchy, balancing the creamy filling. I’ve learned that whipping the cream until stiff peaks form and folding it gently into the cream cheese mixture is key to getting that airy texture without deflating it. This cheesecake sets beautifully in the fridge and looks stunning with a colorful berry topping. It’s the kind of dessert you can make ahead for summer parties or just to treat yourself after a long day. The first time I made it, I almost rushed the chilling step and it was too soft to slice, so patience here really pays off. Overall, it’s a dessert that feels fancy but is surprisingly simple, and everyone who tries it asks for the recipe!
How To Do It
Step 1
Start by preparing the crust. In a medium bowl, combine the finely crushed graham cracker crumbs with the melted butter. Stir until the mixture looks like wet sand and holds together when pressed. This step is important because the butter acts as a binder, giving the crust a firm yet crumbly texture. Avoid adding too much butter or the crust will be greasy. Press the mixture firmly into the bottom of a 9-inch springform pan or pie dish, creating an even layer. Use the bottom of a glass or measuring cup to compact it tightly, which helps the crust hold its shape when sliced.
⏱ Time: 10
✓ Doneness: Crust feels compact and slightly firm to the touch, with no loose crumbs
Step 2
In a large mixing bowl, beat the softened cream cheese with powdered sugar and vanilla extract until smooth and creamy. This ensures there are no lumps and the sweetness is evenly distributed. Adding the lemon zest and fresh lemon juice here brightens the flavor and balances the richness of the cream cheese. Be sure your cream cheese is fully softened to avoid a grainy texture. Scrape down the sides of the bowl as needed to incorporate everything evenly.
⏱ Time: 5
✓ Doneness: Mixture is smooth, creamy, and slightly fluffy with an even color
Step 3
In a separate chilled bowl, whip the cold heavy cream until stiff peaks form. This means when you lift the whisk, the peaks stand straight up without drooping. Whipping the cream properly is crucial because it adds lightness and volume to the filling. If the cream is under-whipped, the cheesecake will be dense; over-whipping can cause it to turn buttery. Use a cold bowl and beaters to help the cream whip faster and hold better.
⏱ Time: 5
✓ Doneness: Whipped cream holds stiff peaks and looks glossy
Step 4
Gently fold the whipped cream into the cream cheese mixture using a spatula. Folding rather than stirring preserves the airiness of the whipped cream, creating a light and fluffy texture. Be patient and use a gentle motion—cut down through the center and scoop around the edges. Overmixing will deflate the cream and make the filling dense, so stop once the mixture is uniform.
⏱ Time: 5
✓ Doneness: Filling is smooth, airy, and evenly blended without streaks
Step 5
Pour the cream cheese filling over the prepared crust and smooth the top with a spatula. Take your time to create an even surface for a professional look. Tap the pan gently on the counter to release any air bubbles trapped in the filling. This helps the cheesecake set evenly and prevents cracks or holes.
⏱ Time: 5
✓ Doneness: Filling surface is smooth and level, no visible air pockets
Step 6
Refrigerate the cheesecake for at least 4 hours, preferably overnight. This chilling time is essential for the filling to firm up and develop its creamy texture. Rushing this step will result in a runny cheesecake that’s hard to slice. Cover the cheesecake loosely with plastic wrap to prevent it from absorbing fridge odors. If you want to speed this up, you can freeze it for 1-2 hours but avoid freezing for too long to maintain the right texture.
⏱ Time: 240
✓ Doneness: Cheesecake feels firm to the touch and holds shape when sliced
Step 7
Prepare the berry topping while the cheesecake chills. If using frozen berries, thaw and drain excess liquid to avoid soggy topping. Arrange the mixed berries in a decorative pattern on top of the set cheesecake. The fresh berries add vibrant color and a juicy contrast to the creamy base. You can lightly brush them with warmed apricot jam or honey to add shine and a touch of sweetness if desired.
⏱ Time: 10
✓ Doneness: Berries are evenly distributed, fresh-looking, and glossy if glazed
Step 8
Before serving, let the cheesecake sit at room temperature for about 10 minutes. This softens the texture slightly, enhancing the creamy mouthfeel. Use a sharp knife dipped in hot water and wiped dry to slice cleanly without cracking. Wipe the knife between cuts for the best presentation.
⏱ Time: 10
✓ Doneness: Slices are clean and hold together well without crumbling
Step 9
Serve chilled with extra berries or a dollop of whipped cream on the side if you like. This cheesecake pairs beautifully with a cup of coffee or a light dessert wine. Enjoy the balance of tangy citrus, sweet berries, and creamy filling that makes it such a crowd-pleaser!
⏱ Time: 0
✓ Doneness: Dessert is visually appealing and tastes fresh and balanced
Variations
Chocolate Swirl No-Bake Cheesecake
Add 1/4 cup melted dark chocolate to half the cream cheese mixture and swirl it gently into the plain filling before chilling. This adds a rich chocolate flavor and beautiful marbled effect without complicating the process.
Note: Swirl carefully to avoid deflating the whipped cream; work quickly before chilling.
Tropical Mango and Passionfruit Cheesecake
Swap mixed berries for diced fresh mango and drizzle passionfruit pulp on top. This variation offers a bright, exotic twist with tropical sweetness and tang that pairs wonderfully with the creamy filling.
Note: Use ripe, firm mangoes to avoid excess moisture; passionfruit pulp adds fresh acidity.
Gluten-Free Almond Crust Cheesecake
Replace graham cracker crumbs with finely ground almond flour mixed with a bit of coconut sugar and butter for a nutty, gluten-free crust option. It adds a subtle almond flavor and works well with the creamy filling.
Note: Press almond crust firmly; almond flour crusts tend to be more delicate.
Vegan No-Bake Berry Cheesecake
Use vegan cream cheese and coconut cream whipped to stiff peaks, with a crust made from dates and nuts. This dairy-free version keeps the creamy texture and fresh berry topping intact for plant-based diets.
Note: Chill longer to help coconut cream firm; ensure vegan cream cheese is well softened.
Lemon Blueberry Cheesecake Bars
Pour the filling into a lined square pan and swirl in fresh blueberries and extra lemon zest. Cut into bars for portable, easy-to-serve portions with a bright citrus flavor.
Note: Use a shallow pan for even chilling and firm bars that hold shape.
Pro Tips
Press the crust mixture firmly and evenly into the pan.
Firmly pressing the crust ensures it holds together when sliced and avoids crumbling. Air pockets or loose crumbs cause the crust to fall apart. Using the bottom of a flat glass or measuring cup to compact the crust creates a uniform base that supports the creamy filling.
Whip the cream to stiff peaks in a chilled bowl.
Cold cream whips faster and achieves better volume. Stiff peaks mean the cream holds its shape and adds necessary airiness to the filling. Under-whipped cream results in a dense cheesecake, while over-whipping causes butter to form, ruining texture.
Fold the whipped cream gently into the cream cheese mixture.
Folding preserves the air bubbles in the whipped cream, keeping the filling light and fluffy. Stirring or beating aggressively deflates the mixture, leading to a dense, heavy cheesecake instead of a smooth mousse-like texture.
Use fresh lemon zest and juice for bright flavor.
Fresh lemon zest contains essential oils that add aromatic brightness, while fresh juice adds tangy acidity. Both balance the richness of the cream cheese and enhance the overall flavor. Bottled lemon juice lacks these fresh notes and can taste flat.
Chill the cheesecake for at least 4 hours before serving.
Chilling allows the fats and proteins in the filling to set, giving the cheesecake structure and firmness. Rushing this step results in a runny filling that is difficult to slice. Overnight chilling yields the best texture and flavor development.
Use a hot, clean knife to slice the cheesecake.
Wiping the knife clean and dipping it in hot water before each cut prevents the filling from sticking and tearing. This ensures clean, neat slices and a pleasing presentation, especially important for creamy no-bake cheesecakes.
Drain thawed frozen berries before topping.
Excess moisture from frozen berries can seep into the crust and filling, making the cheesecake soggy. Draining and patting berries dry maintains the crust’s crunch and the filling’s firmness, preserving texture and flavor.
Common Mistakes to Avoid
Using cold cream cheese straight from the fridge
Why it happens Many assume cream cheese can be mixed immediately, but cold cream cheese is stiff and lumpy.
Fix Soften cream cheese to room temperature before mixing. Leave it out for at least 30 minutes or microwave in short bursts (10 seconds) until pliable. This ensures a smooth, lump-free filling.
Overmixing the filling after adding whipped cream
Why it happens Over-enthusiasm when blending can deflate the whipped cream, making the filling dense.
Fix Fold whipped cream gently with a spatula using slow, careful motions to keep air bubbles intact. Stop folding as soon as the mixture is uniform.
Not chilling the cheesecake long enough
Why it happens Impatience or time constraints lead to serving before the filling sets.
Fix Plan ahead and refrigerate for at least 4 hours or overnight. This step is critical for the cheesecake to firm up and slice cleanly.
Skipping to drain frozen berries
Why it happens Frozen berries release extra water when thawed, which some forget to drain.
Fix Thaw berries in a colander and gently pat dry with paper towels. This prevents a watery topping and soggy crust.
Pressing the crust too lightly
Why it happens Rushing or not compacting enough leaves a crumbly base.
Fix Use firm pressure and a flat-bottomed object to press the crust evenly and tightly. This creates a sturdy base for the filling.
Nutrition
Per Serving:
Nutritional values are estimates and may vary based on specific ingredients used.
Storage & Tips
Room Temperature
Keep the cheesecake covered and avoid leaving it out at room temperature for more than 2 hours to prevent spoilage. Use a cake dome or plastic wrap to protect from drying out or absorbing odors.
Refrigerator
Store in an airtight container or cover tightly with plastic wrap for up to 4 days. The cheesecake may firm up further in the fridge. Serve chilled or let sit 10 minutes at room temperature before slicing.
Freezer
Freeze the cheesecake wrapped tightly in plastic wrap and foil for up to 2 months. To thaw, place in the refrigerator overnight. Avoid refreezing to maintain texture. After thawing, the texture may be slightly softer but still delicious.
Reheating
No reheating needed since it’s a chilled dessert. For softer texture, let sit at room temperature for 10-15 minutes before serving.
Make Ahead
Prepare the crust and filling a day in advance and chill overnight. Add the fresh berry topping just before serving to keep berries fresh and vibrant.
FAQ
Can I use frozen berries instead of fresh?
Yes, frozen berries work well but should be fully thawed and drained of excess liquid before using to avoid making the cheesecake soggy. Pat them dry gently with paper towels. This helps maintain the crust’s crispness and prevents watery filling.
What if I don’t have a springform pan?
You can use a regular pie dish or any cake pan lined with parchment paper for easier removal. Just be careful when slicing and serving since the crust may be more delicate. Chilling thoroughly helps keep the cheesecake intact.
How long should I chill the cheesecake?
At least 4 hours is needed for the filling to set firmly, but overnight chilling is ideal. This ensures the cheesecake slices cleanly and flavors meld beautifully. Rushing this step leads to a softer, runnier texture.
Can I substitute cream cheese with mascarpone?
Mascarpone can be used but it’s softer and higher in fat, which may make the filling looser. You might want to reduce the heavy cream slightly or chill longer to achieve similar firmness. The flavor will be richer and slightly less tangy.
Why is my filling grainy?
Graininess usually comes from cold or improperly softened cream cheese or sugar that hasn’t dissolved fully. Make sure cream cheese is at room temperature and beat the mixture until smooth. Using powdered sugar helps avoid grit compared to granulated sugar.
Can I make this cheesecake sugar-free?
Yes, use a sugar substitute suitable for baking like powdered erythritol or monk fruit sweetener in place of powdered sugar. The texture and sweetness might differ slightly, so taste and adjust accordingly.
How do I prevent the crust from getting soggy?
Press the crust firmly and chill it before adding the filling. Also, avoid excess moisture in the filling and drain any thawed berries well before topping. These steps keep the crust crisp and stable.
What’s the best way to slice the cheesecake?
Use a sharp knife dipped in hot water and wiped dry before each cut. This prevents the filling from sticking and ensures smooth, clean slices. Let the cheesecake sit at room temperature for 10 minutes before slicing for easier cutting.
Final Thoughts
I hope you enjoy making and sharing this no-bake mixed berry cheesecake as much as I do! Don’t forget to let me know how it turns out and what variations you try.