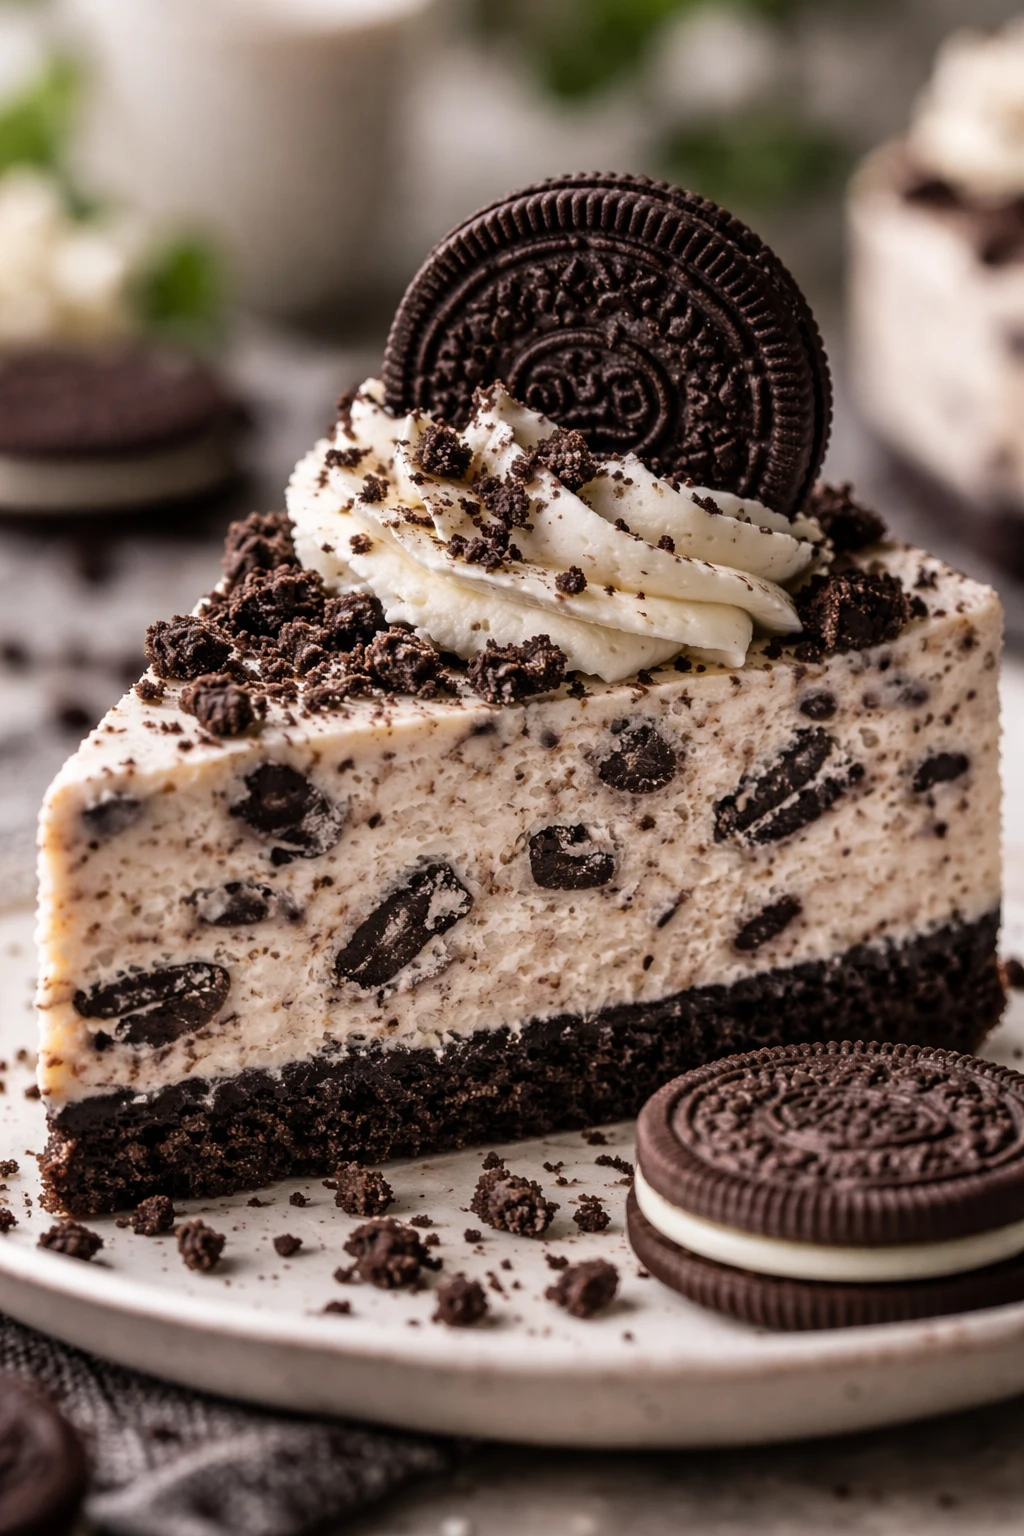
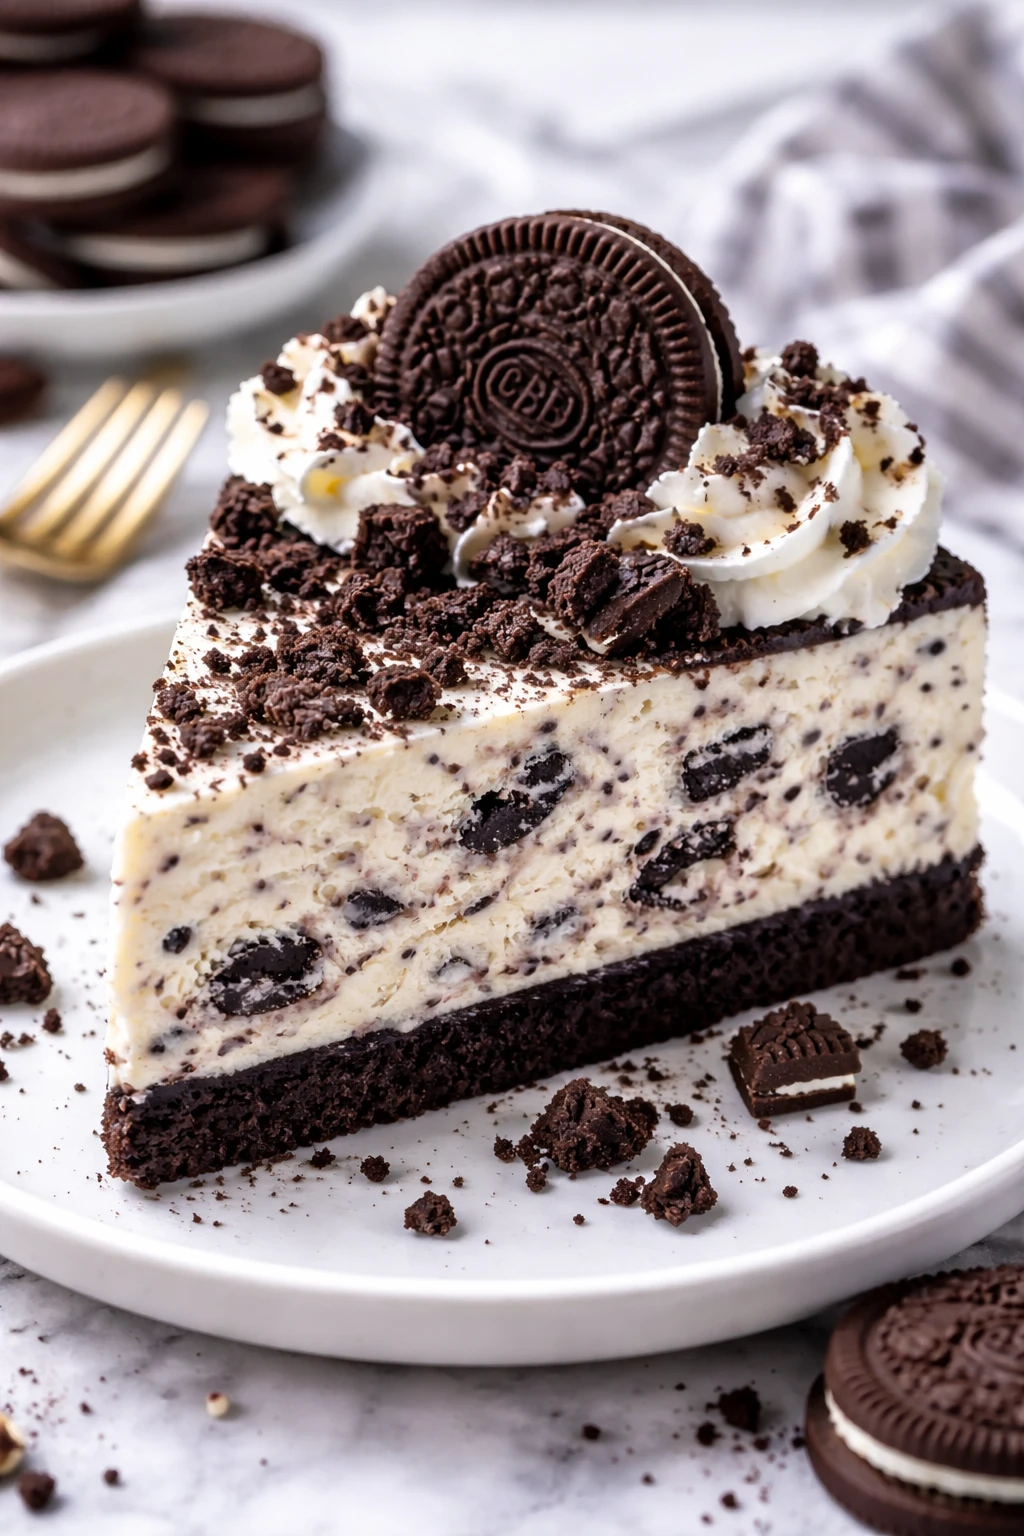
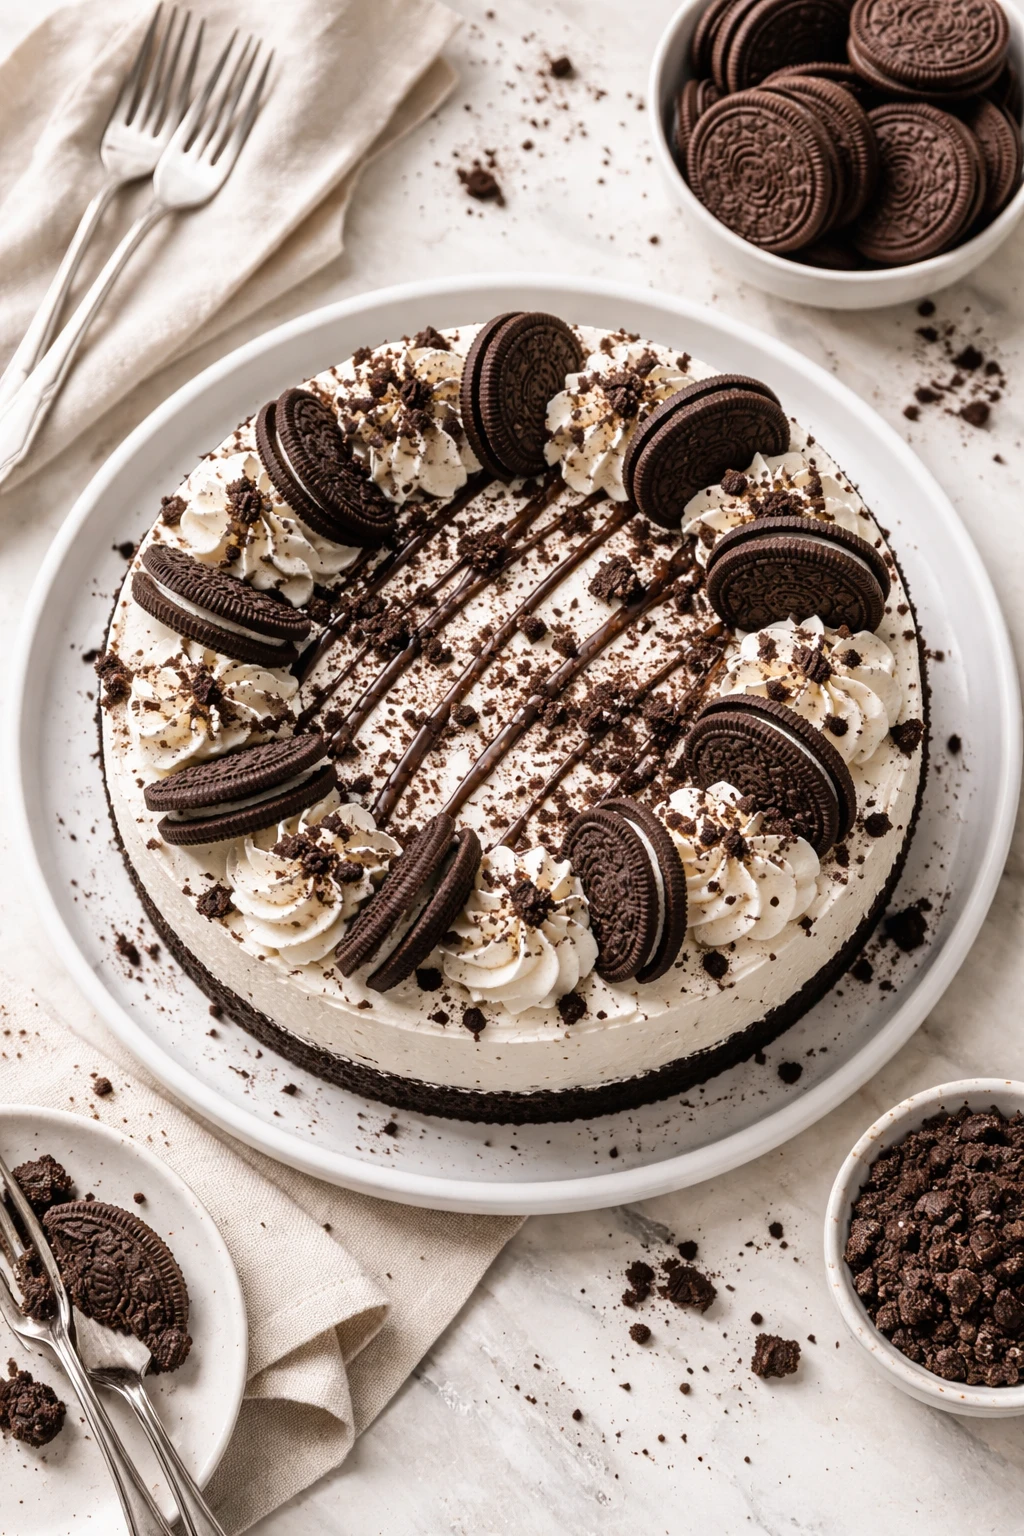
This no bake Oreo cheesecake is a creamy dream with crunchy Oreo bits in every bite. It’s quick to whip up and perfect for when you want a fuss-free dessert that still wows. Great for weekend treats or parties!
Introduction
I first stumbled on this no bake Oreo cheesecake when I needed a quick dessert for a last-minute get-together. Honestly, I was skeptical about how creamy it could get without baking, but it blew me away. The trick is using cold heavy cream whipped to stiff peaks, which gives the filling that perfect airy texture. Plus, folding in crushed Oreos adds just the right amount of crunch and chocolate flavor throughout. What I love most is how simple it is — no oven, no complicated steps, just mixing and chilling. I’ve tried other no bake cheesecakes before, but this one stands out because the crust is packed with Oreos instead of plain graham crackers, making it extra chocolatey and fun. The finished cheesecake is smooth, rich, and perfectly balanced with the sweet and slightly tangy cream cheese filling. It’s always a hit with family and friends, and I keep this recipe in my back pocket for when I want something indulgent but effortless. If you want a dessert that feels special but doesn’t take hours, this is definitely it. Plus, it looks gorgeous with those Oreo chunks peeking through!
How To Do It
Step 1
Start by crushing 16 of the Oreo cookies finely, either in a food processor or by placing them in a zip-top bag and pounding with a rolling pin. Mix the crushed Oreos with the melted butter until well combined. This mixture forms the crust, and the butter helps it stick together and hold shape once chilled. Press this firmly into the bottom of a springform pan or a pie dish, making sure it’s even and compact. Chilling the crust for at least 10 minutes helps it set so it won’t crumble when you add the filling.
⏱ Time: 15 minutes
✓ Doneness: Crust is firm and holds together when pressed
Step 2
In a large bowl, beat the softened cream cheese until smooth and creamy using a hand mixer or stand mixer. Add the powdered sugar and vanilla extract, mixing until fully incorporated. This base is the heart of your cheesecake filling, so beating the cream cheese well ensures no lumps and a silky texture. If you rush this step or don’t soften the cream cheese, the filling can end up grainy or uneven.
⏱ Time: 5 minutes
✓ Doneness: Mixture is smooth, creamy, and lump-free
Step 3
In a separate chilled bowl, whip the heavy cream until stiff peaks form. This means the cream should hold a firm peak when you lift the whisk out. Whipping the cream properly adds lightness and volume to the filling, making it airy instead of dense. If you under-whip, the filling will be runny and won’t set well; over-whipping can cause the cream to start turning into butter.
⏱ Time: 7 minutes
✓ Doneness: Whipped cream holds stiff peaks without being grainy
Step 4
Gently fold about half of the crushed Oreos into the cream cheese mixture. Folding carefully is key here to keep the whipped cream from deflating, which would make the filling dense. Use a spatula and a light hand, turning the bowl and cutting through the mixture to combine evenly. This step distributes the Oreo pieces for texture and chocolate flavor throughout the filling.
⏱ Time: 3 minutes
✓ Doneness: Oreo pieces are evenly distributed without deflating mixture
Step 5
Now fold the whipped cream into the cream cheese and Oreo mixture in batches. Take your time to combine everything smoothly without overmixing. The whipped cream gives the filling that classic fluffy cheesecake feel. Overmixing will cause it to lose volume and become heavy, so be gentle and stop as soon as everything is blended.
⏱ Time: 3 minutes
✓ Doneness: Filling is fluffy, smooth, and light
Step 6
Pour the filling over the chilled Oreo crust and spread it evenly with a spatula. Sprinkle the remaining crushed Oreos on top for decoration and extra crunch. This final touch not only looks pretty but adds a nice texture contrast. Make sure the filling layer is smooth and level for the best presentation.
⏱ Time: 5 minutes
✓ Doneness: Filling is evenly spread and Oreo topping is visible
Step 7
Cover the cheesecake with plastic wrap or a lid and refrigerate for at least 4 hours, preferably overnight. Chilling allows the filling to firm up and the flavors to meld together. If you skip or shorten this step, the cheesecake might be too soft and won’t cut cleanly.
⏱ Time: 4+ hours
✓ Doneness: Cheesecake is firm to the touch and slices cleanly
Step 8
When ready to serve, run a knife around the edges of the pan to loosen the cheesecake before releasing the springform. This prevents the crust from sticking and breaking apart. Slice with a sharp knife, wiping it clean between cuts for neat slices.
⏱ Time: 5 minutes
✓ Doneness: Slices hold shape with clean edges
Step 9
Serve chilled with optional whipped cream or fresh berries if you like. This cheesecake is rich and sweet, so a tart berry topping can balance the flavors nicely. Enjoy immediately for the best texture and flavor.
⏱ Time: Immediate
✓ Doneness: Cheesecake is creamy, cool, and flavorful
Variations
Peanut Butter Oreo Cheesecake
Add 1/2 cup creamy peanut butter to the cream cheese mixture before folding in whipped cream. This gives a rich, nutty twist that pairs beautifully with Oreos. Top with chopped peanuts for crunch.
Note: Peanut butter makes the filling denser, so fold whipped cream in gently to maintain lightness.
Mint Oreo Cheesecake
Use mint-flavored Oreos and add 1/2 teaspoon peppermint extract to the filling for a refreshing twist. Garnish with fresh mint leaves for an extra pop of color and flavor.
Note: Peppermint extract is potent; add gradually and taste to avoid overpowering the cheesecake.
Chocolate Ganache Topped Oreo Cheesecake
After chilling, pour a layer of warm chocolate ganache over the cheesecake and refrigerate until set. This adds a glossy, decadent chocolate finish that’s perfect for chocoholics.
Note: Ganache should be slightly cooled before pouring to avoid melting the filling.
Berry Swirl Oreo Cheesecake
Swirl in 1/2 cup pureed raspberries or strawberries into the filling before chilling. The fruity tartness cuts through the richness and adds a beautiful marbled effect.
Note: Use thick berry puree to avoid making the filling too loose.
Vegan No Bake Oreo Cheesecake
Substitute cream cheese with vegan cream cheese and use coconut cream whipped to stiff peaks. Use vegan Oreos for a fully plant-based dessert that’s just as creamy and delicious.
Note: Chilling time may need to be extended to ensure proper setting with vegan substitutes.
Pro Tips
Chill your mixing bowl and beaters before whipping the cream.
Cold equipment helps the cream whip faster and reach stiff peaks more reliably. Warm bowls can cause the fat in the cream to soften too early, resulting in a less stable whipped cream that loses volume quickly.
Press the crust firmly and evenly into the pan.
A compact crust holds together better when sliced and prevents crumbling. Uneven or loosely packed crust can fall apart and make serving messy.
Use a rubber spatula to fold ingredients gently.
Folding with a spatula instead of stirring preserves the air whipped into the cream, keeping the filling light and fluffy. Overmixing causes deflation and a dense final texture.
Let the cheesecake chill overnight if possible.
Extended chilling allows the flavors to meld and the filling to fully set, improving sliceability and taste. Shorter chilling times may result in a softer, less stable cheesecake.
Use room temperature cream cheese for smooth mixing.
Cold cream cheese resists blending and can create lumps, which affect the texture and mouthfeel of the filling. Softening it beforehand ensures a smooth, creamy base.
Avoid overwhipping the cream cheese mixture after adding whipped cream.
Once whipped cream is folded in, further mixing can cause it to collapse, losing the airiness that makes the cheesecake light and fluffy.
Run a hot knife through slices for clean cuts.
Warming the knife slightly helps it glide through the cheesecake without dragging or causing cracks, resulting in neat, professional-looking slices.
Common Mistakes to Avoid
Using cold cream cheese straight from the fridge.
Why it happens It’s easy to forget to let cream cheese soften, especially when rushing. Cold cream cheese is stiff and lumps form when mixing.
Fix Plan ahead and leave cream cheese out for at least 30 minutes to soften. Alternatively, microwave in short bursts (5-10 seconds) until just soft but not melted.
Overmixing after adding whipped cream.
Why it happens Eager to combine ingredients quickly, many people stir vigorously, which deflates the whipped cream.
Fix Fold gently with a spatula, turning the bowl and cutting through the mixture slowly to keep air bubbles intact.
Skipping the chilling time.
Why it happens Impatience or last-minute dessert needs can cause skipping refrigeration.
Fix Chilling is essential for the cheesecake to firm up. If short on time, chill for at least 4 hours, but overnight is best.
Not pressing the crust firmly.
Why it happens Rushing or not pressing evenly can cause a crumbly crust that falls apart.
Fix Use the bottom of a glass or measuring cup to press the crust firmly and evenly before chilling.
Whipping cream too little or too much.
Why it happens Inexperience with whipping cream can lead to under or over-whipping.
Fix Stop whipping when stiff peaks form—cream should stand up firmly but not look grainy or start separating.
Nutrition
Per Serving:
Nutritional values are estimates and may vary based on specific ingredients used.
Storage & Tips
Room Temperature
The cheesecake can safely sit at room temperature for up to 2 hours when covered to prevent drying. Beyond this, refrigeration is recommended to maintain texture and food safety.
Refrigerator
Store leftovers in an airtight container or covered tightly with plastic wrap in the refrigerator for up to 4 days. The texture firms up nicely when cold, but you can let slices sit at room temperature for 10 minutes before serving for creamier mouthfeel.
Freezer
Freeze the cheesecake wrapped tightly in plastic wrap and then foil for up to 2 months. Thaw overnight in the fridge to prevent condensation that can make the crust soggy. Avoid freezing whipped cream toppings, as they may separate.
Reheating
No reheating needed—serve chilled. If you prefer softer texture, leave the slice at room temperature for 10-15 minutes before eating. Avoid microwaving as it can melt the filling unevenly.
Make Ahead
Prepare the crust and filling separately 1-2 days ahead. Assemble and chill the cheesecake on the day you want to serve for freshest texture. This also helps flavors meld beautifully.
FAQ
Can I use low-fat cream cheese for this recipe?
Low-fat cream cheese isn’t recommended because it contains more water and less fat, which can make the filling runny and less creamy. Full-fat cream cheese gives the best texture and richness essential for a no bake cheesecake.
How do I know when the whipped cream is whipped enough?
When you lift the whisk or beaters, stiff peaks should form that hold their shape firmly without drooping. The cream should look smooth and glossy, not grainy or curdled. Underwhipped cream won’t add enough volume; overwhipped cream can turn buttery.
Can I make this cheesecake in advance?
Absolutely! Making it a day ahead actually improves the flavor and texture as it allows the filling to set fully and the flavors to meld. Just keep it covered in the fridge and slice just before serving.
What can I substitute for Oreos if I can’t find them?
You can use any chocolate sandwich cookies or chocolate wafer cookies. Just make sure they’re sturdy enough to form a crust and hold up in the filling. Avoid cookies with too much filling or very soft textures.
My crust is crumbly and falls apart. What did I do wrong?
Most likely not enough butter or not pressing the crust firmly enough. Butter acts as a binder when it cools, so ensure the crushed cookies are well coated. Also, firmly press the crust into the pan to compact it before chilling.
Can I add gelatin to make the cheesecake firmer?
Yes, gelatin can help stabilize the filling, especially in warmer climates. Dissolve about 1 teaspoon of powdered gelatin in 2 tablespoons of warm water and mix into the cream cheese before folding in whipped cream. This adds firmness without baking.
How should I store leftover cheesecake?
Keep it covered tightly in the fridge in an airtight container for up to 4 days. This prevents it from absorbing fridge odors and keeps the texture moist. Let slices sit at room temperature briefly before eating for best flavor.
Can I freeze the cheesecake?
Yes, but wrap it very well in plastic wrap and foil to avoid freezer burn. Thaw in the fridge overnight. Note that the texture might be slightly altered, especially if the whipped cream topping separates.
Final Thoughts
I hope you enjoy making this no bake Oreo cheesecake as much as I do! It’s such a crowd-pleaser, and I can’t wait to hear what you think when you try it.