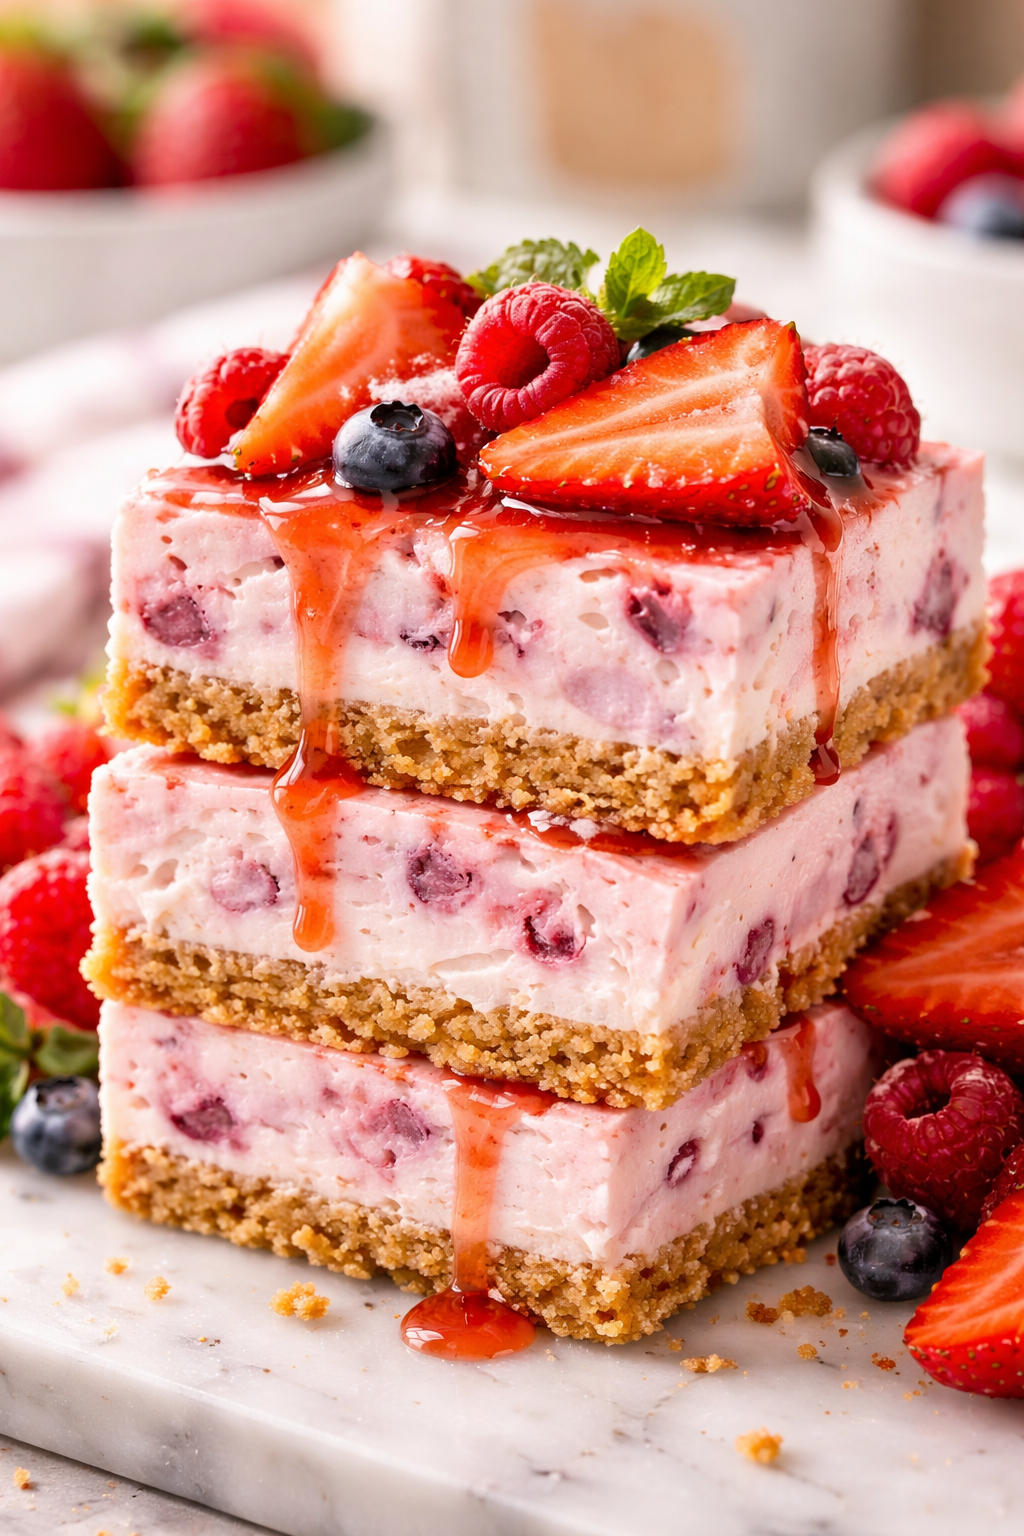
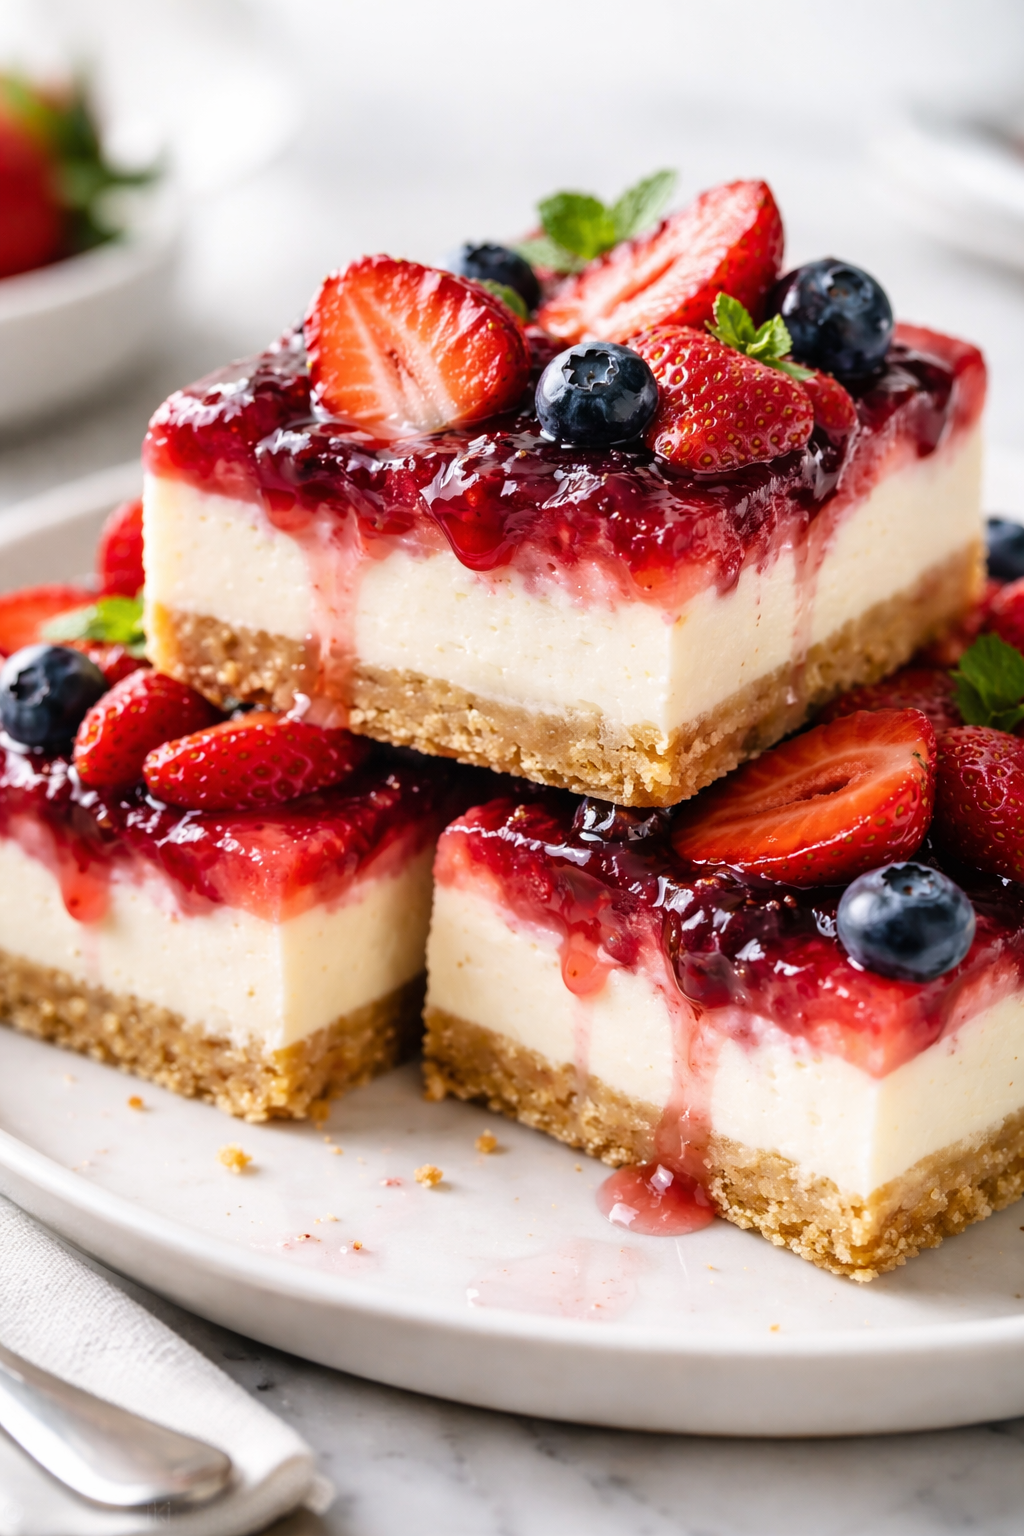
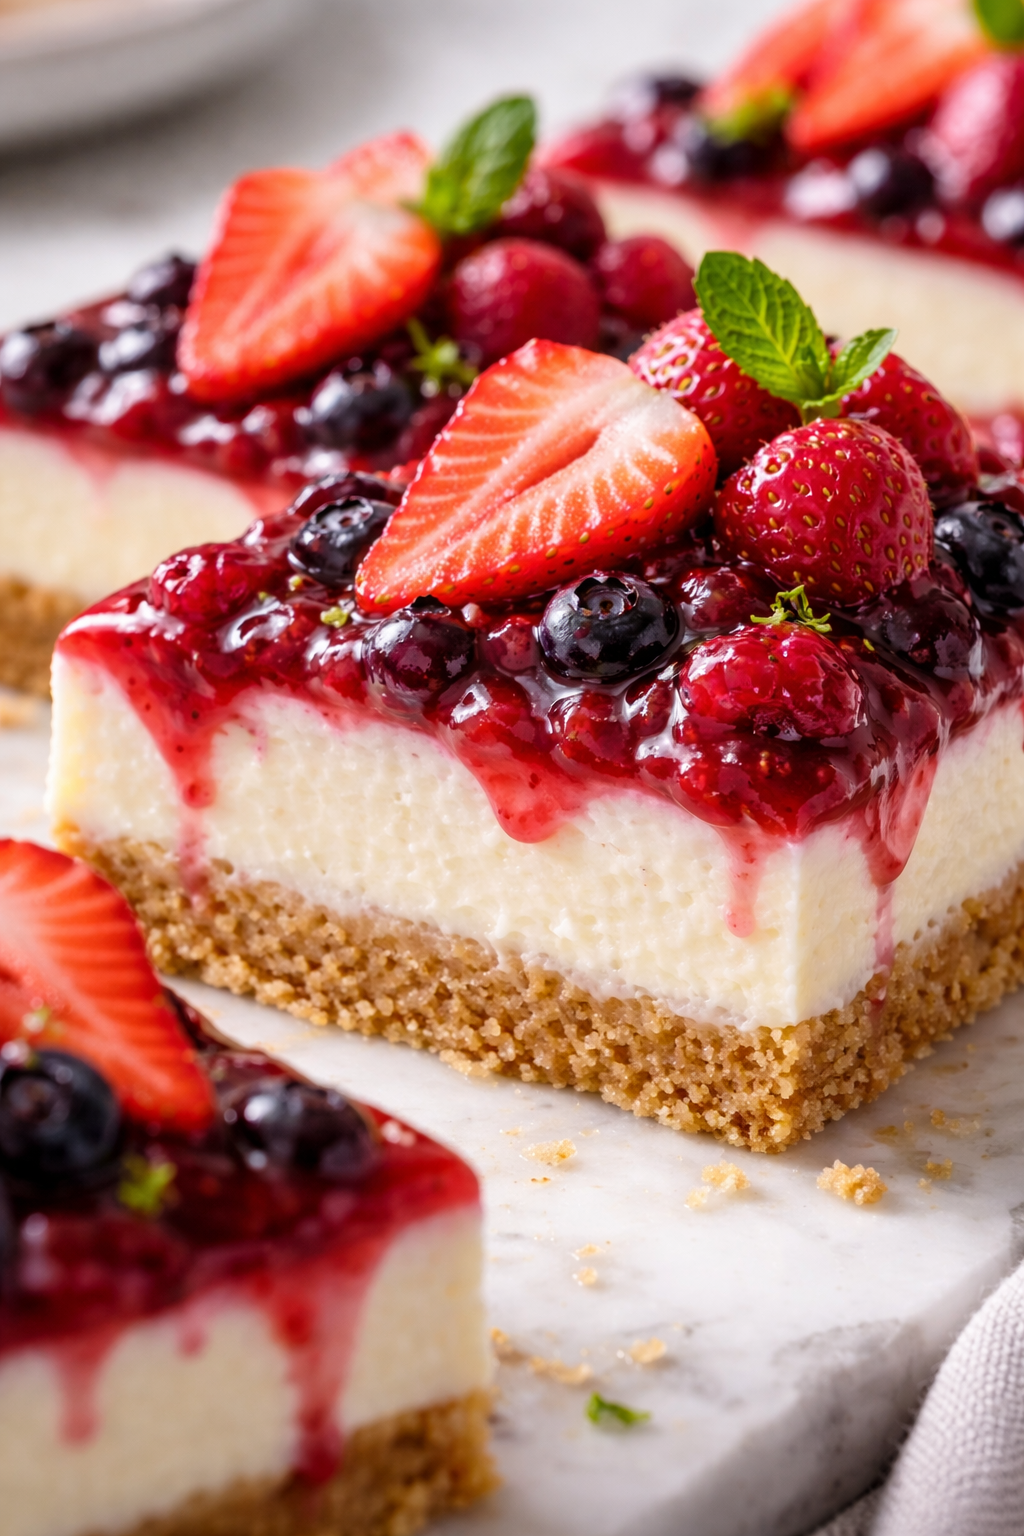
These no-bake cheesecake bars are a fresh, fruity delight with a crisp crust and creamy filling topped with juicy strawberries. They come together quickly and are perfect for springtime snacks or casual get-togethers.
Introduction
I first made these no-bake strawberry cheesecake bars on a warm spring afternoon when I wanted something sweet but light, without firing up the oven. My family loved how fresh and creamy they were, especially with the juicy strawberries on top. What makes this recipe stand out is the combination of a crisp graham cracker crust with a silky smooth cream cheese filling that sets perfectly in the fridge. No baking means it’s super quick and hassle-free, which is great when you want a delicious dessert without the fuss. I’ve found that whipping the cream just right and letting the bars chill long enough are the keys to getting that perfect, airy texture. The strawberries add a refreshing pop of flavor and color, making these bars a hit at any casual gathering or just as a sweet afternoon treat. I remember the first time I tried a similar recipe but rushed the chilling step, and the bars were too soft to cut nicely—so patience really pays off here. The finished bars are creamy, light, with a nice contrast from the crunchy crust and fresh fruit. I think you’ll love how easy and satisfying this dessert is!
How To Do It
Step 1
Start by preparing the crust. Mix the graham cracker crumbs, melted butter, and granulated sugar in a bowl until the mixture resembles wet sand. This step is crucial because the butter binds the crumbs together, forming a firm base that holds when sliced. Press the mixture evenly into the bottom of a lined 8x8 inch pan using the back of a spoon or your fingers. Make sure to compact it well to avoid a crumbly crust later. If you skip compacting, the bars won’t hold their shape properly. Once pressed, place the crust in the refrigerator to chill while you prepare the filling.
⏱ Time: 10 minutes
✓ Doneness: Crust feels firm and compact to touch, no loose crumbs
Step 2
In a large bowl, beat the softened cream cheese until smooth and creamy using a hand mixer or stand mixer. Add the powdered sugar and vanilla extract, mixing until fully combined. This ensures the filling is sweetened evenly and has a nice vanilla flavor. Be careful not to overmix here as it can make the filling too soft. The smooth texture is key to a luscious cheesecake feel. Scrape down the bowl sides to incorporate all ingredients for uniform flavor.
⏱ Time: 5 minutes
✓ Doneness: Filling is thick, smooth, and creamy without lumps
Step 3
In a separate chilled bowl, whip the heavy cream until stiff peaks form. This means when you lift the whisk, the peaks will stand straight without collapsing. Whipping the cream properly adds lightness and volume to the filling, balancing the dense cream cheese. Underwhipped cream can cause the filling to be runny, while overwhipped cream turns buttery. Gently fold the whipped cream into the cream cheese mixture using a spatula, folding carefully to keep as much air as possible. This folding technique maintains the airy texture critical for that classic no-bake cheesecake feel.
⏱ Time: 7 minutes
✓ Doneness: Filling looks fluffy and airy with no streaks
Step 4
Pour the filling over the chilled crust and spread evenly with a spatula. Make sure the layer is smooth and reaches all corners to prevent gaps that could cause crumbling when sliced. A smooth top also makes the bars look more polished. Once spread, cover the pan tightly with plastic wrap or foil to prevent the surface from drying out or absorbing fridge odors during chilling.
⏱ Time: 5 minutes
✓ Doneness: Filling layer is even and smooth with clean edges
Step 5
Refrigerate the bars for at least 4 hours, preferably overnight. This chilling step is essential as it allows the filling to set firmly so that the bars hold their shape when cut. Rushing this will result in a soft, messy dessert. The cold also helps the flavors meld together, making each bite taste better. If you’re short on time, a minimum of 4 hours is okay, but longer is best.
⏱ Time: 4+ hours
✓ Doneness: Filling is firm to the touch and holds shape when sliced
Step 6
Just before serving, wash and slice fresh strawberries. Arrange the slices neatly over the top of the cheesecake layer. The strawberries add a fresh, juicy contrast to the creamy filling and crunchy crust, brightening both flavor and appearance. You can also gently press them into the filling slightly to help them stay in place. Don’t add them too early or they may release juice and make the bars soggy.
⏱ Time: 5 minutes
✓ Doneness: Strawberries look fresh, vibrant, and evenly spread
Step 7
Use a sharp knife warmed under hot water and wiped dry to cut the cheesecake into bars. Warming the knife helps achieve clean slices without dragging or cracking the filling. Cut slowly and wipe the blade between cuts for best results. This step makes your bars look neat and professional, perfect for serving guests or packing for picnics.
⏱ Time: 5 minutes
✓ Doneness: Bars with clean edges and no crumbling or smearing
Step 8
Serve the bars chilled for the best texture and flavor. They’re perfect for spring afternoons, casual parties, or anytime you want a sweet but light dessert. Leftovers can be refrigerated covered for up to 3 days. Enjoy the creamy, fruity goodness in every bite!
⏱ Time: Immediate
✓ Doneness: Bars are cool, firm, and fresh tasting
Step 9
If you want to add a little extra flair, drizzle a bit of honey or a dusting of powdered sugar right before serving. This adds a subtle sweetness and makes the bars look even more inviting. It’s a simple touch that elevates the presentation without overpowering the fresh strawberry flavor.
⏱ Time: 2 minutes
✓ Doneness: Bars look glossy or lightly dusted, ready to impress
Variations
Mixed Berry No-Bake Cheesecake Bars
Swap strawberries for a mix of fresh blueberries, raspberries, and blackberries for a colorful twist. The tartness of mixed berries adds a delightful contrast to the creamy filling and crunchy crust.
Note: Use firm berries and add them just before serving to avoid moisture seeping into the filling.
Chocolate Swirl No-Bake Cheesecake Bars
Add melted dark chocolate swirled into the cream cheese filling before folding in whipped cream. This creates a marbled effect and adds a rich chocolate flavor that pairs beautifully with the graham cracker crust.
Note: Allow the melted chocolate to cool slightly before swirling to avoid melting the whipped cream.
Lemon Zest No-Bake Cheesecake Bars
Add fresh lemon zest and a tablespoon of lemon juice to the cream cheese mixture for a bright, citrusy flavor. This gives the bars a refreshing tang that’s perfect for spring and summer days.
Note: Be sure not to add too much lemon juice, which can make the filling too loose.
Peanut Butter No-Bake Cheesecake Bars
Mix creamy peanut butter into the cream cheese filling for a nutty, indulgent variation. Top with chopped peanuts or a drizzle of chocolate for extra texture and flavor.
Note: Ensure peanut butter is smooth and at room temperature for easy mixing.
Vegan No-Bake Cheesecake Bars
Use vegan cream cheese and coconut cream whipped to stiff peaks instead of dairy. The crust can be made with vegan graham crackers and coconut oil. This version is creamy and delicious without any animal products.
Note: Chill longer for firmer set since vegan fats behave differently than dairy.
Pro Tips
Press the crust firmly into the pan to avoid crumbling.
A well-packed crust holds together when slicing and serving. If it’s loosely packed, the bars will fall apart. The butter acts as a glue, so make sure the crumbs are evenly coated and pressed tightly for a sturdy base.
Chill the bowl and beaters for whipping cream.
Cold equipment helps the cream whip faster and hold stiff peaks. Warmer tools can cause the cream to remain runny or separate. This ensures a light, fluffy filling that sets well.
Fold whipped cream gently into the cream cheese mixture.
Folding preserves the air bubbles whipped into the cream, making the filling light and airy. Stirring or beating vigorously would deflate it, resulting in a dense texture.
Use a warm knife to cut the bars cleanly.
Warming the knife prevents the filling from sticking and smearing, giving you neat slices. Clean the knife between cuts to maintain sharp edges.
Don’t add strawberries too early to avoid sogginess.
Fresh berries release moisture over time, which can make the filling watery. Adding them just before serving keeps the bars fresh and the crust crisp.
Let the bars chill overnight if possible.
Longer chilling times allow the filling to fully set and flavors to meld, improving texture and taste. Short chilling can leave the filling too soft to slice nicely.
Use full-fat cream cheese and cream for best flavor.
Lower fat options can make the filling watery or less creamy. Full-fat ingredients provide richness and help the filling hold its shape after chilling.
Common Mistakes to Avoid
Not chilling the bars long enough
Why it happens It’s easy to get impatient and want to dig in before the filling has fully set.
Fix Plan ahead and refrigerate the bars for at least 4 hours, preferably overnight, to ensure the filling firms up properly. Rushing this step results in a runny texture that won’t slice well.
Overmixing the filling after adding whipped cream
Why it happens Sometimes people try to fully blend the cream cheese and whipped cream, unaware that gentle folding is key.
Fix Use a spatula to fold the whipped cream in gently until just combined. This preserves airiness and prevents a dense, heavy filling.
Using cold cream cheese that causes lumps
Why it happens Not softening cream cheese properly before mixing leads to uneven texture.
Fix Bring the cream cheese to room temperature or soften in short microwave bursts before beating. This ensures a smooth, lump-free filling.
Pressing the crust unevenly
Why it happens Rushing or not applying enough pressure can create a crumbly base.
Fix Take your time pressing the crust firmly and evenly into the pan to form a solid foundation that holds when sliced.
Adding strawberries too early
Why it happens Placing berries on top before chilling can cause juice to seep into the filling.
Fix Add strawberries right before serving to keep them fresh and prevent sogginess.
Nutrition
Per Serving:
Nutritional values are estimates and may vary based on specific ingredients used.
Storage & Tips
Room Temperature
These bars can safely sit out at room temperature for up to 2 hours if covered to avoid drying out or contamination. Beyond that, they should be refrigerated to maintain texture and freshness.
Refrigerator
Store bars in an airtight container in the refrigerator for up to 3 days. The crust stays crisp and the filling firm, but strawberries may soften slightly. For best texture, serve chilled or let sit 10 minutes at room temp before serving.
Freezer
Freeze bars wrapped tightly in plastic wrap and foil for up to 1 month. Thaw overnight in the refrigerator. Note the crust may soften slightly after freezing, but the filling remains creamy.
Reheating
No reheating needed—these are best served cold. If desired, let bars sit at room temperature 10-15 minutes before serving to soften slightly.
Make Ahead
Prepare the crust and filling up to 2 days ahead, then refrigerate covered. Add fresh strawberries just before serving to keep them bright and fresh.
FAQ
Can I use a different crust instead of graham crackers?
Absolutely! You can swap graham cracker crumbs with digestive biscuits, vanilla wafers, or even crushed pretzels for a salty twist. Just ensure the crumbs are finely crushed and mixed well with melted butter to form a sturdy base.
What if I don’t have heavy cream to whip?
Heavy cream is important for the light texture. If unavailable, you can try using whipped coconut cream as a dairy-free alternative or chilled whipping cream with at least 30% fat. Lower fat creams won’t whip properly and can make the filling dense.
How long can I store these bars in the fridge?
Stored in an airtight container, these cheesecake bars keep well for up to 3 days. After that, the crust may soften and strawberries might start to release juice, affecting texture and taste.
Can I make these bars gluten-free?
Yes! Use gluten-free graham cracker crumbs or substitute with gluten-free cookies for the crust. Just make sure the other ingredients are naturally gluten-free as well.
Why did my filling turn out runny?
Runny filling often means the cream wasn’t whipped enough or the bars didn’t chill long enough. Make sure to whip the cream to stiff peaks and allow at least 4 hours of chilling for the filling to set properly.
Can I freeze these cheesecake bars?
You can freeze them wrapped tightly for up to a month. Thaw overnight in the fridge before serving. Keep in mind the crust might lose some crispness after freezing, but the filling stays creamy.
Is it okay to use frozen strawberries?
Frozen strawberries release extra moisture and can make the bars soggy, so fresh is best. If using frozen, thaw and drain them well before topping and serve immediately.
How do I make sure the filling is smooth?
Softening the cream cheese well and beating it until smooth before adding other ingredients helps prevent lumps. Also, folding in whipped cream gently keeps the texture light and creamy.
Final Thoughts
I hope you enjoy these no-bake strawberry cheesecake bars as much as I do! They’re a simple, fresh treat that’s perfect for spring—give them a try and let me know how yours turn out.